
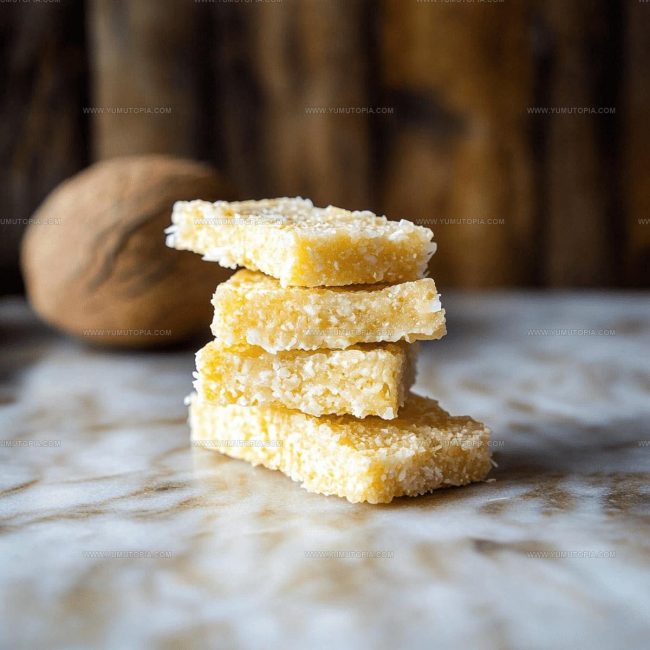
Creamy Coconut Bars Recipe for Quick Desserts
Craving a coconut bars experience that simplifies sweet satisfaction? Minimal effort meets maximum deliciousness in this ultra-smooth dessert sensation.
Tropical vibes radiate through every single bite, promising pure enjoyment without complicated preparation.
Smooth, creamy textures melt seamlessly with rich coconut essence, creating an instantly addictive treat.
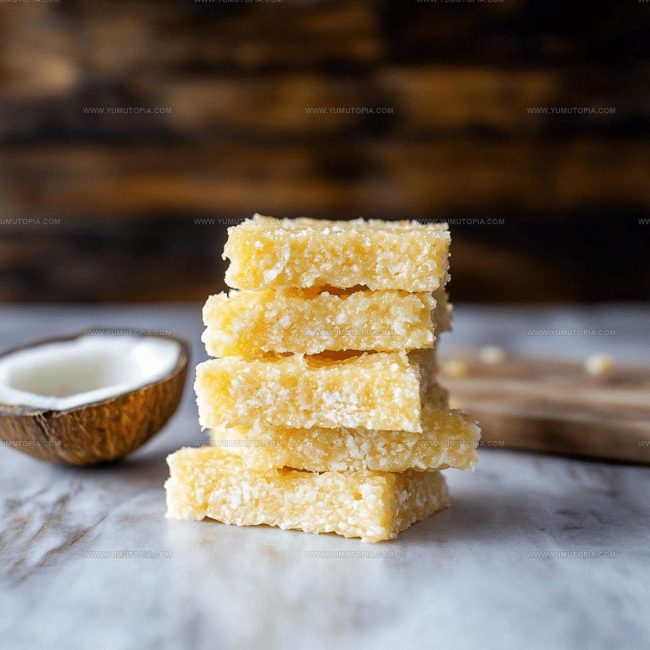
Dessert enthusiasts and snack lovers will appreciate how quickly these bars come together with just three ingredients.
Minimal kitchen skills guarantee successful results, making this recipe perfect for spontaneous sugar cravings.
Prepare to revolutionize your homemade treat game with this ridiculously simple yet spectacular coconut creation.
What Makes Three Ingredient Coconut Bars So Easy
Core Ingredients of 3 Ingredient Coconut Bars
Main Coconut Ingredients:Optional Flavor Enhancers:Optional Toppings:Everyday Kitchen Equipment for Coconut Bars With Three Ingredients
Cooking Method for 3 Ingredient Coconut Bars
Prepare Baking Dish
Grab an 8×8-inch baking pan and line it completely with parchment paper, making sure the paper hangs over the sides for easy removal later. This trick will save you from wrestling with stuck bars.
Transform Coconut
Toss 2 cups of unsweetened shredded coconut into your food processor. Pulse and blend for 12 minutes until the coconut becomes sticky and starts clumping together. Your goal is a slightly damp, clingy texture.
Mix Liquid Ingredients
Get ready to create the magic binding for your bars. Pour these ingredients into the food processor:
Blend everything until the mixture looks smooth and completely combined.
Shape the Bars
Transfer the coconut mixture into your prepared pan. Use a spatula or your hands to press the mixture firmly and evenly across the entire surface. Make sure the top is completely flat and compact.
Chill and Set
Place the pan in the freezer for 20-30 minutes. The bars need to become completely firm and solid before cutting.
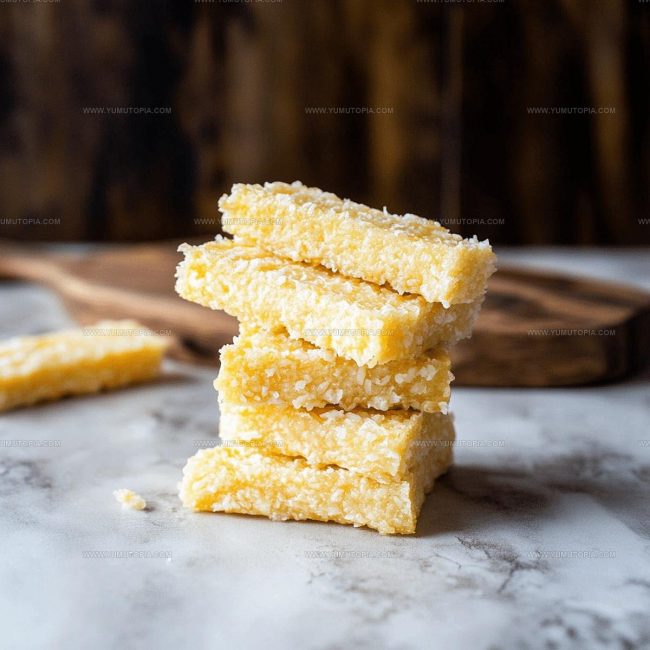
Cut and Serve
Remove the pan from the freezer. Lift the bars out using the parchment paper edges. Slice into rectangles or squares using a sharp knife. These bars are delicious straight from the freezer or after letting them sit at room temperature for a few minutes.
Optional Flavor Boosters:
Sprinkle a pinch of sea salt on top before freezing, or drizzle with sugar-free dark chocolate for extra decadence.
Helpful Cooking Notes For 3 Ingredient Coconut Bars
Easy Variations For 3 Ingredient Coconut Bars
Simple Serving Ideas For Coconut Bars
Smart Storage Tips For Coconut Bars
3 Ingredient Coconut Bars Common Questions
Can I use a different type of sweetener?
Absolutely! Maple syrup, honey, or stevia work great. Just adjust the amount to match your taste preference.
Do I need a food processor to make these bars?
While a food processor helps create a smoother texture, you can use a high-powered blender or mix by hand with some extra elbow grease.
How long will these coconut bars stay fresh?
Store them in an airtight container in the refrigerator, and they’ll be delicious for up to two weeks.
Are these bars dairy-free?
Yes! Coconut oil is a perfect dairy-free alternative that keeps these bars creamy and rich.
Can I add chocolate to this recipe?
Definitely! Drizzle melted dark chocolate on top or mix in cocoa powder for a chocolate twist.
What if my mixture seems too dry?
Simply add a bit more coconut oil or sweetener to help bind the ingredients together smoothly.
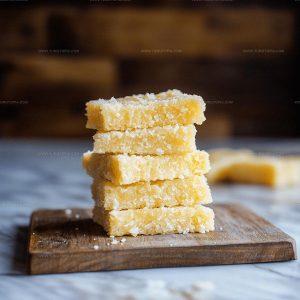
3 Ingredient Coconut Bars Recipe
- Total Time: 32-42 minutes
- Yield: 2 1x
Description
These 3 ingredient coconut bars are super simple to whip up when your sweet tooth calls, and they deliver maximum flavor with minimal effort right in your kitchen.
Ingredients
Main Ingredients:
- 2 cups unsweetened shredded coconut
- ½ cup coconut oil
- ¼ cup keto maple syrup
Supporting Ingredients:
- 1 teaspoon vanilla extract
- 1 pinch sea salt
Optional Garnishes:
- Sugar-free dark chocolate
- Lemon zest
- Cocoa powder
Instructions
- Grab an 8×8-inch baking dish and line the bottom completely with parchment paper, ensuring your edges are smooth and covered.
- Toss the 2 cups of unsweetened shredded coconut into a food processor. Pulse for precisely 12 minutes until the coconut becomes slightly sticky and starts to clump together.
- Pour your ½ cup melted coconut oil and ¼ cup keto maple syrup directly into the food processor. Blend for 30-45 seconds until the mixture looks completely uniform and well incorporated.
- Transfer the coconut mixture into your prepared pan. Use clean hands or a spatula to press the mixture down firmly, creating an absolutely even layer that reaches all corners.
- Place the pan in the freezer for exactly 25 minutes at 0°F, which will help the bars set perfectly and become sliceable.
- Remove from freezer and slice into 8-10 rectangular bars using a sharp knife. Cut with steady, confident strokes to maintain clean edges.
- Store your bars in an airtight container in the refrigerator for up to 10 days, separating layers with parchment paper to prevent sticking.
Notes
- Blend coconut thoroughly to release natural oils and create a sticky, cohesive texture that helps bars hold together perfectly.
- For a lower sugar option, swap traditional sweetener with monk fruit or stevia to keep the recipe diabetes-friendly and low-carb.
- Use fresh, high-quality shredded coconut for the best flavor and ensure your food processor is powerful enough to break down the coconut completely.
- Experiment with optional mix-ins like dark chocolate chips or chopped nuts to add extra crunch and personalize your coconut bars.
- Prep Time: 12 minutes
- Cook Time: 20-30 minutes (freezing time)
- Category: Dessert Bars
- Method: Blending
- Cuisine: American
Nutrition
- Serving Size: 2
- Calories: 540 kcal
- Sugar: 1 g
- Sodium: 50 mg
- Fat: 54 g
- Saturated Fat: 48 g
- Unsaturated Fat: 6 g
- Trans Fat: 0 g
- Carbohydrates: 10 g
- Fiber: 6 g
- Protein: 5 g
- Cholesterol: 0 mg
Logan Lemaster
Founder & Culinary Innovator
Expertise
Recipe Development and Innovation, Menu Design and Optimization, Fine Dining Techniques, Ingredient Pairing and Flavor Science
Education
Metropolitan Culinary Arts Institute
Logan’s culinary journey kicked off in his vibrant Chicago family kitchen, where fresh, seasonal ingredients and bold flavors were always front and center.
After graduating from the Metropolitan Culinary Arts Institute in Arlington, Virginia, and honing his skills in renowned restaurants, Logan mastered the art of blending classic techniques with exciting, modern twists.
His kitchen is a dynamic lab for flavor exploration. Through Yum Utopia, Logan aims to empower you to cook with both confidence and creativity, turning simple ingredients into spectacular meals.