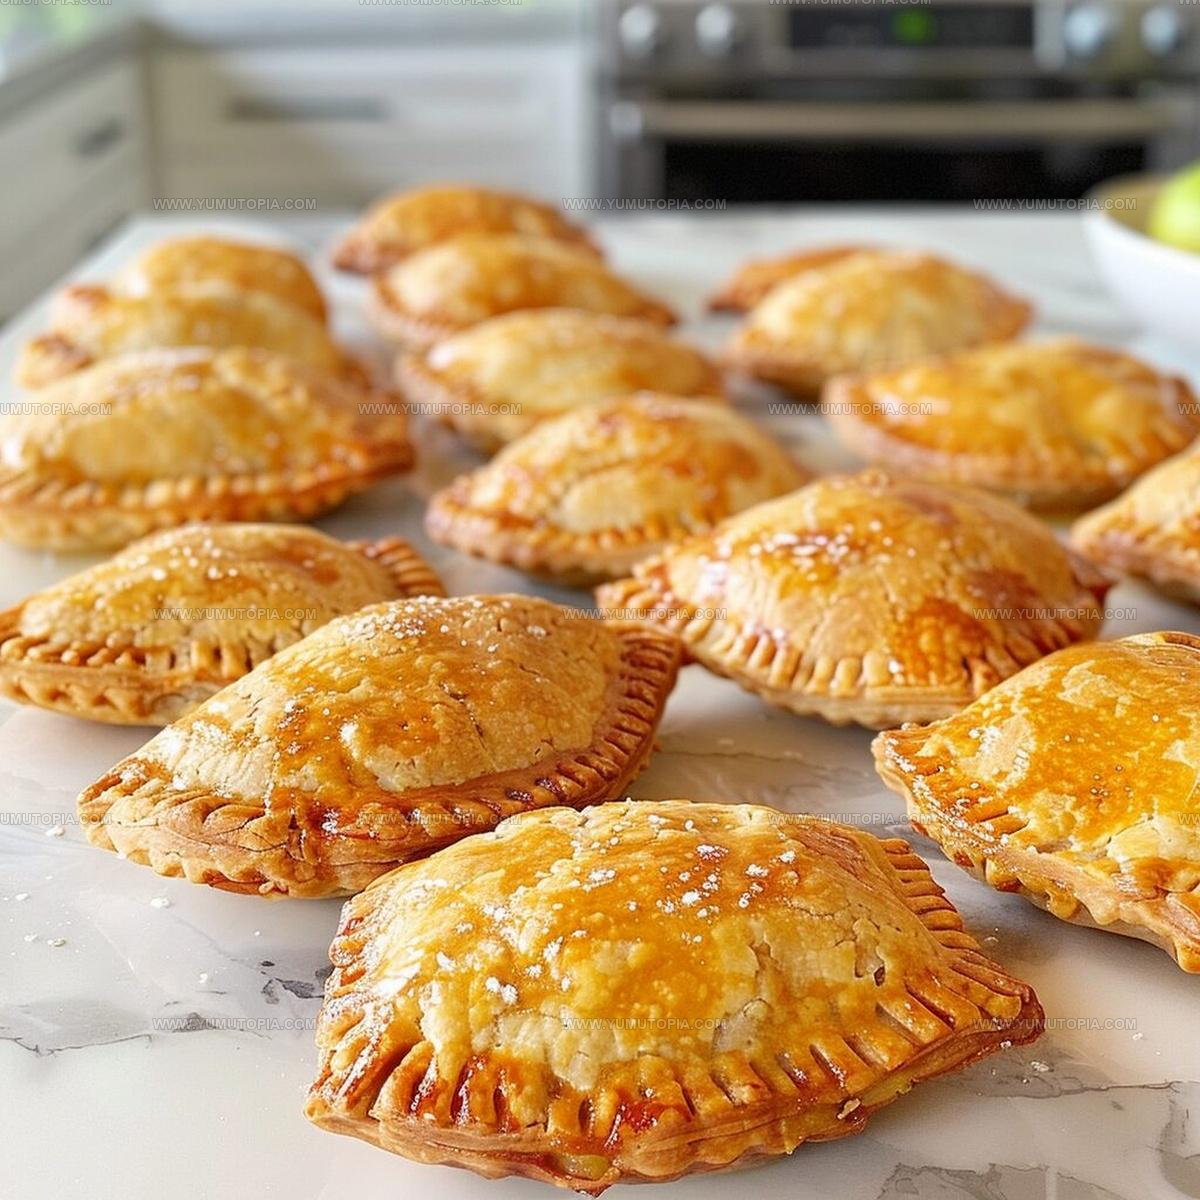
Flaky Apple Hand Pies Recipe to Bake Today
Apple hand pies combine all the warmth and comfort of traditional dessert in a perfectly portable form that feels both special and approachable.
Flaky pastry wrapped around sweet filling creates a treat that works just as well for breakfast as it does for an afternoon snack or after-dinner dessert.
The individual portions mean everyone gets their own golden-brown parcel of goodness, and there’s something satisfying about holding a warm pie fresh from the oven.
Families love having a homemade dessert that feels impressive but doesn’t require fancy equipment or complicated techniques.
These little pockets of sweetness fill the kitchen with an amazing aroma that makes the house smell like a cozy bakery.
Portable and mess-free, they pack beautifully for picnics, lunchboxes, or road trips when you want something homemade along for the journey.
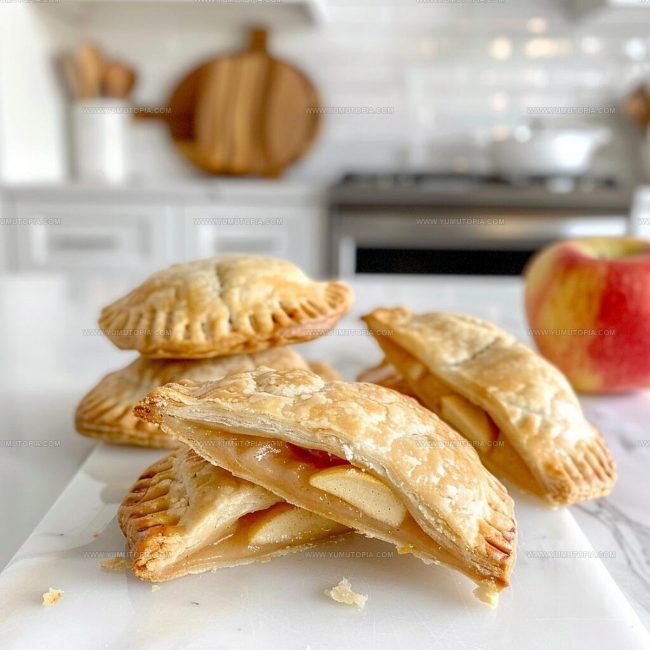
Crispy on the outside and tender on the inside, they hit that perfect balance between rustic charm and delicious satisfaction.
What Makes Apple Hand Pies So Enjoyable
Main Ingredients in Apple Hand Pies
Pie Dough:Pie Filling Ingredients:Thickening Agents:Topping:Kitchen Tools Overview for Apple Hand Pies
How to Prepare Apple Hand Pies
Warm Up the Dough
Pull the pie dough out of the fridge and let it sit on the counter for about 15-20 minutes until it becomes soft and easy to work with.
Create Apple Filling
Melt 2 tablespoons of unsalted butter in a medium saucepan over medium heat. Add these ingredients to the pan:
Cook the mixture for 5-7 minutes until the apples start to soften.
Thicken the Filling
Stir together 1/2 teaspoon cornstarch with 1 tablespoon water, then mix into the apple mixture. Cook for another 1-2 minutes until the sauce thickens slightly. Remove from heat and let cool completely.
Prepare for Baking
Heat your oven to 400°F and line a baking sheet with parchment paper.
Shape the Hand Pies
Unroll the pie dough and use a round cookie cutter or knife to cut out 4-inch circles. You should get about 8-10 circles total.
Fill the Pies
Place half of the dough circles on the prepared baking sheet. Spoon about 1 tablespoon of cooled apple filling into the center of each circle.
Seal the Edges
In a small bowl, beat 1 large egg. Brush the edges of each filled circle with the egg wash. Top with the remaining dough circles.
Crimp and Decorate
Press the edges of each pie with a fork to seal. Cut a small vent on the top of each pie. Brush the tops with remaining egg wash.
Add Cinnamon Sugar
Mix 1/2 cup granulated sugar with 1 teaspoon ground cinnamon. Sprinkle this mixture over the tops of the pies.
Bake to Golden Perfection
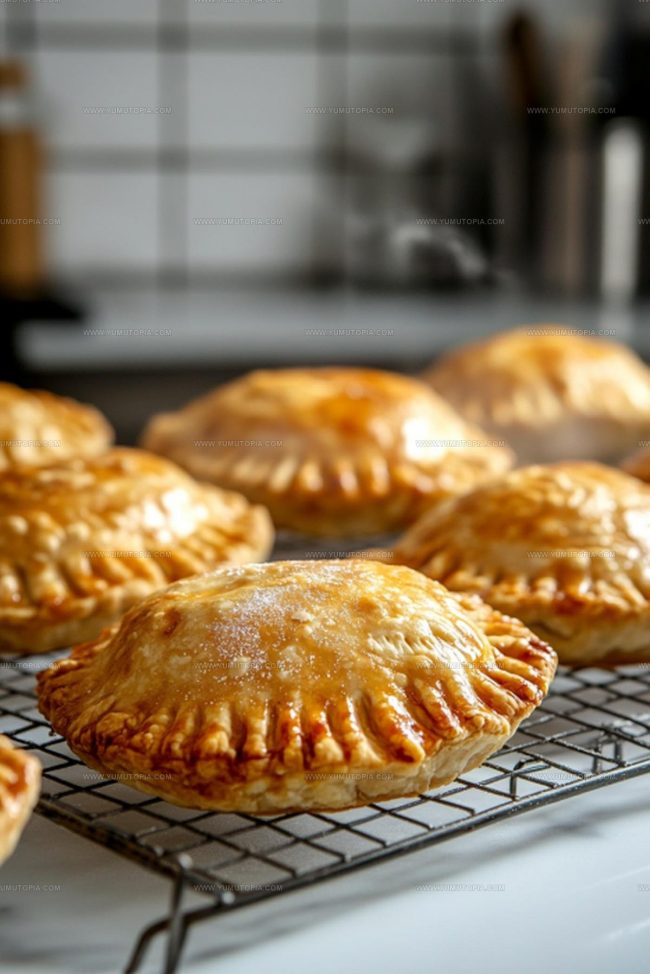
Bake the hand pies for 12-14 minutes, until they turn a beautiful golden brown color.
Cool and Serve
Let the pies rest on the baking sheet for 5 minutes, then transfer to a wire rack to cool completely. Enjoy while they’re still warm!
Notes for Better Results with Apple Hand Pies
Different Takes on Apple Hand Pies
Simple Serving Ideas for Apple Hand Pies
Serving Size: Make small hand pies that perfectly fit your palm – each batch creates about 8 delectable treats perfect for sharing with friends or keeping as personal snacks.
Plating Technique: Arrange these golden apple pies on a rustic wooden board for a charming, homemade presentation that highlights their beautiful shape and golden color.
Flavor Enhancement: Dust these warm hand pies with powdered sugar right before serving to add a delicate sweetness and elegant touch that makes them look professionally prepared.
Temperature Suggestion: Serve these pies slightly warm for the most incredible taste – the filling will be soft and the pastry crisp, creating a wonderful contrast your guests will adore.
Practical Storage Notes For Apple Hand Pies
Apple Hand Pies Answers To Common Questions
Can I make the hand pies ahead of time?
Absolutely! Prepare the hand pies and freeze them unbaked. When ready to serve, pop them directly from the freezer into the oven and add a few extra minutes to the baking time.
What kind of apples work best?
Firm baking apples like Granny Smith, Honeycrisp, or Braeburn are perfect. They hold their shape and provide a nice tartness that balances the sweetness.
How do I prevent the filling from leaking?
Make sure to seal the edges completely with the fork crimp and avoid overfilling. A small amount of egg wash helps create a strong seal between the dough layers.
Can these be made gluten-free?
Swap the regular pie dough for a gluten-free pie crust mix or recipe. The filling ingredients are already naturally gluten-free.
How long will the hand pies stay fresh?
Store cooled hand pies in an airtight container at room temperature for 2-3 days. For longer storage, refrigerate for up to a week.
Are hand pies hard to make?
Not at all! With a little practice, these are simple to assemble. The key is keeping your dough cold and handling it gently.

Apple Hand Pies Recipe
- Total Time: 35 minutes
- Yield: 4 to 6 1x
Description
Warm, flaky Apple Hand Pies bring comfort straight from your kitchen, offering a delightful twist on classic apple pie that fits perfectly in your palm. Grab some crisp apples and buttery pastry to create these portable treats that will make your dessert time feel special and homemade.
Ingredients
Main Ingredients:
- 2 ½ cups finely chopped fuji or honeycrisp apples
- 1 box store bought pie dough
- 1 large egg
Filling Components:
- 2 tablespoons unsalted butter
- ¼ cup light brown sugar
- 1 teaspoon ground cinnamon
- ½ teaspoon cornstarch
- Juice of ½ lemon
Topping:
- ½ cup granulated sugar
- 1 teaspoon ground cinnamon
Instructions
- Remove pie dough from refrigerator, letting it rest at room temperature for 15-20 minutes to become pliable.
- Melt 2 tbsp unsalted butter in a medium saucepan over medium heat for 1-2 minutes.
- Add 2 ½ cups chopped apples, ¼ cup brown sugar, 1 tsp cinnamon, and lemon juice to the pan, stirring frequently for 5-7 minutes until apples soften.
- Whisk ½ tsp cornstarch with 1 tbsp water, then stir into apple mixture to thicken for 1 minute. Remove from heat and let cool completely.
- Preheat your oven to 400°F and line a baking sheet with parchment paper.
- Unfold pie dough and roll gently to smooth any creases, then cut into 3-inch circular shapes using a cookie cutter or glass.
- Arrange half of the dough circles on the prepared baking sheet, leaving 1 inch between each pie base.
- Spoon 1 heaping tablespoon of cooled apple filling into the center of each dough circle.
- Whisk 1 large egg and brush the edges of each pie base with the egg wash.
- Cover each filled base with a second dough circle, pressing edges with a fork to seal completely.
- Brush the top of each hand pie with remaining egg wash.
- Mix ½ cup granulated sugar with 1 tsp cinnamon and sprinkle generously over pie tops.
- Cut a small vent on the top of each pie to allow steam to escape.
- Bake at 400°F for 12-14 minutes until edges turn golden brown and crisp.
- Remove from oven and let cool on the baking sheet for 5 minutes before transferring to a wire rack.
Notes
- Letting pie dough sit at room temperature makes rolling and shaping easier, preventing cracking and tears.
- Cook apple filling slowly to develop deep caramel notes and ensure apples are perfectly tender without becoming mushy.
- Cornstarch helps thicken the filling and prevents soggy bottoms, creating a more stable and delicious hand pie.
- For gluten-free version, swap traditional pie dough with almond flour or gluten-free pastry dough to accommodate dietary needs.
- Prep Time: 20 minutes
- Cook Time: 15 minutes
- Category: Pies
- Method: Baking
- Cuisine: American
Nutrition
- Serving Size: 4 to 6
- Calories: 282 kcal
- Sugar: 25 g
- Sodium: 190 mg
- Fat: 10 g
- Saturated Fat: 4 g
- Unsaturated Fat: 5 g
- Trans Fat: 0.1 g
- Carbohydrates: 43 g
- Fiber: 2 g
- Protein: 3 g
- Cholesterol: 55 mg
Logan Lemaster
Founder & Culinary Innovator
Expertise
Recipe Development and Innovation, Menu Design and Optimization, Fine Dining Techniques, Ingredient Pairing and Flavor Science
Education
Metropolitan Culinary Arts Institute
Logan’s culinary journey kicked off in his vibrant Chicago family kitchen, where fresh, seasonal ingredients and bold flavors were always front and center.
After graduating from the Metropolitan Culinary Arts Institute in Arlington, Virginia, and honing his skills in renowned restaurants, Logan mastered the art of blending classic techniques with exciting, modern twists.
His kitchen is a dynamic lab for flavor exploration. Through Yum Utopia, Logan aims to empower you to cook with both confidence and creativity, turning simple ingredients into spectacular meals.