Homemade Sour Cherry Pie Recipe with Tart Sweet Flavor
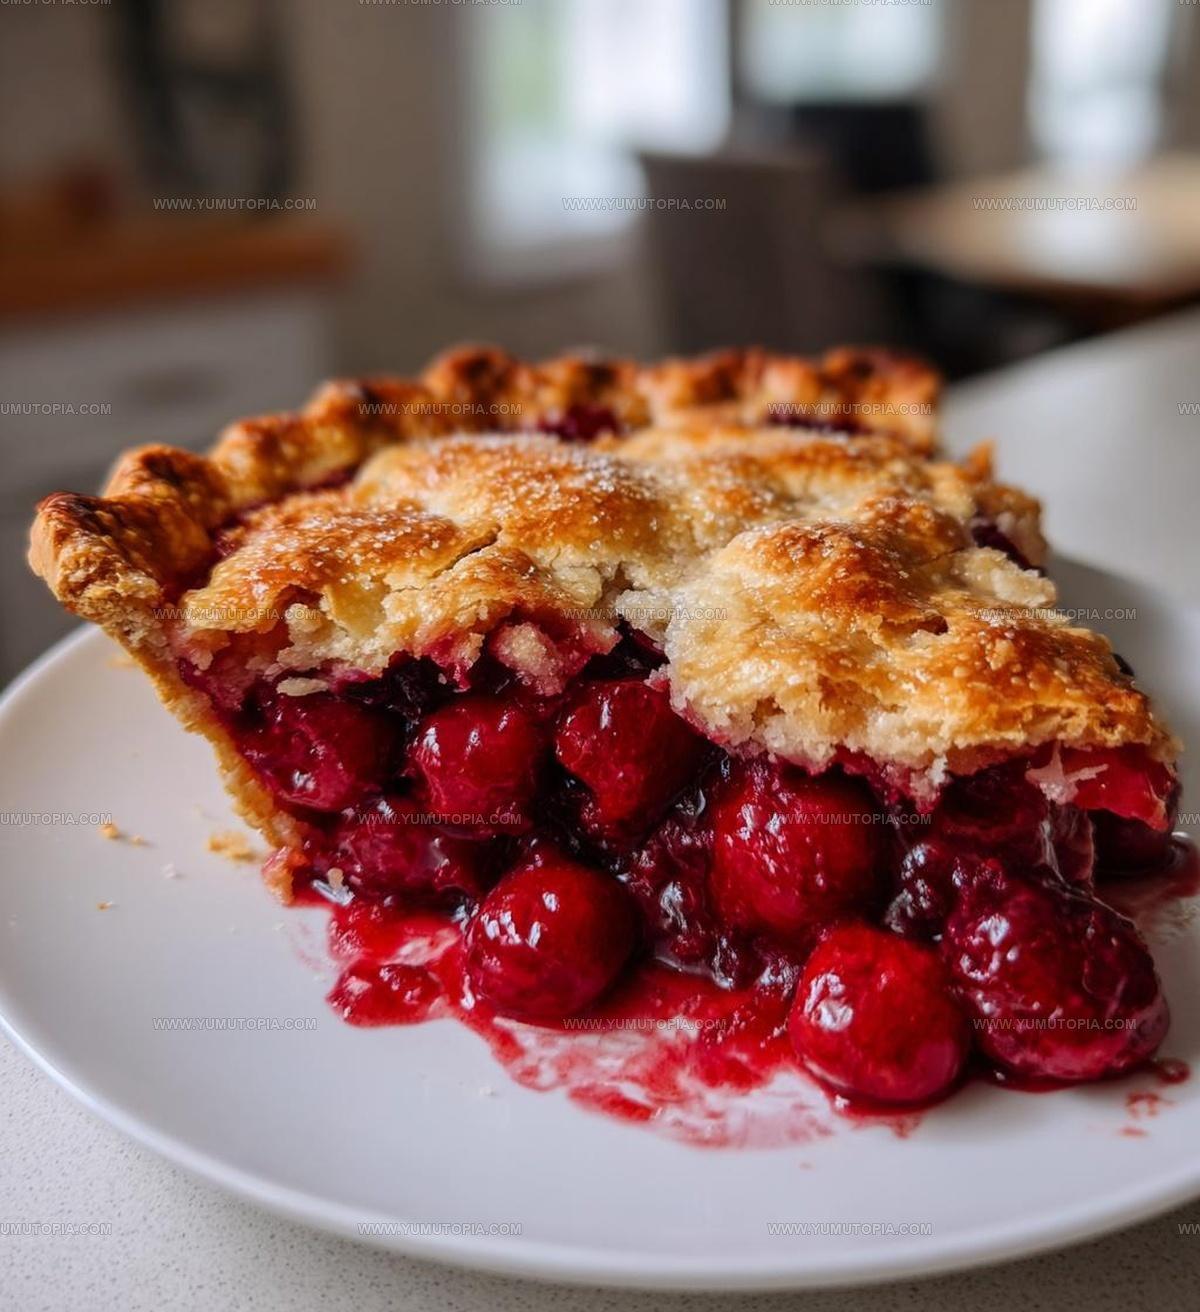
Sour cherry pie ranks among the most beloved summer desserts, celebrated for its perfect balance of sweet and tart flavors wrapped in a flaky crust.
Every bite offers that satisfying contrast between juicy fruit filling and buttery pastry that has made this classic an American favorite for generations.
The bright, bold flavor profile appeals to anyone who appreciates desserts that aren’t overly sweet, offering a refreshing alternative to more traditional options.
Baking this timeless treat fills your home with an aroma that signals warmth, comfort, and the joy of sharing homemade food with people you care about.
Seasonal or preserved fruit works beautifully, making it a year-round possibility that adapts to what you have available.
Serving this at gatherings guarantees compliments, as the stunning ruby color and impressive presentation make it look as incredible as it tastes.
When you want a dessert that feels both nostalgic and special, nothing quite compares to a slice of this classic favorite.
Why the Best Sour Cherry Pie Is So Memorable
Best Sour Cherry Pie Full Ingredient List
Fruit Filling:Finishing Touches:Pastry Base:Full Pie-Baking Tools for Sour Cherry Pie
How to Prepare the Best Sour Cherry Pie
Prep the Oven
Fire up your oven to a toasty 425F. Getting the temperature right helps create that perfect golden crust.
Mix Cherry Filling
Grab a mixing bowl and toss in your fresh ingredients:
Stir everything together until those cherries get a complete sugar and spice coating. The mixture will look glossy and delicious.
Prepare the Pie Shell
Carefully pour your cherry mixture into the pie crust. Make sure you spread it evenly across the bottom.
Add Butter Touches
Take 1 tablespoon of butter and dot small pieces across the top of the filling. These little butter spots help create extra richness.
Top the Pie
If you want a classic look, lay another pie crust on top. Cut a few small slits to let steam escape during baking.
Bake to Perfection
Slide the pie into the preheated oven and bake for 45-50 minutes. Watch for a beautiful golden-brown crust and bubbling filling.
Cool and Serve
Let the pie rest for at least 30 minutes before cutting. This helps the filling set and makes slicing easier.
Which Tips Perfect Sour Cherry Pie
Best Sour Cherry Pie Variations
Best Sour Cherry Pie Serving Ideas
Sour Cherry Pie Storage Tips
Sour Cherry Pie Questions Answered
Can I use frozen cherries instead of fresh?
Frozen cherries work perfectly. Just thaw and drain them before mixing with other ingredients to prevent excess liquid.
How tart will this pie taste?
Sour cherries naturally have a tangy flavor. The added sugar balances the tartness, creating a balanced sweet-sour taste that most people enjoy.
Do I need a special type of pie dish?
Any standard 9-inch pie dish works great. Glass, ceramic, or metal dishes will all help create a delicious golden crust.
Can kids help make this pie?
Absolutely! Children can help mix the cherry filling, arrange the lattice top, or brush the crust with egg wash for a golden finish.
What if my cherries are extra juicy?
Add an extra tablespoon of cornstarch to help thicken the filling and prevent a runny pie.
How do I prevent a soggy bottom crust?
Brush the bottom crust with egg white before adding the filling. This creates a protective barrier that keeps the crust crisp.

Best Sour Cherry Pie Recipe
- Total Time: 55 minutes – 1 hour
- Yield: 8 1x
Description
Sour cherry pie brings memories of grandma’s kitchen, where summer flavors dance across a flaky, golden crust. Tart cherries nestled in a buttery embrace will make your dessert table shine with pure homemade comfort.
Ingredients
Fruit:
- 2 cups sour cherries, pitted
Sweeteners and Thickeners:
- 1 cup granulated sugar
- 2 tablespoons cornstarch
Flavor Enhancers and Extras:
- 1 tablespoon lemon juice
- 1 teaspoon vanilla extract
- 1 tablespoon butter
- 1 pie crust
Instructions
- Crank your oven to a scorching 425F to create the perfect baking environment for your pie.
- Grab a mixing bowl and toss in 2 cups of pitted sour cherries, ensuring no stems remain.
- Sprinkle 1 cup of granulated sugar over the cherries to enhance their natural tartness.
- Dust 2 tablespoons of cornstarch into the bowl to help thicken your filling beautifully.
- Squeeze 1 tablespoon of fresh lemon juice to brighten the cherry flavors and add a tangy note.
- Pour 1 teaspoon of vanilla extract into the mixture, stirring gently to coat every cherry evenly.
- Transfer the vibrant cherry mixture directly into your prepared pie crust, spreading it smoothly.
- Take 1 tablespoon of cold butter and dot small pieces across the top of the filling.
- If desired, cover the pie with a second crust or create an elegant lattice design.
- Slide the pie into the preheated oven and bake for exactly 45-50 minutes until the crust turns golden brown.
- Remove your pie and let it rest for at least 30 minutes, allowing the filling to set and flavors to meld.
Notes
- Fresh sour cherries make the biggest difference in flavor, but frozen work well if pitted carefully.
- Always let the pie cool completely to help the filling set and prevent a runny texture.
- Brush the top crust with egg wash for a beautiful golden shine and extra crispness.
- Sprinkle a bit of raw sugar on the crust before baking to add a delightful crunch and subtle sweetness.
- Prep Time: 10 minutes
- Cook Time: 45-50 minutes
- Category: Pies
- Method: Baking
- Cuisine: American
Nutrition
- Serving Size: 8
- Calories: 255 kcal
- Sugar: 30 g
- Sodium: 150 mg
- Fat: 11 g
- Saturated Fat: 5 g
- Unsaturated Fat: 4 g
- Trans Fat: 0.3 g
- Carbohydrates: 38 g
- Fiber: 2 g
- Protein: 2 g
- Cholesterol: 15 mg
Madison Wyman
Recipe Developer & Food Storyteller
Expertise
Recipe Research and Adaptation, Food Writing and Cultural Storytelling, Sustainable and Ethical Sourcing, Dietary Adaptations (e.g., gluten-free, plant-based)
Education
Oregon Health & Science University
Portland Community College
Madison’s passion for flavor and culture ignited amidst the rich Southern cooking traditions of her upbringing, where cherished family recipes told delicious tales.
Armed with a Master’s in Food Systems and Society from Oregon Health & Science University and a Culinary Arts Certificate from Portland Community College, Madison truly excels at transforming rich, intricate flavors into dishes that are both approachable and heartfelt.
For her, cooking is a vibrant blend of science, art, and heritage – a powerful way to connect us to our roots and each other. Her recipes invite you to delve deeper, uncovering the fascinating stories woven into every ingredient.