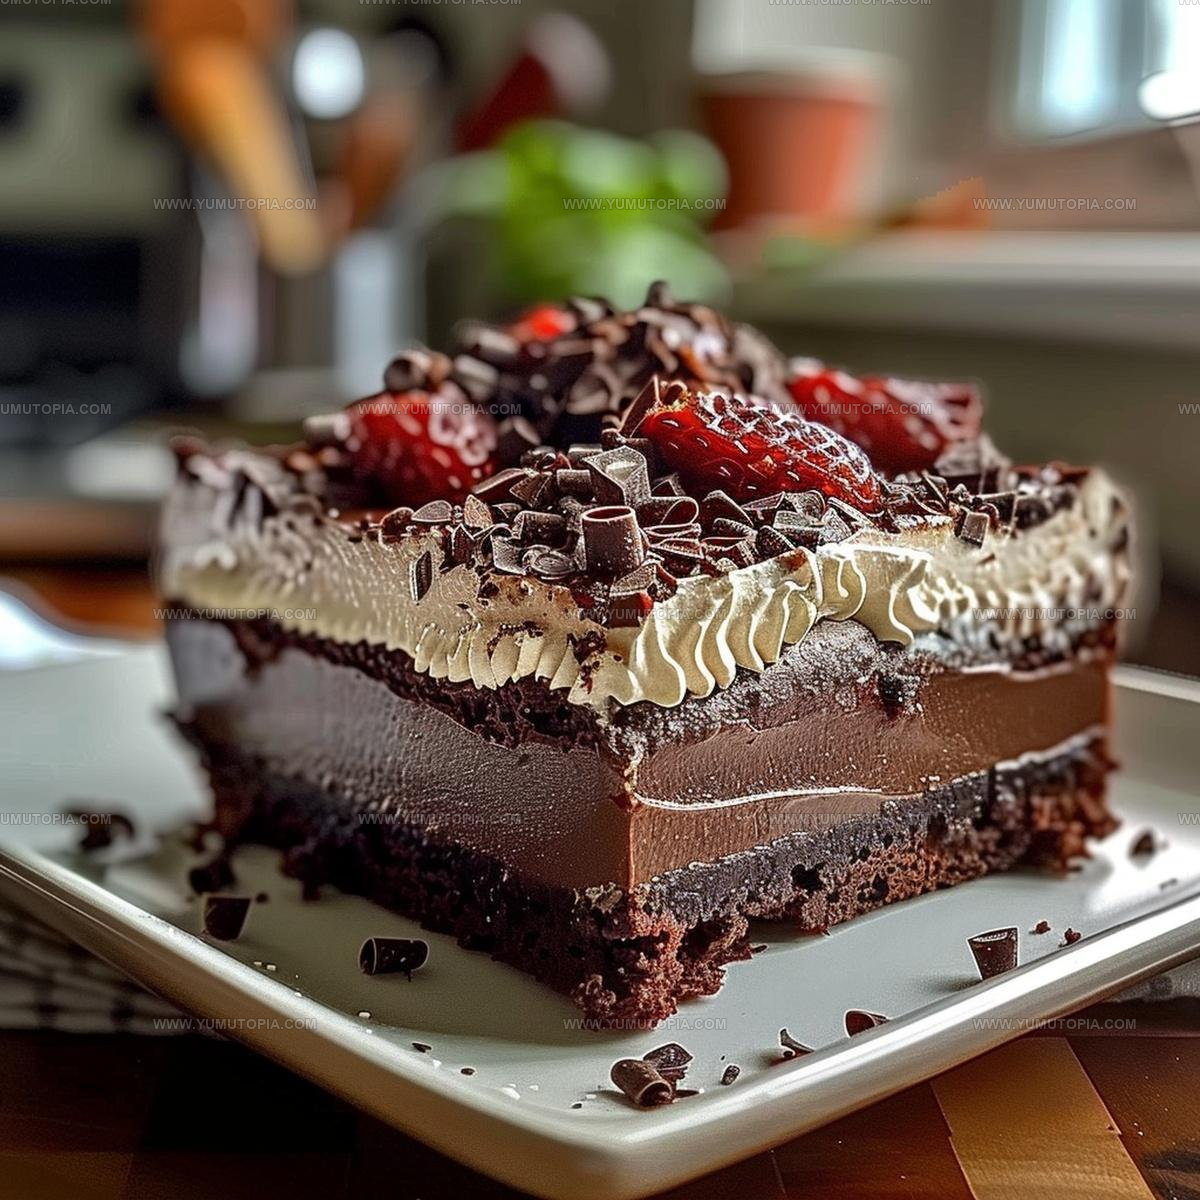
Brownie Refrigerator Cake Recipe That Layers Sweet Indulgence
Brownie Refrigerator Cake is a chocolate lover’s dream that requires no oven and gives pure indulgence with minimal effort.
This dessert shines at potlucks, celebrations, or whenever a sweet craving strikes.
The beauty lies in its simplicity – layers of rich flavor come together while chilling, making it perfect for busy schedules.
Everyone around the table will ask for seconds, and you can proudly share that it took just minutes to assemble.
The make-ahead nature means less stress when hosting and more time enjoying company.
Cool, creamy, and utterly satisfying, this treat works year-round but especially during warmer months.
Chocolate-Lover Reasons to Love Brownie Refrigerator Cake
What Makes Brownie Refrigerator Cake Come Together
Base Layer Ingredients:Cream Layer Ingredients:Finishing Ingredients:Equipment for a Brownie Refrigerator Cake
Layering Guide for a Chilled Chocolate Refrigerator Cake
Prepare Oven and Pan
Warm up the oven to exactly 350°F (175°C). Grab an 8×8-inch baking pan and coat it thoroughly with cooking spray or butter so your brownies won’t stick.
Mix Brownie Base
Grab a mixing bowl and combine your brownie ingredients carefully:
Stir everything until the mixture looks smooth and there are no dry patches.
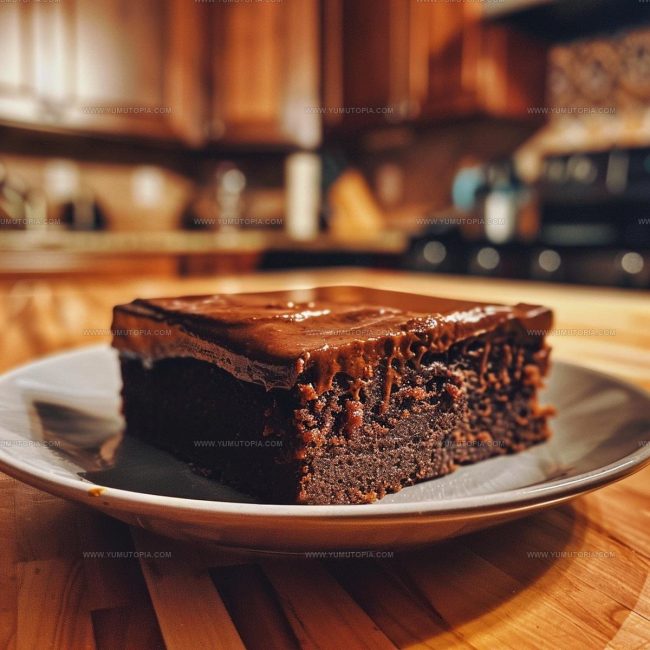
Bake the Brownie Layer
Pour the brownie batter into your prepared pan, spreading it evenly with a spatula. Slide the pan into the preheated oven and bake for 22-25 minutes. Check doneness by inserting a toothpick – it should come out with just a few moist crumbs.
Cool the Brownie Base
Remove the pan from the oven and let the brownies cool completely on a wire rack. This takes about 45-60 minutes, so be patient.
Prepare Creamy Frosting
In a clean mixing bowl, blend these ingredients until super smooth:
Gently fold in 8 oz (226 g) whipped topping until everything looks light and fluffy.
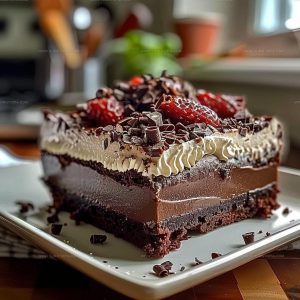
Layer and Frost
Spread half the creamy frosting over the cooled brownie base. If you want extra decadence, crumble some brownie pieces on top before adding the remaining frosting.
Chill and Finish
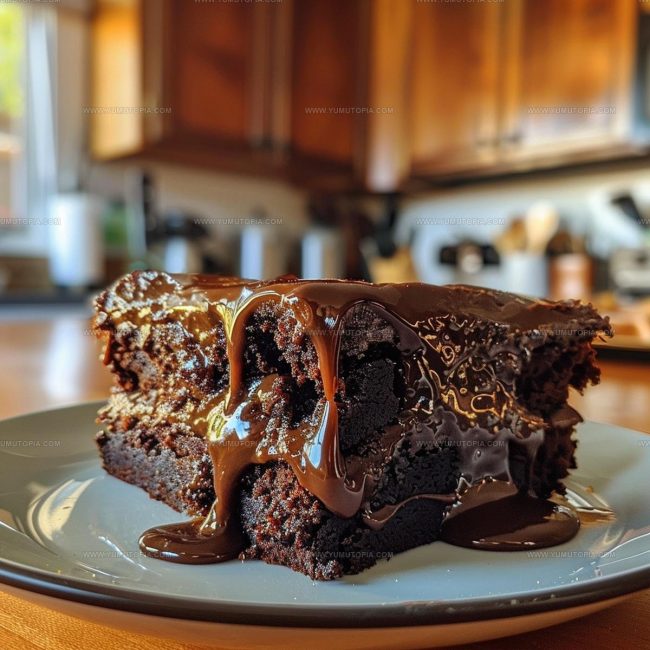
Cover the pan with plastic wrap and slide it into the refrigerator. Let it chill for at least 2 hours so the flavors blend perfectly. Before serving, dust the top with 1/4 cup (25 g) unsweetened cocoa powder or sprinkle some chocolate shavings for a gorgeous finish.
Assembly Tips for Brownie Refrigerator Cake
Flavor Twists for Brownie Refrigerator Cake
How to Serve Brownie Refrigerator Cake
How to Store Brownie Refrigerator Cake
Brownie Refrigerator Cake: What Bakers Want to Know
Can I use a different brand of brownie mix?
Absolutely! Most brownie mixes work perfectly. Just follow the package instructions for mixing and keep an eye on baking time.
How do I know if my brownies are fully baked?
The toothpick test is your best friend. When you insert it into the center, it should come out with just a few moist crumbs, not wet batter.
What if my cream cheese is too cold?
Let the cream cheese sit at room temperature for about 30 minutes. This helps create a smoother, easier-to-mix frosting that blends perfectly.
Can I make this dessert ahead of time?
Definitely! This cake actually tastes better after chilling overnight. The flavors meld together, making each bite more delicious.
Is there a way to make the dessert lighter?
Sure! Use low-fat cream cheese and light whipped topping. The texture and taste will remain delightful.
Brownie Refrigerator Cake Recipe
- Total Time: Approximately 2 hours 40 minutes
- Yield: 9 1x
Description
Brownie Refrigerator Cake brings together rich chocolate layers that melt together perfectly. Creamy and cool, this dessert will make your friends and family smile with pure chocolatey happiness.
Ingredients
Primary Ingredients:
- 1 box brownie mix (18.4 oz / 520 g)
- 2 large eggs
- 8 oz (226 g) cream cheese, softened
- 1 cup (240 ml) powdered sugar
Supporting Ingredients:
- ½ cup (113 g) unsalted butter, melted
- 8 oz (226 g) whipped topping (non-dairy)
Garnish Ingredients:
- ¼ cup (30 g) unsweetened cocoa powder
- Optional: chocolate shavings or sprinkles
Instructions
- Prepare your oven to 350°F (175°C). Thoroughly coat an 8×8-inch baking pan with cooking spray or butter.
- Combine 18.4 oz brownie mix, 2 large eggs, and ½ cup melted butter in a mixing bowl. Stir until ingredients blend completely.
- Transfer batter to the prepared pan, spreading mixture evenly across the surface with a spatula.
- Slide pan into preheated oven. Bake precisely 20-25 minutes until a toothpick inserted emerges clean.
- Remove brownies and let them cool entirely at room temperature for approximately 45-60 minutes.
- Using an electric mixer, blend 8 oz softened cream cheese with 1 cup powdered sugar until silky smooth.
- Gently incorporate 8 oz whipped topping into the cream cheese mixture, folding carefully to maintain volume.
- Once brownies have cooled completely, spread half the cream cheese mixture across the surface evenly.
- Optional: Crumble additional brownie pieces over the first cream cheese layer.
- Cover the top with remaining cream cheese mixture, creating a smooth finish.
- Wrap the entire pan securely with plastic wrap. Chill in refrigerator for minimum 2 hours.
- Before serving, dust top with ¼ cup unsweetened cocoa powder and optional chocolate shavings.
Notes
- Let the brownies cool completely before adding frosting, or it will melt and become runny.
- For a richer dessert, use full-fat cream cheese and real whipped cream instead of whipped topping.
- Experiment with different brownie mix flavors like salted caramel or dark chocolate to change up the taste.
- If avoiding gluten, swap regular brownie mix for a gluten-free version and the dessert becomes celiac-friendly.
- Prep Time: 15 minutes
- Cook Time: 20-25 minutes
- Category: Cakes
- Method: Baking
- Cuisine: American
Nutrition
- Serving Size: 9
- Calories: 283 kcal
- Sugar: 25 g
- Sodium: 180 mg
- Fat: 18 g
- Saturated Fat: 9 g
- Unsaturated Fat: 8 g
- Trans Fat: 0.5 g
- Carbohydrates: 32 g
- Fiber: 2 g
- Protein: 4 g
- Cholesterol: 50 mg
Madison Wyman
Recipe Developer & Food Storyteller
Expertise
Recipe Research and Adaptation, Food Writing and Cultural Storytelling, Sustainable and Ethical Sourcing, Dietary Adaptations (e.g., gluten-free, plant-based)
Education
Oregon Health & Science University
Portland Community College
Madison’s passion for flavor and culture ignited amidst the rich Southern cooking traditions of her upbringing, where cherished family recipes told delicious tales.
Armed with a Master’s in Food Systems and Society from Oregon Health & Science University and a Culinary Arts Certificate from Portland Community College, Madison truly excels at transforming rich, intricate flavors into dishes that are both approachable and heartfelt.
For her, cooking is a vibrant blend of science, art, and heritage – a powerful way to connect us to our roots and each other. Her recipes invite you to delve deeper, uncovering the fascinating stories woven into every ingredient.