
Butterfinger Cookie Bars Recipe To Share Anytime
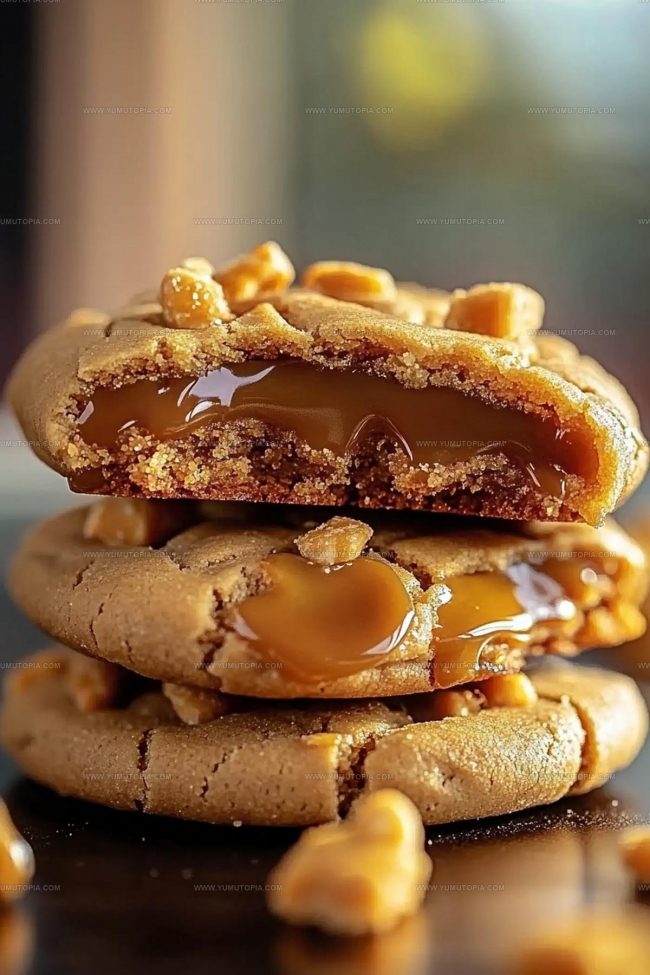
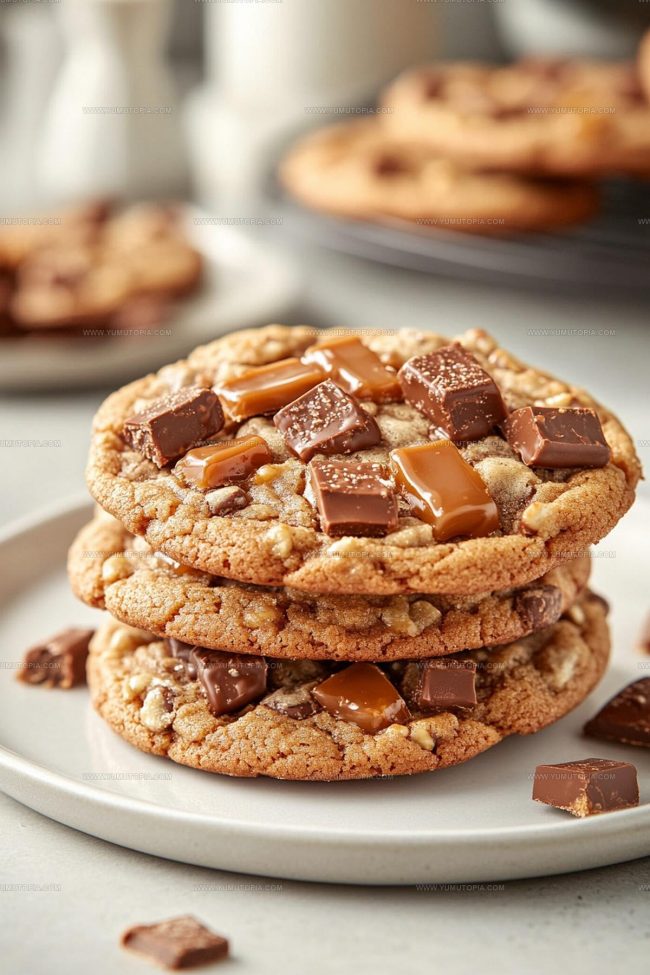
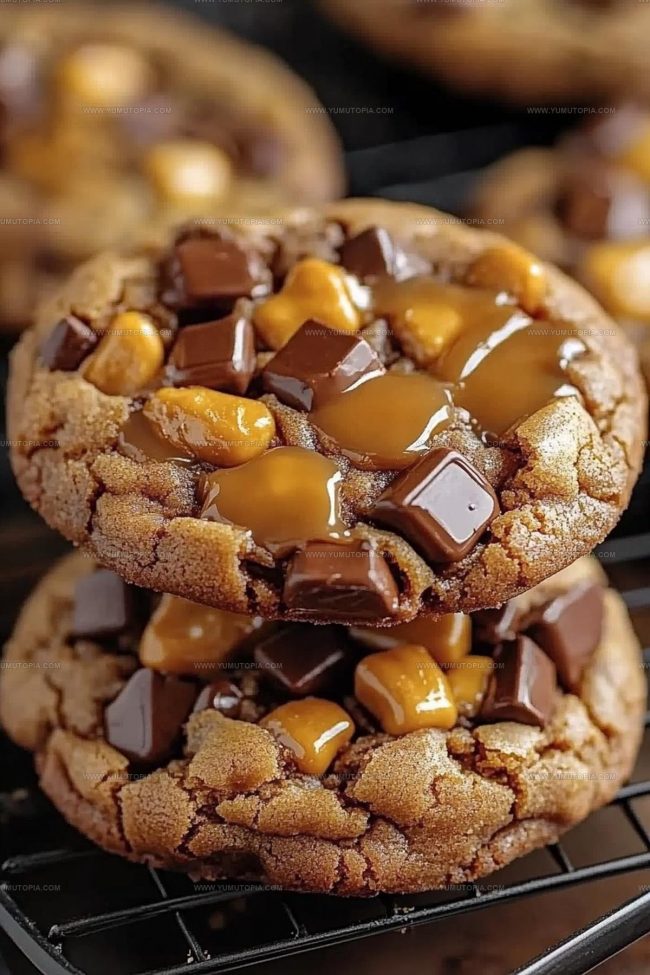
Butterfinger bliss cookies deliver pure joy in every bite, combining rich chocolate notes with that unmistakable crackly peanut butter candy everyone loves.
These treats strike the perfect balance between chewy centers and slightly crisp edges that make them disappearing fast from any cookie jar.
Whether you need something special for gatherings or simply want to satisfy a serious sweet tooth, this recipe fits the bill beautifully.
The flavor profile appeals to candy lovers and cookie enthusiasts alike, creating a dessert that feels both nostalgic and exciting.
Each cookie offers multiple textures and tastes that work together in perfect harmony.
This is comfort baking at its finest, giving you results that look bakery-beautiful but come together surprisingly easily.
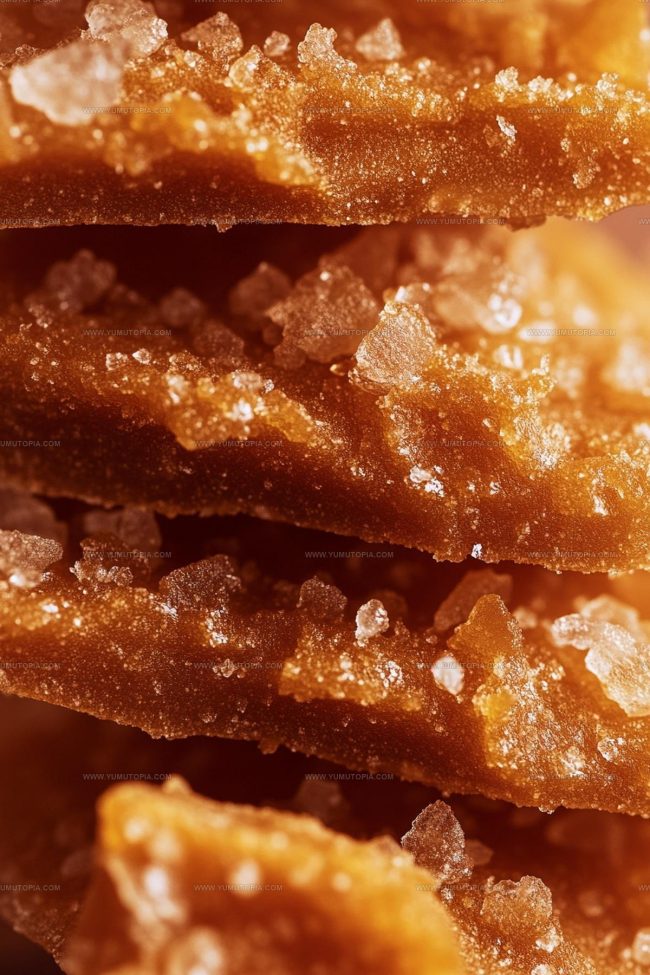
Why Butterfinger Cookies Stay Crunchy
What Goes Into Butterfinger Cookies
Flour Mixture:Sweetening Agents:Binding and Flavor Ingredients:Signature Ingredient:Baking Tools For Irresistible Butterfinger Cookies
How to Make Butterfinger Cookies
Warm Up the Oven
Set your oven to exactly 350°F (175°C). Grab a baking sheet and line it with parchment paper so nothing sticks.
Prepare Dry Ingredients
Grab a medium bowl and mix together the dry ingredients carefully:
Whisk these together until they’re nicely combined.
Create Creamy Base
Grab a large mixing bowl and get ready to make something delicious. Cream together these ingredients until they’re super smooth:
Beat these until they look light and fluffy.
Add Moisture
Crack in one large egg and pour in the vanilla extract. Mix everything until it’s perfectly blended.
Combine Mixtures
Slowly add your flour mixture into the wet ingredients. Stir gently until everything just comes together – don’t overmix!
Candy Crush Time
Sprinkle in the crushed Butterfinger pieces:
Fold these gently into the dough so they’re evenly distributed.
Shape and Bake
Scoop out tablespoon-sized balls of dough and place them 2 inches apart on your prepared baking sheet. Pop the sheet into the 350°F oven for 10-12 minutes. Look for edges that are just turning golden.
Cool Down
Let the cookies rest on the baking sheet for 5 minutes. Then transfer them to a wire rack to cool completely. Watch out – they’ll be super tempting!
Baking Tips for Candy-Stuffed Cookies
Flavor Switches for Butterfinger Treats
How Butterfinger Cookies Are Enjoyed
Best Way to Store Candy Cookies
Butterfinger Cookie Questions for Sweet Fans
Can I use other candy bars instead of Butterfinger?
Absolutely! Chopped candy bars like Heath, Crunch, or Snickers work great. Just make sure to chop them into small pieces so they distribute evenly in your cookie dough.
Do I need special equipment to crush the Butterfinger?
No special tools needed. Place the candy bars in a sealed plastic bag and crush them with a rolling pin or the back of a spoon. This helps create perfect bite-sized pieces for your cookies.
How do I know when the cookies are done baking?
Look for lightly golden edges. The centers might seem slightly soft, but they’ll firm up as they cool. Resist the urge to overbake – soft centers mean tender cookies.
Can I make the dough ahead of time?
Definitely! Prepare the dough, wrap it tightly in plastic wrap, and refrigerate for up to 3 days. When ready to bake, let the dough sit at room temperature for 15 minutes before scooping.
What if my dough seems too sticky?
Add an extra tablespoon of flour. Mix gently until the dough feels less tacky and easier to handle. The consistency should be soft but not wet.

Butterfinger Cookie Bars Recipe
- Total Time: 25-27 minutes
- Yield: 24 1x
Description
Butterfinger Bliss Cookies blend crumbly candy bars with classic chocolate chip cookie magic, creating a sweet treat that makes taste buds dance with pure delight. Crushed candy pieces tucked into rich dough guarantee a crunchy, chocolate-packed bite that brings pure happiness to your dessert plate.
Ingredients
Main Ingredients:
- 1 ¼ cups crushed Butterfinger candy bars
- 1 ¾ cups all-purpose flour
- ½ cup unsalted butter, softened
Sweet Ingredients:
- ½ cup granulated sugar
- ½ cup brown sugar, packed
- 1 large egg
- 1 teaspoon vanilla extract
Leavening and Seasoning:
- ½ teaspoon baking soda
- ½ teaspoon salt
Instructions
- Warm your oven to precisely 350°F (175°C) and cover a baking sheet with parchment paper, ensuring complete surface coverage.
- Grab a medium bowl and whisk 1 ¾ cups all-purpose flour, ½ teaspoon baking soda, and ½ teaspoon salt until thoroughly combined.
- In a separate large bowl, cream ½ cup softened unsalted butter with ½ cup granulated sugar and ½ cup packed brown sugar until the mixture looks light and fluffy.
- Crack 1 large egg into the butter mixture and pour in 1 teaspoon vanilla extract, beating until the ingredients are perfectly blended.
- Slowly incorporate the dry flour mixture into the wet ingredients, stirring gently until just combined – don’t overmix your dough.
- Crush 1 ¼ cups Butterfinger candy bars into small pieces, then carefully fold them into the cookie dough.
- Using a tablespoon, drop rounded dough balls onto your prepared baking sheet, spacing each cookie 2 inches apart.
- Slide the baking sheet into the preheated oven and bake for exactly 10-12 minutes, watching for lightly golden edges.
- Remove the cookies and let them rest on the baking sheet for 5 minutes to set their structure.
- Transfer the cookies to a wire cooling rack, allowing them to reach room temperature completely before serving.
Notes
- Crush Butterfinger bars into small, uneven pieces for maximum flavor distribution and texture variation in every cookie bite.
- Refrigerate the dough for 30 minutes before baking to prevent excessive spreading and help maintain the cookies’ shape.
- For a gluten-free version, swap the all-purpose flour with a high-quality gluten-free baking blend that includes xanthan gum.
- Store cookies in an airtight container at room temperature for up to 5 days, separating layers with parchment paper to prevent sticking.
- Prep Time: 15 minutes
- Cook Time: 10-12 minutes
- Category: Dessert Bars
- Method: Baking
- Cuisine: American
Nutrition
- Serving Size: 24
- Calories: 183 kcal
- Sugar: 13 g
- Sodium: 81 mg
- Fat: 9 g
- Saturated Fat: 5 g
- Unsaturated Fat: 3.5 g
- Trans Fat: 0.1 g
- Carbohydrates: 23 g
- Fiber: 0.6 g
- Protein: 2.3 g
- Cholesterol: 22 mg
Logan Lemaster
Founder & Culinary Innovator
Expertise
Recipe Development and Innovation, Menu Design and Optimization, Fine Dining Techniques, Ingredient Pairing and Flavor Science
Education
Metropolitan Culinary Arts Institute
Logan’s culinary journey kicked off in his vibrant Chicago family kitchen, where fresh, seasonal ingredients and bold flavors were always front and center.
After graduating from the Metropolitan Culinary Arts Institute in Arlington, Virginia, and honing his skills in renowned restaurants, Logan mastered the art of blending classic techniques with exciting, modern twists.
His kitchen is a dynamic lab for flavor exploration. Through Yum Utopia, Logan aims to empower you to cook with both confidence and creativity, turning simple ingredients into spectacular meals.