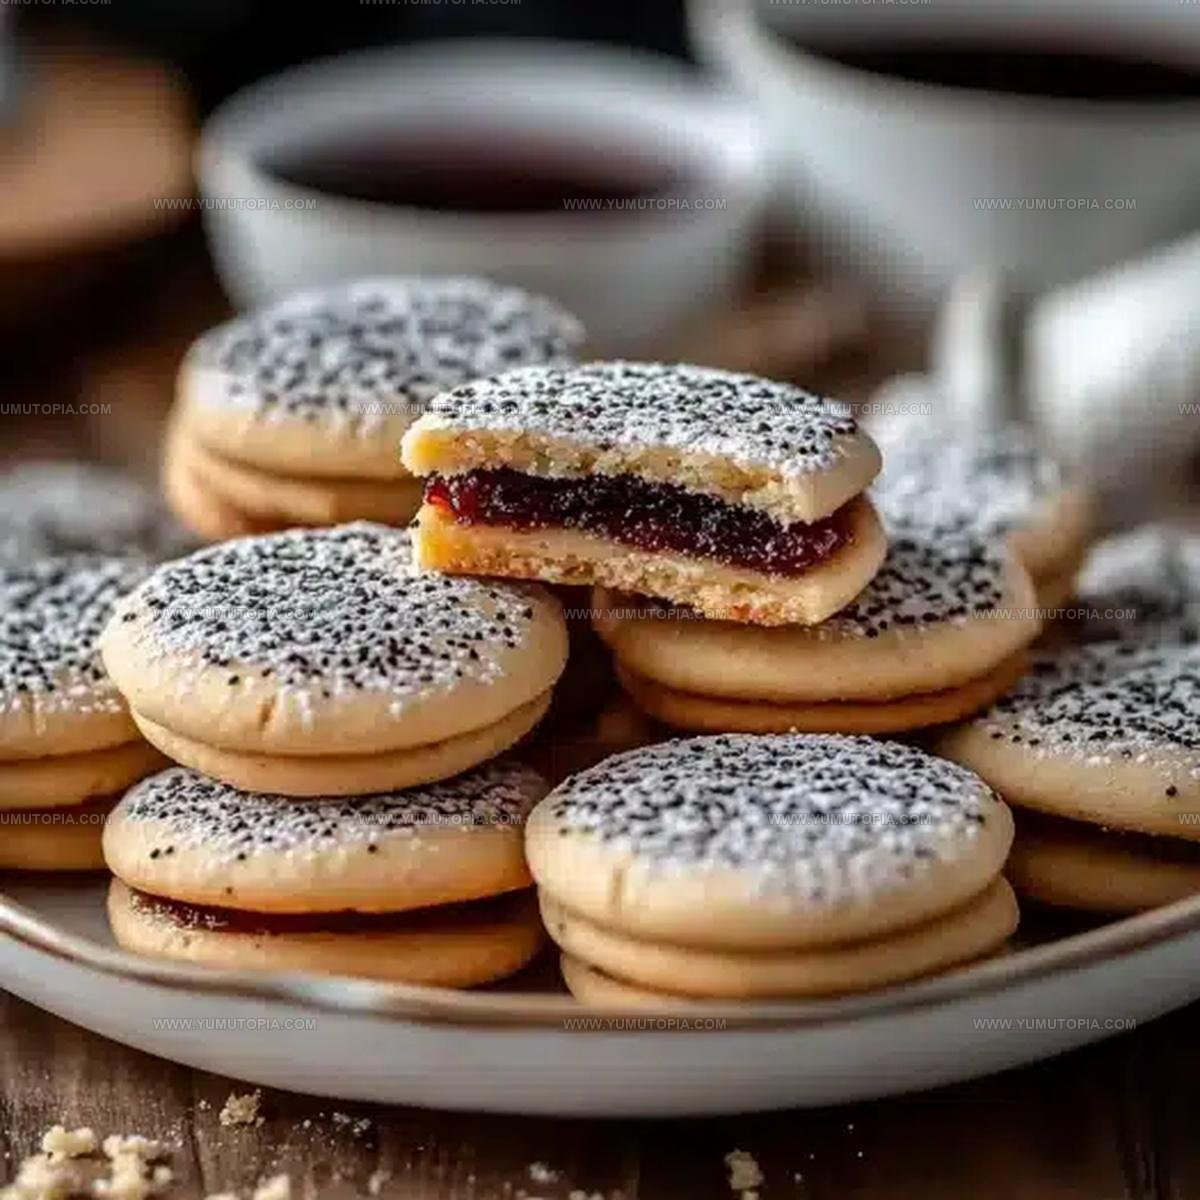
Buttery Russian Tea Cakes Recipe for Sweet Celebrations
Buttery Russian Tea Cakes Recipe make any occasion feel special with their melt-in-your-mouth texture and delicate sweetness.
These festive treats have been beloved at holiday gatherings and celebrations for generations, though they taste wonderful any time of year.
The cookies are known by many names around the world, but their appeal remains universal – tender, nutty, and dusted with snowy sweetness.
What makes them so popular is how fancy they look while being surprisingly approachable to bake at home.
Every mouthful dissolves on the tongue, leaving behind a subtle richness that keeps you reaching for just one more.
People love serving them at parties because they’re elegant without being fussy.
A Powdered-Sugar Snowfall of Butter in These Classic Russian Tea Cakes
Buttery Fats, Toasted Nuts, and Snowy Powdered Sweeteners
Batch Baking Hardware And Cooling Gear For Russian Tea Cakes
Ways to Perfect the Tender Center of Russian Tea Cakes
Prepare Oven and Pan
Warm up your oven to exactly 350°F (175°C). Line a baking sheet with parchment paper so your cookies won’t stick.
Mix Butter and Sugar
Grab your mixer and cream 1 cup (226 g) softened unsalted butter with 1/2 cup (60 g) powdered sugar until the mixture looks light and fluffy. Splash in 1 teaspoon vanilla extract and mix until everything blends smoothly.
Add Dry Ingredients
Slowly fold in 2 1/4 cups (280 g) all-purpose flour and 1/4 teaspoon salt. Keep stirring until your dough feels soft and comes together nicely.
Incorporate Nuts
Time to add some crunch! Mix in your chopped nuts carefully:
If your dough seems too soft, pop it in the refrigerator for 15 minutes to firm up.
Form Cookie Balls
Roll out tablespoon-sized balls of dough. Place them about 1 inch apart on your prepared baking sheet.
Bake the Cookies
Slide the sheet into your preheated 350°F (175°C) oven. Bake for 12-15 minutes until the bottoms turn a light golden color while the tops stay pale.
First Sugar Coating
After pulling the cookies from the oven, let them cool for 5 minutes. While they’re still warm, roll each cookie in powdered sugar.
Final Sugar Dusting
Once the cookies cool completely, give them another generous roll in powdered sugar. This creates that classic snowy look everyone loves.
Buttery Essentials: Secrets to a Melt-in-Your-Mouth Russian Tea Cake
Cocoa or Coffee Adaptations for Russian Tea Cakes
Buttery Cookie Service For Russian Tea Cakes
Buttery Cookie Longevity Variations For Tea Cakes
Russian Tea Cakes Q&A for Traditional Cookies
Why are these called Russian Tea Cakes?
Despite the name, these cookies actually originated in European and Mexican traditions, not Russia. They’re simply called Russian Tea Cakes because of their delicate, powder-covered appearance.
Can pecans be replaced with other nuts?
Absolutely! Walnuts work perfectly, and some bakers love using almonds. Choose whatever nut you prefer or have in your pantry.
How fine should nuts be chopped?
Aim for small, uniform pieces about the size of coarse breadcrumbs. This helps the nuts distribute evenly and prevents large chunks from breaking the cookie’s delicate texture.
Why do we roll the cookies in powdered sugar twice?
The first coating creates a light layer while the cookies are warm. The second coating after cooling ensures a thick, even snow-like dusting that looks beautiful and adds extra sweetness.
How do these cookies get their signature melt-in-your-mouth texture?
The high butter content and powdered sugar create a crumbly, tender cookie that practically dissolves on your tongue. Creaming butter and sugar thoroughly helps achieve this perfect texture.
Can the dough be made ahead of time?
Yes! Refrigerate the dough for up to 24 hours before baking. This can help develop richer flavors and make the dough easier to handle during shaping.

Buttery Russian Tea Cakes Recipe
- Total Time: 27-30 minutes
- Yield: 24 1x
Description
Russian Tea Cakes bring pure comfort straight from grandma’s kitchen to your holiday table. Buttery, melt-in-your-mouth cookie balls rolled in powdered sugar create sweet nostalgia that connects generations of baking memories.
Ingredients
Main Ingredients:
- 2.25 cups (280 g) all-purpose flour
- 1 cup (226 g) unsalted butter, softened
- ¾ cup (90 g) finely chopped nuts (walnuts, pecans, or almonds)
Supporting Ingredients:
- ½ cup (60 g) powdered sugar, plus more for rolling
- 1 teaspoon vanilla extract
- ½ teaspoon almond extract
- ¼ teaspoon salt
Flavor Enhancers:
- ½ zest of orange or lemon
Instructions
- Prepare your oven by heating it to 350°F (175°C). Line a baking sheet with parchment paper for easy cookie removal.
- Cream 1 cup (226 g) softened butter with ½ cup (60 g) powdered sugar until the mixture becomes airy and pale. Mix in 1 teaspoon vanilla extract thoroughly.
- Gently incorporate 2 ¼ cups (280 g) flour and ¼ teaspoon salt into the butter mixture. Stir until the dough feels soft and cohesive.
- Fold ¾ cup (90 g) finely chopped nuts into the dough. If the mixture seems too warm, refrigerate for 15 minutes to firm it up.
- Roll each tablespoon of dough into small, uniform spheres. Position the balls 1 inch apart on your prepared baking sheet.
- Slide the sheet into the 350°F (175°C) oven. Bake for 12-15 minutes until the cookie bottoms turn a delicate golden shade while the tops remain pale.
- After removing from the oven, let the cookies rest for 5 minutes. While still warm, roll each cookie in powdered sugar, coating them completely.
- Allow the cookies to cool entirely on a wire rack. Once cooled, roll them again in powdered sugar for a beautiful, snowy finish.
Notes
- Always use room temperature butter for the smoothest, creamiest dough that blends easily.
- Chop nuts super fine so they distribute evenly and don’t break the delicate cookie texture.
- Roll cookies in powdered sugar while they’re still warm for the first coating, which helps the sugar stick better.
- Store these cookies in an airtight container with wax paper between layers to keep their delicate powdery coating intact.
- Prep Time: 15 minutes
- Cook Time: 12-15 minutes
- Category: Cakes
- Method: Baking
- Cuisine: Russian
Nutrition
- Serving Size: 24
- Calories: 160
- Sugar: 4 g
- Sodium: 35 mg
- Fat: 11 g
- Saturated Fat: 7 g
- Unsaturated Fat: 4 g
- Trans Fat: 0.3 g
- Carbohydrates: 12 g
- Fiber: 1 g
- Protein: 2 g
- Cholesterol: 30 mg
Madison Wyman
Recipe Developer & Food Storyteller
Expertise
Recipe Research and Adaptation, Food Writing and Cultural Storytelling, Sustainable and Ethical Sourcing, Dietary Adaptations (e.g., gluten-free, plant-based)
Education
Oregon Health & Science University
Portland Community College
Madison’s passion for flavor and culture ignited amidst the rich Southern cooking traditions of her upbringing, where cherished family recipes told delicious tales.
Armed with a Master’s in Food Systems and Society from Oregon Health & Science University and a Culinary Arts Certificate from Portland Community College, Madison truly excels at transforming rich, intricate flavors into dishes that are both approachable and heartfelt.
For her, cooking is a vibrant blend of science, art, and heritage – a powerful way to connect us to our roots and each other. Her recipes invite you to delve deeper, uncovering the fascinating stories woven into every ingredient.