Cake Mix Cookie Bars Recipe That Bake In One Pan
Cake Mix Cookie Bars fuses convenience and homemade charm in a dessert that feels special without demanding hours in the kitchen.
Busy weeknights, potlucks, bake sales, and last-minute gatherings all benefit from a treat that looks impressive but comes together quickly.
Whether served warm with a cold glass of milk or packed in lunchboxes for an afternoon surprise, bars cut into perfect squares always disappear fast.
No fancy equipment or advanced skills are necessary, just simple pantry staples and a few minutes of prep time lead to consistent, delicious results every time.
Scroll down to see how easy it is to bake something everyone will ask for again and again.
Easy Dessert Reasons to Use Cake Mix Cookie Bars
What Items Build Cake Mix Cookie Bars
Cake Base:Base Binders:Add-In Extras:Baking Tools Used for Cake Mix Cookie Bars
Cake Mix Cookie Bars Step-by-Step Baking Instructions
Warm Up the Oven
Crank the oven to a steady 350 degrees Fahrenheit and grab a 9×13 inch baking pan. A quick spray of cooking spray will keep these bars from sticking.
Mix the Base
Grab a big mixing bowl and dump in the entire box of cake mix. Then add:
Blend everything together until the mixture looks smooth and no dry cake mix remains visible.
Add Some Chocolate Goodness
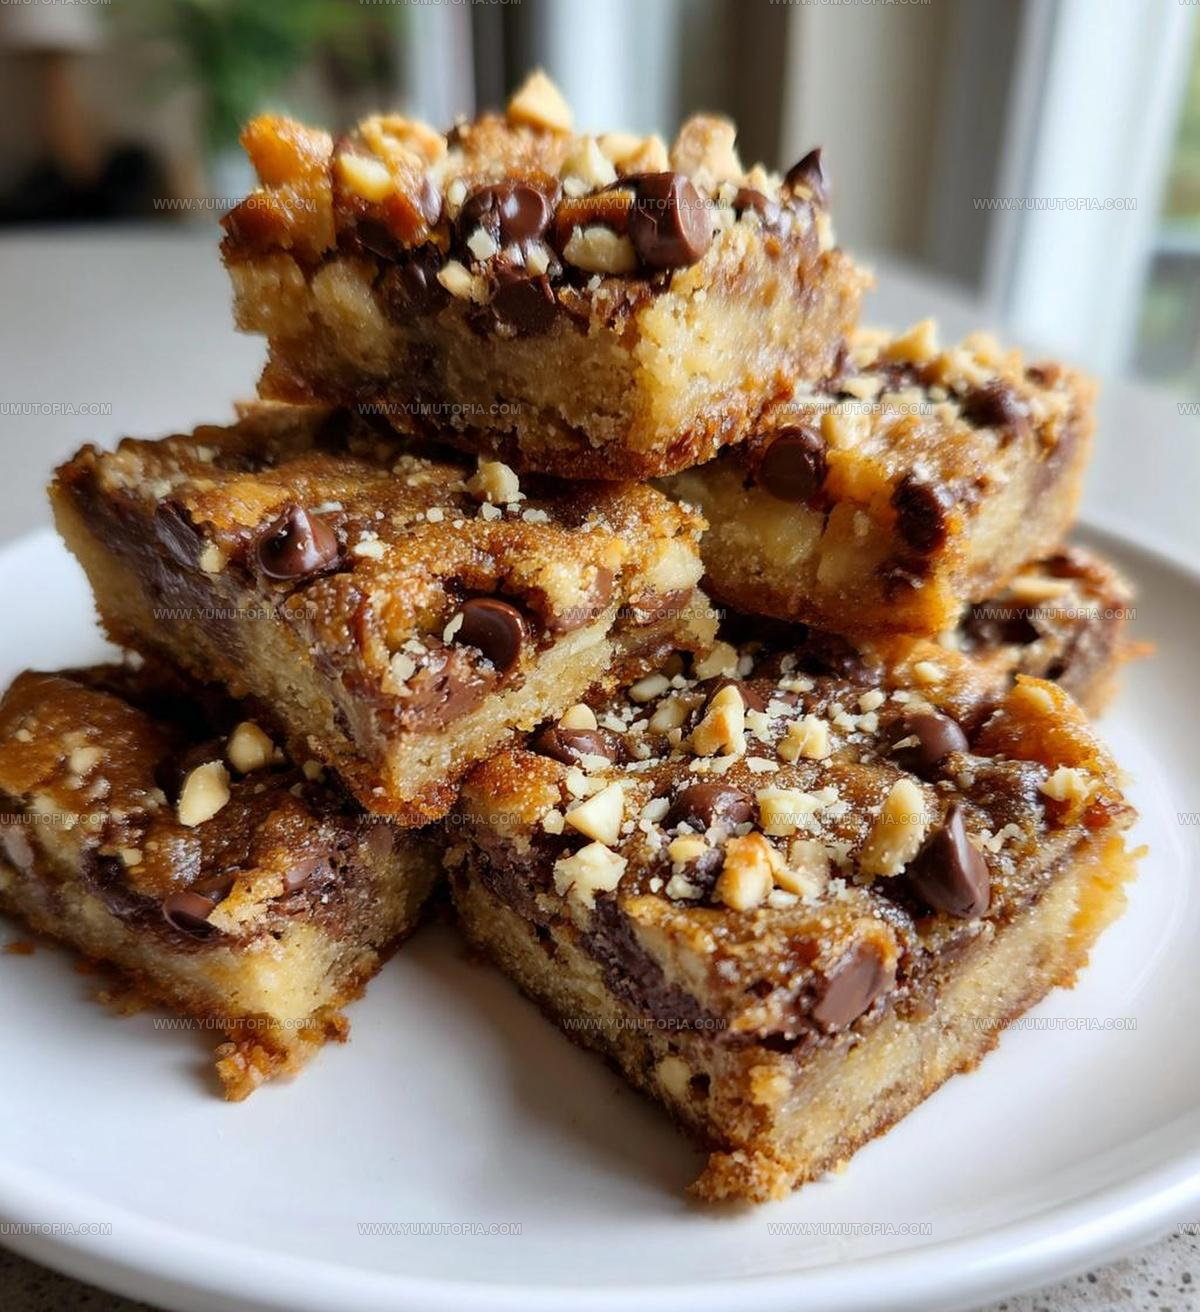
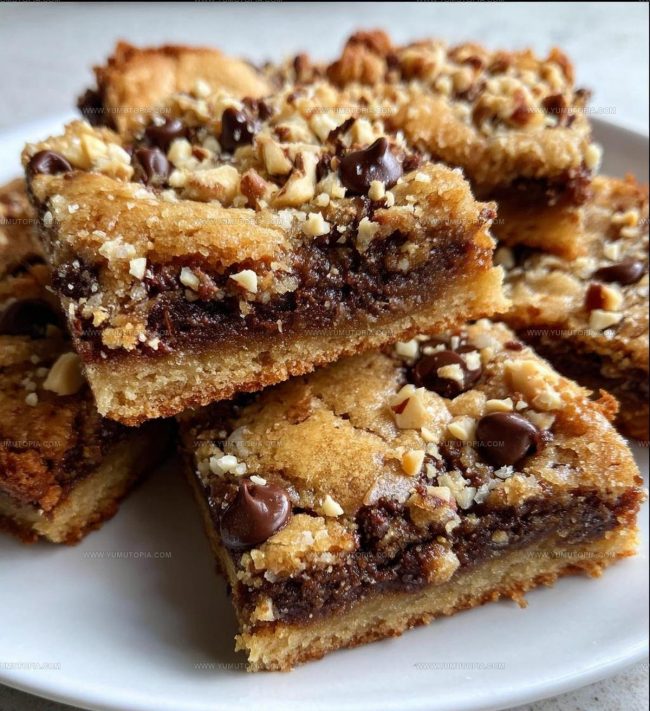
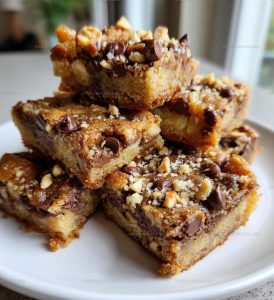
Gently stir in the chocolate deliciousness:
Make sure the chips and nuts are evenly distributed throughout the batter.
Spread and Prepare
Pour the thick batter into your prepared pan. Use a spatula to spread it out evenly, making sure the mixture reaches all the corners.
Bake to Perfection
Slide the pan into the preheated oven and bake for exactly 20-25 minutes. You’re looking for a golden edge and a set center. The top should look slightly crisp but not dark brown.
Cool and Slice
Pull the pan out and let it rest on a cooling rack for about 15 minutes. Once it’s cooled down, grab a sharp knife and slice into beautiful rectangular bars. Each bite will be a perfect blend of cake and cookie!
Top Tips for Cake Mix Cookie Bars
How Cake Mix Cookie Bars Variations Change Flavor
How Should You Serve Cake Mix Cookie Bars?
How to Store Cake Mix Cookie Bars
Cake Mix Cookie Bars Top Questions
Can I use a different cake mix flavor?
Absolutely! Experiment with flavors like vanilla, strawberry, or chocolate to create unique bars that match your mood or occasion.
What if I don’t have chocolate chips?
No worries. Swap in other mix-ins like butterscotch chips, M&Ms, or white chocolate chips for a personalized twist.
Do I need to refrigerate the dough before baking?
Nope! This recipe is super simple and goes straight from mixing bowl to baking pan without any extra chilling time.
Can these bars be made gluten-free?
Yes! Look for gluten-free cake mix options at your local grocery store, and the rest of the recipe stays exactly the same.
Are these okay to make with kids?
Totally! This recipe is perfect for baking with children since it’s quick, easy, and requires minimal measuring.
How do I know when the bars are done baking?
Check for golden brown edges and a set center. A toothpick inserted in the middle should come out mostly clean.
Cake Mix Cookie Bars Recipe
- Total Time: 30-35 minutes
- Yield: 12 to 16 1x
Description
Easy cake mix cookie bars turn a simple box mix into chewy, crowd-pleasing treats perfect for busy weeknights or potlucks. They come together in minutes with pantry add-ins and bake up thick and soft.
Ingredients
Primary Ingredients:
- 1 box cake mix
- 1 cup chocolate chips
- 2 large eggs
Supporting Ingredients:
- ½ cup butter, melted
Optional Add-Ins:
- ½ cup nuts, chopped
Instructions
- Grab your 9×13 inch baking pan and coat the entire surface with cooking spray at room temperature.
- Melt ½ cup butter in a microwave-safe bowl for 30 seconds until completely liquid.
- Pour the entire box of cake mix into a large mixing bowl, then add the ½ cup melted butter and 2 large eggs.
- Stir the ingredients together with a wooden spoon until your batter looks smooth and no dry cake mix remains.
- Add 1 cup chocolate chips and ½ cup chopped nuts (if using) to the batter, gently folding them throughout.
- Transfer the mixture into your prepared pan, using a spatula to spread it evenly to the edges and create a flat surface.
- Position the pan in a preheated oven at 350F and bake for exactly 22 minutes until the edges turn light golden brown.
- Remove the pan from the oven and let the bars cool completely at room temperature for 45-60 minutes.
- Use a sharp knife to slice the bars into 2-inch squares, creating approximately 24 individual servings.
Notes
- Use room temperature eggs for smoother batter mixing and better texture.
- For gluten-free version, swap standard cake mix with gluten-free cake mix and check ingredient labels carefully.
- Experiment with different cake mix flavors like vanilla, funfetti, or chocolate to create unique bar variations.
- Line your baking pan with parchment paper for easier removal and clean cutting of bars.
- Prep Time: 10 minutes
- Cook Time: 20-25 minutes
- Category: Dessert Bars
- Method: Baking
- Cuisine: American
Nutrition
- Serving Size: 12 to 16
- Calories: 250 kcal
- Sugar: 18 g
- Sodium: 150 mg
- Fat: 14 g
- Saturated Fat: 6 g
- Unsaturated Fat: 7 g
- Trans Fat: 0.5 g
- Carbohydrates: 30 g
- Fiber: 2 g
- Protein: 3 g
- Cholesterol: 45 mg
Logan Lemaster
Founder & Culinary Innovator
Expertise
Recipe Development and Innovation, Menu Design and Optimization, Fine Dining Techniques, Ingredient Pairing and Flavor Science
Education
Metropolitan Culinary Arts Institute
Logan’s culinary journey kicked off in his vibrant Chicago family kitchen, where fresh, seasonal ingredients and bold flavors were always front and center.
After graduating from the Metropolitan Culinary Arts Institute in Arlington, Virginia, and honing his skills in renowned restaurants, Logan mastered the art of blending classic techniques with exciting, modern twists.
His kitchen is a dynamic lab for flavor exploration. Through Yum Utopia, Logan aims to empower you to cook with both confidence and creativity, turning simple ingredients into spectacular meals.