Cool Whip Cookies Recipe That Makes Light and Fluffy Treats
Cool Whip Cookies have become a sensation for home bakers who want something sweet without spending hours in the kitchen.
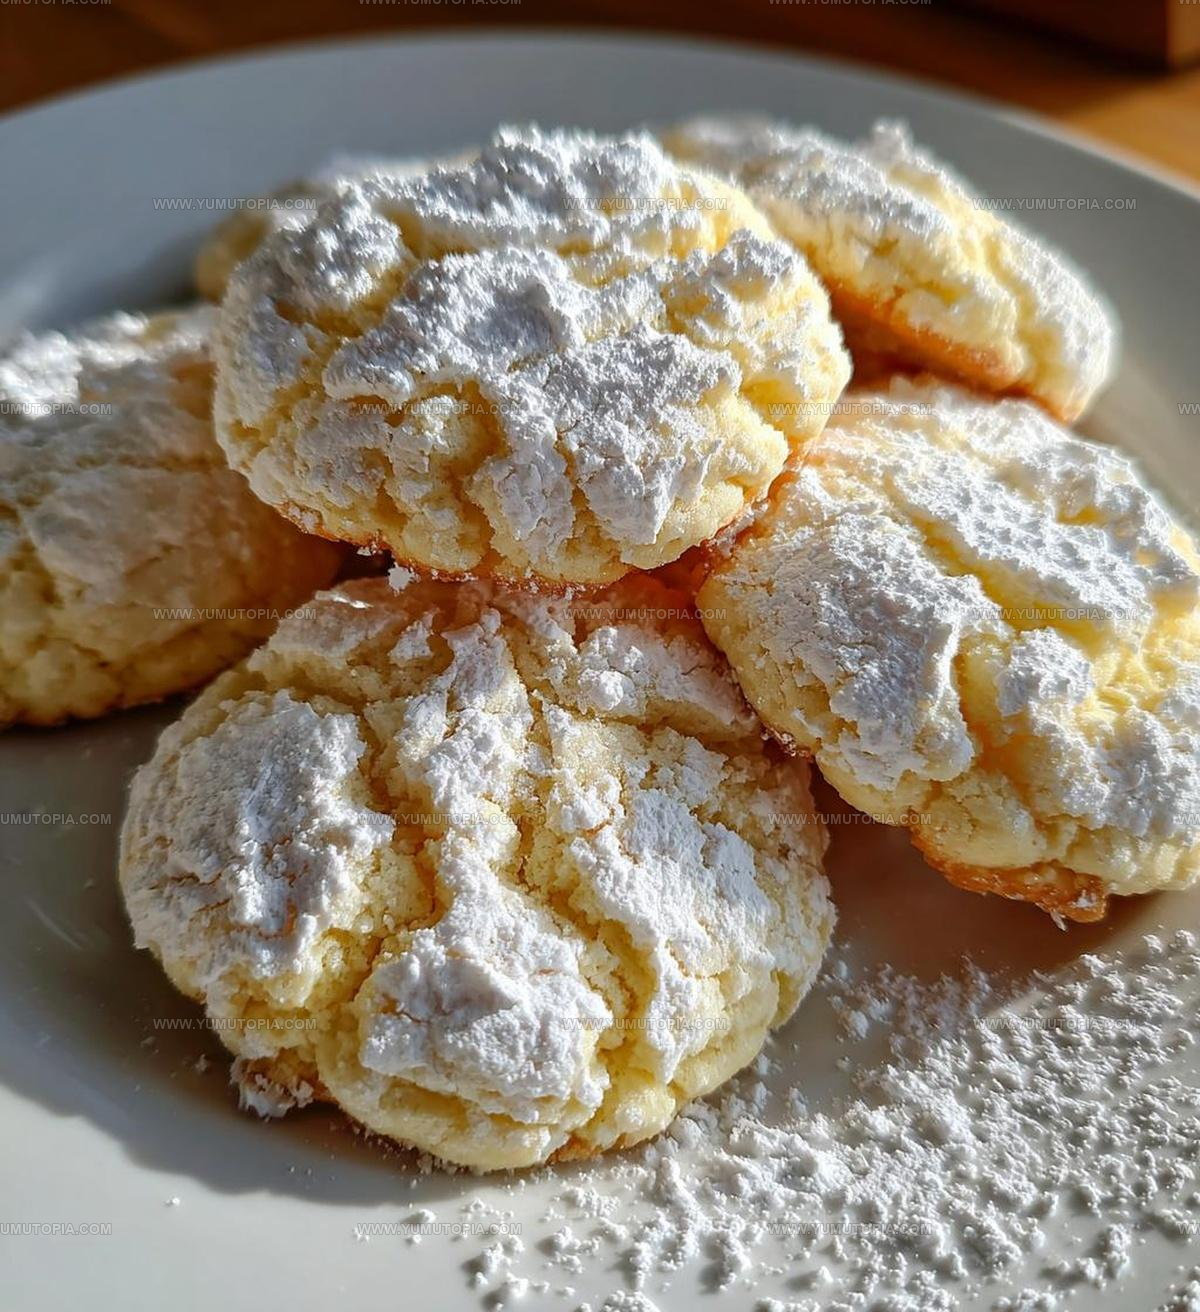
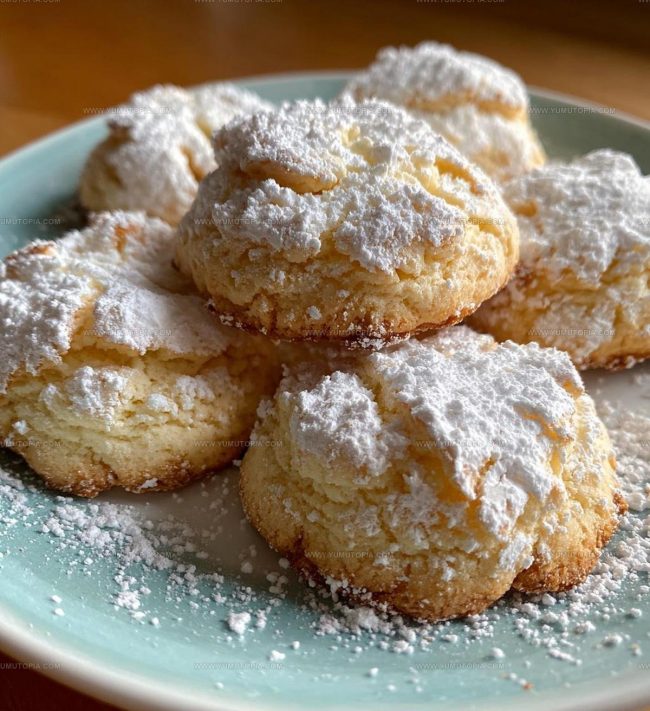
Soft, pillowy, and wonderfully light, they deliver satisfaction in every bite while keeping prep time minimal.
The texture alone sets them apart from traditional cookie recipes, offering a melt-in-your-mouth quality that feels almost cloud-like.
Perfect for last-minute gatherings, casual weeknight desserts, or whenever a sweet craving strikes, they fit seamlessly into busy schedules.
What makes them so appealing is how forgiving they are to work with, so even if baking isn’t something you do often, success comes easily.
The result is a treat that looks impressive and tastes delightful without requiring advanced skills or special equipment.
When you want homemade goodness with half the fuss, this recipe unlocks exactly what you need.
Why Cool Whip Cookies Stay So Light
Cool Whip Cookie Ingredient Overview
Primary Ingredients:Finishing Ingredient:What Tools Are Needed for Cool Whip Cookies?
How to Prepare Soft Cool Whip Cookies
Warm Up the Oven
Crank that oven dial to exactly 350 degrees Fahrenheit. Getting the temperature right makes all the difference for perfect cookies.
Gather Your Mixing Ingredients
Grab a mixing bowl and toss in these tasty components:
Create Cookie Dough Magic
Blend all those ingredients together until everything looks smooth and consistent. No lumps allowed! The mixture will feel a bit different from typical cookie dough – don’t worry, that’s totally normal.
Shape Your Cookies
Scoop small dollops of the mixture onto a clean baking sheet. Space them about 2 inches apart so they have room to spread out while baking.
Dust with Sweet Powder
Sprinkle powdered sugar generously over each cookie. This gives them a beautiful finished look and adds a sweet little touch.
Bake to Perfection
Slide that baking sheet into the preheated oven and set your timer for 10-12 minutes. Keep an eye on them – you want golden edges but not dark brown.
Cool and Enjoy
Pull the cookies out and let them rest on the baking sheet for a few minutes. Transfer to a wire rack to cool completely before serving. These soft, cloud-like treats are ready to make everyone smile!
Best Notes for Soft Cool Whip Cookies
Cool Whip Cookie Variations With Simple Flavor Twists
How to Serve Cool Whip Cookies
Storage Guidance for Cool Whip Cookies
Cool Whip Cookies FAQs
Can I use homemade whipped cream instead of Cool Whip?
Cool Whip provides the right stability for these cookies. Homemade whipped cream might make the dough too soft and cause spreading.
What cake mix flavors work best?
Vanilla, chocolate, and strawberry cake mixes are perfect. Choose a flavor you enjoy most for delicious results.
How do I prevent the cookies from sticking to the baking sheet?
Line your baking sheet with parchment paper or use a non-stick silicone mat for easy cookie removal.
Can these cookies be frozen?
Absolutely! Freeze the baked cookies in an airtight container for up to 3 weeks. Thaw at room temperature before serving.
Why do the cookies have a soft texture?
The Cool Whip creates a light, fluffy consistency that makes these cookies uniquely tender and soft.
Cake-Mix Cool Whip Cookies Recipe
- Total Time: 20-22 minutes
- Yield: 24 1x
Description
Whip up these Cool Whip Cookies when your sweet tooth calls for something quick and delightful. Creamy Cool Whip blends with simple pantry ingredients to create tender, cloud-like treats that disappear faster than you can bake them.
Ingredients
Main Ingredients:
- 1 box cake mix
- 1 egg
- 1 cup cool whip
Supporting Ingredients:
- Powdered sugar for dusting
Instructions
- Preheat the oven to precisely 350°F, ensuring your rack sits in the center position.
- In a spacious mixing bowl, combine 1 full cup of cool whip, 1 entire box of cake mix, and 1 single egg. Blend thoroughly until the mixture looks uniform and smooth.
- Use a tablespoon to scoop out small, consistent portions of dough directly onto an ungreased baking sheet. Space the drops about 2 inches apart to prevent merging.
- Generously sprinkle powdered sugar over each raw cookie mound, creating a light, even coating that will transform into a delicate surface when baked.
- Slide the baking sheet into the preheated 350°F oven and bake for exactly 10-12 minutes. Watch for edges that turn slightly golden brown as your signal of perfect doneness.
- Remove the sheet from the oven and allow cookies to rest on the baking sheet for 3 minutes, which helps them firm up without overcooking.
- Transfer cookies to a wire cooling rack, letting them cool completely for about 15 minutes before serving. The powdered sugar will set into a lovely, soft crust.
Notes
- Soften the cool whip at room temperature for easier mixing and a smoother cookie texture.
- Use a cookie scoop for uniform cookies that bake evenly and look professionally made.
- Experiment with different cake mix flavors like chocolate, lemon, or vanilla to create unique variations.
- Let cookies cool completely on the baking sheet to help them set and prevent breaking when transferring.
- Prep Time: 10 minutes
- Cook Time: 10-12 minutes
- Category: Cookies
- Method: Baking
- Cuisine: American
Nutrition
- Serving Size: 24
- Calories: 95 kcal
- Sugar: 9 g
- Sodium: 130 mg
- Fat: 2 g
- Saturated Fat: 1 g
- Unsaturated Fat: 1 g
- Trans Fat: 0 g
- Carbohydrates: 17 g
- Fiber: 0.5 g
- Protein: 1 g
- Cholesterol: 15 mg
Logan Lemaster
Founder & Culinary Innovator
Expertise
Recipe Development and Innovation, Menu Design and Optimization, Fine Dining Techniques, Ingredient Pairing and Flavor Science
Education
Metropolitan Culinary Arts Institute
Logan’s culinary journey kicked off in his vibrant Chicago family kitchen, where fresh, seasonal ingredients and bold flavors were always front and center.
After graduating from the Metropolitan Culinary Arts Institute in Arlington, Virginia, and honing his skills in renowned restaurants, Logan mastered the art of blending classic techniques with exciting, modern twists.
His kitchen is a dynamic lab for flavor exploration. Through Yum Utopia, Logan aims to empower you to cook with both confidence and creativity, turning simple ingredients into spectacular meals.