Cheesecake Bars Recipe for Creamy Dessert Lovers
A cheesecake bars recipe provides all the creamy richness people crave in a format that’s perfect for sharing at gatherings or enjoying as an afternoon treat.
The beauty of this dessert lies in its ability to satisfy both casual snackers and dessert enthusiasts who appreciate something decadent without too much fuss.
Bars offer convenience that traditional round cakes simply can’t match when you need portion control or easy serving.
The texture strikes that ideal balance between smooth and firm, making each bite feel like a special indulgence.
Whether you pack them for potlucks or serve them at home, they always disappear quickly.
Everyone loves the way they combine elegance with simplicity, proving that impressive desserts don’t require complicated techniques.
Follow along to create a batch that will have people asking when you can make them again.
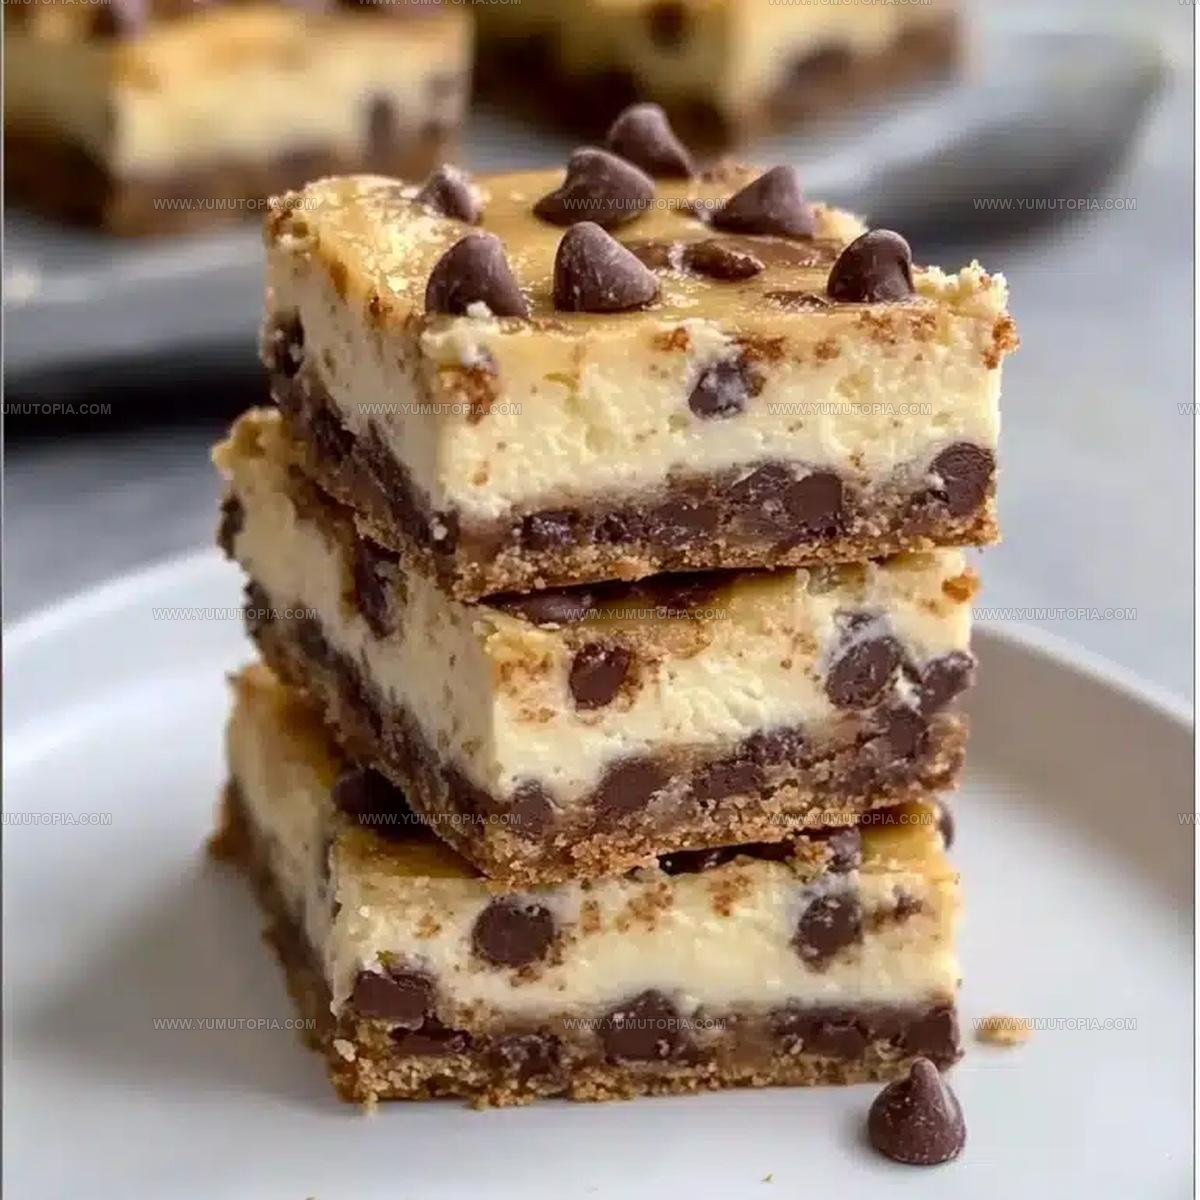
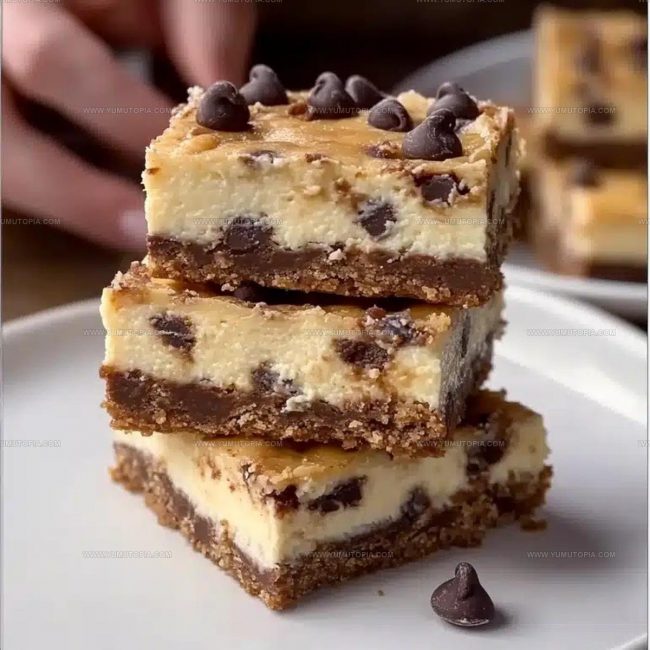
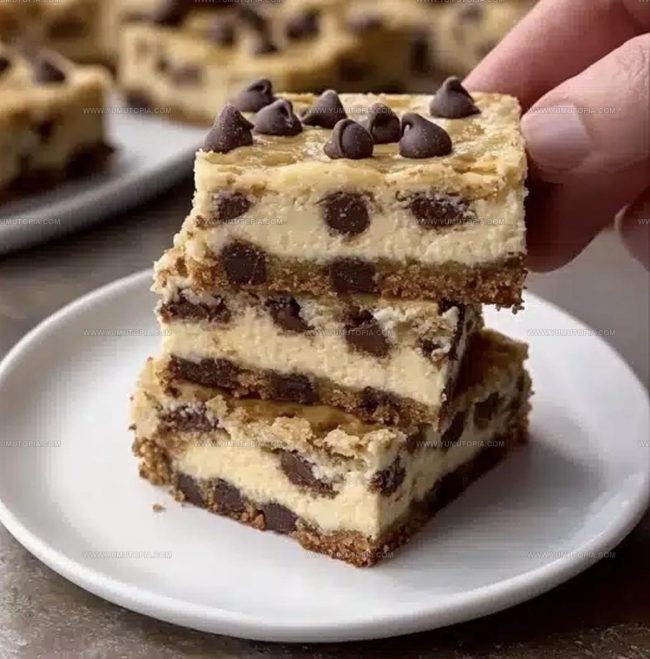
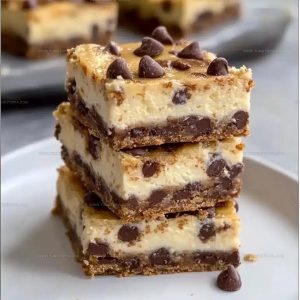
The Silky, Sliceable Perfection of These Classic Cheesecake Bars
Creamy Filling and Crust Elements of Cheesecake Bars
Rectangular Baking Tins And Layering Hardware For Cheesecake Bars
Method for Smoothing the Surface of Cheesecake Bars
Prepare the Crust
Heat the oven to 325°F (163°C). Line a 9×13 inch baking dish with parchment paper, letting the sides hang over for easy removal. Grab your ingredients for the crust:
Mix these ingredients in a bowl until they’re well combined. Press the mixture firmly into the pan and bake for 8-10 minutes. Let the crust cool down slightly while preparing the filling.
Mix the Cheesecake Filling
Grab a large mixing bowl and your filling ingredients:
Beat the cream cheese until it’s smooth and creamy. Add the sugar and mix until well combined. Gently add the eggs one at a time, stirring carefully. Pour in the vanilla extract and sour cream, mixing until the filling looks silky and even.
Bake the Cheesecake Bars
Pour the filling over the cooled crust, smoothing the top with a spatula. Tap the pan gently to remove any air bubbles. Slide the pan into the 325°F (163°C) oven and bake for 30-35 minutes. The edges should look set, but the center will still have a slight jiggle.
Cool and Chill
Let the cheesecake bars cool completely at room temperature. Once cooled, refrigerate for at least 3 hours or overnight to firm up. When ready, use the parchment paper overhang to lift the bars out of the pan. Slice with a clean knife and add your favorite toppings like fresh berries, a sprinkle of lemon zest, or a drizzle of caramel or chocolate sauce.
Chilling Essentials To Secure Perfect Cheesecake Bars
Creamy Pan Interpretations Of Cheesecake Bars
Smooth Creamy Square Presentations For Cheesecake Bars
Smooth Creamy Square Freshness Protocols For Bars
Common Questions for Perfect Cheesecake Dessert Bars
Can I use a different type of crust?
Graham cracker crusts are classic, but you can swap in crushed digestive biscuits or vanilla wafers for a similar texture and flavor profile.
How do I know when the cheesecake bars are perfectly baked?
Watch for set edges and a center that wobbles slightly when gently shaken – this means your bars will firm up beautifully when chilled.
What if my cream cheese isn’t at room temperature?
Cold cream cheese can create lumpy bars, so let it sit out for about 30 minutes before mixing to ensure a smooth, creamy texture.
Can I freeze these cheesecake bars?
Absolutely! Wrap them tightly in plastic wrap and store in a freezer-safe container for up to 2 months. Thaw overnight in the refrigerator before serving.
How thin should the crust be pressed?
Press the crust firmly and evenly, creating a compact layer that’s about 1/4 inch thick to provide a solid base for your creamy filling.
Cheesecake Bars Recipe
- Total Time: 3 hours 55 minutes to overnight
- Yield: 8 1x
Description
Creamy, dreamy Cheesecake Bars bring pure dessert joy straight from my kitchen to your plate. Rich cream cheese nestled on a buttery graham cracker crust delivers pure comfort in each delectable square.
Ingredients
Main Ingredients:
- 2 packages cream cheese
- 1.5 cups graham cracker crumbs
- 2 large eggs
- 0.75 cup granulated sugar
Supporting Ingredients:
- 0.5 cup unsalted butter, melted
- 0.25 cup sour cream
- 1 teaspoon vanilla extract
Optional Toppings:
- Fresh berries
- Lemon zest
- Caramel sauce
- Chocolate drizzle
- Whipped cream
Instructions
- Prepare your oven space by heating to 325°F (163°C). Grab a 9×13 inch baking dish and line it completely with parchment paper, ensuring extra edges hang over for easy removal.
- Combine 1½ cups graham cracker crumbs, ¼ cup granulated sugar, and ½ cup melted unsalted butter in a mixing bowl. Press this mixture firmly and evenly across the bottom of your prepared pan.
- Slide the crust into the preheated oven and bake for 8-10 minutes until lightly golden. Remove and allow to cool slightly.
- Using an electric mixer, beat 16 ounces (450g) softened cream cheese until completely smooth and creamy.
- Gradually add ¾ cup granulated sugar to the cream cheese, mixing until thoroughly incorporated.
- Introduce eggs one at a time, gently folding each into the mixture to maintain a silky texture.
- Stir in 1 teaspoon vanilla extract and ¼ cup sour cream until your filling becomes uniformly smooth.
- Pour the cheesecake mixture over your prepared crust, smoothing the top with a spatula.
- Tap the pan gently against the counter to release any trapped air bubbles.
- Return the pan to the 325°F (163°C) oven and bake for 30-35 minutes. Your bars are ready when edges appear set but the center remains slightly jiggly.
- Allow the cheesecake to cool completely at room temperature, then refrigerate for a minimum of 3 hours or overnight.
- Use the parchment paper overhang to lift the entire dessert from the pan. Slice with a clean, sharp knife and garnish with optional toppings like fresh berries or caramel sauce.
Notes
- Ensure cream cheese is at room temperature before mixing to avoid lumps and create a smooth, creamy filling.
- Press graham cracker crust firmly and evenly to create a solid base that won’t crumble when slicing the bars.
- For a lighter texture, avoid overmixing the cheesecake batter and gently fold ingredients to prevent incorporating too much air.
- Dairy-free alternative: Replace cream cheese with coconut cream and use vegan graham crackers for a plant-based version of these bars.
- Prep Time: 15 minutes
- Cook Time: 40-45 minutes
- Category: Dessert Bars
- Method: Baking
- Cuisine: American
Nutrition
- Serving Size: 8
- Calories: 385 kcal
- Sugar: 27 g
- Sodium: 175 mg
- Fat: 28 g
- Saturated Fat: 16 g
- Unsaturated Fat: 10 g
- Trans Fat: 0.5 g
- Carbohydrates: 27 g
- Fiber: 1 g
- Protein: 6 g
- Cholesterol: 100 mg
Logan Lemaster
Founder & Culinary Innovator
Expertise
Recipe Development and Innovation, Menu Design and Optimization, Fine Dining Techniques, Ingredient Pairing and Flavor Science
Education
Metropolitan Culinary Arts Institute
Logan’s culinary journey kicked off in his vibrant Chicago family kitchen, where fresh, seasonal ingredients and bold flavors were always front and center.
After graduating from the Metropolitan Culinary Arts Institute in Arlington, Virginia, and honing his skills in renowned restaurants, Logan mastered the art of blending classic techniques with exciting, modern twists.
His kitchen is a dynamic lab for flavor exploration. Through Yum Utopia, Logan aims to empower you to cook with both confidence and creativity, turning simple ingredients into spectacular meals.