
Cheesecake Cookie Dough Tacos Recipe for Sweet Cravings
Cheesecake cookie dough tacos combine three beloved desserts into one fun handheld treat that feels like pure joy on a plate.
Sweet taco shells cradle a luscious filling that tastes just like what you secretly ate from the mixing bowl as a child, but better.
No baking means less time in the kitchen and more time enjoying something truly special with friends and family.
What makes it so appealing is how playful and unexpected it looks while tasting absolutely decadent.
You can serve it at parties where it becomes an instant conversation starter, or keep it simple for a weekend treat at home.
Everyone from little ones to grandparents finds something to love about its whimsical presentation and familiar flavors.
Give yourself permission to have fun with dessert again and watch faces light up when you bring out something so delightfully different.
Why Cheesecake Cookie Dough Tacos Are A Must-Try
Cheesecake Cookie Dough Tacos Ingredient Breakdown
Main Ingredients:Toppings:What Tools Do You Need for 25 Minute Cheesecake Cookie Dough Tacos
Preparing Cheesecake Cookie Dough Tacos Step by Step
Prepare Oven
Crank your oven up to 350°F and grab a baking sheet. This temperature will help your taco shells get perfectly crisp.
Shape Cookie Dough
Take 1 cup of cookie dough and gently press it into each of the 6 taco shells. Make sure you spread the dough evenly, covering the entire inside surface of each shell.
Bake the Shells
Place the taco shells with cookie dough onto the baking sheet and slide them into the preheated oven. Bake for exactly 10 minutes until the edges start to turn golden.
Cool Down
Remove the baking sheet from the oven and let the taco shells cool completely. This helps them firm up and prevents the cheesecake filling from melting.
Fill with Cheesecake
Grab your 1 cup of cheesecake filling and carefully spoon it into each cooled cookie dough taco shell. Spread it smoothly to the edges.
Add Toppings
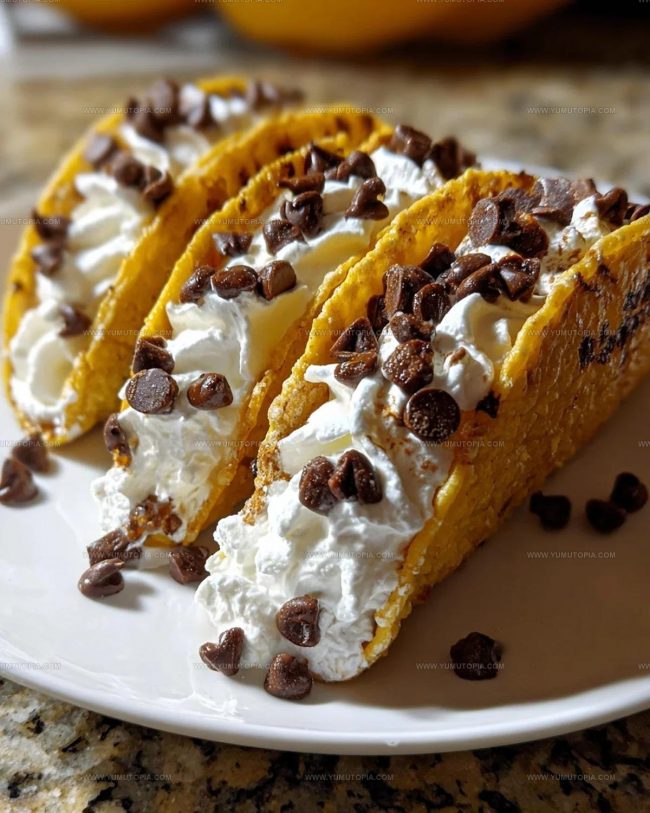
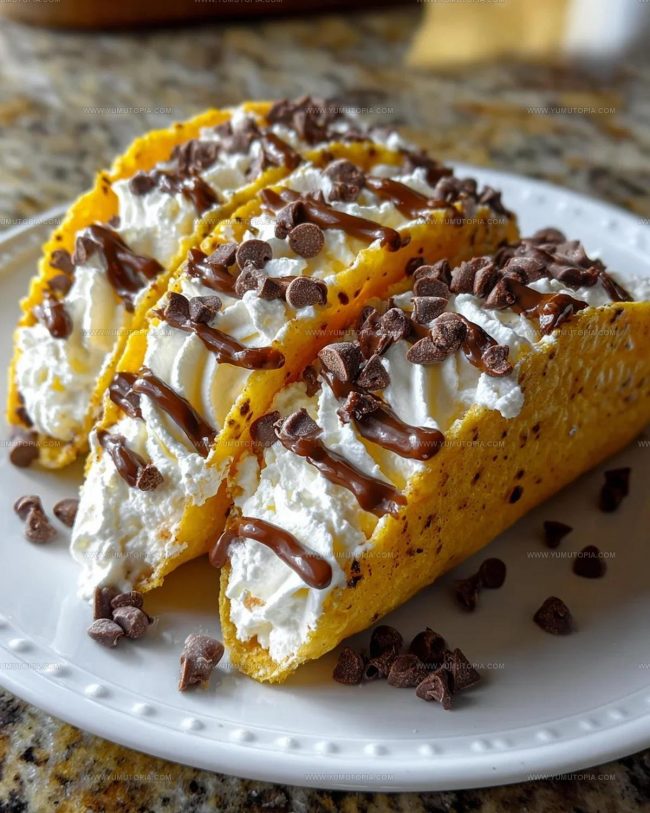
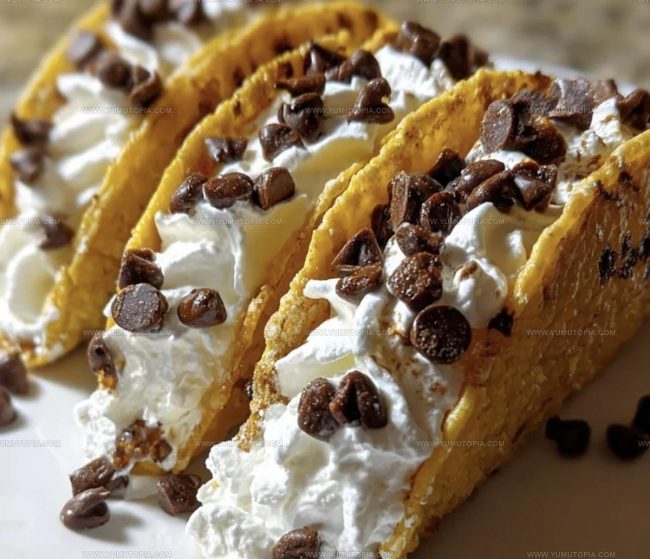
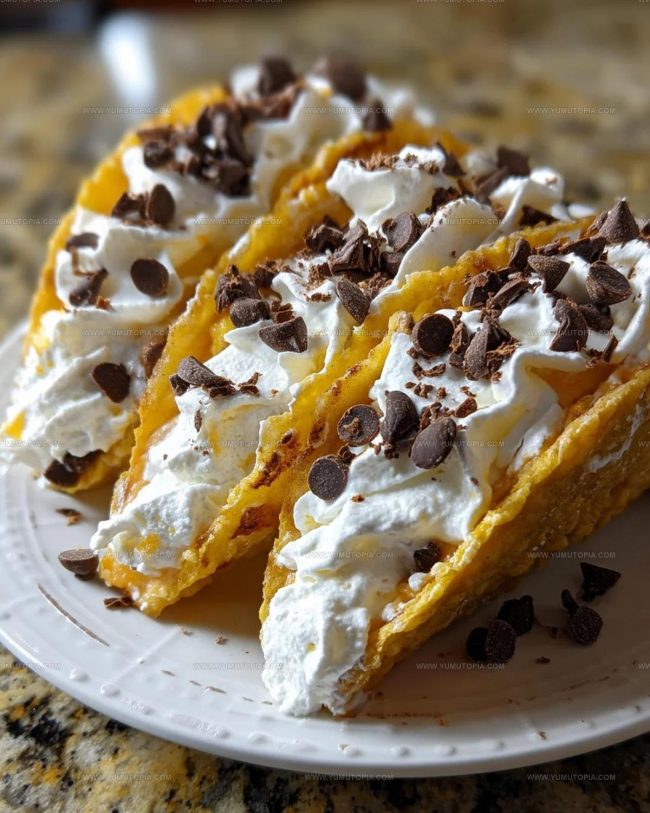
Sprinkle 1/4 cup of chocolate chips over the filled tacos. Then add a dollop of 1/4 cup whipped cream on top of each taco for a delightful finish.
Serve and Enjoy
Your cheesecake cookie dough tacos are ready to be devoured! Serve immediately for the best taste and texture.
Extra Kitchen Insight for Cheesecake Cookie Dough Tacos
Creative Variations for Cheesecake Cookie Dough Tacos
Best Serving Options For Cheesecake Cookie Dough Tacos
How to Store Cheesecake Cookie Dough Tacos
Cheesecake Cookie Dough Tacos Common Questions
Can I use store-bought cookie dough?
Homemade dough works best for texture and flavor, but in a pinch, refrigerated sugar cookie dough can work well.
How do I prevent the taco shells from breaking?
Carefully press the dough into the shells, keeping edges even and not too thin. Gentle handling is key.
Are these safe to eat with raw cookie dough?
The baking step helps minimize risk, but using pasteurized eggs and heat-treated flour adds extra safety.
Can these be made ahead of time?
Assemble the shells a day before, then fill with cheesecake just before serving to keep the shells crisp.
What if I don’t have taco-shaped molds?
Flip a muffin tin upside down and drape foil-lined dough over the back to create a taco shape.
How do I get the perfect cheesecake filling?
Ensure cream cheese is room temperature and mix until smooth for the best creamy texture.

Cheesecake Cookie Dough Tacos Recipe
- Total Time: 25 minutes
- Yield: 6 1x
Description
Cheesecake cookie dough tacos are a playful dessert that brings together two favorite treats in one crazy-good handheld delight. Creamy cheesecake filling nestled inside a sweet cookie dough shell creates a delectable twist your taste buds will absolutely adore.
Ingredients
Main Ingredients:
- 6 taco shells
- 1 cup cookie dough
- 1 cup cheesecake filling
Supporting Ingredients:
- ¼ cup chocolate chips
- ¼ cup whipped cream
Instructions
- Warm your oven to precisely 350°F, preparing a flat baking sheet for the upcoming taco shell transformation.
- Take each taco shell and gently press 2-3 tablespoons of cookie dough into its curved shape, ensuring an even, smooth coating throughout.
- Carefully position the dough-filled shells onto the baking sheet, spacing them about 2 inches apart to allow proper heat circulation.
- Slide the baking sheet into the preheated oven and bake for exactly 10 minutes, watching for a light golden edge on the cookie dough.
- Remove the taco shells from the oven and let them rest at room temperature for 5-7 minutes, allowing them to firm up and cool completely.
- Grab your prepared cheesecake filling and delicately spoon approximately 3 tablespoons into each cooled taco shell.
- Sprinkle 1 tablespoon of chocolate chips across the cheesecake filling in each taco, distributing them evenly.
- Crown each taco with a generous dollop, about 1 tablespoon, of whipped cream right before serving to maintain its fluffy texture.
Notes
- Check cookie dough consistency before pressing into taco shells to ensure smooth, even coverage.
- Allow baked shells to cool completely before adding cheesecake filling to prevent melting.
- For a gluten-free version, swap regular cookie dough with almond flour or gluten-free cookie dough.
- Experiment with different chocolate chip varieties or sprinkle crushed nuts on top for added texture and flavor.
- Prep Time: 15 minutes
- Cook Time: 10 minutes
- Category: Cheesecakes
- Method: Baking
- Cuisine: American
Nutrition
- Serving Size: 6
- Calories: 295 kcal
- Sugar: 20 g
- Sodium: 110 mg
- Fat: 15 g
- Saturated Fat: 9 g
- Unsaturated Fat: 5 g
- Trans Fat: 0.3 g
- Carbohydrates: 34 g
- Fiber: 1.5 g
- Protein: 4 g
- Cholesterol: 40 mg
Logan Lemaster
Founder & Culinary Innovator
Expertise
Recipe Development and Innovation, Menu Design and Optimization, Fine Dining Techniques, Ingredient Pairing and Flavor Science
Education
Metropolitan Culinary Arts Institute
Logan’s culinary journey kicked off in his vibrant Chicago family kitchen, where fresh, seasonal ingredients and bold flavors were always front and center.
After graduating from the Metropolitan Culinary Arts Institute in Arlington, Virginia, and honing his skills in renowned restaurants, Logan mastered the art of blending classic techniques with exciting, modern twists.
His kitchen is a dynamic lab for flavor exploration. Through Yum Utopia, Logan aims to empower you to cook with both confidence and creativity, turning simple ingredients into spectacular meals.