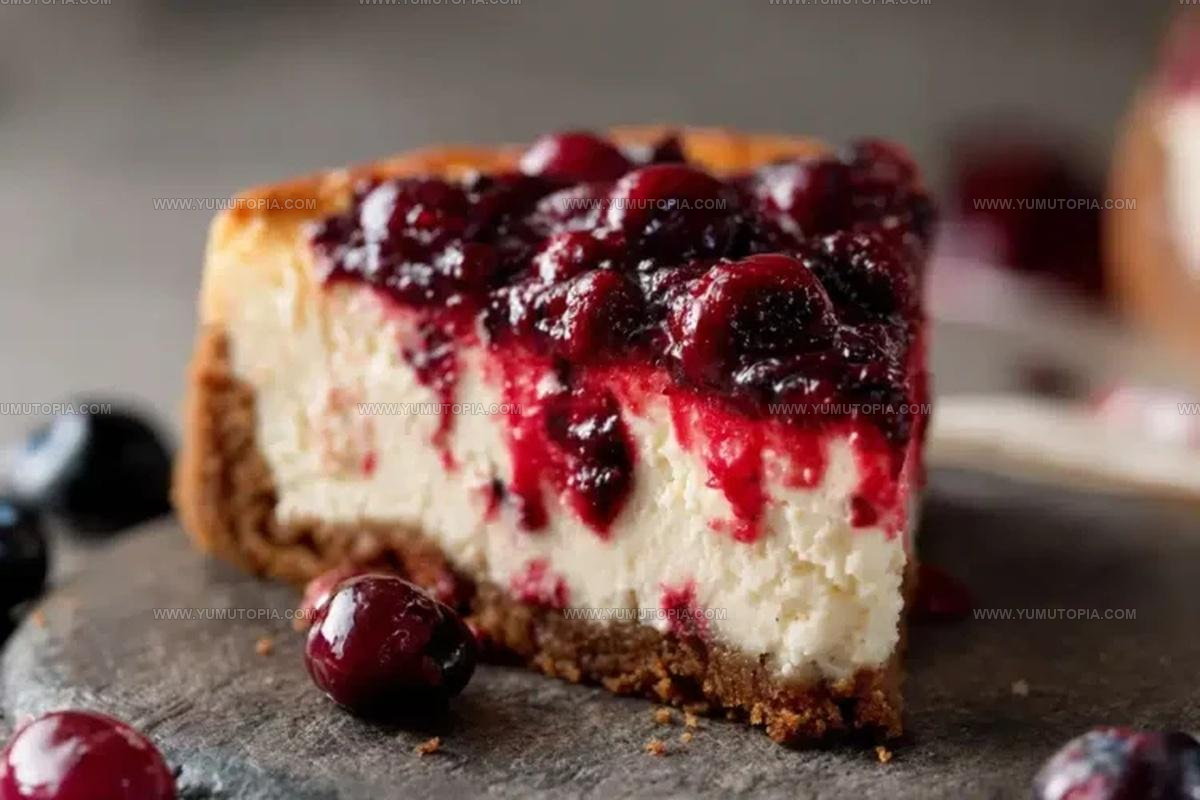
Cherry Cheesecake Recipe for a Creamy Homemade Treat
Cherry cheesecake recipe enthusiasts know that few desserts command attention quite like this iconic crowd-pleaser.
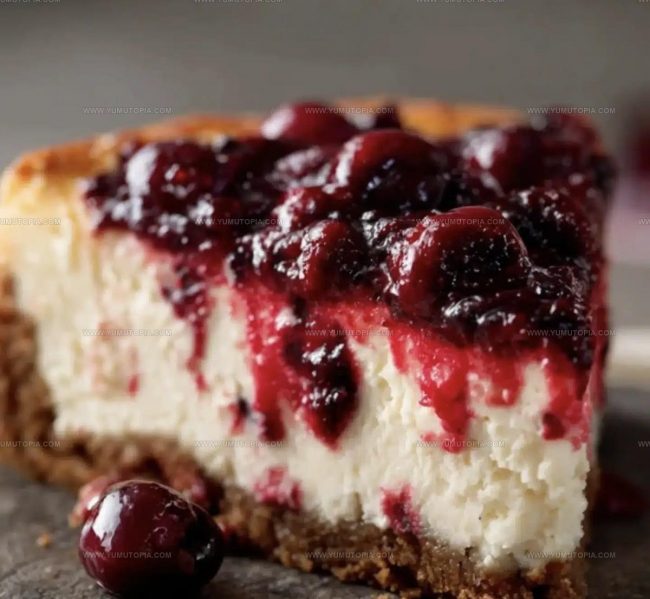
Rich cream cheese creates a velvety foundation while sweet-tart fruit adds beautiful color and balance to each slice.
The contrast between smooth filling and crumbly base makes every bite satisfying in a way that feels both indulgent and refreshing.
Whether served at celebrations or enjoyed as an everyday treat, this classic never fails to impress guests of all ages.
Making one from scratch proves easier than most people expect, and the results always deliver that bakery-worthy appeal everyone loves.
Once you master the technique, it becomes a go-to dessert that earns compliments every single time.
Get the full recipe below and start creating something truly special today.
Secrets To The Smooth And Luscious Success Of This Cherry Cheesecake
Secrets To The Perfectly Smooth And Creamy Soul Of Cherry Cheesecake
Bakeware Requirements For A Perfect Cherry Cheesecake
Steps for Perfecting the Texture of Baked Cherry Cheesecake
Prepare Cherry Sauce
Grab a saucepan and combine these ingredients:
Cook the mixture over medium heat at 350°F for about 10 minutes. Stir gently as the cherries soften and release their juices. Mash some cherries while leaving others whole for a nice texture. Take out ¼ cup, puree it until smooth, and let it cool in the freezer while the remaining sauce chills in the refrigerator.
Create Oreo Crust
Preheat your oven to 325°F. Grab these ingredients:
Mix the crumbs and melted butter until it looks like wet sand. Press the mixture firmly into the bottom and slightly up the sides of a 9-inch springform pan lined with parchment paper. Bake for exactly 12 minutes, then let the crust cool down.
Mix Cheesecake Filling
Grab these ingredients:
Beat the cream cheese and sugar until smooth. Add sour cream, cherry puree, and vanilla. Blend until the mixture turns a soft pink color. Carefully mix in the eggs one at a time on low speed, being careful not to create air bubbles.
Set Up for Baking
Pour the cheesecake batter over the prepared crust. Place the springform pan inside a larger cake pan, then set both in a deep roasting dish. Fill the roasting dish halfway with hot water. Bake at 325°F for 70 to 80 minutes until the edges are firm but the center still has a slight jiggle.
Careful Cooling
Turn off the oven and crack the door open. Let the cheesecake cool inside for 30 minutes. Remove and let it reach room temperature on a wire rack. Refrigerate for at least 6 hours or overnight to set the texture perfectly.
Final Cherry Topping
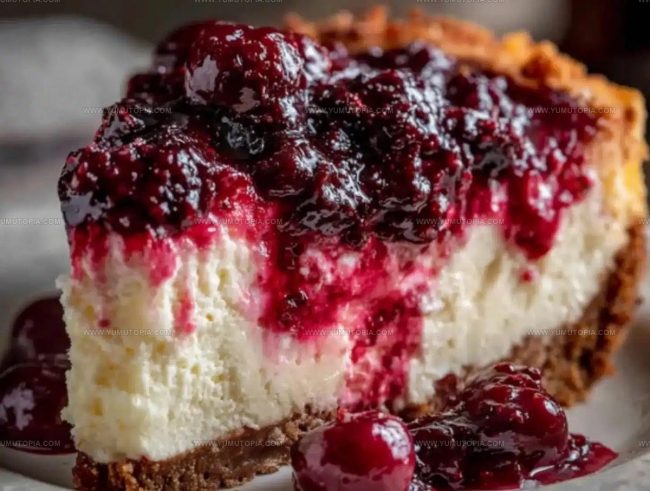
After chilling, spread the remaining cherry sauce generously over the top of the cheesecake. The glossy cherries will create a beautiful contrast against the creamy filling.
Swirl Toppings And Chocolate Twists For Cherry Cheesecake

Fruit Topping And Crust Modifications For Cherry Cheesecake
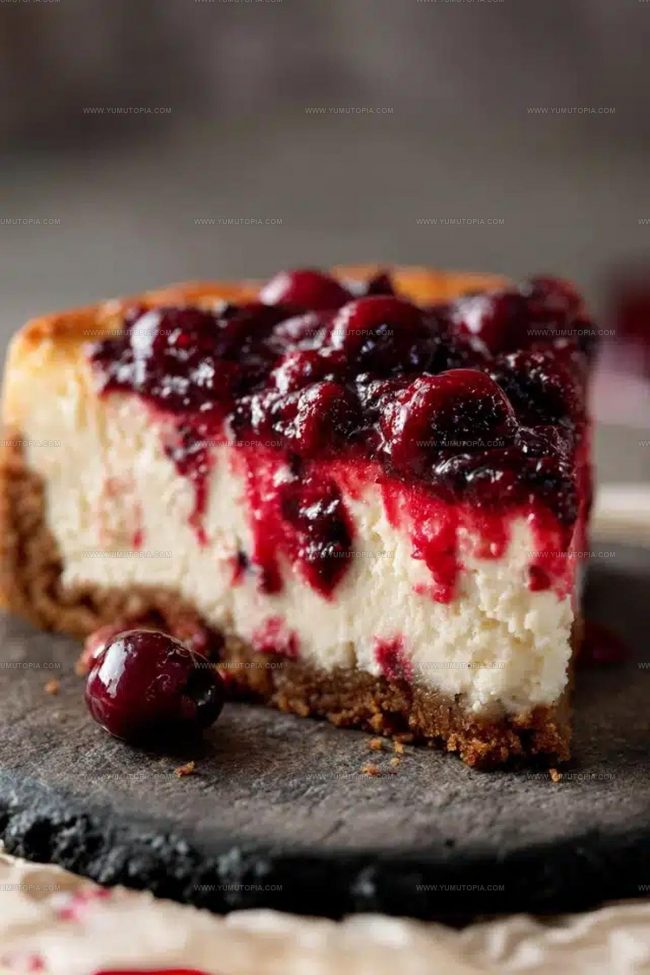
Serving Cherry Cheesecake Clean-Cut and Celebration-Ready
Perfect Slicing and Overnight Storage Tips
Cherry Cheesecake Question Corner For Dessert Lovers
Can I use frozen cherries instead of fresh ones?
Absolutely! Frozen cherries work perfectly. Just thaw and drain them before cooking to prevent excess liquid in your sauce.
How do I know if the cheesecake is fully baked?
Watch for firm edges and a center that gently wobbles like soft custard. A slight jiggle means your cheesecake will set beautifully when chilled.
What if my cheesecake cracks?
Don’t panic! Water bath baking helps prevent cracks. If they happen, the cherry topping will beautifully camouflage any imperfections.
Can I make this cheesecake ahead of time?
Definitely! This dessert actually tastes better after chilling overnight, allowing flavors to develop and texture to set perfectly.
Do I need any special equipment?
A springform pan and a large roasting dish for the water bath are key. A stand mixer helps, but a hand mixer works just fine.
Can I substitute the Oreo crust?
Graham crackers or chocolate cookie crusts are excellent alternatives that will complement the cherry flavor wonderfully.

Cherry Cheesecake Recipe
- Total Time: About 8 hours 52 minutes-9 hours 2 minutes
- Yield: 12 1x
Description
Cherry Cheesecake brings classic comfort straight to your dessert table with creamy cheesecake layers nestled under a sweet, tangy cherry topping. Smooth cream cheese and a buttery graham cracker crust make this classic treat perfect for sharing with friends and family.
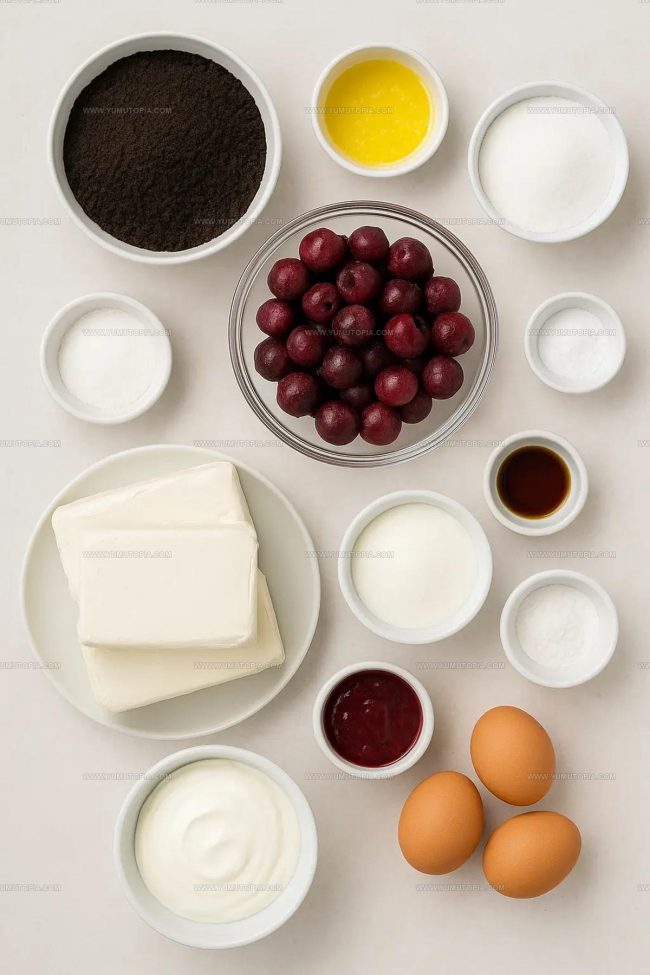
Ingredients
Main Ingredients:
- 24 ounces (680 grams) cream cheese
- 1 pound (454 grams) fresh or frozen pitted cherries
- 2½ cups Oreo cookie crumbs
Supporting Ingredients:
- 1 cup (200 grams) granulated sugar
- 4 large eggs
- 4 tablespoons (57 grams) unsalted butter
Binding and Flavoring Ingredients:
- ½ cup (120 grams) sour cream
- 2 tablespoons (16 grams) cornstarch
- 1 teaspoon pure vanilla extract
- ¼ cup cooled, pureed cherry sauce
Instructions
- Craft a vibrant cherry sauce by combining 1 pound of pitted cherries, ½ cup granulated sugar, and 2 tablespoons cornstarch in a saucepan. Simmer at medium heat for 8-10 minutes until the mixture thickens and cherries soften. Partially mash some cherries for texture. Reserve ¼ cup, puree it smooth, and let cool in the freezer.
- Heat your oven to 325°F (165°C). Mix 2½ cups Oreo cookie crumbs with 4 tablespoons melted butter until it resembles damp sand. Press the mixture firmly into a 9-inch springform pan’s bottom and slightly up the sides. Bake the crust for 12 minutes, then allow to cool.
- Beat 24 ounces softened cream cheese with ¾ cup sugar until completely smooth. Incorporate ½ cup sour cream, ¼ cup cooled cherry puree, and 1 teaspoon vanilla extract until the mixture turns a soft pink color.
- Gently add 4 large room-temperature eggs to the cream cheese mixture, mixing on low speed. Avoid overmixing to prevent air bubbles from forming in your batter.
- Pour the cheesecake batter over the prepared crust. Place the springform pan inside a larger pan filled halfway with hot water. Bake at 325°F (165°C) for 70-80 minutes until the edges are firm and the center has a subtle jiggle.
- Turn off the oven, crack the door open, and let the cheesecake rest inside for 30 minutes. Transfer to a wire rack and cool completely at room temperature.
- Refrigerate the cheesecake for at least 6 hours or overnight to set the texture and develop deeper flavors.
- Before serving, generously spoon the remaining cherry sauce over the top, allowing whole and mashed cherries to create a stunning, jewel-like topping.
Notes
- Check cream cheese temperature before mixing to ensure a smooth, lump-free filling.
- Use room temperature eggs to help blend ingredients more evenly and prevent curdling.
- Wrap the springform pan in aluminum foil when baking in a water bath to prevent water seepage.
- Chill the cheesecake for at least 4 hours, preferably overnight, to let the flavors develop and texture set perfectly.
- Prep Time: 20 minutes
- Cook Time: 1 hour 55 minutes (includes cooling)
- Category: Cheesecakes
- Method: Baking
- Cuisine: American
Nutrition
- Serving Size: 12
- Calories: 475 kcal
- Sugar: 38 g
- Sodium: 260 mg
- Fat: 32 g
- Saturated Fat: 18 g
- Unsaturated Fat: 12 g
- Trans Fat: 0.5 g
- Carbohydrates: 37 g
- Fiber: 2 g
- Protein: 7 g
- Cholesterol: 125 mg
Logan Lemaster
Founder & Culinary Innovator
Expertise
Recipe Development and Innovation, Menu Design and Optimization, Fine Dining Techniques, Ingredient Pairing and Flavor Science
Education
Metropolitan Culinary Arts Institute
Logan’s culinary journey kicked off in his vibrant Chicago family kitchen, where fresh, seasonal ingredients and bold flavors were always front and center.
After graduating from the Metropolitan Culinary Arts Institute in Arlington, Virginia, and honing his skills in renowned restaurants, Logan mastered the art of blending classic techniques with exciting, modern twists.
His kitchen is a dynamic lab for flavor exploration. Through Yum Utopia, Logan aims to empower you to cook with both confidence and creativity, turning simple ingredients into spectacular meals.