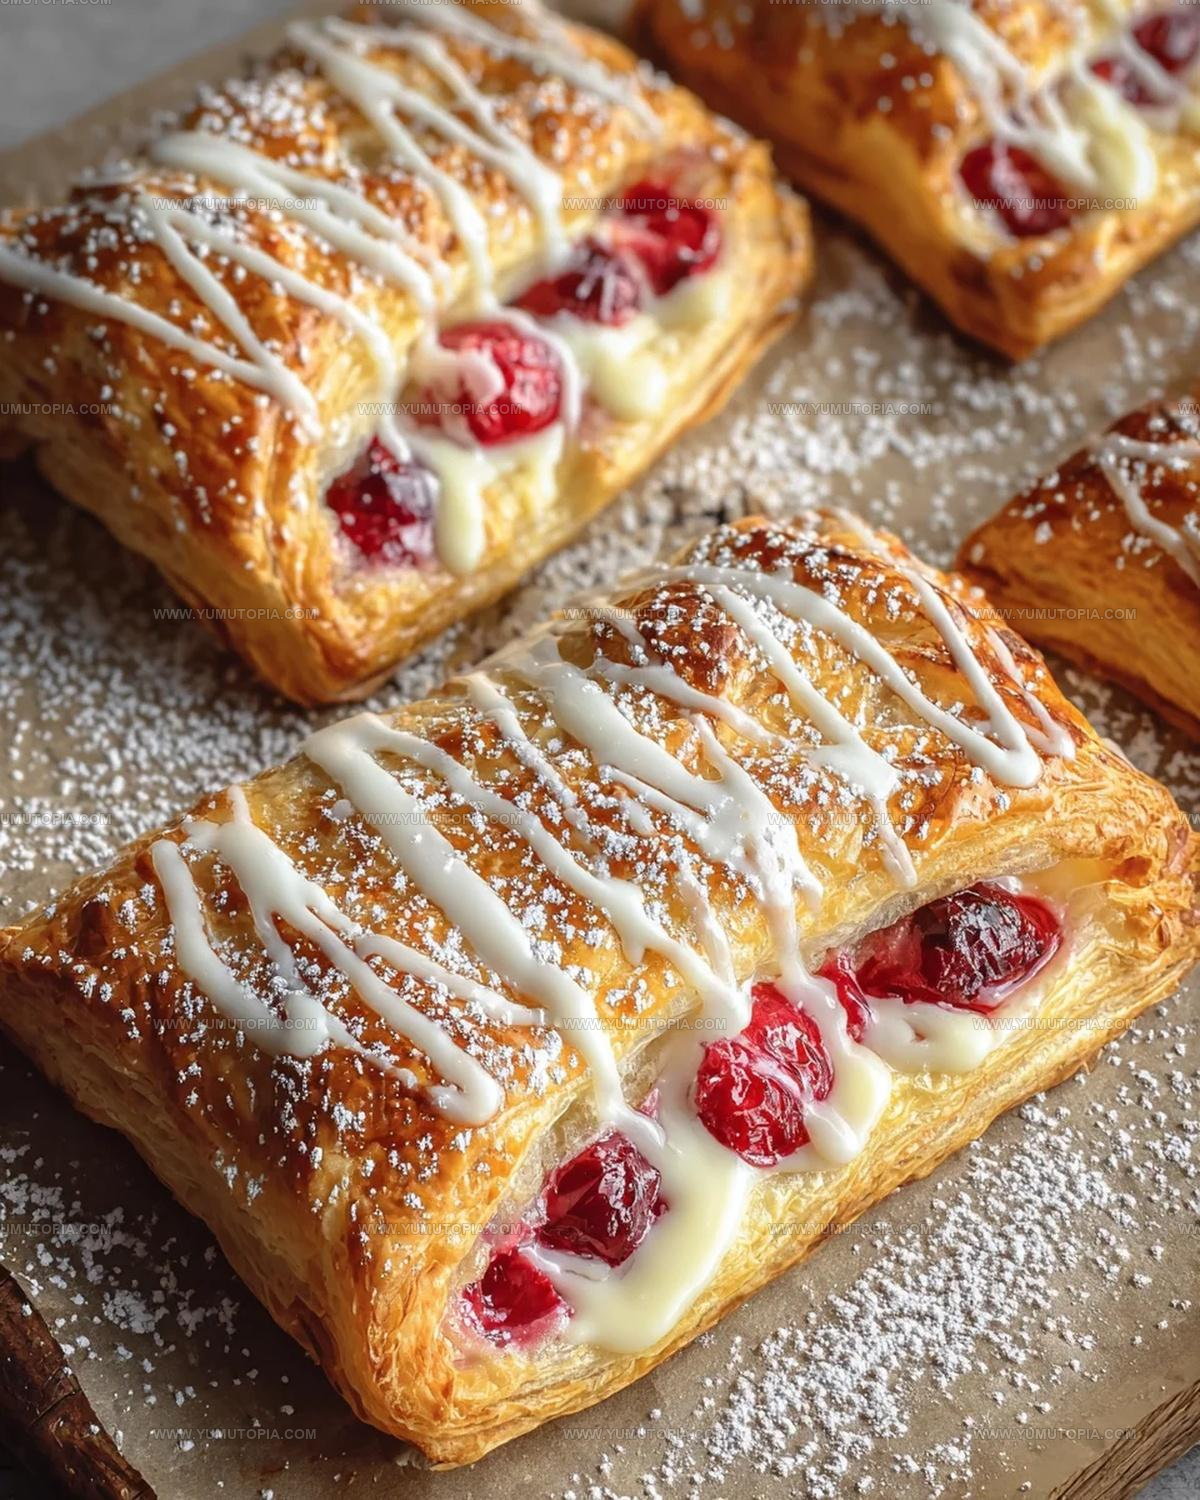
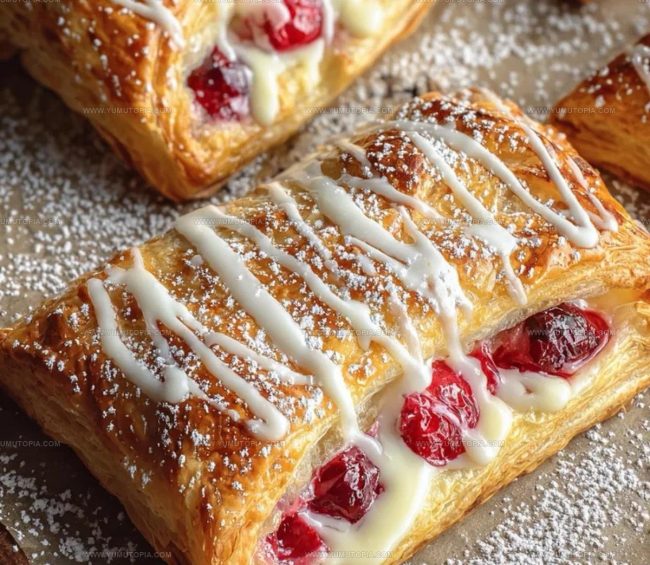
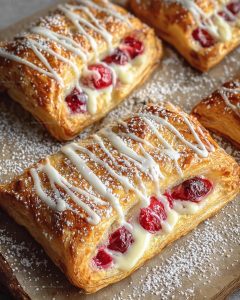
Cherry Danish Pastry Recipe With Flaky Buttery Layers
Cherry Danish Pastry recipe turns any morning into something special with its delicate layers and sweet fruit filling that feels like pure comfort on a plate.
Bakeries have long mastered the art of creating pastries that balance flaky texture with just enough sweetness, and now you can achieve the same results at home.
The combination of buttery dough and fruit creates a breakfast treat that works equally well for weekend brunch or a weekday pick-me-up with coffee.
There’s something wonderfully satisfying about biting into a pastry that looks as beautiful as it tastes, making it perfect for serving to guests or enjoying solo.
Home bakers often think certain pastries are too complicated, but with clear guidance, creating bakery-style results becomes completely achievable.
The aroma alone will have everyone gathering in the kitchen before you even finish baking.
Why Easy Cherry Danish Pastry Shines

Easy Cherry Danish Ingredient List
Main Pastry Ingredients:Binding Ingredients:Finishing Ingredients:Basic Recipe Tools for Easy Cherry Danish Pastry
Simple Instructions for Easy Cherry Danish Pastry
Prep the Pastry
Grab that puff pastry from the freezer and let it hang out at room temperature until it’s soft and pliable. No need to rush – just give it some time to defrost naturally.
Make Cream Cheese Filling
Snag a mixing bowl and toss in 8 oz cream cheese, 1/4 cup granulated sugar, and 1 teaspoon vanilla extract. Whip these together until they’re smooth and creamy. Set this delicious mixture aside.
Set Up Baking Stations
Line two baking sheets with parchment paper. Sprinkle a bit of flour on your work surface to keep things from sticking.
Shape the Pastry
Unfold your pastry sheet and roll it out to create a 9×11 inch rectangle. Slice the sheet into 6 even triangles. Repeat with the second pastry sheet so you end up with 12 triangles total.
Prepare Pastry Details
Create a gentle 1/4-inch border around each triangle by scoring lightly. Use a fork to poke a few holes in the center – this helps the edges puff up beautifully.
Add Fillings
Spread about 2 tablespoons of cream cheese mixture in the center of each triangle. Top with 2 tablespoons of cherry pie filling.
Chill the Pastries
Pop those assembled pastries in the refrigerator for 15 minutes. This quick chill helps them get extra puffy when baking.
Prepare for Baking
Heat your oven to 400°F. Whisk 1 large egg with 2 teaspoons of water. Brush this egg wash around the outer edges of each pastry.
Bake to Perfection
Slide the baking sheets into the preheated oven. Bake until the pastries are golden and puffed up, about 15-18 minutes.
Final Touches
Let the pastries cool for 5-10 minutes. Dust them with 1/2 cup of powdered sugar. If you’re feeling fancy, drizzle with a quick icing made from 2 teaspoons milk and remaining powdered sugar.
Serve and Enjoy
These beauties are delicious warm or chilled. Grab a plate and treat yourself to a homemade Danish that looks like it came from a bakery!
A Few Helpful Notes for Easy Cherry Danish Pastry
Bakery-Style Options for Cherry Danish Pastry
Ways To Serve Easy Cherry Danish Pastry
How To Store Cherry Danish Pastry
Easy Cherry Danish Pastry Common Questions
What type of cherries work best for this Danish pastry?
Cherry pie filling is perfect because it’s already sweetened and consistent. Fresh cherries can be too watery and might make the pastry soggy.
Can cream cheese be replaced in the filling?
Mascarpone or ricotta cheese can substitute for cream cheese. Each will create a slightly different texture and flavor profile for your pastry.
How do pastry triangles prevent filling from leaking?
The 1/4-inch border and fork-poked center help create a raised edge that contains the cream cheese and cherry filling during baking.
Why should pastries chill before baking?
Chilling helps the pastry maintain its shape, creates flakier layers, and prevents the butter in the puff pastry from melting too quickly in the oven.
Can these Danish pastries be made ahead of time?
Assemble the pastries and refrigerate them unbaked for up to 24 hours. Alternatively, bake them completely and reheat at 350F for 5-7 minutes before serving.
Are these pastries best served warm or cold?
Both temperatures are delicious. Warm pastries have a softer texture, while chilled pastries offer a firmer, more structured bite.
Cherry Danish Pastry Recipe
- Total Time: 45-50 minutes
- Yield: 8 1x
Description
Whipping up this easy cherry danish pastry feels like a sweet morning hug from Denmark’s baking traditions. Flaky, buttery layers cradle juicy cherries that dance with creamy filling, making your breakfast table sparkle with homemade charm.
Ingredients
Main Ingredients:
- 17.3 oz puff pastry
- 21 oz canned cherry pie filling
- 8 oz cream cheese
Supporting Ingredients:
- 1 large egg
- ¼ cup granulated sugar
- 1 teaspoon vanilla extract
Finishing Ingredients:
- ½ cup powdered sugar
- 2 teaspoons whole milk
- 2 teaspoons water
Instructions
- Thaw puff pastry at room temperature until soft and pliable for easy handling.
- Mix 8 oz cream cheese, ¼ cup granulated sugar, and 1 teaspoon vanilla extract until perfectly smooth using an electric mixer.
- Cover two baking sheets with parchment paper and lightly dust your workspace with flour.
- Unfold pastry sheet and gently roll into a 9×11 inch rectangle, creating an even surface.
- Slice pastry into 6 triangular sections, using natural fold lines as a guide. Repeat with second sheet for 12 total triangles.
- Delicately trace a ¼-inch border around each triangle’s edge without cutting completely through the dough.
- Pierce several small holes in triangle centers using a fork to encourage beautiful rising during baking.
- Spread approximately 2 tablespoons cream cheese mixture across the center of each triangle.
- Top cream cheese with 2 tablespoons cherry pie filling, keeping within the scored border.
- Chill assembled pastries in refrigerator for 15 minutes to enhance puffiness and structure.
- Warm oven to 400F and prepare egg wash by whisking 1 egg with 2 teaspoons water.
- Brush egg wash gently along pastry edges for golden, glossy finish.
- Bake pastries at 400F for approximately 15-18 minutes until edges turn golden brown and puffy.
- Allow pastries to cool 5-10 minutes after removing from oven.
- Dust with ½ cup powdered sugar just before serving.
Notes
- Chill the pastries before baking to ensure a flakier, more dramatic rise in the oven.
- Use room temperature cream cheese for a smoother, lump-free filling that spreads easily.
- Scoring the pastry border helps create a beautiful, puffy edge that separates from the center.
- For a gluten-free version, swap traditional puff pastry for a gluten-free alternative, keeping all other ingredients the same.
- Prep Time: 30 minutes
- Cook Time: 15-20 minutes
- Category: Pastries
- Method: Baking
- Cuisine: Danish
Nutrition
- Serving Size: 8
- Calories: 289 kcal
- Sugar: 18 g
- Sodium: 131 mg
- Fat: 16 g
- Saturated Fat: 7 g
- Unsaturated Fat: 8 g
- Trans Fat: 0.2 g
- Carbohydrates: 29 g
- Fiber: 1 g
- Protein: 4 g
- Cholesterol: 38 mg
Logan Lemaster
Founder & Culinary Innovator
Expertise
Recipe Development and Innovation, Menu Design and Optimization, Fine Dining Techniques, Ingredient Pairing and Flavor Science
Education
Metropolitan Culinary Arts Institute
Logan’s culinary journey kicked off in his vibrant Chicago family kitchen, where fresh, seasonal ingredients and bold flavors were always front and center.
After graduating from the Metropolitan Culinary Arts Institute in Arlington, Virginia, and honing his skills in renowned restaurants, Logan mastered the art of blending classic techniques with exciting, modern twists.
His kitchen is a dynamic lab for flavor exploration. Through Yum Utopia, Logan aims to empower you to cook with both confidence and creativity, turning simple ingredients into spectacular meals.