Marbled Chocolate Chip Cookies Recipe for Soft Chewy Treats
Marble chocolate chip cookies promise pure delight for serious sweet enthusiasts searching for the ultimate cookie experience.
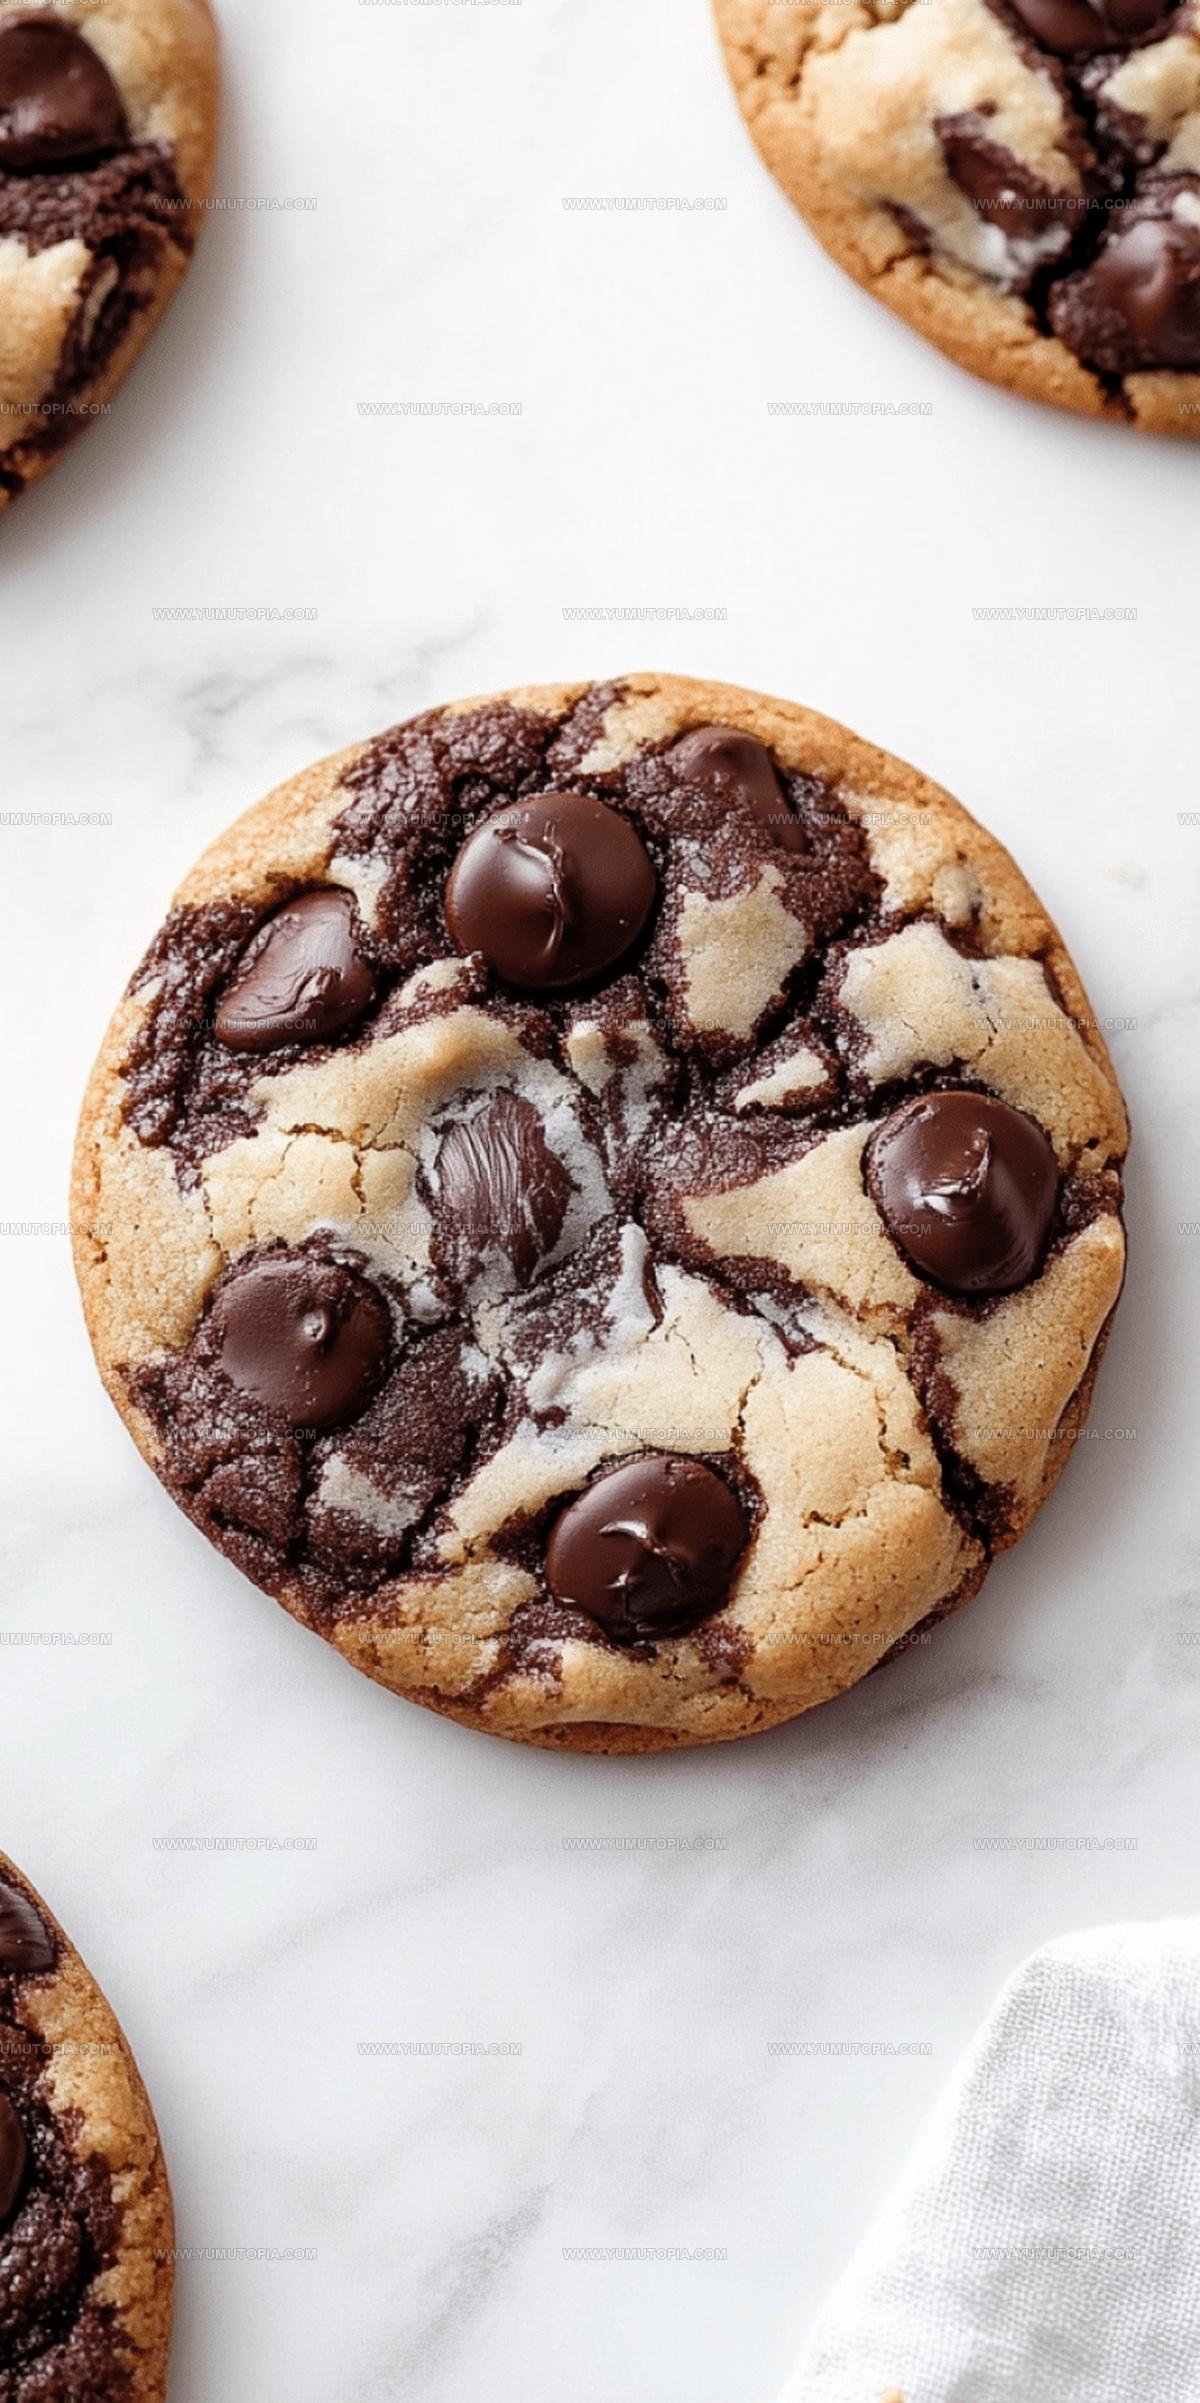
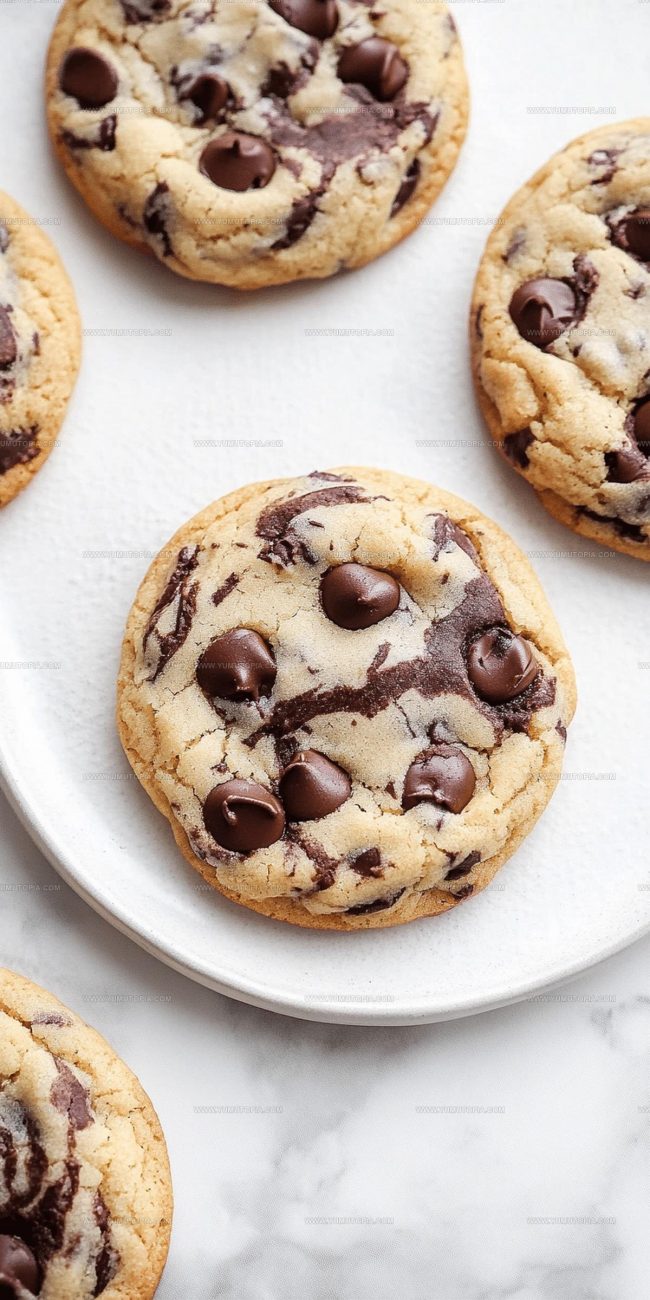
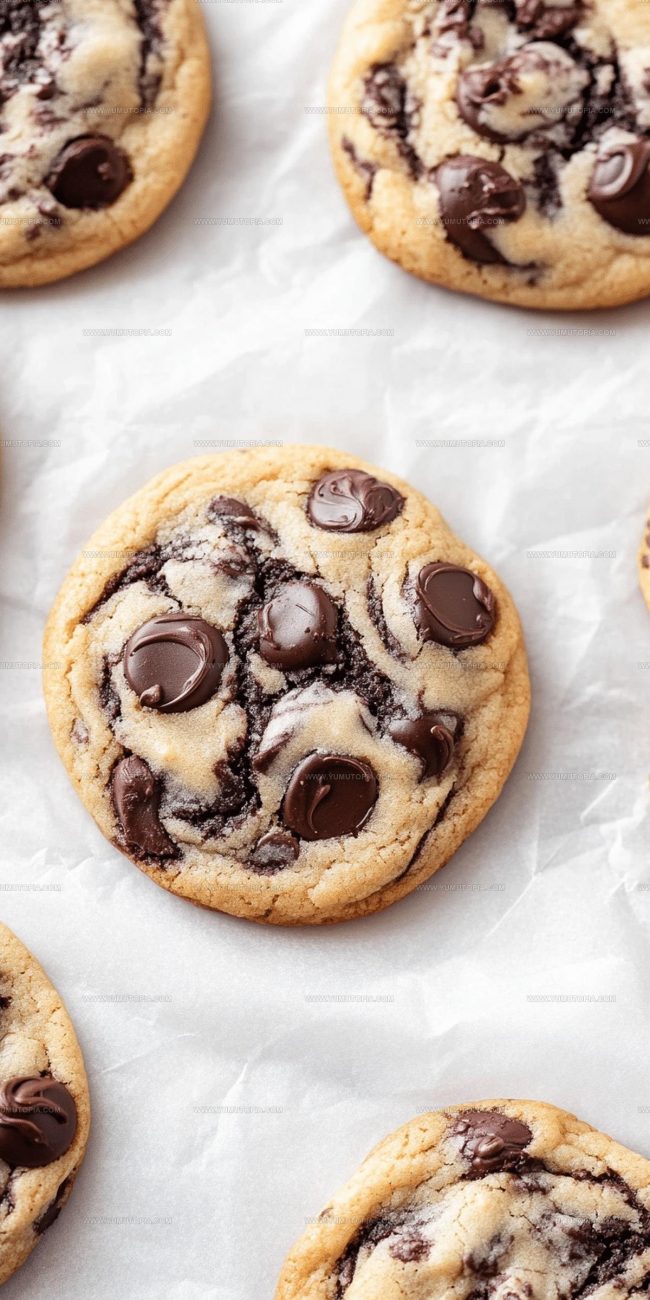
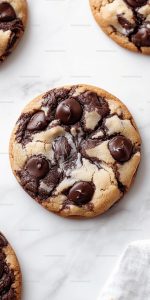
Swirling rich chocolate through classic dough creates a stunning visual and flavor sensation that immediately captures attention.
Soft centers with crispy edges represent the perfect textural combination every cookie lover craves.
Unexpected chocolate patterns transform simple cookies into stunning conversation starters at gatherings and family events.
Dark and light chocolate streams blend seamlessly, producing a mesmerizing marbled effect that looks professionally crafted.
Preparing these spectacular cookies ensures smiles and excitement from anyone lucky enough to enjoy them.
Standout Features Of Chewy Marble Chocolate Chip Cookies
Essential Ingredients for Marble Chocolate Chip Cookies
Dry Ingredients:Sweeteners and Fats:Wet Ingredients:Optional Add-In:Essential Kitchen Tools for Marble Chocolate Chip Cookies
Preparing Chewy Marble Chocolate Chip Cookies Step By Step
Prepare Dry Mix
Grab a medium bowl and whisk together 2 1/4 cups all-purpose flour, 1/2 teaspoon baking soda, 1/2 teaspoon baking powder, and 1/2 teaspoon salt. Set this powdery blend aside while you tackle the next part.
Butter and Sugar Magic
Snag a large mixing bowl and cream 1 cup softened unsalted butter with 3/4 cup granulated sugar and 3/4 cup packed brown sugar. Beat these together until they transform into a fluffy, light mixture – this should take about 3-4 minutes of steady mixing.
Egg and Vanilla Blend
Drop in 2 large room-temperature eggs one at a time, mixing thoroughly after each. Pour in 2 teaspoons vanilla extract and blend until everything looks smooth and combined.
Create Chocolate Dough
Separate your mixed dough into two equal portions. Take one portion and stir in 1/4 cup unsweetened cocoa powder until it’s completely incorporated.
Add Chocolate Chips
Fold chocolate chips into each dough portion:
Marble the Dough
Gently swirl the chocolate and plain doughs together, creating beautiful marbled patterns. Keep your touch light to maintain distinct color swirls.
Chill Down
Cover the dough and let it rest in the refrigerator for 1 hour. This helps develop deeper flavors and prevents spreading.
Prepare to Bake
Heat your oven to exactly 350°F. Line baking sheets with parchment paper.
Form Cookies
Scoop rounded tablespoons of marbled dough onto prepared sheets, spacing them 2 inches apart.
Bake to Perfection
Slide the sheets into the 350°F oven and bake for 10-12 minutes. Look for set edges with soft centers.
Cool and Enjoy
Let cookies rest on baking sheets for 5 minutes, then transfer to a wire rack. Grab a glass of milk and savor your delicious creation!
Useful Notes For Chewy Marble Chocolate Chip Cookies
Easy Variations for Chewy Marble Chocolate Chip Cookies
Best Serving Options for Marble Chocolate Chip Cookies
Best Storage Practices for Chewy Marble Chocolate Chip Cookies
Commonly Asked Questions for Chewy Marble Chocolate Chip Cookies
What makes marble cookies different from regular chocolate chip cookies?
The marbling technique creates beautiful swirls of chocolate and vanilla dough, giving each cookie a unique and stunning appearance with two distinct flavor profiles in every bite.
How do I prevent my marbled dough from getting too mixed together?
Fold the chocolate and vanilla doughs gently and minimally, using light strokes to keep the distinct color swirls visible in your final cookie.
Can I use different types of chocolate in this recipe?
Absolutely – semisweet, dark, or milk chocolate chips all work wonderfully and can create different flavor combinations in your marbled cookies.
Why is chilling the dough important for this recipe?
Chilling helps the butter solidify, prevents spreading during baking, and allows the flavors to develop more deeply, resulting in a richer-tasting cookie with a better texture.
How can I tell when these cookies are perfectly baked?
Look for set edges that are slightly golden and centers that still appear soft. They’ll continue cooking slightly after removing from the oven, ensuring a chewy texture.
Is it okay to use salted butter instead of unsalted?
Salted butter can work, but reduce or eliminate the added salt in the recipe to prevent the cookies from becoming too salty.
Chewy Marble Chocolate Chip Cookies Recipe
- Total Time: 1 hours 25-27 minutes
- Yield: 24 1x
Description
Marble chocolate chip cookies deliver pure comfort straight from your kitchen, blending swirls of chocolate with classic cookie goodness. Crisp edges and tender centers make these treats perfect for sharing with friends or enjoying during a quiet afternoon break.
Ingredients
Base Ingredients:
- 2 ¼ cups all-purpose flour
- 1 cup unsalted butter
- ¾ cup granulated sugar
- ¾ cup brown sugar
- 2 large eggs
- 2 cups semi-sweet chocolate chips
Leavening and Seasoning Ingredients:
- ½ teaspoon baking soda
- ½ teaspoon baking powder
- ½ teaspoon salt
Flavor Enhancers:
- 2 teaspoons vanilla extract
- ¼ cup unsweetened cocoa powder
Instructions
- Whisk 2 ¼ cups flour, ½ teaspoon baking soda, ½ teaspoon baking powder, and ½ teaspoon salt together in a medium bowl until thoroughly combined.
- Cream 1 cup softened butter, ¾ cup granulated sugar, and ¾ cup brown sugar in a large bowl until the mixture becomes light and airy, about 3-4 minutes using an electric mixer.
- Add 2 large room temperature eggs individually to the butter mixture, beating after each addition. Pour in 2 teaspoons vanilla extract and mix until smooth.
- Separate the prepared dough into two equal portions in different bowls.
- Blend ¼ cup unsweetened cocoa powder into one dough portion until completely incorporated, creating a chocolate dough.
- Fold 1 cup chocolate chips into each dough portion separately.
- Gently swirl the chocolate and plain doughs together, creating delicate marbled patterns without overmixing.
- Wrap the marbled dough in plastic and refrigerate for at least 1 hour to firm up.
- Heat your oven to 350°F and line two baking sheets with parchment paper.
- Drop rounded tablespoons of marbled dough onto prepared sheets, spacing each cookie 2 inches apart.
- Bake at 350°F for 10-12 minutes, ensuring edges are set but centers remain soft.
- Let cookies rest on baking sheets for 5 minutes, then transfer to a wire rack for complete cooling.
Notes
- Chilling the dough helps prevent spreading and creates a more complex flavor profile for your cookies.
- Use room temperature butter and eggs to ensure smooth mixing and consistent texture in your cookie dough.
- Folding the chocolate and vanilla doughs gently creates beautiful marbled patterns without completely blending the colors.
- For gluten-free options, substitute the all-purpose flour with a high-quality 1:1 gluten-free baking blend to maintain the chewy texture.
- Prep Time: 1 hour 15 minutes
- Cook Time: 10-12 minutes
- Category: Cookies
- Method: Baking
- Cuisine: American
Nutrition
- Serving Size: 24
- Calories: 189 kcal
- Sugar: 14 g
- Sodium: 93 mg
- Fat: 10 g
- Saturated Fat: 6 g
- Unsaturated Fat: 4 g
- Trans Fat: 0.1 g
- Carbohydrates: 25 g
- Fiber: 2 g
- Protein: 2 g
- Cholesterol: 22 mg
Madison Wyman
Recipe Developer & Food Storyteller
Expertise
Recipe Research and Adaptation, Food Writing and Cultural Storytelling, Sustainable and Ethical Sourcing, Dietary Adaptations (e.g., gluten-free, plant-based)
Education
Oregon Health & Science University
Portland Community College
Madison’s passion for flavor and culture ignited amidst the rich Southern cooking traditions of her upbringing, where cherished family recipes told delicious tales.
Armed with a Master’s in Food Systems and Society from Oregon Health & Science University and a Culinary Arts Certificate from Portland Community College, Madison truly excels at transforming rich, intricate flavors into dishes that are both approachable and heartfelt.
For her, cooking is a vibrant blend of science, art, and heritage – a powerful way to connect us to our roots and each other. Her recipes invite you to delve deeper, uncovering the fascinating stories woven into every ingredient.