Mochi Brownies Recipe with Chewy Chocolate Layers
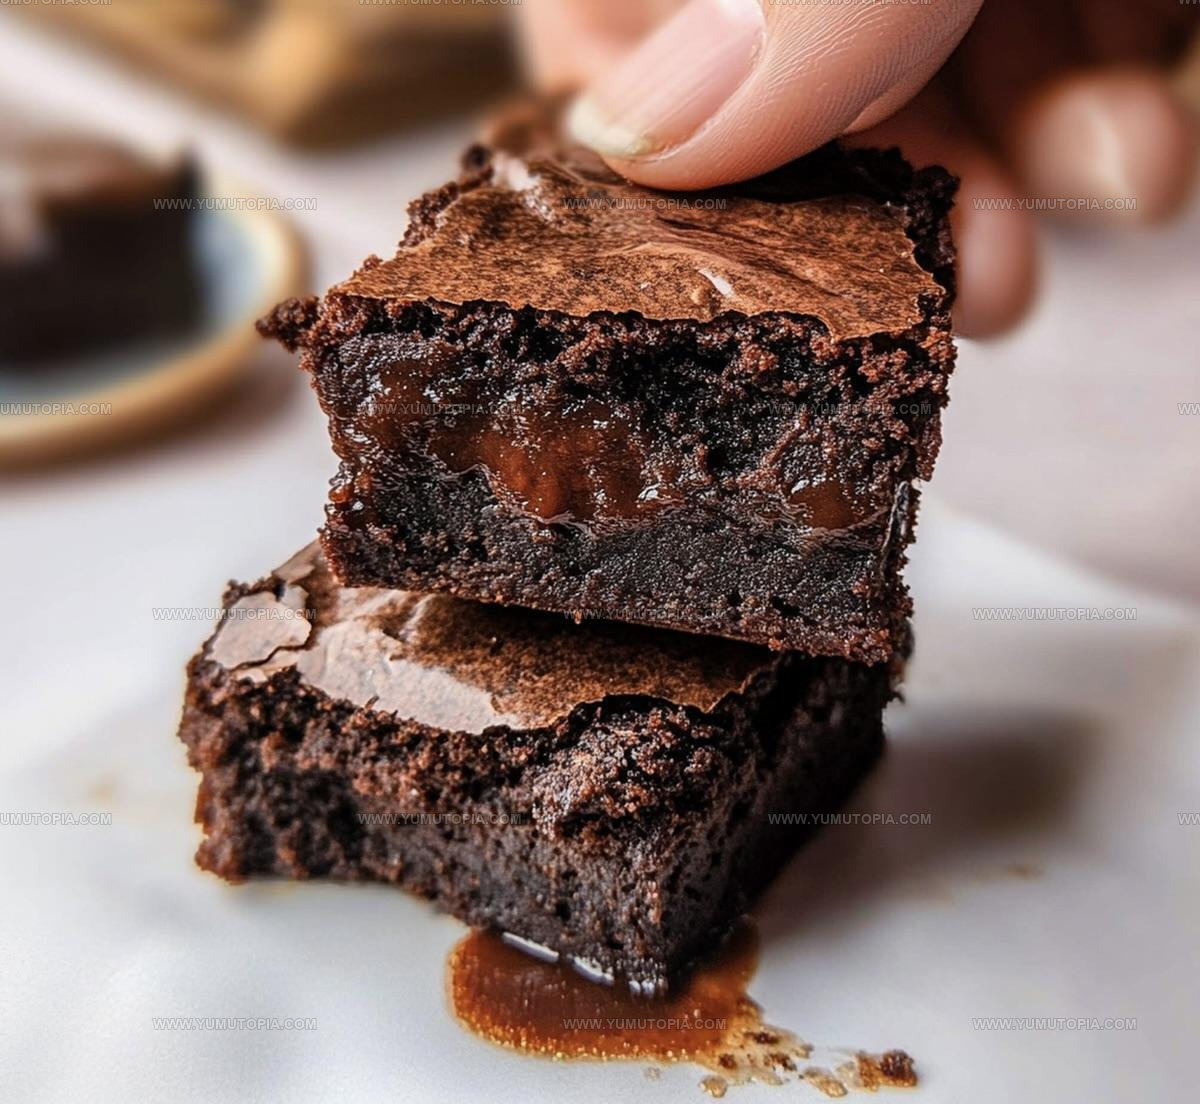
Mochi brownies combine two beloved treats into one dessert that brings out both fudgy richness and delightfully chewy texture in every bite.
This fusion recipe has taken social media by storm, and it’s easy to see why once you taste the unique contrast between crispy edges and that signature bouncy center.
The Japanese-inspired twist adds an unexpected element that makes ordinary chocolate desserts feel completely new again.
Whether you need something special for a potluck or just want to satisfy a serious sweet tooth, this hybrid creation checks all the boxes.
The best part is how simple it is to put together, requiring no special skills or complicated techniques.
If you love desserts that surprise and delight with every single bite, this one absolutely brings out.
What Makes Mochi Brownies So Enjoyable

Mochi Brownies Ingredient Overview
Flour Base:Chocolate Component:Sweetener:Binding Ingredients:Flavor Enhancers:Leavening and Seasoning:What Tools Support Mochi Brownies Best?
How to Bake Chewy Mochi Brownies
Prep the Oven and Pan
Fire up your oven to 350°F. Grab an 8×8-inch baking pan and give it a quick spray with cooking spray or line it with parchment paper so your brownies won’t stick.
Mix Dry Ingredients
Grab a big mixing bowl and toss in these dry ingredients:
Whisk everything together until it looks well combined and no big lumps remain.
Add Wet Ingredients
Time to make this batter come to life! Pour in these wet ingredients:
Stir just until everything is mixed. Don’t go crazy with the mixing – we want these brownies tender, not tough.
Spread the Batter
Pour your chocolatey batter into the prepared pan. Use a spatula to spread it out evenly, making sure it reaches all the corners.
Bake to Perfection
Slide the pan into the preheated oven and bake for 25-30 minutes. You’ll know they’re done when a toothpick comes out mostly clean with just a few moist crumbs.
Cool and Slice
Let the brownies cool completely in the pan. This helps them set up and makes cutting easier. Once cooled, slice into squares and enjoy your chewy, chocolatey treat!
Secrets for Chewy Mochi Brownies
Creative Spins on Mochi Brownies
Best Ways to Serve Mochi Brownies
Storage Guide for Mochi Brownies
Mochi Brownies Common FAQs
What makes mochiko flour different from regular flour?
Mochiko flour is made from sweet rice and creates a uniquely chewy, stretchy texture that gives these brownies their signature moist and bouncy consistency.
Can glutinous rice flour work as a substitute?
Not exactly. Glutinous rice flour and mochiko flour are similar, but mochiko provides the precise stretchy texture that defines these brownies.
How do I know when these brownies are perfectly baked?
Look for slightly set edges and a center that’s still slightly soft when you insert a toothpick—it should come out with just a few moist crumbs.
Are these brownies more like traditional brownies or mochi?
These brownies blend both textures, offering a rich chocolate flavor with the distinctive chewy elasticity of mochi.
Can people with gluten sensitivities eat these brownies?
Mochiko flour is naturally gluten-free, making these brownies safe for those avoiding wheat-based products.
How do the eggs impact the final brownie texture?
Eggs help bind the ingredients and contribute to the dense, chewy consistency that makes these brownies unique.

Chewy Mochi Brownies Recipe
- Total Time: 35-40 minutes
- Yield: 9 1x
Description
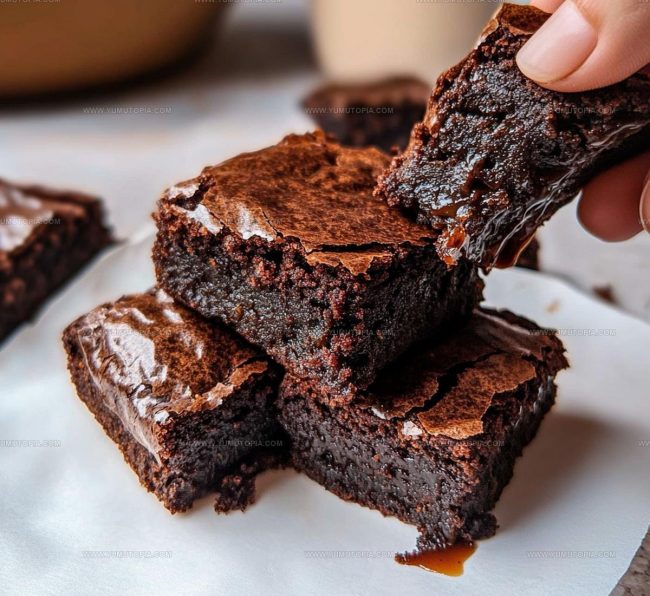
Mochi brownies blend chewy Japanese mochi texture with rich chocolate goodness, creating a delightful dessert that combines the best of two worlds. Grab your baking pan and get ready for a sweet adventure that will surprise and delight your taste buds.
Ingredients
Main Ingredients:
- 1 cup mochiko flour
- ½ cup cocoa powder
- 1 cup granulated sugar
- 2 large eggs
Binding and Moisture Ingredients:
- ½ cup unsalted butter
- 1 teaspoon pure vanilla extract
Leavening and Seasoning Ingredients:
- 1 teaspoon baking powder
- 1 pinch salt
Instructions
- Prepare your 8×8-inch baking pan by coating it with cooking spray or lining with parchment paper at 350°F (175°C).
- Blend 1 cup mochiko flour, ½ cup cocoa powder, 1 cup sugar, 1 tsp baking powder, and a pinch of salt in a large mixing bowl until completely uniform.
- Melt ½ cup butter and let it cool slightly before whisking in 2 room temperature eggs and 1 tsp vanilla extract into the dry ingredients.
- Stir the mixture gently until ingredients are just incorporated, taking care not to overmix your batter.
- Transfer the batter into your prepared pan, using a spatula to spread it evenly across the surface.
- Slide the pan into the preheated oven and bake for exactly 25-30 minutes, checking doneness with a toothpick that should emerge with a few moist crumbs.
- Remove the pan from the oven and let your brownies rest at room temperature for 45-60 minutes to ensure clean cutting and optimal texture.
- Slice into 9-12 equal squares using a sharp knife, wiping the blade clean between cuts for neat edges.
Notes
- Mochiko flour gives these brownies a uniquely chewy, stretchy texture that sets them apart from traditional brownies.
- For the best consistency, mix ingredients just until combined to prevent a tough texture.
- Checking doneness can be tricky—look for a slightly set center with a few moist crumbs on the toothpick.
- Gluten-free bakers will love this recipe since mochiko flour naturally contains no wheat, making it a perfect alternative dessert.
- Prep Time: 10 minutes
- Cook Time: 25-30 minutes
- Category: Brownies
- Method: Baking
- Cuisine: Japanese-American
Nutrition
- Serving Size: 9
- Calories: 156 kcal
- Sugar: 15 g
- Sodium: 40 mg
- Fat: 7 g
- Saturated Fat: 4 g
- Unsaturated Fat: 3 g
- Trans Fat: 0 g
- Carbohydrates: 22 g
- Fiber: 2 g
- Protein: 2 g
- Cholesterol: 37 mg
Madison Wyman
Recipe Developer & Food Storyteller
Expertise
Recipe Research and Adaptation, Food Writing and Cultural Storytelling, Sustainable and Ethical Sourcing, Dietary Adaptations (e.g., gluten-free, plant-based)
Education
Oregon Health & Science University
Portland Community College
Madison’s passion for flavor and culture ignited amidst the rich Southern cooking traditions of her upbringing, where cherished family recipes told delicious tales.
Armed with a Master’s in Food Systems and Society from Oregon Health & Science University and a Culinary Arts Certificate from Portland Community College, Madison truly excels at transforming rich, intricate flavors into dishes that are both approachable and heartfelt.
For her, cooking is a vibrant blend of science, art, and heritage – a powerful way to connect us to our roots and each other. Her recipes invite you to delve deeper, uncovering the fascinating stories woven into every ingredient.