Chocolate Blossom Cookies Recipe with a Kiss on Top
Chocolate Blossom Cookies recipe merges two beloved treats in one delightful bite that has charmed home bakers for generations.
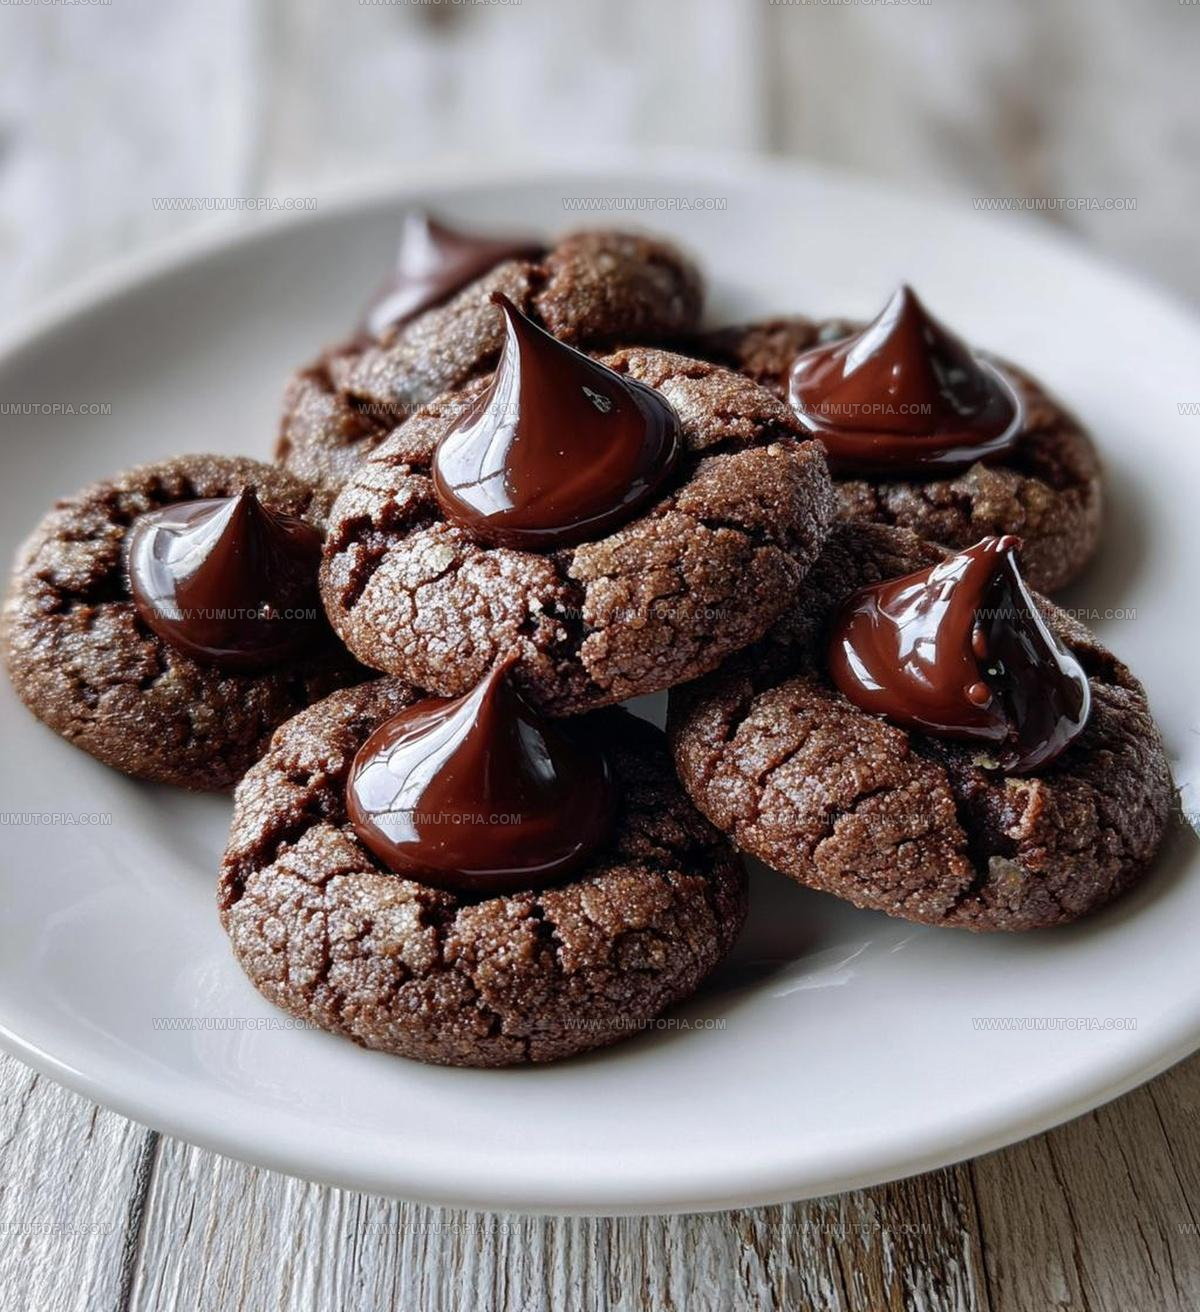
The combination creates a stunning contrast that looks as impressive as it tastes, making them perfect for holiday gatherings, bake sales, or any occasion that calls for something special.
What makes them so appealing is how they balance rich cocoa flavor with a sweet surprise on top that everyone recognizes and loves.
They’re surprisingly simple to prepare, requiring just a few basic pantry staples and minimal time in the kitchen.
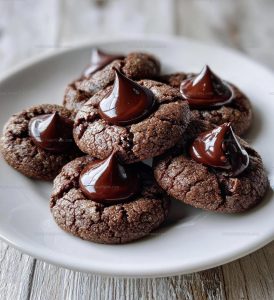
The classic appearance never goes out of style, and presenting a platter of these beauties always draws smiles and compliments.
When you pull a fresh batch from the oven, the warm aroma fills your home with that comforting scent of homemade goodness.
If you need a go-to recipe that provides consistent results and genuine crowd-pleasing appeal, here’s one that deserves a permanent spot in your collection.
What Makes Chocolate Blossom Cookies So Nostalgic
Core Ingredients of Chocolate Blossom Cookies
Main Ingredients:Dry Ingredients:Finishing Ingredient:Tools Made Easy for Blossom Cookies
How to Prepare Chocolate Blossom Cookies
Warm Up the Oven
Set the oven to exactly 350°F (175°C). This temperature helps create perfectly golden cookies.
Mix the Sweet Base
Grab a large mixing bowl and blend 1 cup unsalted butter, 1 cup granulated sugar, and 1 cup packed brown sugar until the mixture becomes creamy and smooth. Your arm might get a little workout here!
Add Liquid Ingredients
Crack 2 large eggs into the sugar mixture and pour in 2 teaspoons vanilla extract. Stir everything until it’s well combined and looks totally integrated.
Prepare Dry Ingredients
In a separate bowl, combine the dry ingredients carefully:
Whisk these together until they’re evenly distributed.
Create Cookie Dough
Slowly add the dry ingredient mixture into your wet ingredients. Stir gently until the dough comes together without any flour streaks.
Shape the Cookies
Roll the dough into small balls, about 1 inch in diameter. Place each ball on an ungreased baking sheet, leaving some space between them.
Bake to Golden Perfection
Slide the baking sheet into the preheated oven. Bake for exactly 10-12 minutes until the edges turn a light golden brown.
Add Chocolate Kisses
Immediately after removing from the oven, press 1 unwrapped chocolate kiss into the center of each warm cookie. The heat will help the kiss stick perfectly.
Cool and Enjoy
Let the cookies rest on the baking sheet for 3-4 minutes. Then transfer them to a wire rack to cool completely. The chocolate kiss will set as the cookies cool down.
Helpful Tips for Soft Chocolate Blossom Cookies
Chocolate Blossom Cookies With Flavor Variations
How To Serve Chocolate Blossom Cookies
Chocolate Blossom Cookies Storage Notes
Chocolate Blossom Cookies FAQs
Can I use margarine instead of butter?
Butter gives the best flavor and texture. Margarine might change the cookie’s consistency, so stick with real butter for delicious results.
How do chocolate kisses stick to the cookies?
When cookies are hot from the oven, the chocolate kiss melts slightly and creates a perfect seal on the warm surface, helping it stay in place.
Can these cookies be frozen?
Absolutely! Wrap the baked cookies carefully in plastic wrap, then store in a freezer container. They’ll stay fresh for about 3 months.
What if my chocolate kiss cracks when pressing it into the cookie?
Gently press the kiss into the warm cookie. If it breaks, simply replace it with another one while the cookie is still soft.
Do these cookies need to be refrigerated?
Since they contain butter and eggs, store them in an airtight container at room temperature for 4-5 days.
Chocolate Blossom Cookies Recipe
- Total Time: 25-27 minutes
- Yield: 24 1x
Description
These chocolate blossom cookies melt right in your hands, creating pure sweet magic with just a simple Hershey’s Kiss pressed into warm chocolate dough fresh from the oven. Perfect for sharing with friends or enjoying solo, these cookies bring instant happiness to any cookie plate.
Ingredients
Main Ingredients:
- 3 cups all-purpose flour
- 1 cup unsalted butter, softened
- 1 cup granulated sugar
- 1 cup brown sugar, packed
Supporting Ingredients:
- 2 large eggs
- 2 teaspoons vanilla extract
Finishing Ingredients:
- 1 teaspoon baking soda
- ½ teaspoon salt
- 1 cup chocolate kisses, unwrapped
Instructions
- Heat your oven to precisely 350°F (175°C) and prepare two ungreased baking sheets.
- Cream 1 cup softened unsalted butter with 1 cup granulated sugar and 1 cup brown sugar until the mixture becomes light and fluffy.
- Incorporate 2 large eggs and 2 teaspoons vanilla extract, blending thoroughly until smooth.
- Separately whisk 3 cups all-purpose flour with 1 teaspoon baking soda and ½ teaspoon salt.
- Slowly fold dry ingredients into butter mixture, stirring until a consistent dough forms.
- Shape dough into small 1-inch round balls using your palms, spacing them 2 inches apart on baking sheets.
- Bake cookies for exactly 11 minutes at 350°F, watching for slightly golden edges.
- Remove cookies from oven and immediately press 1 unwrapped chocolate kiss into the center of each warm cookie.
- Let cookies rest on baking sheet for 3 minutes to set, then transfer to a wire cooling rack.
- Allow chocolate kisses to firm up completely before serving, which takes approximately 15-20 minutes at room temperature.
Notes
- Chill the dough for 30 minutes before rolling to prevent spreading and create neater cookies.
- Use room temperature butter and eggs for smoother mixing and better cookie texture.
- For a gluten-free version, swap wheat flour with a 1:1 gluten-free baking blend.
- Press chocolate kisses into warm cookies gently but quickly to ensure they stick without melting completely.
- Prep Time: 15 minutes
- Cook Time: 10-12 minutes
- Category: Cookies
- Method: Baking
- Cuisine: American
Nutrition
- Serving Size: 24
- Calories: 186
- Sugar: 13 g
- Sodium: 92 mg
- Fat: 10 g
- Saturated Fat: 6 g
- Unsaturated Fat: 4 g
- Trans Fat: 0.1 g
- Carbohydrates: 25 g
- Fiber: 1 g
- Protein: 2 g
- Cholesterol: 22 mg
Madison Wyman
Recipe Developer & Food Storyteller
Expertise
Recipe Research and Adaptation, Food Writing and Cultural Storytelling, Sustainable and Ethical Sourcing, Dietary Adaptations (e.g., gluten-free, plant-based)
Education
Oregon Health & Science University
Portland Community College
Madison’s passion for flavor and culture ignited amidst the rich Southern cooking traditions of her upbringing, where cherished family recipes told delicious tales.
Armed with a Master’s in Food Systems and Society from Oregon Health & Science University and a Culinary Arts Certificate from Portland Community College, Madison truly excels at transforming rich, intricate flavors into dishes that are both approachable and heartfelt.
For her, cooking is a vibrant blend of science, art, and heritage – a powerful way to connect us to our roots and each other. Her recipes invite you to delve deeper, uncovering the fascinating stories woven into every ingredient.