Chocolate Cherry Upside Down Cake Recipe To Flip
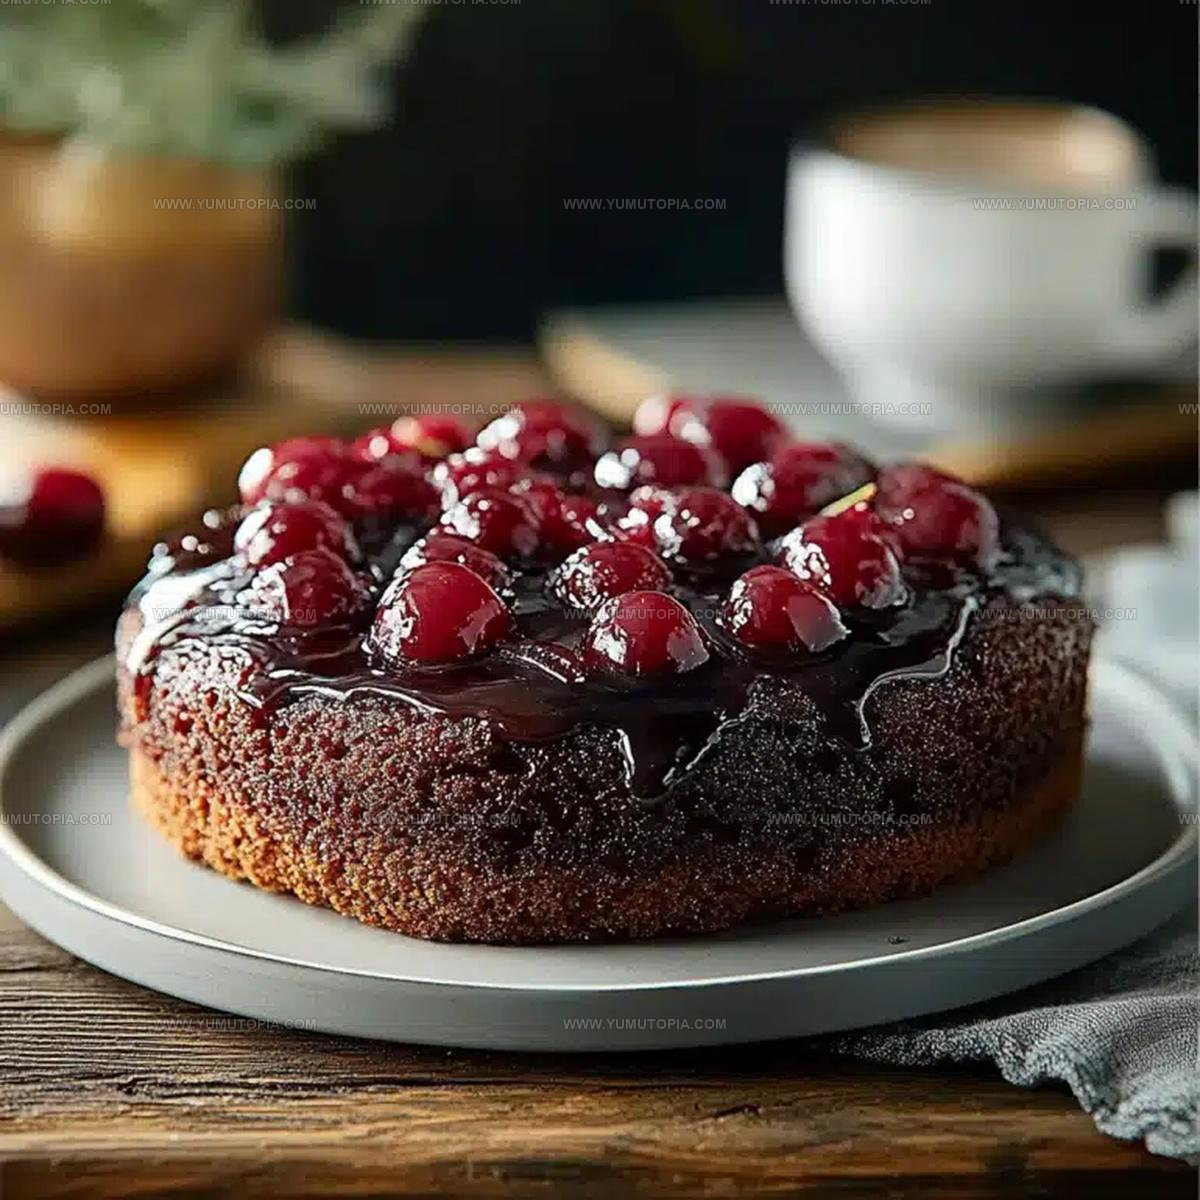
Chocolate Cherry Upside Down Cake captivates dessert lovers with its dramatic presentation and crowd-pleasing flavors that work beautifully for celebrations or casual gatherings.
The stunning contrast creates visual appeal that makes any occasion feel special without requiring advanced baking skills.
Rich, fruity, and satisfying, it packs comfort in every bite while looking impressive enough for guests.
This classic dessert has earned its place as a favorite because it combines familiar tastes in an unexpectedly delightful way.
Whether you serve it warm or at room temperature, the results always feel indulgent.
The recipe comes together more easily than the gorgeous final result might suggest.
A Stunning, Fruit-Infused Romance: Chocolate Cherry Upside Down Cake
Cocoa Rich Batter And Cherry Layer Essentials Of This Cake

Non-Stick Cake Hardware For Chocolate Cherry Upside Down Cake
Method for a Confident Flip of Chocolate Cherry Upside Down Cake
Prepare the Oven and Pan
Set your oven to 350°F (175°C). Grab a 9-inch round cake pan and give it a good coating of grease. Cut a circle of parchment paper to fit the bottom of your pan, which will make removing the cake a breeze later.
Create the Caramel Cherry Base
Grab a small saucepan and melt 1/4 cup (57g) unsalted butter with 1/2 cup (100g) brown sugar over medium heat. Stir the mixture until it becomes smooth and combines perfectly. Pour this golden mixture into your prepared pan, spreading it evenly across the bottom. Arrange 2 cups (330g) of pitted cherries in a beautiful single layer over the caramel.
Mix the Wet Ingredients
In a large mixing bowl, whisk 1 cup (200g) granulated sugar with 1/2 cup (120ml) vegetable oil until they blend smoothly. Crack in 2 large eggs and add 1 teaspoon vanilla extract. Mix everything until the mixture looks silky and well combined.
Combine the Dry Ingredients
Take another bowl and sift together 1 cup (125g) all-purpose flour, 1/2 cup (45g) unsweetened cocoa powder, 1 1/2 teaspoons baking powder, 1/2 teaspoon baking soda, and 1/4 teaspoon salt. Make sure these dry ingredients are thoroughly mixed.
Create the Cake Batter
Start adding your dry ingredients and 3/4 cup (180ml) milk to the wet mixture. Alternate between the dry ingredients and milk, beginning and ending with the dry mix. Stir gently just until everything comes together – don’t overmix or your cake will become tough.
Layer the Cake
Carefully pour the chocolate batter over the cherry layer in your pan. Use a spatula to spread the batter evenly, making sure it covers all the cherries completely.
Bake the Cake
Slide the pan into your preheated oven and bake for 40-45 minutes. Check for doneness by inserting a toothpick into the center – it should come out clean when the cake is ready.
Cool and Serve
Let the cake rest in the pan for 10 minutes. Then, place a serving plate on top and carefully flip the pan upside down. The cake should release smoothly onto the plate. Allow the cake to cool completely before cutting into slices and serving.
Flip Tactics To Secure A Perfect Chocolate Cherry Upside Down Cake
Upside-Down Dessert Pivots For Chocolate Cherry Cake
Rich Fruit-Infused Dessert Flourishes For Cherry Cake
Fruity Dessert Preservation Maneuvers For Upside Down Cake
Chocolate Cherry Upside Down Cake FAQs and Slicing Tips
Why do I need to line the pan with parchment paper?
Parchment paper ensures the cherries and caramel won’t stick when you flip the cake, making it easy to remove without breaking.
Can I use frozen cherries instead of fresh?
Fresh cherries work best, but thawed and well-drained frozen cherries can substitute if they’re pitted and patted dry to remove excess moisture.
What if my cherries sink into the batter?
Toss cherries lightly in flour before placing them on the caramel layer to help them stay near the top during baking.
How do I know the cake is done baking?
Insert a toothpick into the center – it should come out with a few moist crumbs, but no wet batter.
Can I make this cake ahead of time?
Absolutely! The cake stays fresh at room temperature for two days when wrapped tightly, and the flavors actually improve overnight.
How ripe should my cherries be?
Choose firm, deep red cherries without bruises or soft spots for the best texture and flavor in your cake.

Chocolate Cherry Upside Down Cake Recipe
- Total Time: 1 hour – 1 hour 5 minutes
- Yield: 8 1x
Description
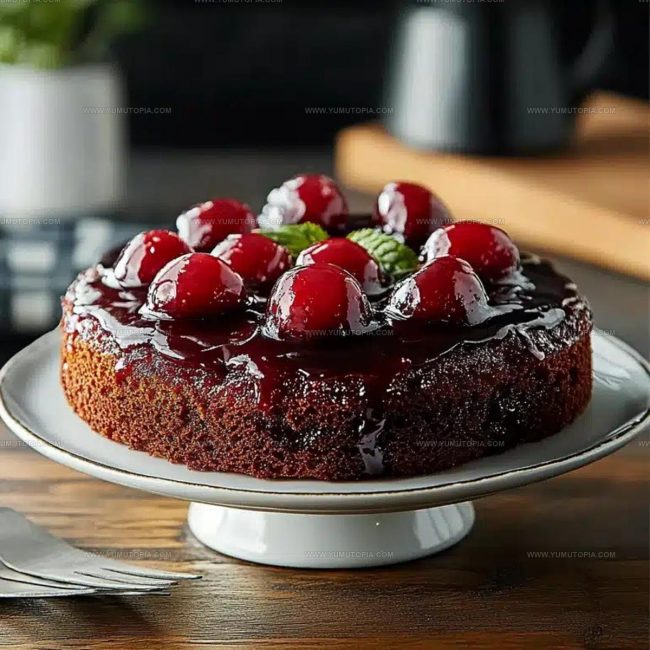
Chocolate cherry upside down cake delivers pure comfort straight from the kitchen, bringing together rich chocolate and sweet cherries in a delightful dessert that feels like a warm hug. Flipping this cake reveals a gorgeous layer of caramelized cherries that make your taste buds dance with pure joy.
Ingredients
Main Ingredients:
- 2 cups (330g) fresh or frozen cherries
- 1 cup (125g) all-purpose flour
- ½ cup (45g) unsweetened cocoa powder
Cake Base:
- 1 cup (200g) granulated sugar
- ½ cup (120ml) vegetable oil
- 2 large eggs
- ¾ cup (180ml) milk
- 1 teaspoon vanilla extract
Topping and Binding:
- ¼ cup (57g) unsalted butter
- ½ cup (100g) brown sugar
- 1 ½ teaspoons baking powder
- ½ teaspoon baking soda
- ¼ teaspoon salt
Instructions
- Melt 14 cup (57g) butter and 12 cup (100g) brown sugar in a small saucepan over medium heat until smooth and combined. Pour into a 9-inch round cake pan lined with parchment paper.
- Arrange 2 cups (330g) pitted cherries in a single, neat layer across the butter-sugar mixture. Press them gently to ensure even distribution.
- Whisk 1 cup (200g) granulated sugar and 12 cup (120ml) vegetable oil until thoroughly blended and slightly lighter in color.
- Crack 2 large eggs into the sugar-oil mixture. Add 1 teaspoon vanilla extract and blend until the mixture looks uniform and creamy.
- Sift 1 cup (125g) all-purpose flour, 12 cup (45g) cocoa powder, 112 teaspoons baking powder, 12 teaspoon baking soda, and 14 teaspoon salt into a separate bowl.
- Pour 34 cup (180ml) milk into your wet ingredients. Alternate adding dry ingredients and milk to the batter, starting and ending with dry ingredients. Stir until just combined.
- Carefully pour batter over the cherry layer, using a spatula to spread it evenly and reach all corners of the pan.
- Position pan in a 350°F (175°C) oven. Bake for 40–45 minutes until a toothpick inserted into the center comes out clean.
- Remove from oven and let cake rest in the pan for 10 minutes. Place a serving plate over the pan and swiftly invert to release the cake.
- Allow cake to cool completely before slicing to ensure clean, beautiful servings.
Notes
- Use ripe, sweet cherries for the best flavor and ensure they are pitted completely to avoid any unexpected crunch.
- Sifting dry ingredients prevents lumps and creates a smoother, more even cake texture that looks professional.
- Let the cake cool exactly 10 minutes before flipping, as waiting too long can make the caramel topping stick to the pan.
- For a dairy-free version, substitute milk with almond or oat milk and use coconut oil instead of butter.
- Prep Time: 20 minutes
- Cook Time: 40-45 minutes
- Category: Cakes
- Method: Baking
- Cuisine: American
Nutrition
- Serving Size: 8
- Calories: 346 kcal
- Sugar: 40 g
- Sodium: 186 mg
- Fat: 20 g
- Saturated Fat: 8 g
- Unsaturated Fat: 11 g
- Trans Fat: 0.5 g
- Carbohydrates: 44 g
- Fiber: 4 g
- Protein: 4 g
- Cholesterol: 41 mg
Madison Wyman
Recipe Developer & Food Storyteller
Expertise
Recipe Research and Adaptation, Food Writing and Cultural Storytelling, Sustainable and Ethical Sourcing, Dietary Adaptations (e.g., gluten-free, plant-based)
Education
Oregon Health & Science University
Portland Community College
Madison’s passion for flavor and culture ignited amidst the rich Southern cooking traditions of her upbringing, where cherished family recipes told delicious tales.
Armed with a Master’s in Food Systems and Society from Oregon Health & Science University and a Culinary Arts Certificate from Portland Community College, Madison truly excels at transforming rich, intricate flavors into dishes that are both approachable and heartfelt.
For her, cooking is a vibrant blend of science, art, and heritage – a powerful way to connect us to our roots and each other. Her recipes invite you to delve deeper, uncovering the fascinating stories woven into every ingredient.