Chocolate Cookie Recipe with a Crispy Edge
Chocolate cookie lovers know that few treats match the pure joy of biting into a rich, satisfying sweet that melts in your mouth.
Homemade cookies have an uncanny ability to brighten any moment, from quiet afternoons with coffee to celebrations with friends and family.
The aroma alone fills kitchens with warmth and comfort that store-bought versions simply cannot replicate.
Baking at home means controlling sweetness levels and achieving textures that suit personal preferences perfectly.
Cookies made from scratch become instant favorites that disappear from cooling racks in minutes.
Simple pantry staples come together to produce results that rival any bakery creation.
Perfect for sharing or keeping all to yourself, fresh-baked treats bring happiness with every bite.
Roll up your sleeves and prepare to fill your home with the most delightful scents and flavors.
What Makes Chocolate Cookie So Enjoyable
Ingredients Used in Chocolate Cookies
Dry Ingredients:Wet Ingredients:Finishing Touch:Practical Prep Tools for Chocolate Cookies
How to Prepare Chocolate Cookies
Prepare Oven and Baking Sheets
Crank up your oven to 350°F and grab three baking trays. Line each tray with parchment paper so your cookies won’t stick.
Mix Dry Ingredients
Grab a bowl and sift together the dry ingredients carefully:
Set this mixture aside for now.
Cream Butter and Sugars
Pull out your mixer and blend these ingredients until they’re super fluffy and light:
This will take about 3-4 minutes of mixing.
Add Wet Ingredients
Drop in your egg and vanilla, then beat until everything looks smooth and combined.
Combine Wet and Dry Ingredients
Pour your dry ingredient mix into the wet mixture. Mix on low speed just until everything comes together. Don’t overmix!
Shape Cookie Balls
Scoop out 2 tablespoons (40g) of dough for each cookie. Roll them into perfect little balls, then roll each one in granulated sugar.
Place them on your prepared trays with some space between each cookie.
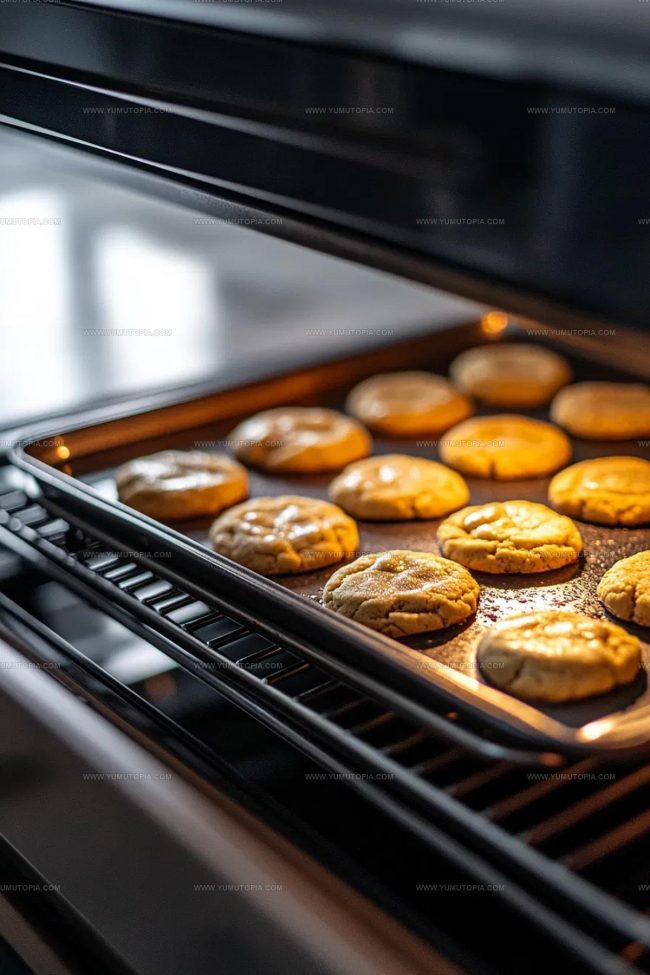
Bake the Cookies
Slide one tray at a time into the 350°F oven. Bake for 11-12 minutes until the cookies look puffy and have those beautiful crackly tops.
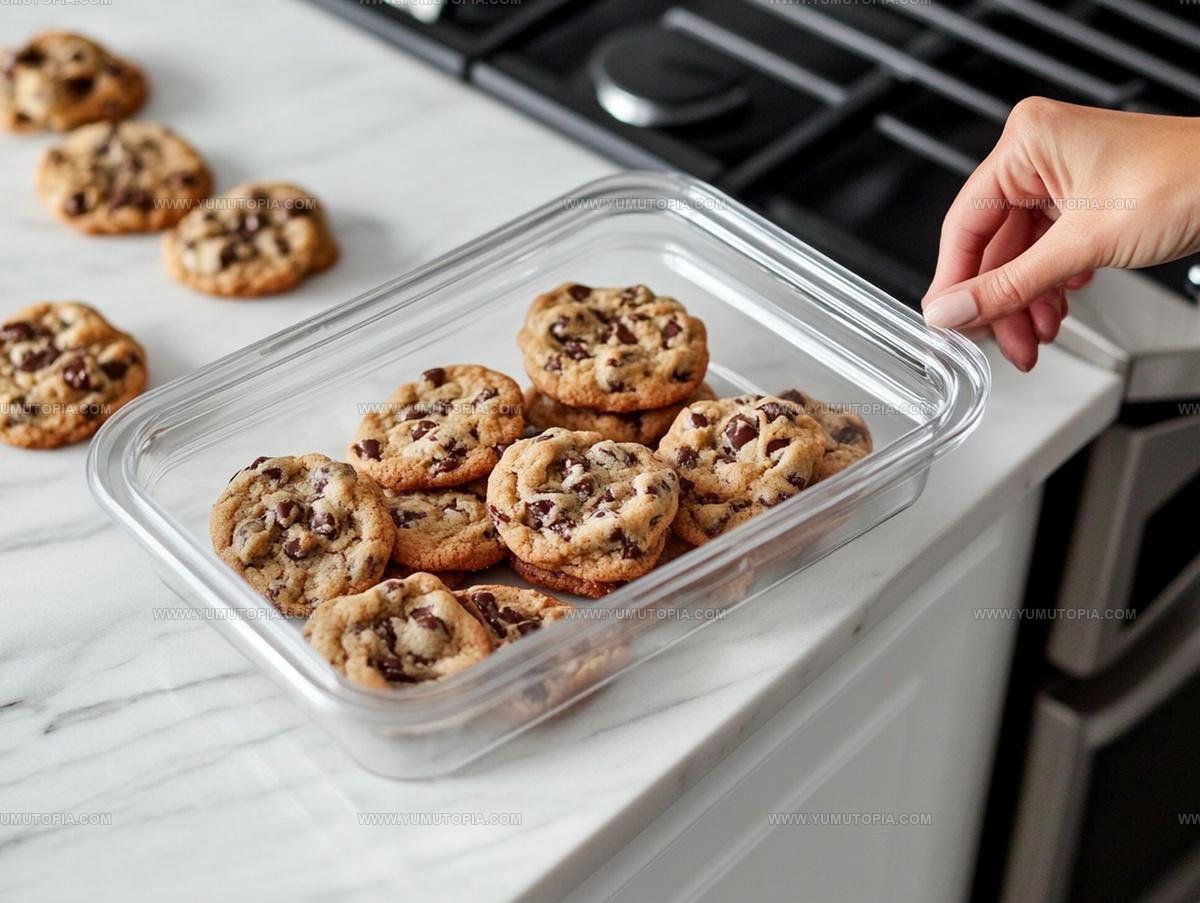
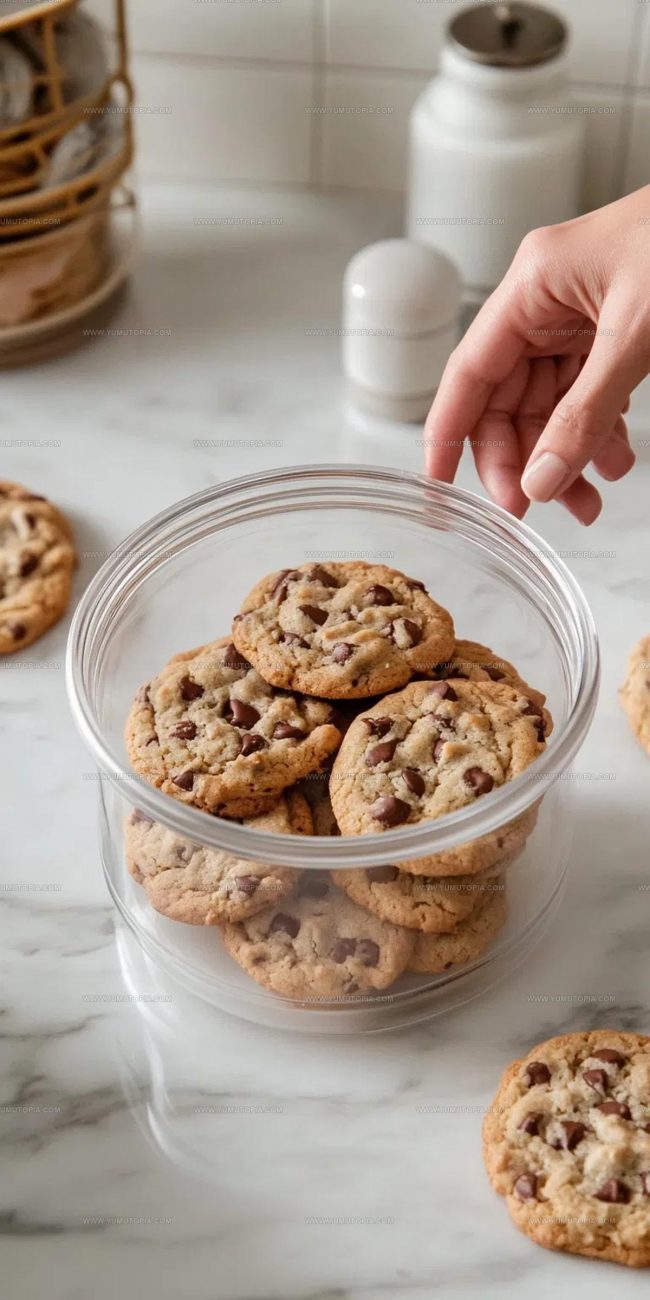
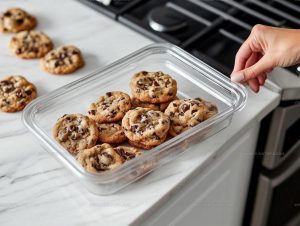
Cool and Store
Let the cookies rest on the baking tray for 15 minutes. Then move them to a cooling rack.
Once completely cool, store in an airtight container at room temperature. They’ll stay fresh for about 5 days – if they last that long!
Key Cooking Insights for Chocolate Cookies
Simple Variations for Chocolate Cookie
Simple Serving Ideas for Chocolate Cookie
How To Store Chocolate Cookies
Chocolate Cookie FAQs
Can I use dark cocoa powder instead of regular cocoa?
Absolutely! Dark cocoa powder will give your cookies a deeper, richer chocolate flavor. Just swap it in exactly the same amount as the recipe calls for.
What if my dough feels too sticky?
Chill the dough in the refrigerator for 15-20 minutes. This helps firm it up and makes rolling into balls much easier. Cold dough also prevents spreading too much during baking.
Are these cookies crispy or soft?
These chocolate cookies have a soft, slightly chewy center with delicate crackly edges. They’re not crunchy, but have a perfect tender texture that melts in your mouth.
Can I freeze the cookie dough?
Definitely! Roll the dough into balls, place on a baking sheet, and freeze. Once frozen, transfer to a freezer bag. Bake directly from frozen, adding 1-2 extra minutes to the baking time.
How do I know when the cookies are done?
Look for puffy, crackled tops and slightly set edges. They might seem slightly underbaked, but they’ll continue cooking as they cool on the baking tray.
Chocolate Cookie Recipe
- Total Time: 43-46 minutes
- Yield: 8 to 10 1x
Description
Chocolate Cookies come together faster than you can say “dessert emergency” – grab those ingredients and get ready to bake pure happiness in just half an hour. Crispy edges, gooey centers, and pure chocolate bliss await your next sweet craving.
Ingredients
Main Ingredients:
- 225 g unsalted butter
- 300 g all-purpose flour
- 200 g brown sugar
- 100 g granulated sugar
- 1 large egg
Supporting Ingredients:
- 50 g dutch process cocoa powder
- 1 tsp vanilla bean paste
- 1 tsp salt
- ¾ tsp baking soda
Finishing Ingredients:
- Granulated sugar for rolling
Instructions
- Prepare your workspace by preheating the oven to 350°F and lining three baking sheets with parchment paper.
- Sift 300g of all-purpose flour, 50g dutch process cocoa powder, 1 tsp salt, and ¾ tsp baking soda into a medium bowl.
- Using an electric mixer, cream 225g room temperature butter with 200g brown sugar and 100g granulated sugar until the mixture becomes light and airy, about 3-4 minutes.
- Incorporate 1 large room temperature egg and 1 tsp vanilla extract into the butter mixture, blending until smooth and fully combined.
- Gradually fold the dry ingredient mixture into the wet ingredients, mixing on low speed until just incorporated.
- Measure out 40g portions of dough, rolling each into a perfect sphere with your palms.
- Roll each dough ball generously in additional granulated sugar, creating a sparkling exterior.
- Arrange the sugared dough balls on prepared baking sheets, spacing them to allow room for spreading.
- Bake a single tray at 350°F for 11-12 minutes, watching for a puffy and crackled surface.
- Remove the tray and let cookies rest for 15 minutes to firm up before transferring to a cooling rack.
- Once completely cooled, store your cookies in an airtight container at room temperature for up to 5 days.
Notes
- Use room temperature butter and egg for the smoothest, most consistent cookie dough texture.
- For extra chocolate intensity, swap half the cocoa powder with dark chocolate melted and cooled.
- Chilling the dough for 30 minutes before baking helps prevent excessive spreading and creates thicker cookies.
- When rolling dough balls, keep your hands slightly damp to prevent sticking and create perfect round shapes.
- Prep Time: 10 minutes
- Cook Time: 33-36 minutes
- Category: Cookies
- Method: Baking
- Cuisine: American
Nutrition
- Serving Size: 8 to 10
- Calories: 251 kcal
- Sugar: 17 g
- Sodium: 148 mg
- Fat: 12 g
- Saturated Fat: 7 g
- Unsaturated Fat: 5 g
- Trans Fat: 0.2 g
- Carbohydrates: 34 g
- Fiber: 3 g
- Protein: 3 g
- Cholesterol: 31 mg
Logan Lemaster
Founder & Culinary Innovator
Expertise
Recipe Development and Innovation, Menu Design and Optimization, Fine Dining Techniques, Ingredient Pairing and Flavor Science
Education
Metropolitan Culinary Arts Institute
Logan’s culinary journey kicked off in his vibrant Chicago family kitchen, where fresh, seasonal ingredients and bold flavors were always front and center.
After graduating from the Metropolitan Culinary Arts Institute in Arlington, Virginia, and honing his skills in renowned restaurants, Logan mastered the art of blending classic techniques with exciting, modern twists.
His kitchen is a dynamic lab for flavor exploration. Through Yum Utopia, Logan aims to empower you to cook with both confidence and creativity, turning simple ingredients into spectacular meals.