Chocolate Hershey Kiss Cookies Recipe for Sweet Celebrations
Chocolate Hershey Kiss Cookies have been winning hearts at holiday gatherings and bake sales for generations, and it’s easy to see why.
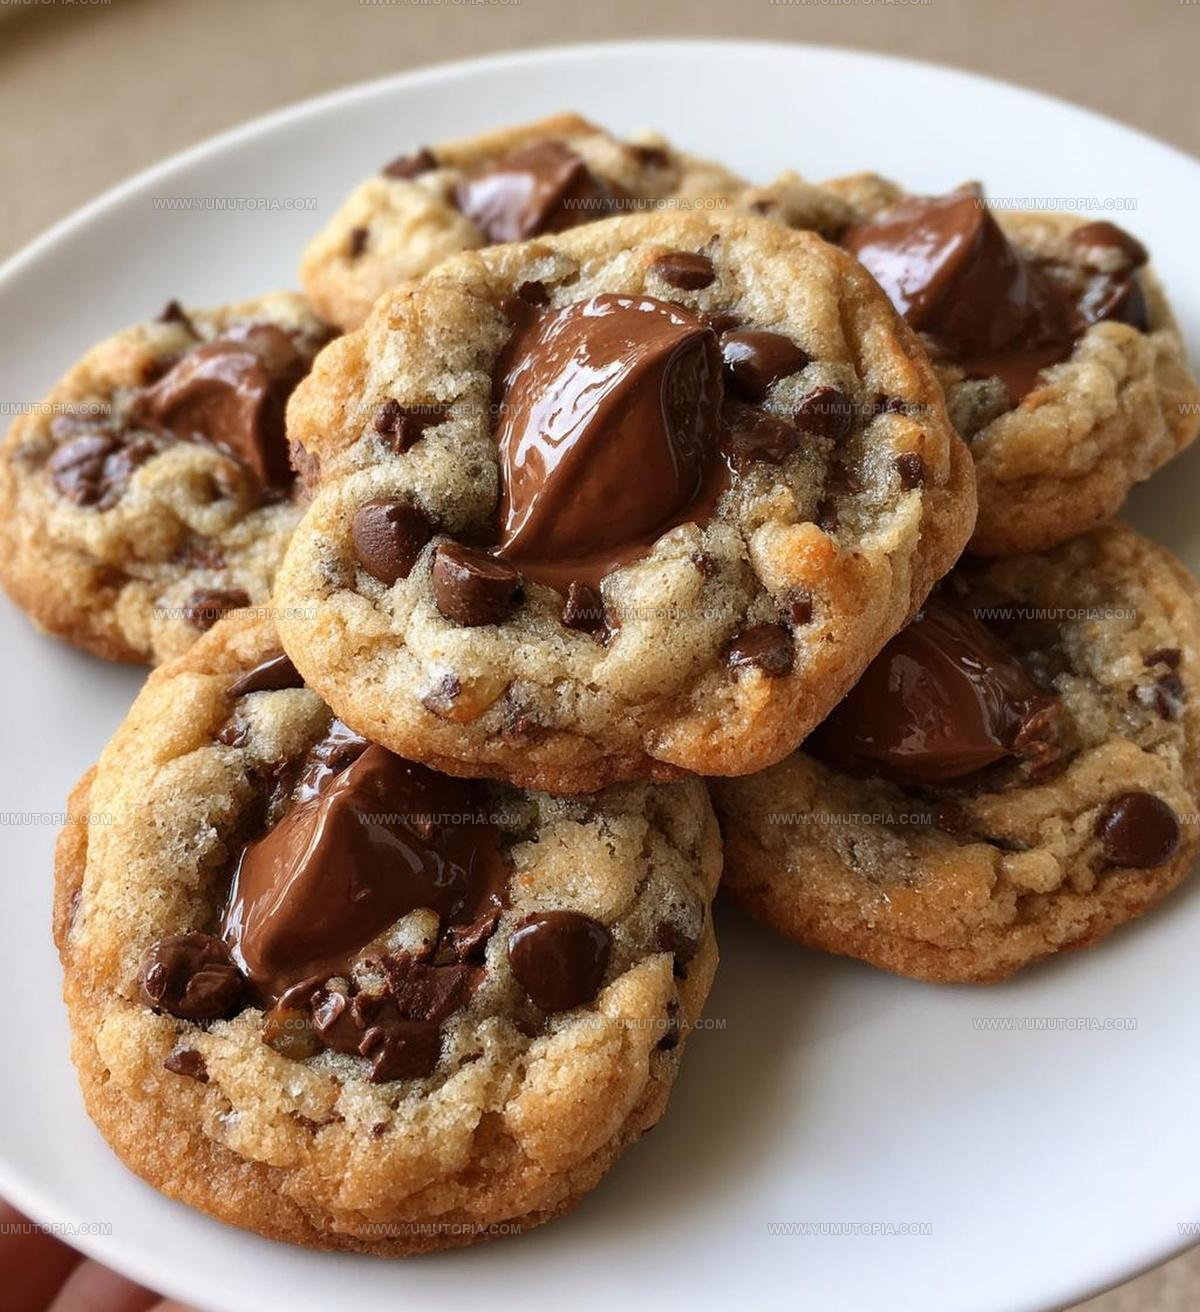
The combination of soft, chewy texture with a signature candy center creates something truly special that feels both familiar and festive.
Bakers love how simple the process is, while everyone else just loves eating them straight from the cooling rack.
They work beautifully for any occasion, from casual afternoons to wrapped-up gifts that show you care.
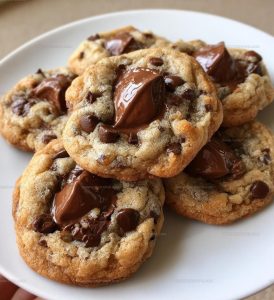
The contrast between the golden cookie base and the glossy chocolate topper makes them as pretty as they are delicious.
One batch goes a long way when you need dessert for a crowd, yet they feel personal enough to share with just a few friends over coffee.
Whether packed in tins, arranged on platters, or enjoyed warm from the oven, they never fail to bring smiles all around.
Time to fill the cookie jar with a classic that never goes out of style.
Why You Should Try Hershey Kiss Cookies
Chocolate Hershey Kiss Cookie Ingredient Overview
Main Base Ingredients:Dry Ingredients:Flavor Enhancers:Essential Baking Tools for Chocolate Hershey Kiss Cookies
How to Bake Chocolate Kiss Cookies
Prepare Oven
Heat the oven to exactly 350°F (175°C). This temperature ensures perfectly golden cookies.
Mix Sugars and Butter
Grab a large mixing bowl and blend together:
Cream these ingredients until they become smooth and fluffy.
Add Liquid Ingredients
Crack 2 large eggs into the sugar mixture and pour in 1 teaspoon vanilla extract. Mix until everything is completely combined.
Combine Dry Ingredients
In a separate bowl, whisk together the dry ingredients:
Create Cookie Dough
Slowly add the dry ingredient mixture to the wet ingredients. Stir gently until a consistent dough forms. Fold in 1 cup chocolate chips.
Shape Cookie Balls
Scoop out tablespoon-sized portions of dough and place them on an ungreased baking sheet. Space the dough balls about 2 inches apart.
Bake the Cookies
Slide the baking sheet into the preheated oven. Bake for exactly 10-12 minutes until the edges turn a light golden brown.
Add Chocolate Kisses
Remove the cookies from the oven. Immediately press 1 unwrapped Hershey’s Kiss into the center of each warm cookie.
Cool and Serve
Let the cookies rest on the baking sheet for 3-4 minutes. Then transfer them to a wire cooling rack. The Kisses will set as the cookies cool down.
Simple Notes for Perfect Hershey Kiss Cookies
How Can Hershey Kiss Cookies Be Varied Creatively
How to Serve Chocolate Hershey Kiss Cookies
Best Ways to Store Chocolate Hershey Kiss Cookies
Chocolate Hershey Kiss Cookies Q&A You’ll Want
Can I use margarine instead of butter?
Butter provides the best flavor and texture. Margarine can work, but the cookies might spread differently and taste less rich.
How do I keep the Hershey Kiss from melting completely?
Press the Kiss gently into the warm cookie right after baking. The cookie’s residual heat will slightly soften the chocolate without totally melting it.
Are these cookies good for shipping or gifting?
These cookies travel well and stay fresh for 3-4 days when packed carefully between layers of parchment paper.
Can I freeze the cookie dough?
Absolutely! Roll the dough into balls and freeze for up to 3 months. Bake directly from frozen, adding 1-2 extra minutes to the baking time.
What size Hershey Kiss works best?
Standard milk chocolate Kisses are perfect. Avoid oversized or specialty Kiss varieties that might overwhelm the cookie.
Can I make these gluten-free?
Swap the all-purpose flour with a gluten-free blend designed for baking. The texture might be slightly different, but the flavor remains delicious.
Chocolate Hershey Kiss Cookies Recipe
- Total Time: 25-27 minutes
- Yield: 48 1x
Description
Chocolate Hershey Kiss Cookies melt hearts faster than they bake, turning your kitchen into a sweet sanctuary of warmth and love. Grab some Hershey’s kisses, whip up this simple dough, and watch smiles spread with each delicious bite.
Ingredients
Main Ingredients:
- 3 cups all-purpose flour
- 1 cup chocolate chips
- 30 Hersheys Kisses
Base Ingredients:
- 1 cup unsalted butter
- 1 cup granulated sugar
- 1 cup brown sugar
- 2 large eggs
Supporting Ingredients:
- 1 teaspoon vanilla extract
- 1 teaspoon baking soda
- ½ teaspoon salt
Instructions
- Fire up your oven to a precise 350°F with the rack positioned in the center.
- Grab your mixer and whip 1 cup softened butter with 1 cup granulated sugar and 1 cup brown sugar until the mixture becomes light and fluffy.
- Crack 2 large eggs into the butter mixture and pour in 1 teaspoon vanilla extract. Blend until completely smooth.
- Grab a separate bowl and sift together 3 cups all-purpose flour, 1 teaspoon baking soda, and ½ teaspoon salt.
- Slowly incorporate the dry ingredients into your wet mixture, stirring until a consistent dough forms.
- Fold in 1 cup chocolate chips, making sure they are evenly distributed throughout the dough.
- Use a tablespoon to drop rounded balls of dough onto an ungreased baking sheet, spacing them about 2 inches apart.
- Slide the baking sheet into the 350°F oven and bake for exactly 11 minutes, watching for golden edges.
- Immediately after removing from the oven, gently press 1 unwrapped Hershey’s Kiss into the center of each warm cookie.
- Let the cookies rest on the baking sheet for 3 minutes to set, then transfer to a wire rack for complete cooling.
Notes
- Chill the dough for 30 minutes before baking to prevent spreading and create a thicker, chewier cookie.
- Press the Hershey’s Kiss gently into the warm cookie to help it melt slightly and adhere better.
- For a gluten-free version, swap the all-purpose flour with a gluten-free baking blend.
- Store cookies in an airtight container at room temperature for up to 5 days, separating layers with parchment paper to prevent sticking.
- Prep Time: 15 minutes
- Cook Time: 10-12 minutes
- Category: Cookies
- Method: Baking
- Cuisine: American
Nutrition
- Serving Size: 48
- Calories: 134
- Sugar: 10 g
- Sodium: 53 mg
- Fat: 7 g
- Saturated Fat: 4 g
- Unsaturated Fat: 3 g
- Trans Fat: 0.1 g
- Carbohydrates: 18 g
- Fiber: 1 g
- Protein: 2 g
- Cholesterol: 17 mg
Madison Wyman
Recipe Developer & Food Storyteller
Expertise
Recipe Research and Adaptation, Food Writing and Cultural Storytelling, Sustainable and Ethical Sourcing, Dietary Adaptations (e.g., gluten-free, plant-based)
Education
Oregon Health & Science University
Portland Community College
Madison’s passion for flavor and culture ignited amidst the rich Southern cooking traditions of her upbringing, where cherished family recipes told delicious tales.
Armed with a Master’s in Food Systems and Society from Oregon Health & Science University and a Culinary Arts Certificate from Portland Community College, Madison truly excels at transforming rich, intricate flavors into dishes that are both approachable and heartfelt.
For her, cooking is a vibrant blend of science, art, and heritage – a powerful way to connect us to our roots and each other. Her recipes invite you to delve deeper, uncovering the fascinating stories woven into every ingredient.