Chocolate Lava Mug Cake Recipe That Oozes Rich Molten Goodness
Decadent chocolate lava mug cake promises pure dessert magic in minutes.
Craving something sinfully rich and incredibly simple? Mug cakes represent the ultimate quick dessert solution for chocolate lovers everywhere.
Minimal effort transforms basic kitchen ingredients into a luxurious personal treat that satisfies deep sweet tooth cravings.
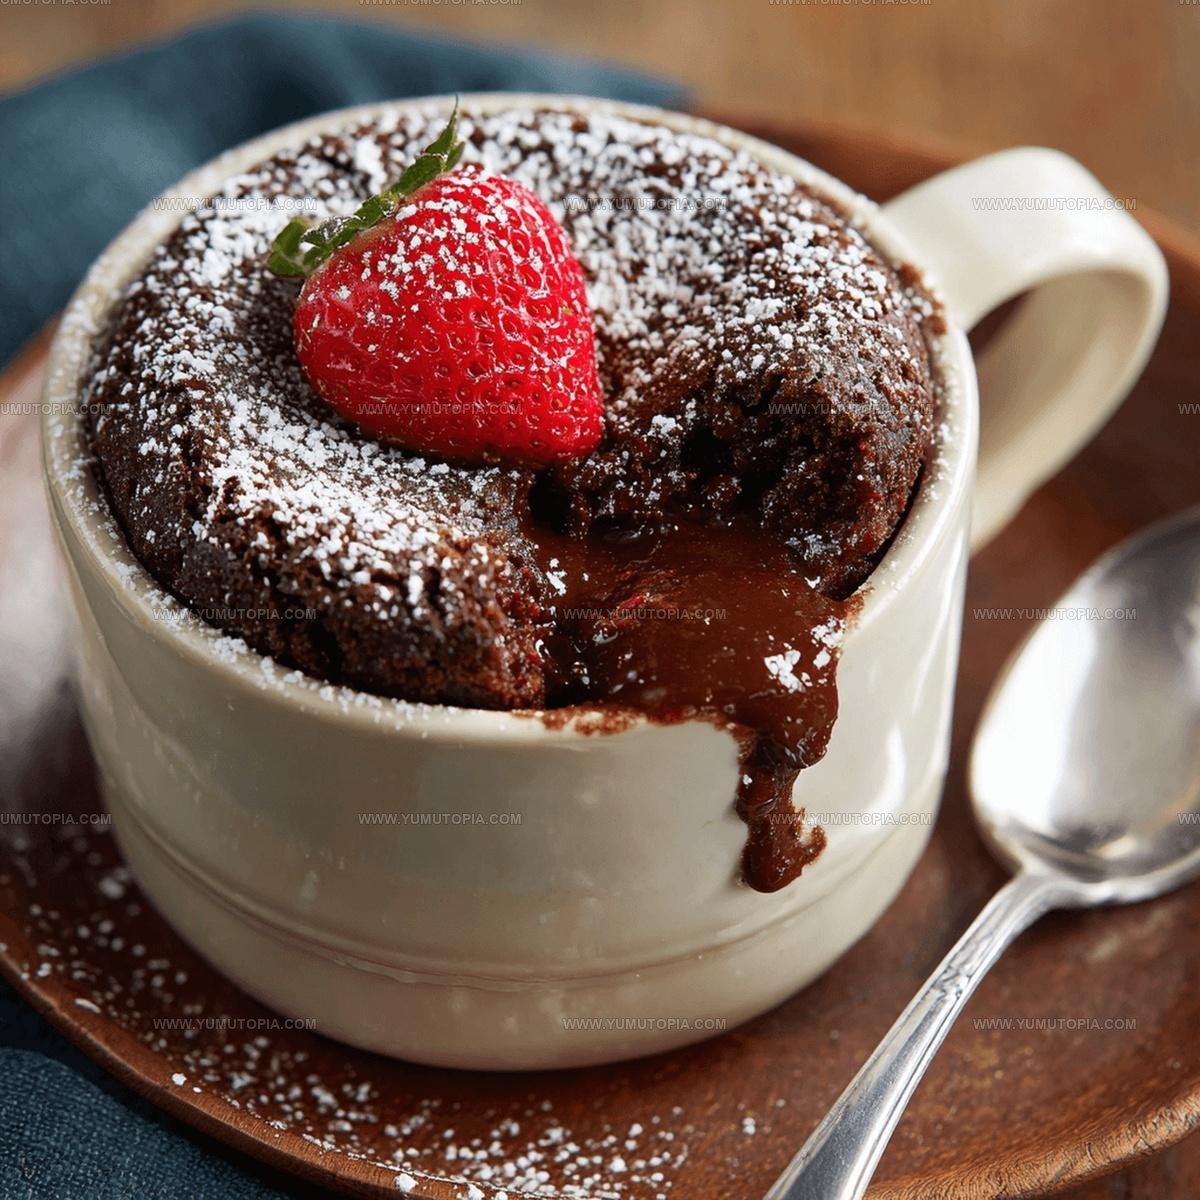
Soft, warm, and oozing with molten chocolate goodness, this recipe delivers comfort directly to your spoon.
Perfect for spontaneous dessert moments when traditional baking feels overwhelming.
Swirl your spoon through that luscious center and experience pure chocolate bliss waiting to be devoured.
Why Chocolate Lava Mug Cake Works
Chocolate Lava Mug Cake Ingredient Overview
Main Ingredients:Leavening and Seasoning:Flavor Enhancers:Prep Tools For Chocolate Lava Mug Cake
Preparing Chocolate Lava Mug Cake Step by Step

Mix Dry Ingredients
Grab a microwave-safe mug and toss in all your dry ingredients. You’ll want to add:
Whisk these together until they look completely blended and free of lumps.
Create Wet Batter
Pour your liquid ingredients directly into the same mug. Measure out:
Stir everything until your batter becomes smooth and creamy with no dry patches.
Add Chocolate Bonus
Sprinkle chocolate chips across the surface of your batter:
Gently fold them into the mixture without stirring too aggressively.
Microwave Magic
Place your mug in the microwave and cook at 100% power for 75 seconds. Keep a close eye on the cake – you want it slightly wet in the center.
Cool and Release
Let the mug sit for 30 seconds after cooking. Carefully tap the cake onto a plate to reveal its gooey chocolate center.
Dress It Up
Top your warm chocolate cake with a dusting of powdered sugar or add a scoop of vanilla ice cream for extra deliciousness.
A Few Helpful Notes For Chocolate Lava Mug Cake
What New Spins Work for Chocolate Lava Mug Cake
Cozy Serving Ideas For Chocolate Lava Mug Cake
Proper Storage For Chocolate Lava Mug Cake
Chocolate Lava Mug Cake FAQs
Can I use whole wheat flour instead of all-purpose flour?
Whole wheat flour changes the texture and makes the cake denser. Stick with all-purpose flour for the best, lightest result in your mug cake.
What if my microwave is more powerful?
Powerful microwaves can quickly overcook the cake. Start checking at 45-60 seconds and watch closely to prevent a dry cake.
Is it safe to eat slightly undercooked cake batter?
This recipe uses minimal egg and cooks through, so the center staying molten is safe and part of the dessert’s charm.
Can I make this cake without chocolate chips?
Absolutely! The chips add extra chocolate flavor, but the cake tastes delicious without them if you prefer a simpler version.
How do I know when the mug cake is perfectly cooked?
Look for a slightly wet center and edges that have pulled away from the mug’s sides. The cake should look moist but not liquid.
What milk works best in this recipe?
Whole milk gives the richest flavor, but any milk – dairy or non-dairy – will work perfectly in your mug cake.

Chocolate Lava Mug Cake Recipe
- Total Time: 6 minutes
- Yield: 1 1x
Description
Whipping up chocolate lava mug cake takes just minutes in your microwave, delivering a rich chocolate treat straight to your plate. Warm, gooey chocolate goodness comes together with simple pantry ingredients, making this quick dessert your perfect sweet solution.
Ingredients
Main Ingredients:
- 4 tablespoons all-purpose flour
- 4 tablespoons granulated sugar
- 2 tablespoons unsweetened cocoa powder
- 3 tablespoons milk
- 2 tablespoons vegetable oil
Leavening and Seasoning:
- ⅛ teaspoon baking powder
- ⅛ teaspoon salt
Flavor Enhancers:
- ¼ teaspoon vanilla extract
- 1–2 tablespoons chocolate chips
Instructions
- Grab a microwave-safe mug and toss in 4 tablespoons flour, 4 tablespoons sugar, 2 tablespoons cocoa powder, ⅛ teaspoon baking powder, and ⅛ teaspoon salt. Whisk these dry ingredients until they’re evenly combined.
- Pour 3 tablespoons milk, 2 tablespoons vegetable oil, and ¼ teaspoon vanilla extract into the mug. Stir the mixture thoroughly until a smooth batter forms.
- If you’re craving extra chocolate, sprinkle 1-2 tablespoons chocolate chips into the batter. Gently fold them in without overmixing.
- Place your mug in the microwave and cook at full power for 60-90 seconds. Watch carefully to prevent overcooking – the cake should look slightly wet in the center.
- Remove the mug carefully – it will be hot. Let the cake cool for 30 seconds, then tap it onto a plate if you want to see the lava center.
- Dust your chocolate lava cake with powdered sugar or add a scoop of vanilla ice cream for a decadent finishing touch.
Notes
- Check chocolate quality for best flavor, using dark or semi-sweet chocolate with at least 60% cocoa content.
- Measure ingredients precisely to ensure the right cake texture and prevent dryness or excessive moisture.
- Microwave times vary by wattage, so start with 60-90 seconds and adjust based on your specific microwave power.
- For gluten-free version, swap all-purpose flour with almond flour or gluten-free baking blend to accommodate dietary needs.
- Prep Time: 5 minutes
- Cook Time: 1 minute
- Category: Cakes
- Method: Microwaving
- Cuisine: American
Nutrition
- Serving Size: 1
- Calories: 370 kcal
- Sugar: 23 g
- Sodium: 160 mg
- Fat: 21 g
- Saturated Fat: 3.5 g
- Unsaturated Fat: 17 g
- Trans Fat: 0 g
- Carbohydrates: 45 g
- Fiber: 4 g
- Protein: 4 g
- Cholesterol: 5 mg
Logan Lemaster
Founder & Culinary Innovator
Expertise
Recipe Development and Innovation, Menu Design and Optimization, Fine Dining Techniques, Ingredient Pairing and Flavor Science
Education
Metropolitan Culinary Arts Institute
Logan’s culinary journey kicked off in his vibrant Chicago family kitchen, where fresh, seasonal ingredients and bold flavors were always front and center.
After graduating from the Metropolitan Culinary Arts Institute in Arlington, Virginia, and honing his skills in renowned restaurants, Logan mastered the art of blending classic techniques with exciting, modern twists.
His kitchen is a dynamic lab for flavor exploration. Through Yum Utopia, Logan aims to empower you to cook with both confidence and creativity, turning simple ingredients into spectacular meals.