Chocolate Peppermint Cookie Cups Recipe with Mint Cream
Chocolate peppermint cookie cups bring festive cheer and delightful flavor to any holiday gathering or cozy winter evening at home.
The combination of rich cocoa and cool mint has been a beloved pairing for generations, appealing to anyone who enjoys seasonal treats with satisfying contrast.
Bite-sized desserts always feel special because they’re fun to serve and easy to enjoy without needing plates or forks.
The charming cup shape makes presentation effortless while creating individual portions that look impressive on any dessert table.
During the holidays, having a sweet option that feels both comforting and celebratory makes entertaining so much simpler.
If you love the classic flavor duo that defines winter celebrations, here’s a dessert that unlocks exactly what satisfies those cravings without any fuss.
Must-Know Reasons Chocolate Peppermint Cookie Cups Shine
All Ingredients Needed for Chocolate Peppermint Cookie Cups
Base Ingredients:Dry Ingredients:Flavor Boosters:What You’ll Need for Chocolate Peppermint Cookie Cups
Step By Step Directions For Chocolate Peppermint Cookie Cups
Warm Up the Oven
Crank the oven to a toasty 350°F. Grab your muffin tin and give it a quick spray of cooking oil so nothing sticks.
Mix the Sweet Base
Grab a big mixing bowl and toss in 1 cup softened unsalted butter, 1 cup granulated sugar, and 1 cup packed brown sugar. Use your electric mixer to blend these until they’re super smooth and creamy. Your arm will get a workout, but the result is worth it!
Add Moisture
Crack 2 large eggs into the butter-sugar mixture. Pour in 2 teaspoons of vanilla extract. Mix everything until it’s completely combined and looks glossy.
Prepare Dry Ingredients
In a separate bowl, whisk together these dry ingredients:
Combine Wet and Dry
Slowly add your dry ingredient mix into the wet ingredients. Mix carefully so you don’t send flour flying across the kitchen. Stir until just combined.
Add Chocolate and Mint
Fold in these final touches:
Stir gently to distribute evenly.
Fill the Muffin Tin
Scoop tablespoon-sized balls of dough into each muffin tin cavity. They should be about 2/3 full.
Bake to Perfection
Slide the muffin tin into the preheated oven. Bake for 10-12 minutes at 350°F. The tops should look set but not completely hard.
Cool and Enjoy
Let the cookie cups rest in the tin for 5 minutes. Then carefully transfer to a wire rack to cool completely. The centers might sink a bit – that’s totally normal and makes a perfect spot for extra toppings if you want!
Best Cooking Tips For Chocolate Peppermint Cookie Cups
Chocolate Peppermint Cookie Cups With Holiday Spins
Holiday Dessert Ways To Serve Peppermint Cookie Cups
Chocolate Peppermint Cookie Cups Storage
Chocolate Peppermint Cookie Cups Questions Answered
Can I use dark chocolate instead of chocolate chips?
Absolutely! Dark chocolate works perfectly and adds a richer flavor to the cookie cups.
How do I prevent the cookies from sticking to the muffin tin?
Grease the tin thoroughly with butter or cooking spray, and let the cookies cool completely before removing them.
Are these cookie cups gluten-free?
No, the recipe uses regular flour. You would need to substitute with a gluten-free flour blend to make them gluten-free.
Can children eat these cookies with peppermint extract?
Peppermint extract is safe for children in small amounts used in baking, but some kids might find the flavor strong.
What type of muffin tin works best for this recipe?
A standard 12-cup metal muffin tin gives the best results, creating uniform cookie cups with crisp edges.
How can I tell when the cookie cups are perfectly baked?
Look for set edges and a slightly soft center. They’ll continue to firm up as they cool in the tin.

Chocolate Peppermint Cookie Cups Recipe
- Total Time: 25-27 minutes
- Yield: 12 1x
Description
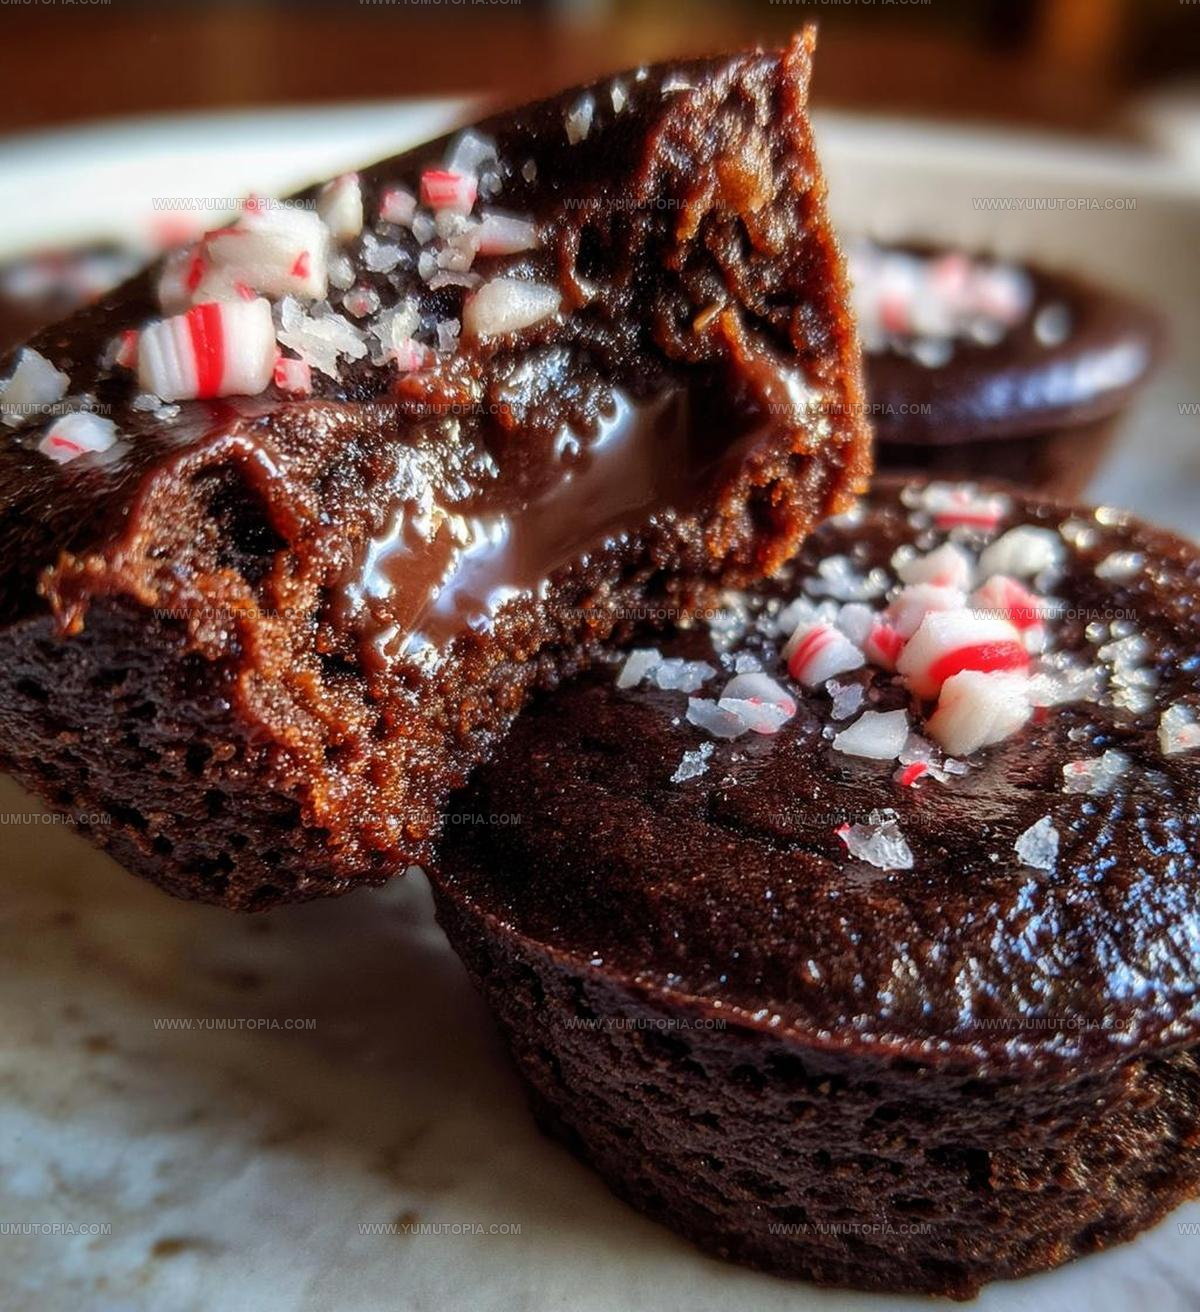
Chocolate peppermint cookie cups deliver a festive treat that melts in your mouth with creamy chocolate and cool mint flavors. Grab some holiday cheer and whip up these delightful dessert bites that bring smiles to your family’s faces.
Ingredients
Primary Ingredients:
- 3 cups all-purpose flour
- 1 cup cocoa powder
- 1 cup unsalted butter
- 1 cup granulated sugar
- 1 cup brown sugar
- 1 cup chocolate chips
Supporting Ingredients:
- 2 large eggs
- 2 teaspoons vanilla extract
- 1 teaspoon baking soda
- ½ teaspoon salt
- ½ teaspoon peppermint extract
Instructions
- Warm your oven to precisely 350°F and position the rack in the center to ensure even baking.
- Cream 1 cup softened butter with 1 cup granulated sugar and 1 cup brown sugar until the mixture becomes fluffy and pale.
- Crack 2 large eggs into the butter mixture, then pour in 2 teaspoons vanilla extract, blending until completely smooth.
- Sift together 3 cups flour, 1 cup cocoa powder, 1 teaspoon baking soda, and ½ teaspoon salt in a separate bowl.
- Gradually incorporate the dry ingredients into the wet mixture, stirring until just combined to prevent overmixing.
- Gently fold 1 cup chocolate chips and ½ teaspoon peppermint extract into the dough, distributing evenly.
- Generously grease a 12-cup muffin tin with butter or cooking spray.
- Scoop rounded tablespoons of dough into each muffin cavity, filling about ⅔ full.
- Bake at 350°F for exactly 11 minutes, watching for set edges but slightly soft centers.
- Remove from the oven and let the cookie cups rest in the tin for 5 minutes to firm up.
- Carefully transfer cookies to a wire rack, allowing them to cool completely before serving.
Notes
- Chill the dough for 30 minutes before baking to prevent spreading and keep a perfect cup shape.
- Use a small spoon or tart tamper to gently press the center of each cookie while still warm, creating a deeper cup for filling.
- For a dairy-free version, swap butter with coconut oil and use vegan chocolate chips.
- Sprinkle crushed candy canes on top after baking for extra holiday flair and peppermint crunch.
- Prep Time: 15 minutes
- Cook Time: 10-12 minutes
- Category: Cookies
- Method: Baking
- Cuisine: American
Nutrition
- Serving Size: 12
- Calories: 257
- Sugar: 20 g
- Sodium: 97 mg
- Fat: 13 g
- Saturated Fat: 8 g
- Unsaturated Fat: 5 g
- Trans Fat: 0.2 g
- Carbohydrates: 33 g
- Fiber: 3 g
- Protein: 3 g
- Cholesterol: 27 mg
Logan Lemaster
Founder & Culinary Innovator
Expertise
Recipe Development and Innovation, Menu Design and Optimization, Fine Dining Techniques, Ingredient Pairing and Flavor Science
Education
Metropolitan Culinary Arts Institute
Logan’s culinary journey kicked off in his vibrant Chicago family kitchen, where fresh, seasonal ingredients and bold flavors were always front and center.
After graduating from the Metropolitan Culinary Arts Institute in Arlington, Virginia, and honing his skills in renowned restaurants, Logan mastered the art of blending classic techniques with exciting, modern twists.
His kitchen is a dynamic lab for flavor exploration. Through Yum Utopia, Logan aims to empower you to cook with both confidence and creativity, turning simple ingredients into spectacular meals.