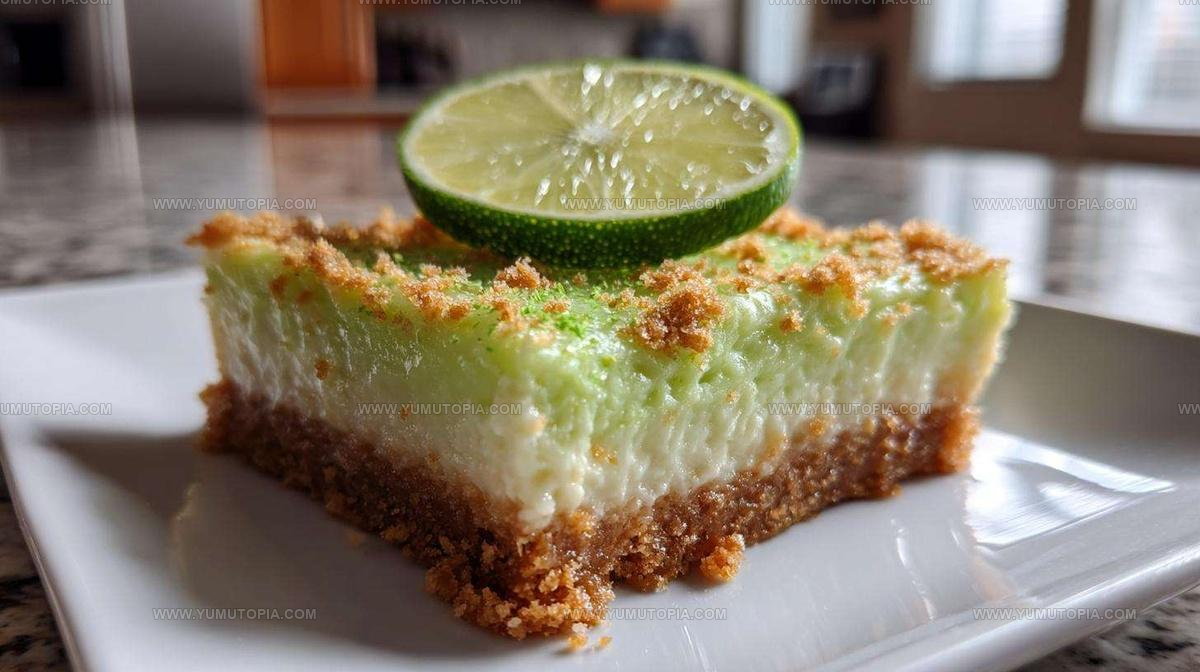
Key Lime Pie Bars Recipe for Bright Citrus Moments
Key lime pie bars deliver all the bright, refreshing flavors of the beloved Florida dessert in a portable, easy-to-serve format that everyone absolutely loves.
This treat strikes the perfect balance between sweet and tart, making it a crowd-pleaser at potlucks, picnics, or weekend gatherings.
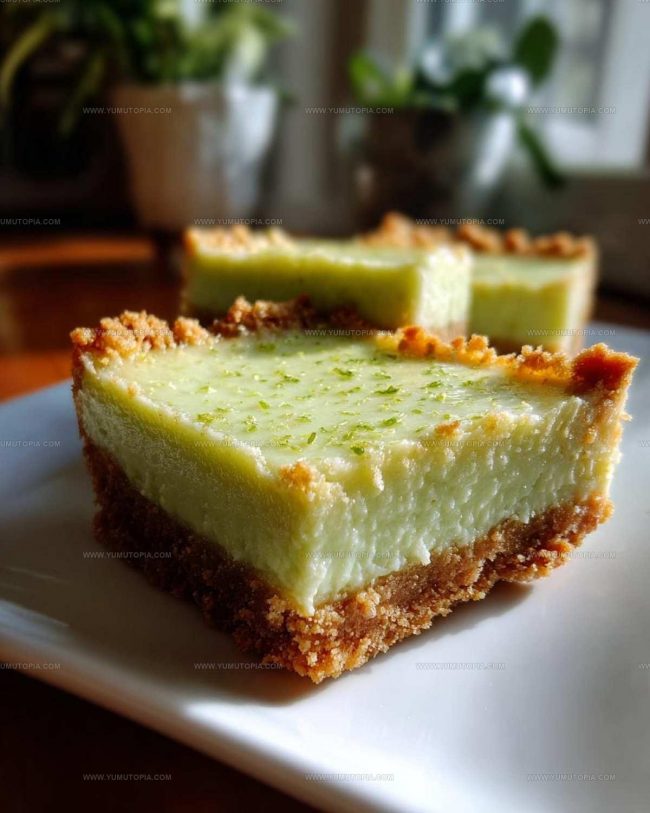
The creamy texture paired with a buttery crust creates a delightful contrast that keeps people coming back for seconds.
Whether you need a simple dessert for a party or just want something special to enjoy at home, this recipe fits the bill perfectly.
Making them is surprisingly straightforward, even if you haven’t baked much before.
They hold up beautifully when cut into squares, so serving a group becomes effortless.
Plus, the tropical essence feels like a mini vacation on a plate.
Give this recipe a go, and watch how quickly these bars disappear.
Why These Key Lime Bars Taste Bright and Balanced
Tart Elements Of Key Lime Pie Bars
Crust Ingredients:Filling Ingredients:What Needed for Amazing Key Lime Pie Bars
How To Make Key Lime Pie Bars
Prepare Oven and Pan
Crank your oven to 350°F (175°C). Grab an 8×8 inch baking pan and line it with parchment paper, making sure some paper hangs over the sides for easy lifting later.
Create Graham Cracker Base
Grab a medium bowl and toss in your graham cracker crumbs and sugar. Pour the melted butter over the top and stir until everything looks evenly coated and feels like damp sand.
Form the Crust
Press the graham cracker mixture firmly into the bottom of your prepared pan. Use your fingers or the back of a spoon to create a solid, compact layer that will hold your filling perfectly.
Pre-Bake Crust
Slide the pan into the oven and bake for 8-10 minutes. You’re looking for a light golden color that signals the crust is ready. Pull it out and let it cool down a bit.
Mix Lime Filling
In a clean bowl, whisk together these ingredients until super smooth:
Add Filling to Crust
Pour your zesty lime mixture evenly over the pre-baked crust. Make sure it spreads out to all four corners of the pan.
Bake the Bars
Return the pan to the oven and bake for 20-25 minutes. The center should look set but still have a slight wiggle when you nudge the pan.
Cool and Chill
Let the bars cool completely on a wire rack. Then park the pan in the refrigerator for at least 2 hours. This helps the bars set up perfectly and makes cutting clean slices easy.
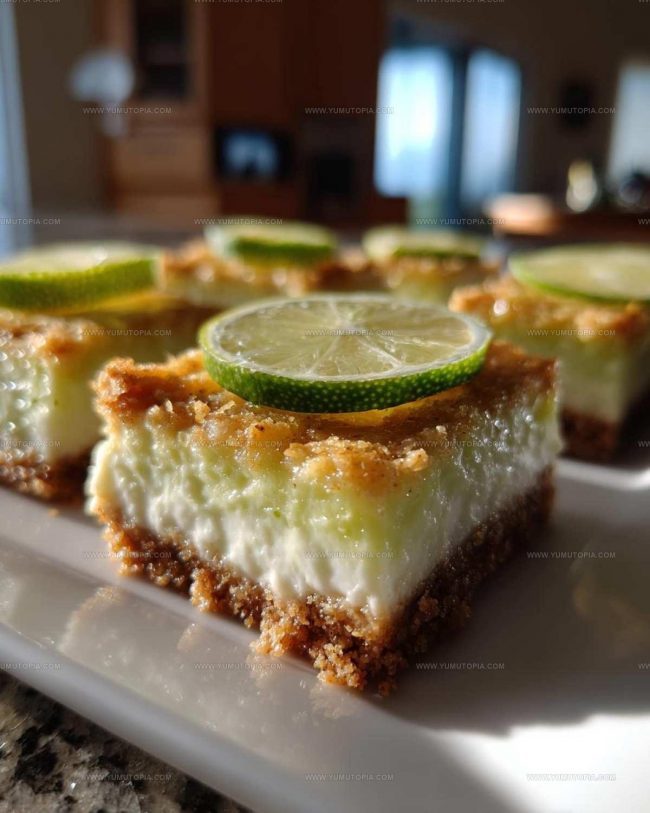
Small Enhancements for Extra Zest
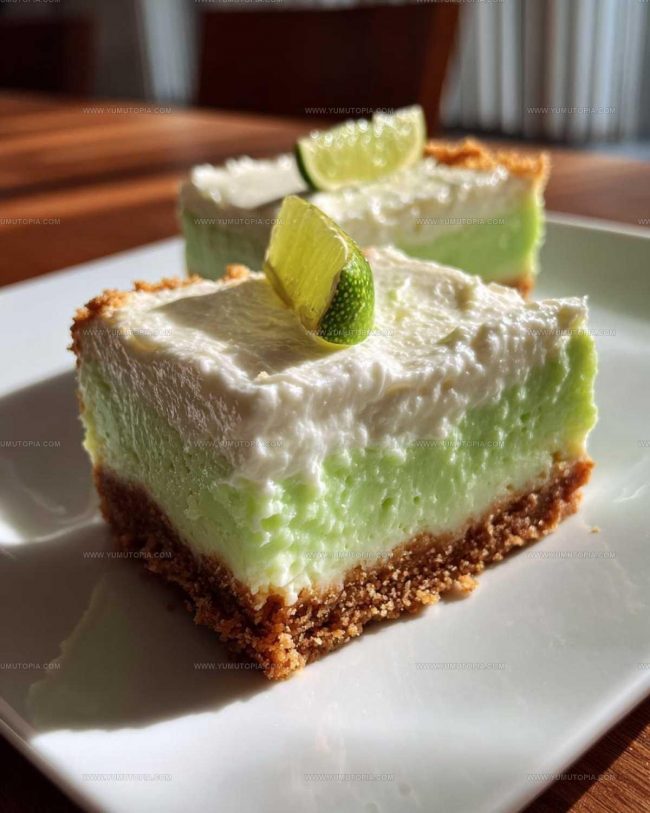
Key Lime Bar Variations to Explore
Moments Perfect for Serving Key Lime Bars
Keeping Lime Bars Chilled and Firm
Everything to Know About Baking Tart Key Lime Bars
What makes key lime pie bars different from traditional pie?
These bars offer the same tangy flavor in an easier-to-serve, portable format that lets everyone enjoy a perfect bite without needing plates or forks.
Can regular limes work instead of key limes?
Absolutely! Regular lime juice makes an excellent substitute, though key limes provide a more authentic, slightly more intense citrus flavor.
How do I know when the bars are perfectly baked?
The filling should look set around the edges but have a gentle jiggle in the center when you gently shake the pan – similar to a cheesecake’s texture.
Do these bars freeze well?
They freeze beautifully for up to one month. Wrap them tightly in plastic wrap, then place in a freezer-safe container to preserve their fresh taste.
How ripe should my limes be for the best flavor?
Select limes that feel heavy and have a bright, deep green color. Slightly soft limes will give more juice and deeper flavor for your bars.
What if my filling looks curdled when mixing?
Whisk gently and steadily, ensuring all ingredients are at room temperature. A smooth, consistent mixture guarantees silky bars.

Citrus-Bright Key Lime Pie Bars Recipe
- Total Time: 2 hours 45 minutes – 2 hours 50 minutes
- Yield: 8 1x
Description
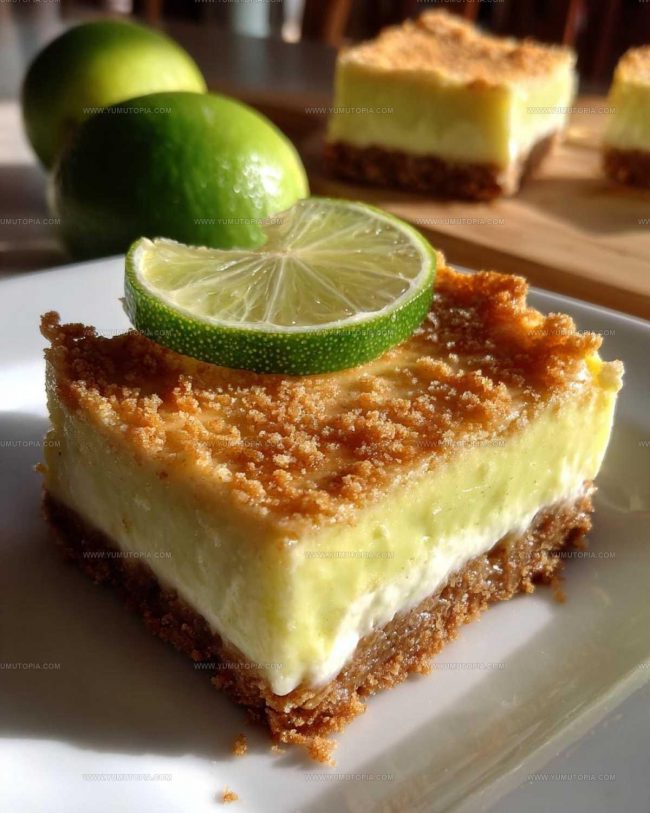
Key lime pie bars bring a zesty Florida sunshine right to your kitchen counter. Creamy, tangy filling nestled over a buttery graham cracker crust creates the perfect summer dessert that whispers tropical vacation vibes with each delightful slice.
Ingredients
Main Ingredients:
- 4 large egg yolks
- 1 (14 ounces / 397 grams) can sweetened condensed milk
- ½ cup (120 milliliters) key lime juice
Supporting Ingredients:
- 1 ½ cups graham cracker crumbs
- ⅓ cup granulated sugar
- 6 tablespoons (85 grams) unsalted butter, melted
Garnish:
- 1 teaspoon lime zest
Instructions
- Heat the oven to 350°F (175°C) and arrange parchment paper in an 8×8 inch pan, allowing sides to hang over for easy removal.
- Mix 1 ½ cups graham cracker crumbs with ⅓ cup sugar, then stir in 6 tablespoons melted butter until crumbs feel like damp sand.
- Press the crumb mixture firmly across the pan’s bottom, creating an even, compact layer.
- Bake the crust for 9 minutes until edges turn golden brown, then remove and let rest at room temperature.
- Separate 4 egg yolks into a clean mixing bowl and whisk them until they become pale yellow.
- Add the entire 14-ounce can of sweetened condensed milk to the egg yolks, stirring until completely incorporated.
- Pour ½ cup key lime juice and sprinkle 1 teaspoon lime zest into the mixture, whisking until the filling looks smooth and creamy.
- Gently pour the lime filling over the warm crust, ensuring an even distribution across the surface.
- Return the pan to the oven and bake for 22 minutes, watching for a set center that still has a slight wobble when nudged.
- Transfer the pan to a cooling rack and allow bars to reach room temperature, then refrigerate for 3 hours before slicing into squares.
Notes
- Swap graham crackers with gluten-free alternatives if preparing for someone with dietary restrictions.
- Grate fresh lime zest for the most vibrant, authentic citrus flavor in the filling.
- Chill the bars thoroughly before cutting to ensure clean, precise slices that hold their shape.
- Use room temperature eggs to help create a smoother, more consistent filling texture.
- Prep Time: 15 minutes
- Cook Time: 30-35 minutes
- Category: Dessert Bars
- Method: Baking
- Cuisine: American
Nutrition
- Serving Size: 8
- Calories: 280 kcal
- Sugar: 23 g
- Sodium: 115 mg
- Fat: 14 g
- Saturated Fat: 8 g
- Unsaturated Fat: 6 g
- Trans Fat: 0.2 g
- Carbohydrates: 32 g
- Fiber: 1 g
- Protein: 4 g
- Cholesterol: 110 mg
Logan Lemaster
Founder & Culinary Innovator
Expertise
Recipe Development and Innovation, Menu Design and Optimization, Fine Dining Techniques, Ingredient Pairing and Flavor Science
Education
Metropolitan Culinary Arts Institute
Logan’s culinary journey kicked off in his vibrant Chicago family kitchen, where fresh, seasonal ingredients and bold flavors were always front and center.
After graduating from the Metropolitan Culinary Arts Institute in Arlington, Virginia, and honing his skills in renowned restaurants, Logan mastered the art of blending classic techniques with exciting, modern twists.
His kitchen is a dynamic lab for flavor exploration. Through Yum Utopia, Logan aims to empower you to cook with both confidence and creativity, turning simple ingredients into spectacular meals.