Key Lime Pie Recipe That Captures Tropical Sunshine
Key lime pie stands as a quintessential summer dessert that sparks pure joy in every bite.
Tropical and refreshing, this classic treat transports you straight to sunny Florida shores with its distinctive flavor profile.
Sweet and tart sensations dance across the palate, creating an instant mood lifter for any gathering.
Creamy textures complement the pie’s signature zesty essence, making it impossible to resist.
Dessert enthusiasts adore how this simple yet sophisticated recipe captures summer’s most delightful memories.
Southern hospitality meets cool comfort in every silky slice of this beloved pie.
Cool down and experience a delectable journey that promises to delight from the very first forkful.
Standout Features Of Key Lime Pie
Core Ingredients of Key Lime Pie
Crust:Filling:Topping:Required Kitchen Tools for Key Lime Pie
How To Make Key Lime Pie
Prepare Graham Cracker Crust
Grab a medium bowl and mix these ingredients for your crust:
Press this crumbly mixture firmly into a 9-inch pie pan, making sure to cover the bottom and sides evenly.
Bake the Crust
Heat your oven to 350°F. Slide the crust into the preheated oven and bake for 10 minutes until it turns a light golden brown. Pull the pan out and let the crust cool completely.
Mix the Filling
Grab a clean bowl and whisk together these creamy ingredients until they’re super smooth:
Make sure there are no lumps in your mixture.
Bake the Pie
Pour the filling into your cooled graham cracker crust. Return the pie to the 350°F oven and bake for 5-7 minutes. Watch for tiny bubbles to form on the surface.
Cool and Chill
Take the pie out of the oven and let it cool completely at room temperature. Once it’s not hot anymore, pop it in the refrigerator for at least 3 hours so it can set up nicely.
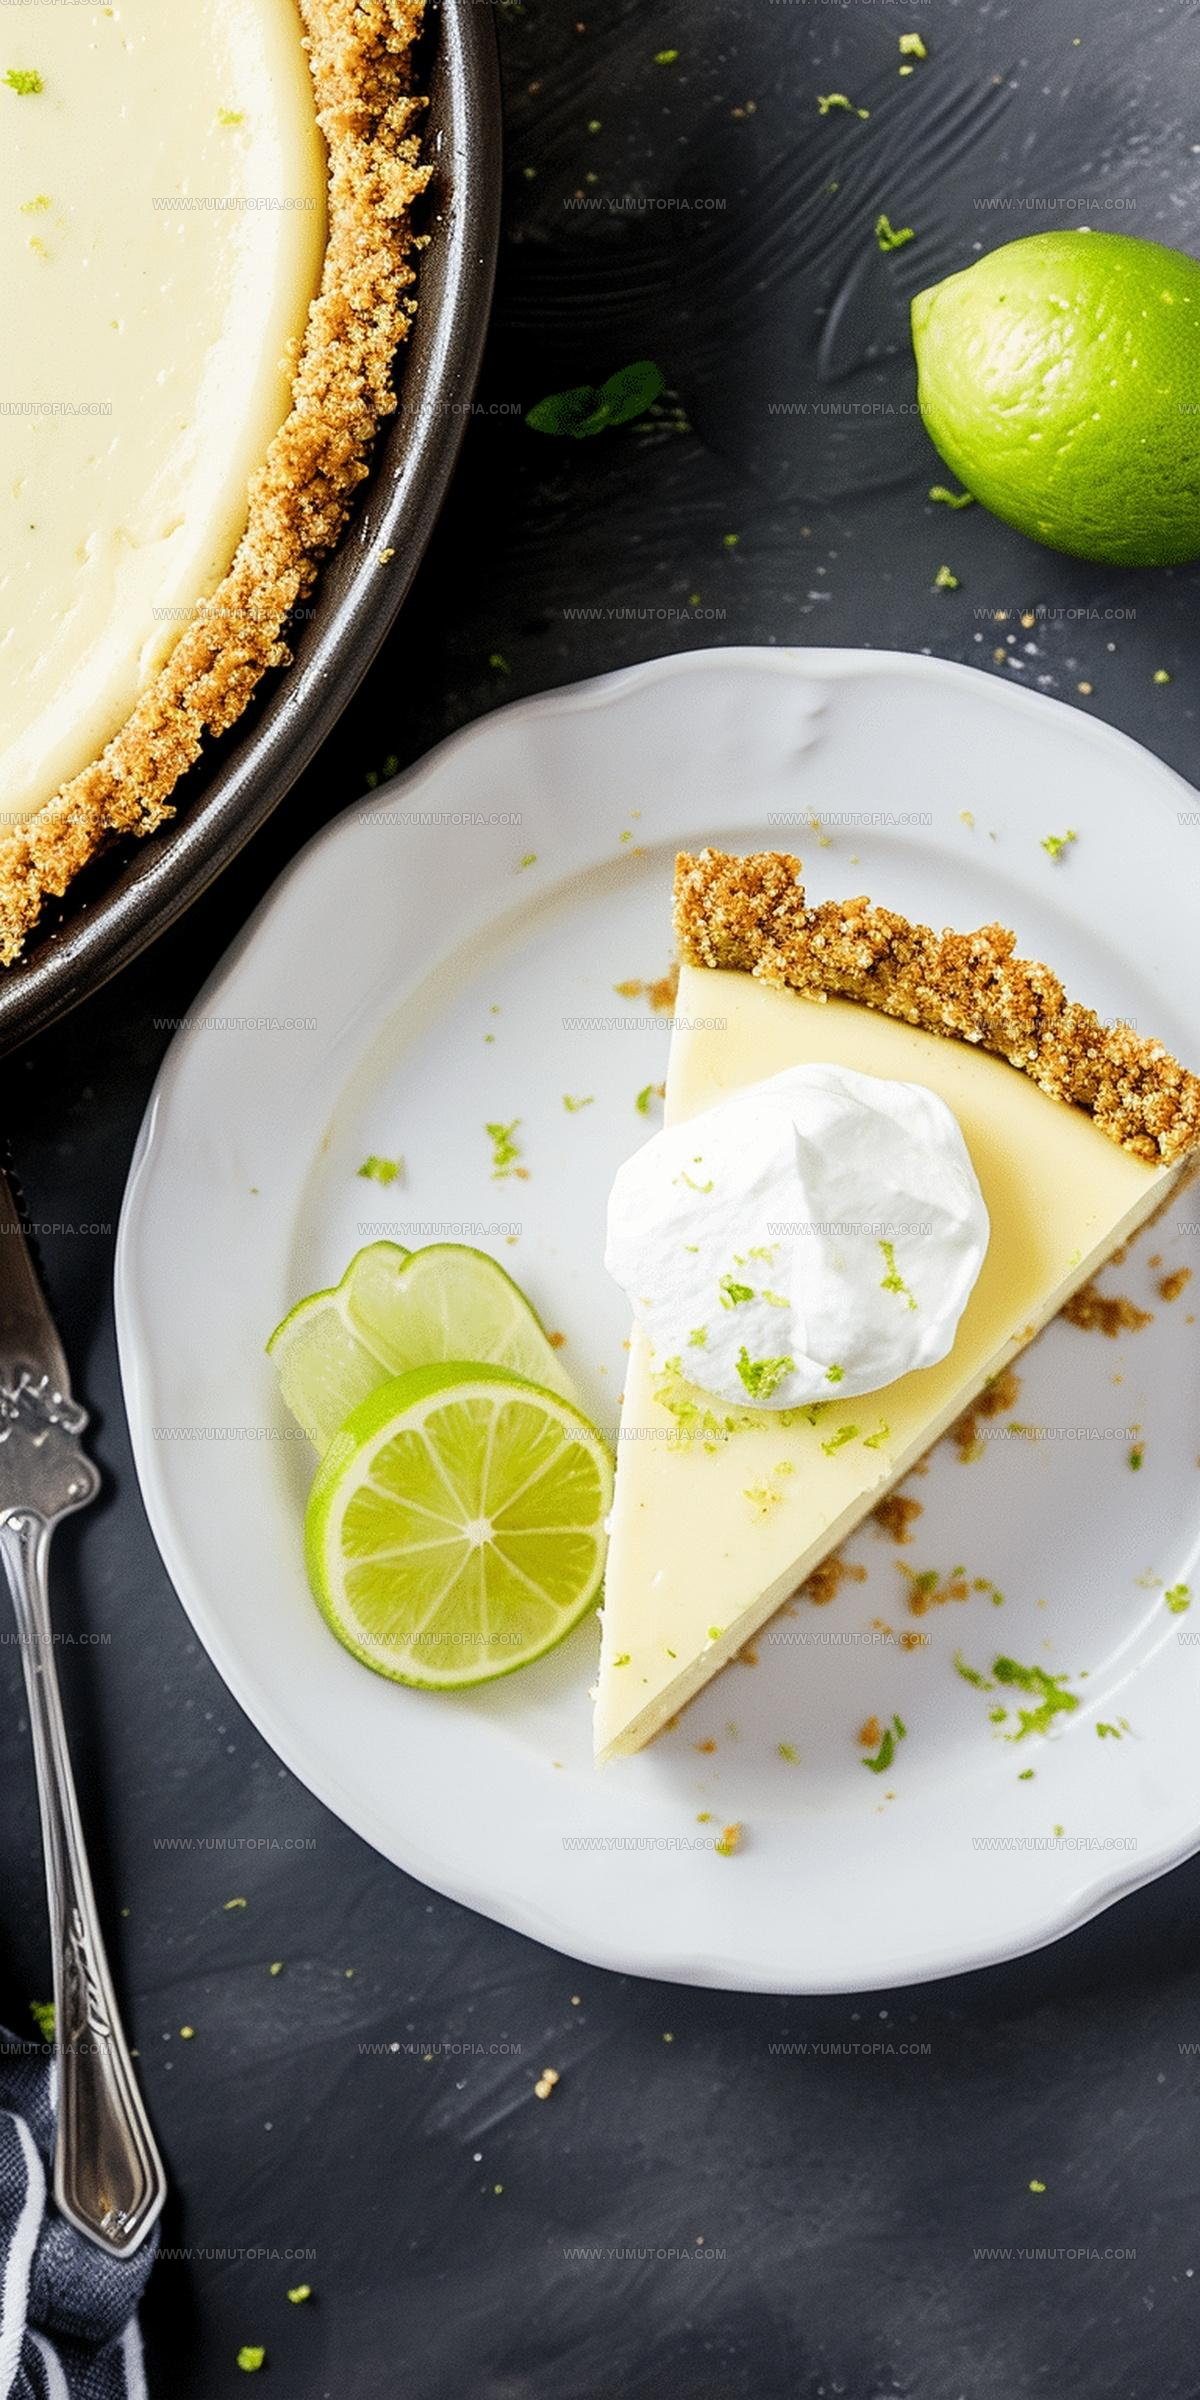
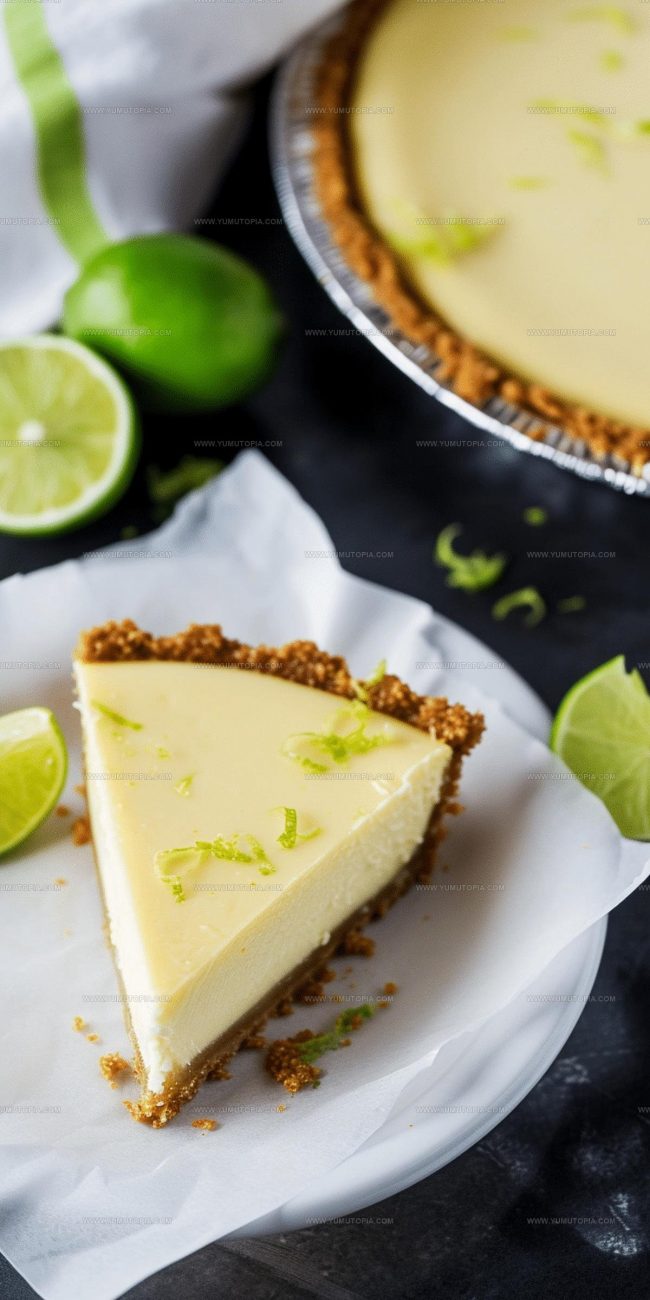
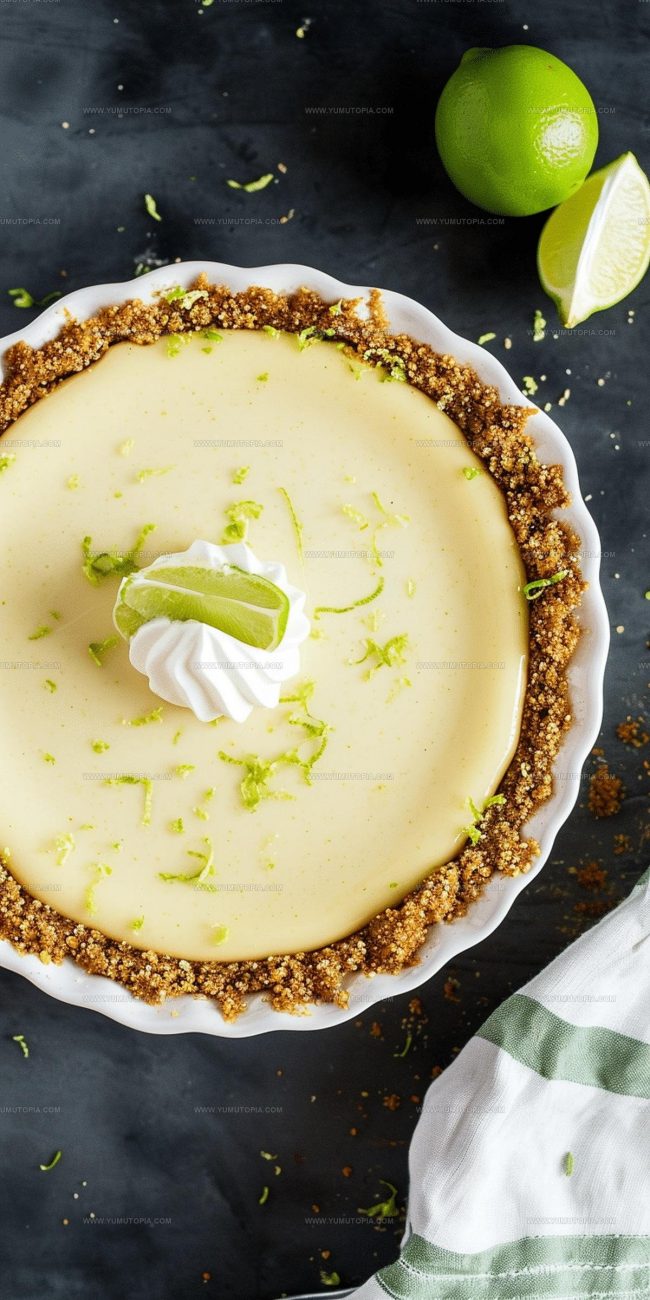
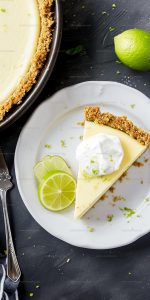
Serve and Garnish
When you’re ready to serve, add a dollop of whipped cream on top if you’d like some extra creaminess. Slice and enjoy your tangy key lime pie!
Practical Cooking Insight For Key Lime Pie
Creative Variations for Key Lime Pie
Best Serving Options for Key Lime Pie
Proper Recipe Storage for Key Lime Pie
Common Recipe Questions for Key Lime Pie
What are key limes and can I substitute regular limes?
Key limes are smaller and more tart than standard Persian limes. While you can substitute regular limes, the flavor won’t be as authentic or intense.
Why does my filling look curdled?
This happens if your ingredients aren’t at room temperature or you mix them too aggressively. Gently whisk until just combined for a smooth filling.
How do I know when the graham cracker crust is perfectly baked?
Look for a light golden-brown color and a slightly firm texture. Your crust should smell toasty but not burnt.
Can this pie be made ahead of time?
Absolutely! You can prepare the entire pie up to two days in advance and keep it refrigerated until serving.
Do I need a special pan to make this pie?
A standard 9-inch pie pan works perfectly. No fancy equipment required for this classic dessert.
How tart should the filling taste?
The filling should have a balanced tanginess – sharp but not overwhelming. Taste as you mix and adjust lime juice if needed.
Classic Baked Key Lime Pie Recipe
- Total Time: 3 hours 32 minutes
- Yield: 8 1x
Description
Making key lime pie transports taste buds straight to Florida’s sunny shores with tangy citrus magic. Creamy, zesty filling nestled in a buttery graham cracker crust delivers pure tropical comfort that brings sunshine to your plate.
Ingredients
Main Ingredients:
- 3 cups sweetened condensed milk
- ¾ cup key lime juice
- ½ cup sour cream
Crust Ingredients:
- 1 ½ cups graham cracker crumbs
- ⅓ cup granulated sugar
- 6 tablespoons unsalted butter, melted
Garnish Ingredients:
- 1 tablespoon key lime zest
- Whipped cream for topping
Instructions
- Preheat the oven to 350°F and grab a 9-inch pie pan. Mix 1 ½ cups graham cracker crumbs, ⅓ cup sugar, and 6 tablespoons melted butter in a medium bowl.
- Press the crumb mixture firmly across the bottom and up the sides of the pie pan, creating an even layer.
- Slide the crust into the preheated 350°F oven and bake for exactly 10 minutes until lightly golden brown.
- Remove the crust and let it cool completely at room temperature.
- Whisk 3 cups sweetened condensed milk, ½ cup sour cream, ¾ cup key lime juice, and 1 tablespoon lime zest in a separate bowl until perfectly smooth.
- Pour the creamy lime filling into the cooled graham cracker crust.
- Return the pie to the 350°F oven and bake for 5-7 minutes until tiny bubbles appear across the surface.
- Pull the pie from the oven and allow it to cool completely at room temperature.
- Refrigerate the pie for a minimum of 3 hours to ensure it sets properly.
- Before serving, add a dollop of whipped cream on top if you prefer a classic finish.
Notes
- Freshly squeezed key lime juice delivers the brightest, most authentic flavor compared to bottled versions.
- Zesting the lime before juicing helps capture maximum citrus essence and adds extra brightness to the pie.
- Graham cracker crust gets extra crispy if pressed firmly and evenly into the pan with the bottom of a measuring cup.
- Refrigerating the pie overnight allows the filling to set perfectly and develops a richer, more balanced taste profile.
- Prep Time: 15 minutes
- Cook Time: 17 minutes
- Category: Pies
- Method: Baking
- Cuisine: American
Nutrition
- Serving Size: 8
- Calories: 412 kcal
- Sugar: 46 g
- Sodium: 115 mg
- Fat: 18 g
- Saturated Fat: 11 g
- Unsaturated Fat: 7 g
- Trans Fat: 0.3 g
- Carbohydrates: 56 g
- Fiber: 1 g
- Protein: 5 g
- Cholesterol: 40 mg
Madison Wyman
Recipe Developer & Food Storyteller
Expertise
Recipe Research and Adaptation, Food Writing and Cultural Storytelling, Sustainable and Ethical Sourcing, Dietary Adaptations (e.g., gluten-free, plant-based)
Education
Oregon Health & Science University
Portland Community College
Madison’s passion for flavor and culture ignited amidst the rich Southern cooking traditions of her upbringing, where cherished family recipes told delicious tales.
Armed with a Master’s in Food Systems and Society from Oregon Health & Science University and a Culinary Arts Certificate from Portland Community College, Madison truly excels at transforming rich, intricate flavors into dishes that are both approachable and heartfelt.
For her, cooking is a vibrant blend of science, art, and heritage – a powerful way to connect us to our roots and each other. Her recipes invite you to delve deeper, uncovering the fascinating stories woven into every ingredient.