
Classic Buttermilk Pie Recipe With Silky Custard
Classic Buttermilk Pie Recipe deserves a spot on every dessert table for good reason.
Southern tradition meets simple comfort in every slice of what has long been a beloved staple at family gatherings and potlucks.
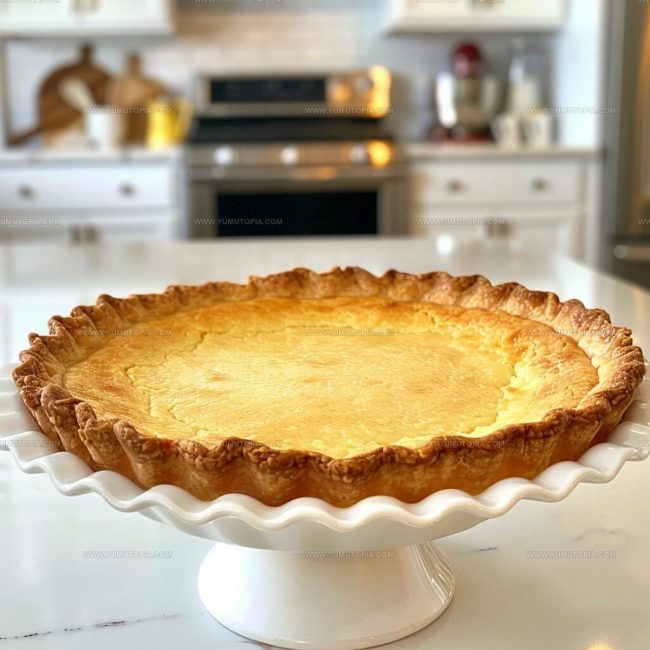
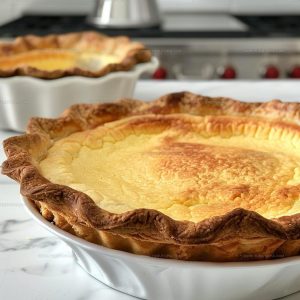
The creamy, custard-like filling sits perfectly in a flaky crust, offering just the right balance of sweetness and subtle tang.
What makes it so appealing is how effortlessly it comes together while still feeling special enough for celebration.
Generations have passed down their versions, yet the heart of it remains wonderfully unchanged.
When you need something that feels both homey and impressive, few desserts deliver quite like it.
There’s something undeniably satisfying about serving a pie that looks beautiful and tastes even better.
The Charm of a Classic Buttermilk Pie
What Goes Into Buttermilk Pie
Pie Crust:Base Ingredients:Flavor Enhancers:What Tools Support Buttermilk Pie
Classic Buttermilk Pie Baking Guide

Prepare the Oven
Heat your oven to exactly 350°F. Grab a 9-inch pie plate and gently ease your pie crust into it, creating a pretty crimped edge around the rim. Pop the crust into the refrigerator to keep it cool while you prep the filling.
Create the Filling Base
Grab a large mixing bowl and start combining your ingredients carefully. You’ll want to whisk together these items:
Whisk everything until the mixture looks smooth and well-blended.
Prepare for Baking
Take a cookie sheet and place your chilled pie crust on it. This helps catch any potential drips and makes moving the pie easier. Pour your prepared filling into the crust, making sure it’s evenly distributed.
Protect the Crust
Wrap the pie crust edges with aluminum foil or use a pie crust shield. This prevents the edges from burning during the long bake time.
Bake to Perfection
Slide the pie into the preheated 350°F oven. Bake for 45-55 minutes. You’re looking for a golden-brown top with a center that’s just slightly wobbly when you gently shake the pan.
Cool and Chill
Once baked, remove the pie from the oven and let it cool completely at room temperature. After it’s cooled, cover and store in the refrigerator. This helps the filling set up perfectly and keeps the pie fresh.
Serve and Enjoy
When you’re ready to serve, slice the pie and enjoy its creamy, tangy goodness straight from the refrigerator. Each slice promises a delightful combination of sweet, smooth filling and flaky crust.
Insider Tips for Buttermilk Pie
Classic Buttermilk Pie Variations to Change It Up
Presentation Ideas for Classic Buttermilk Pie
How to Store Buttermilk Pie
Buttermilk Pie FAQs
Can I use a store-bought pie crust?
Absolutely! A pre-made pie crust works perfectly and saves you time in the kitchen.
What does buttermilk pie taste like?
It’s a creamy, custard-like dessert with a tangy sweetness and subtle hints of nutmeg that remind you of a classic southern comfort treat.
How do I know when the pie is done baking?
The edges will turn golden brown, and the center will have a gentle jiggle when you move the pie – similar to a cheesecake’s texture.
Can I freeze buttermilk pie?
Yes, you can wrap the cooled pie tightly in plastic wrap and freeze it for up to 2 months. Thaw in the refrigerator overnight before serving.
Is buttermilk pie difficult to make?
Not at all! This recipe requires basic whisking and mixing skills, making it simple for bakers of all experience levels.
Can I substitute ingredients in the recipe?
Stick to the original measurements for best results, but feel free to swap nutmeg with cinnamon if you prefer a different warm spice flavor.
Classic Buttermilk Pie Recipe
- Total Time: 1 hour to 1 hour 10 minutes
- Yield: 6 to 8 1x
Description
Southern Buttermilk Pie brings pure comfort straight from Grandma’s kitchen to your table. Creamy, custardy, and wonderfully simple, this classic dessert delivers pure Southern charm with minimal ingredients and maximum flavor.
Ingredients
Main Ingredients:
- 1 ½ cups granulated sugar
- 3 large eggs
- 1 cup buttermilk
- ½ cup unsalted butter
Supporting Ingredients:
- 3 tablespoons all-purpose flour
- 1 tablespoon lemon juice
- 1 teaspoon vanilla extract
Finishing Ingredients:
- ⅛ teaspoon ground nutmeg
- ¼ teaspoon salt
- 1 9-inch pie crust
Instructions
- Warm your oven to precisely 350°F and position a rack in the center.
- Gently press your refrigerated pie crust into a 9-inch pie plate, carefully crimping the edges to create a decorative border.
- Melt ½ cup unsalted butter and whisk it thoroughly with 1 ½ cups granulated sugar in a large mixing bowl.
- Add 3 large eggs one at a time, blending smoothly after each incorporation.
- Mix in 3 tablespoons flour, 1 tablespoon lemon juice, ⅛ teaspoon nutmeg, 1 teaspoon vanilla, and ¼ teaspoon salt until the mixture looks completely uniform.
- Pour 1 cup buttermilk into the bowl and whisk until the filling appears silky and well-combined.
- Place your prepared pie crust on a rimmed baking sheet for easy handling.
- Carefully pour the filling into the crust, ensuring an even distribution.
- Wrap the pie’s outer crust edges with aluminum foil to prevent excessive browning.
- Slide the baking sheet into the preheated oven and bake for 45-55 minutes until the center remains slightly wobbly but the surface turns golden brown.
- Remove the pie and let it rest at room temperature for 2-3 hours until completely cooled.
- Refrigerate the pie, covering it loosely with plastic wrap, and slice when thoroughly chilled.
Notes
- Check buttermilk’s freshness for the best tangy flavor and smooth texture in the custard.
- Use room temperature eggs to help ingredients blend more evenly and create a silky filling.
- Protect pie crust edges with aluminum foil to prevent over-browning during the longer baking time.
- Let the pie cool completely before slicing to allow the custard to set properly and achieve the perfect slice.
- Prep Time: 15 minutes
- Cook Time: 45-55 minutes
- Category: Pies
- Method: Baking
- Cuisine: American
Nutrition
- Serving Size: 6 to 8
- Calories: 380 kcal
- Sugar: 45 g
- Sodium: 180 mg
- Fat: 18 g
- Saturated Fat: 11 g
- Unsaturated Fat: 6 g
- Trans Fat: 0.5 g
- Carbohydrates: 52 g
- Fiber: 0.5 g
- Protein: 5 g
- Cholesterol: 115 mg
Logan Lemaster
Founder & Culinary Innovator
Expertise
Recipe Development and Innovation, Menu Design and Optimization, Fine Dining Techniques, Ingredient Pairing and Flavor Science
Education
Metropolitan Culinary Arts Institute
Logan’s culinary journey kicked off in his vibrant Chicago family kitchen, where fresh, seasonal ingredients and bold flavors were always front and center.
After graduating from the Metropolitan Culinary Arts Institute in Arlington, Virginia, and honing his skills in renowned restaurants, Logan mastered the art of blending classic techniques with exciting, modern twists.
His kitchen is a dynamic lab for flavor exploration. Through Yum Utopia, Logan aims to empower you to cook with both confidence and creativity, turning simple ingredients into spectacular meals.