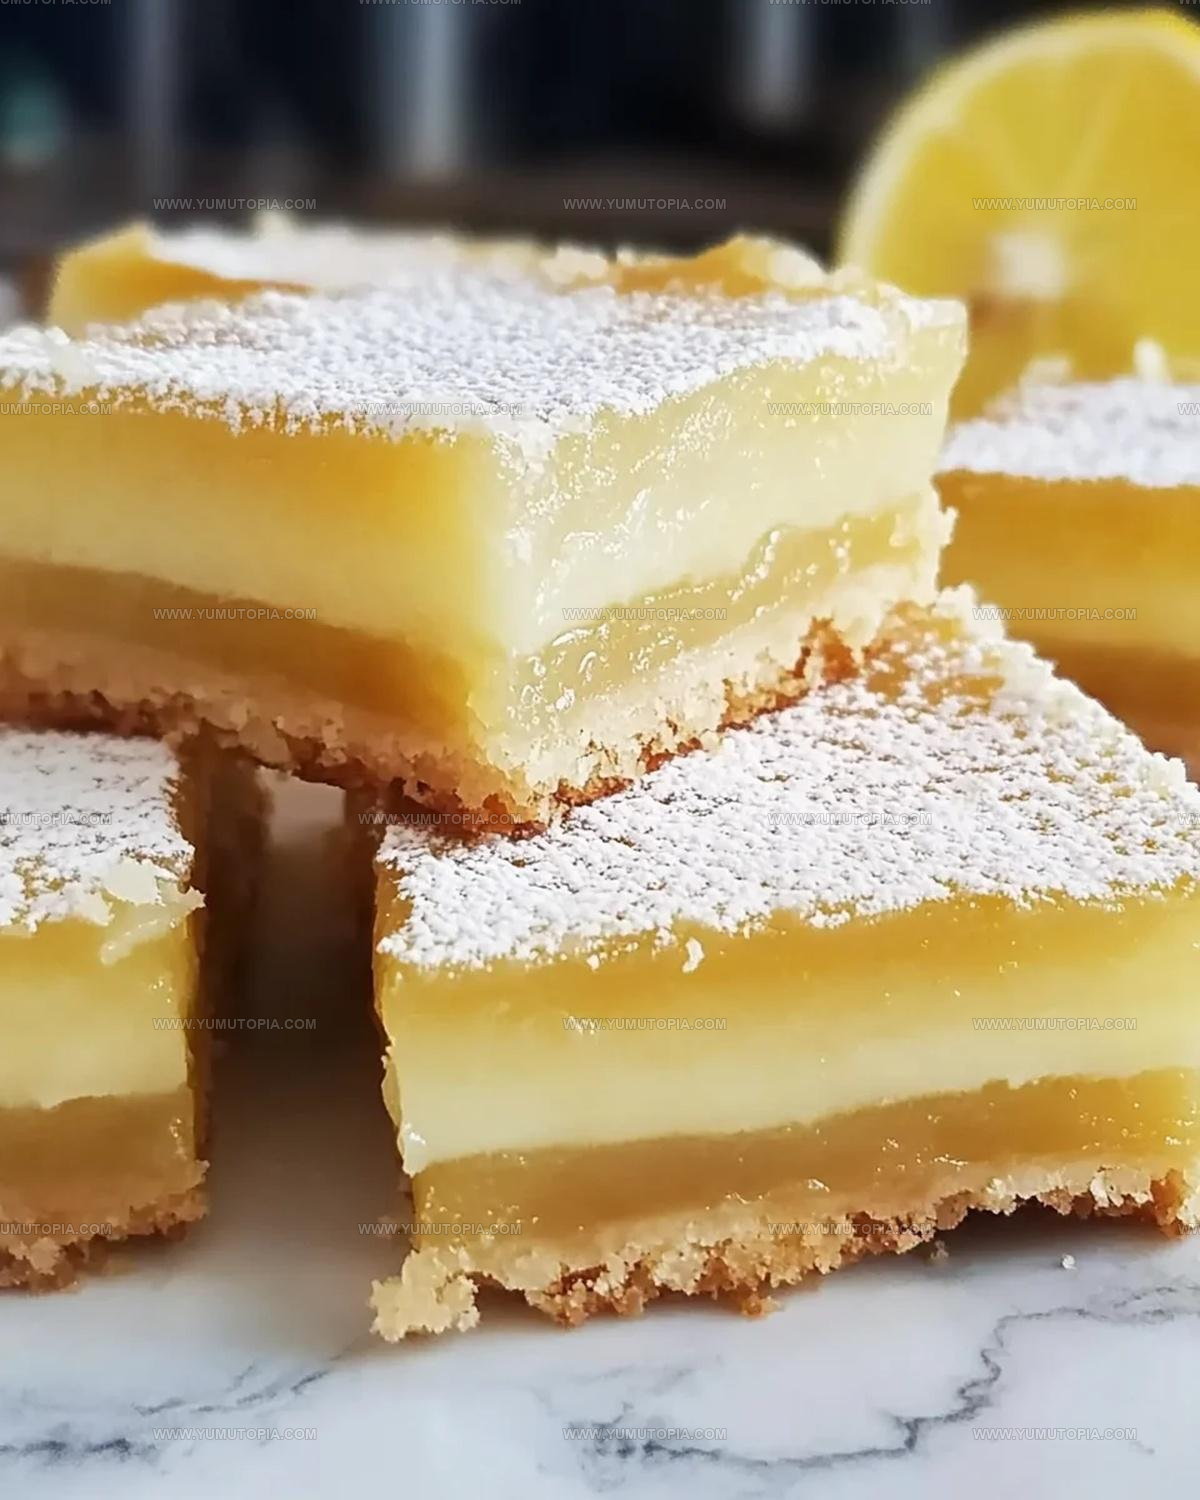
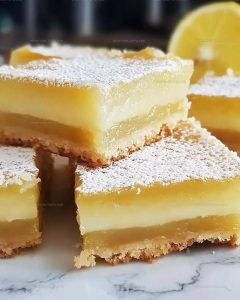
Tangy Lemon Bars Recipe for Bright Citrus Dessert Lovers
Sunshine-packed lemon bars offer a delightful escape from ordinary desserts.
Sweet and tart sensations dance across your palate with every single bite.
Crumbly, buttery crusts provide the perfect foundation for bright citrus flavors that spark joy.
Summer memories and cheerful moments come flooding back through these classic treats.
Bakery-style desserts often seem complicated, but lemon bars prove simplicity can be spectacular.
Home bakers love creating these crowd-pleasing squares that disappear quickly at potlucks and family gatherings.
Prepare to experience a dessert that balances tangy freshness with melt-in-your-mouth comfort – your next favorite sweet adventure awaits.
Standout Reasons To Try Lemon Bars
Core Ingredients In Lemon Bars
Crust Ingredients:Filling Ingredients:Finishing Touch:Kitchen Tools Overview for Lemon Bars
How to Prepare Lemon Bars
Prepare the Crust
Grab a medium mixing bowl and toss in:
Smoosh and mix everything together until it forms a soft, crumbly dough that sticks when you press it.
Shape the Crust
Press the dough evenly into an ungreased 9×13-inch baking dish, making sure it covers the entire bottom with a smooth, even layer. Your goal is a solid, compact base for the lemon goodness coming next.
Initial Baking
Slide the baking dish into a preheated oven at 350°F. Bake for 15 minutes until the edges turn a light golden color. This creates a sturdy foundation for your lemon bars.
Prepare Lemon Filling
In a clean mixing bowl, whisk together these ingredients:
Add 4 eggs and juice from 2 lemons (about ½ cup). Whisk everything until the mixture looks smooth and well combined.
Complete the Baking
Pour the lemon filling evenly over the baked crust. Return the dish to the 350°F oven and bake for 20 minutes. The filling should look set but have a slight jiggle in the center when you nudge the pan.
Cool and Serve
Let the bars cool completely inside the baking dish. This helps the filling firm up perfectly. Once cooled, slice into squares. If you want, dust the top with a light sprinkle of powdered sugar for extra charm.
Helpful Notes For Lemon Bars
Flavor Twists for Lemon Bars
Classic Serving Ideas for Lemon Bars
Storage Notes For Lemon Bars
Lemon Bars Questions And Answers
Can I use bottled lemon juice instead of fresh?
Fresh lemons provide the best flavor and brightness, but bottled juice works in a pinch. Just ensure it’s 100% pure lemon juice without added preservatives.
How do I know when the crust is perfectly baked?
The edges will turn light golden brown, and the surface will look dry and set. Check at 12-15 minutes to prevent over-browning.
What if my lemon filling looks lumpy?
Whisk the ingredients thoroughly and strain the mixture through a fine-mesh sieve to remove any egg or flour clumps before pouring over the crust.
How thin or thick should the crust be?
Press the dough evenly across the entire pan, creating a uniform layer about 1/4 inch thick. Use your fingertips to spread it smoothly.
Can these bars be frozen?
Yes, wrap tightly in plastic wrap and store in a freezer-safe container for up to 3 months. Thaw overnight in the refrigerator before serving.
Why did my filling turn out runny?
Ensure eggs are at room temperature, measure ingredients precisely, and bake until the center is just set but still slightly jiggly.
Classic Citrus Lemon Bars Recipe
- Total Time: 45 minutes
- Yield: 8 1x
Description
Zesty Lemon Bars bring sunshine right to your kitchen table with just a few simple ingredients and minimal effort. Creamy, tart filling nestled on a buttery shortbread crust makes this classic dessert a total crowd-pleaser that disappears faster than you can slice it.
Ingredients
Crust Ingredients:
- 2 cups all-purpose flour
- 1 cup butter
- ½ cup white sugar
Filling Ingredients:
- 4 eggs
- 1 ½ cups white sugar
- ¼ cup all-purpose flour
- ½ cup lemon juice
Instructions
- Combine 2 cups flour, 1 cup softened butter, and ½ cup sugar in a mixing bowl. Blend the ingredients until they create a cohesive dough.
- Transfer the dough into an ungreased 9×13-inch baking dish. Press firmly and evenly across the bottom to create a uniform crust.
- Place the crust in a 350°F oven and bake for exactly 15 minutes until the edges turn a light golden color.
- In a separate bowl, mix 1 ½ cups sugar with ¼ cup flour until well combined.
- Crack 4 eggs into the sugar-flour mixture. Pour in ½ cup fresh lemon juice from 2 squeezed lemons.
- Whisk the ingredients thoroughly until the filling becomes completely smooth with no lumps.
- Carefully pour the lemon filling over the hot baked crust, ensuring an even distribution across the surface.
- Return the dish to the 350°F oven and bake an additional 20 minutes. The center should remain slightly wobbly when gently shaken.
- Remove from the oven and allow the bars to cool completely inside the baking dish. This helps the filling set properly.
- Once cooled, slice into square portions and optionally dust with powdered sugar before serving.
Notes
- Use room temperature butter for the crust to ensure smooth, easy mixing and a tender texture.
- Zest the lemons before juicing to capture maximum citrus flavor and brightness in the filling.
- Line the baking dish with parchment paper for easy removal and clean cutting of the bars.
- For a gluten-free version, swap regular flour with a 1:1 gluten-free baking flour blend in both the crust and filling.
- Prep Time: 10 minutes
- Cook Time: 35 minutes
- Category: Dessert Bars
- Method: Baking
- Cuisine: American
Nutrition
- Serving Size: 8
- Calories: 291 kcal
- Sugar: 28 g
- Sodium: 2 mg
- Fat: 14 g
- Saturated Fat: 8 g
- Unsaturated Fat: 6 g
- Trans Fat: 0.5 g
- Carbohydrates: 38 g
- Fiber: 0.3 g
- Protein: 3 g
- Cholesterol: 70 mg
Madison Wyman
Recipe Developer & Food Storyteller
Expertise
Recipe Research and Adaptation, Food Writing and Cultural Storytelling, Sustainable and Ethical Sourcing, Dietary Adaptations (e.g., gluten-free, plant-based)
Education
Oregon Health & Science University
Portland Community College
Madison’s passion for flavor and culture ignited amidst the rich Southern cooking traditions of her upbringing, where cherished family recipes told delicious tales.
Armed with a Master’s in Food Systems and Society from Oregon Health & Science University and a Culinary Arts Certificate from Portland Community College, Madison truly excels at transforming rich, intricate flavors into dishes that are both approachable and heartfelt.
For her, cooking is a vibrant blend of science, art, and heritage – a powerful way to connect us to our roots and each other. Her recipes invite you to delve deeper, uncovering the fascinating stories woven into every ingredient.