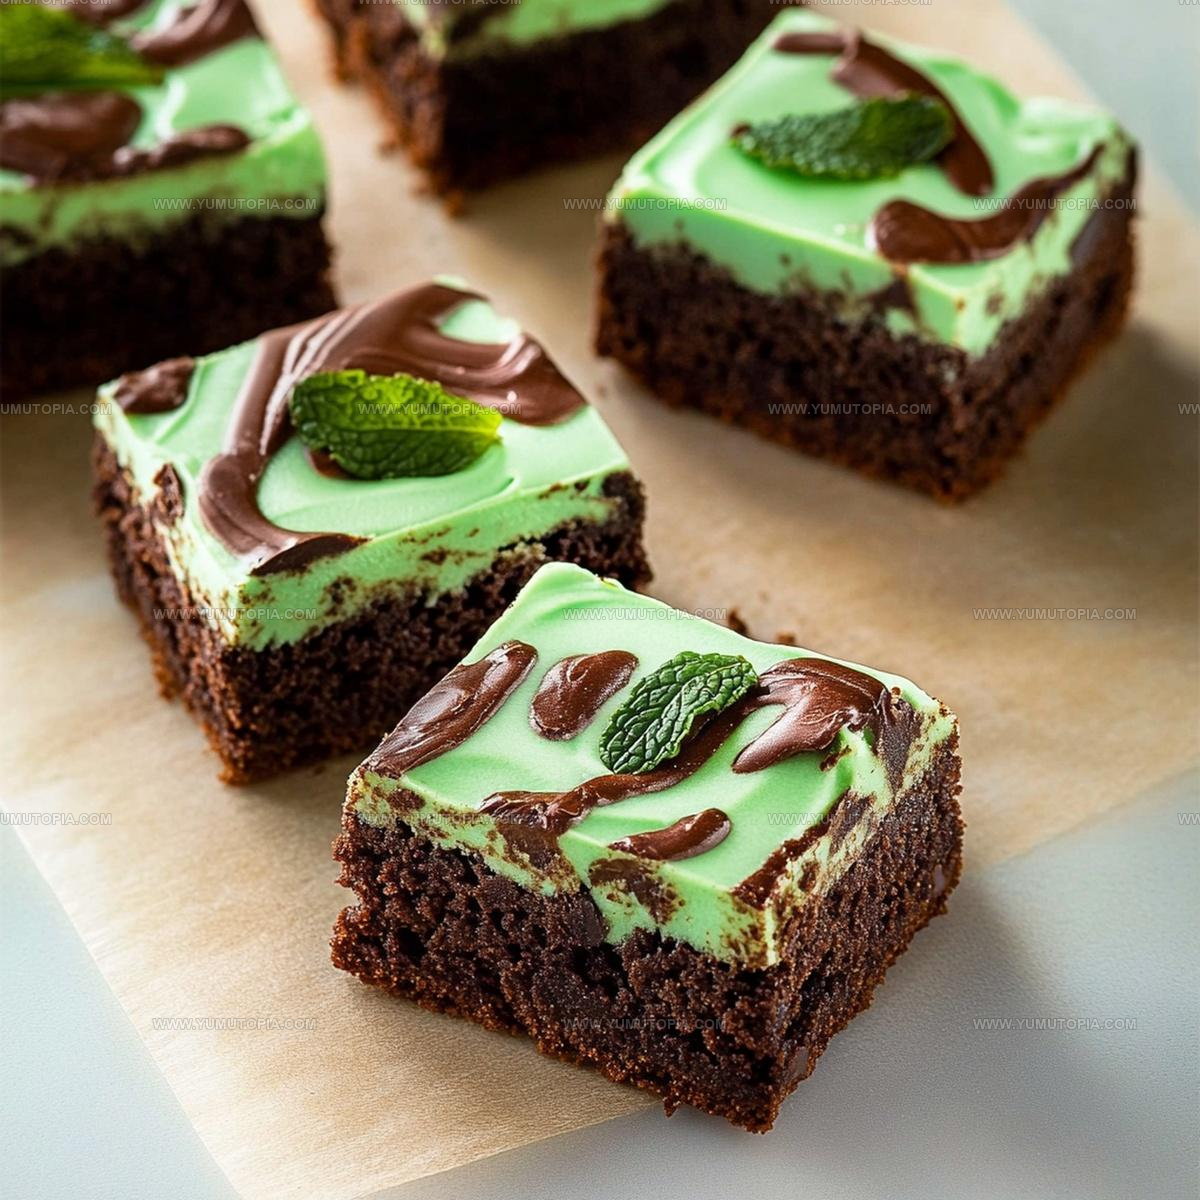
Fudgy Mint Brownies Recipe with Chocolate Layers
Delicious mint brownies deliver that perfect balance of rich chocolate and cool refreshment everyone craves year-round.
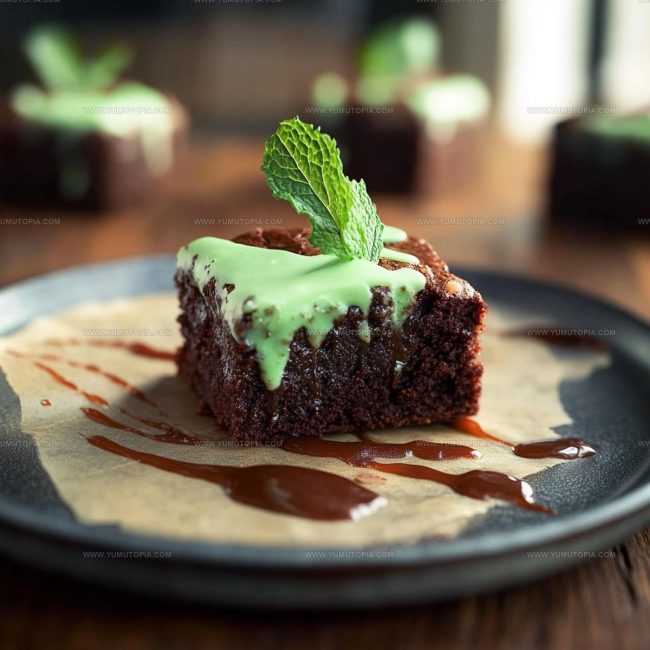
Whether served at casual gatherings or saved for a quiet evening at home, they bring something special to any occasion.
The combination works beautifully because mint naturally complements deep cocoa flavors without overwhelming them.
What makes them particularly appealing is how they satisfy both chocolate lovers and anyone who enjoys a little unexpected freshness in desserts.
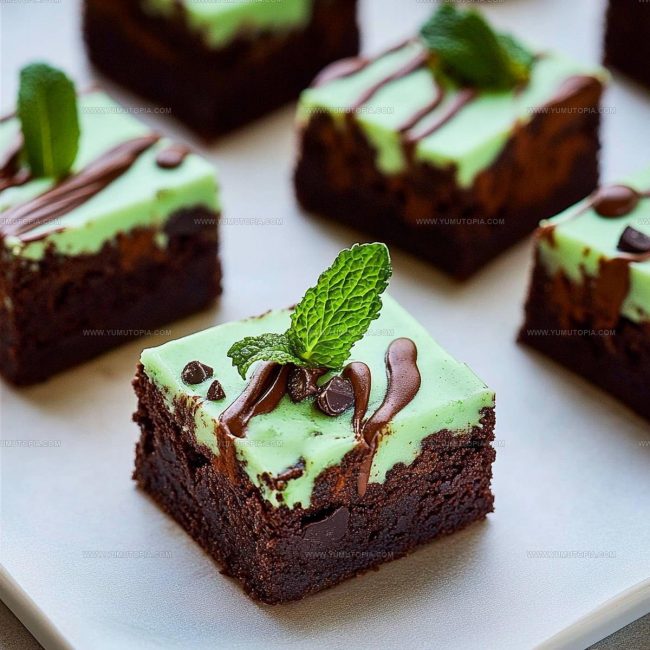
They look impressive on any dessert table and disappear fast once people take that first bite.
If you love treats that feel both comforting and a bit sophisticated, this dessert hits all the right notes.
Making them at home means you control every element while creating something truly memorable.
What Makes Mint Brownies So Crowd-Pleasing
Ingredients Used in Mint Brownies
Main Ingredients:Kitchen Tools Used for Mint Brownies
How to Bake Rich Mint Brownies for Any Occasion
Prepare the Oven
Heat the oven to 350°F. Grab your 8×8-inch baking dish and either grease it thoroughly or line it with parchment paper so your brownies won’t stick.
Mix Dry Ingredients
Grab a mixing bowl and whisk together these dry ingredients:
Set the bowl aside for a moment.
Combine Wet Ingredients
In a separate bowl, crack 3 large eggs and add 1 1/2 cups granulated sugar. Beat them until they look smooth and well combined. Pour in 3/4 cup melted butter and 1-1 1/2 tsp mint extract. Stir everything together.
Create Brownie Batter
Slowly fold the dry ingredient mixture into the wet ingredients. Mix just until everything is combined. If chocolate chips sound good, toss in 1/2-1 cup right now and give a quick stir.
Bake the Brownies
Pour the batter into your prepared baking dish. Slide the dish into the preheated oven and bake for 25-30 minutes. Check doneness by inserting a toothpick – it should come out almost clean.
Cool and Serve
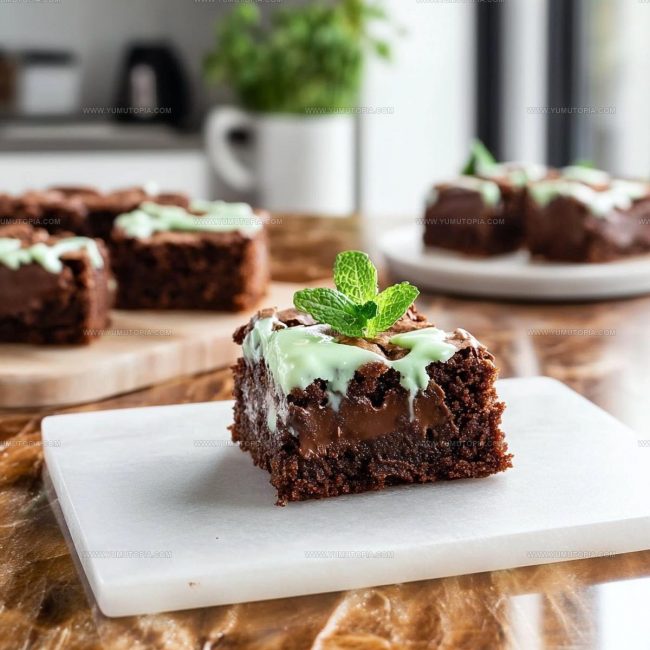
Let the brownies rest and cool completely before cutting into squares. This helps them set up perfectly and makes clean cutting easier.
Rich Chocolate Tips for Mint Brownies
Alternate Versions of Mint Brownies
Best Ways to Serve Mint Brownies
How Should Mint Brownies Be Stored
Mint Brownies Common Questions
How do I prevent my brownies from being too cakey?
Mix the batter minimally and avoid overmixing. Gently fold dry ingredients into wet ingredients just until combined. This helps maintain a fudgy, dense texture that keeps your brownies rich and moist.
Can I use peppermint extract instead of mint extract?
Yes, peppermint extract works perfectly! Just use the same measurement. The flavor will be slightly sharper and more intense compared to standard mint extract.
What chocolate chips work best in this recipe?
Semi-sweet or dark chocolate chips complement the mint flavor beautifully. They add delightful pockets of melted chocolate throughout the brownies.
How can I tell if the brownies are perfectly baked?
Check with a toothpick inserted near the center. It should come out with a few moist crumbs. Avoid overbaking, which dries out the brownies.
Are mint brownies kid-friendly?
Absolutely! The mint flavor is subtle and smooth. Children typically enjoy the refreshing taste and chocolate base of these brownies.
Can I freeze these brownies?
Wrap individual brownies tightly in plastic wrap, then place in a freezer bag. They freeze well for up to three months and taste great straight from the freezer.

Classic Mint Brownies Recipe
- Total Time: 35-40 minutes
- Yield: 9 1x
Description
Mint brownies bring pure chocolate-mint magic right to your dessert plate with rich, fudgy layers that seriously satisfy your sweet tooth. These crowd-pleasing treats blend smooth chocolate and cool mint into one seriously delicious square of pure happiness.
Ingredients
Main Ingredients:
- 3 large eggs
- ¾ cup unsweetened cocoa powder
- 1 ½ cups granulated sugar
- ¾ cup all-purpose flour
- ¾ cup melted butter
Flavoring Ingredients:
- 1–1 ½ teaspoons mint extract
Supporting Ingredients:
- ½ teaspoon baking powder
- ½ teaspoon salt
- ½–1 cup chocolate chips
Instructions
- Preheat the oven to a precise 350°F. Coat your 8×8-inch baking dish with butter or line it completely with parchment paper, ensuring full coverage for easy brownie removal.
- Grab a medium mixing bowl and combine ¾ cup cocoa powder, ¾ cup all-purpose flour, ½ tsp baking powder, and ½ tsp salt. Whisk these dry ingredients until they’re thoroughly blended.
- In a separate large bowl, crack 3 large eggs and add 1 ½ cups granulated sugar. Beat the mixture until it transforms into a smooth, pale consistency.
- Pour ¾ cup melted butter and 1-1 ½ tsp mint extract into your egg mixture. Stir gently to create a fragrant, rich liquid base.
- Carefully fold the dry ingredient mixture into your wet ingredients. Mix until ingredients are just combined, avoiding overmixing. Add ½-1 cup chocolate chips if desired.
- Transfer the batter into your prepared baking dish, spreading it evenly with a spatula to ensure uniform thickness.
- Slide the dish into the preheated oven and bake for exactly 25-30 minutes. Check doneness by inserting a toothpick – it should come out with a few moist crumbs.
- Remove from the oven and let the brownies cool completely in the pan for at least 1 hour before slicing into squares.
Notes
- Cool the brownies completely before cutting to get clean, precise edges and prevent crumbling.
- Adjust mint extract quantity based on personal preference, starting with less and tasting the batter for desired intensity.
- For gluten-free adaptation, replace wheat flour with almond or gluten-free blend, which adds a subtle nutty undertone.
- Store brownies in an airtight container at room temperature for 3-4 days, or refrigerate to extend freshness and maintain dense texture.
- Prep Time: 10 minutes
- Cook Time: 25-30 minutes
- Category: Brownies
- Method: Baking
- Cuisine: American
Nutrition
- Serving Size: 9
- Calories: 261 kcal
- Sugar: 22 g
- Sodium: 92 mg
- Fat: 15 g
- Saturated Fat: 9 g
- Unsaturated Fat: 6 g
- Trans Fat: 0.3 g
- Carbohydrates: 30 g
- Fiber: 4 g
- Protein: 4 g
- Cholesterol: 55 mg
Logan Lemaster
Founder & Culinary Innovator
Expertise
Recipe Development and Innovation, Menu Design and Optimization, Fine Dining Techniques, Ingredient Pairing and Flavor Science
Education
Metropolitan Culinary Arts Institute
Logan’s culinary journey kicked off in his vibrant Chicago family kitchen, where fresh, seasonal ingredients and bold flavors were always front and center.
After graduating from the Metropolitan Culinary Arts Institute in Arlington, Virginia, and honing his skills in renowned restaurants, Logan mastered the art of blending classic techniques with exciting, modern twists.
His kitchen is a dynamic lab for flavor exploration. Through Yum Utopia, Logan aims to empower you to cook with both confidence and creativity, turning simple ingredients into spectacular meals.