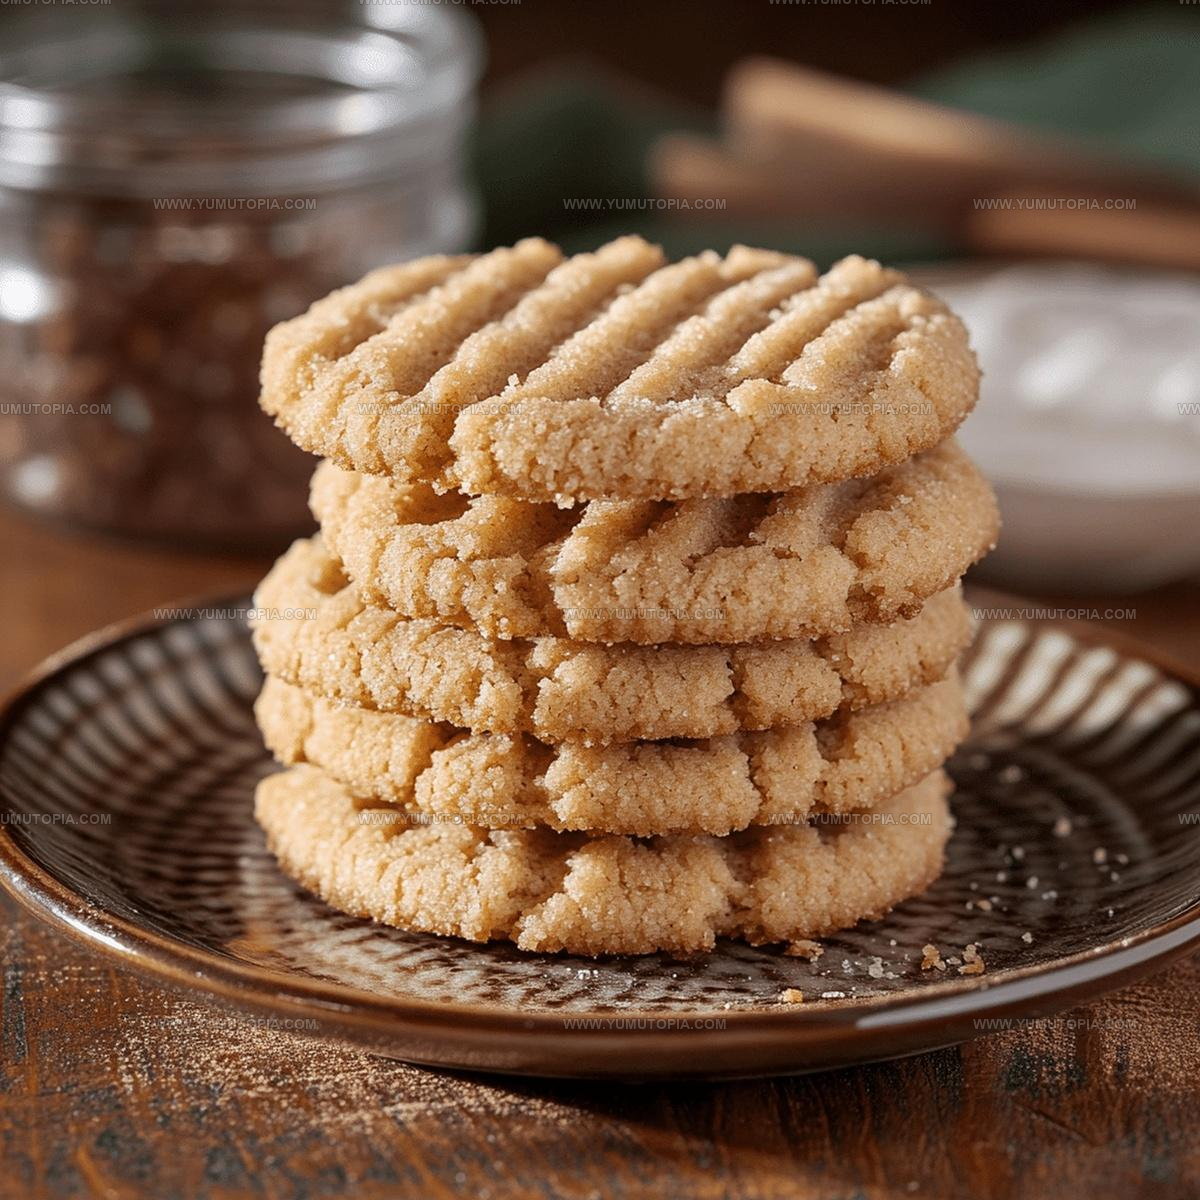
Crispy Washboard Cookie Recipe With Ridged Edges
Washboard cookies crackle with nostalgic charm and sweet memories from childhood kitchens.
Southern bakeries and home cooks have long celebrated these delightful treats for their unique textured surface and rich, buttery profile.
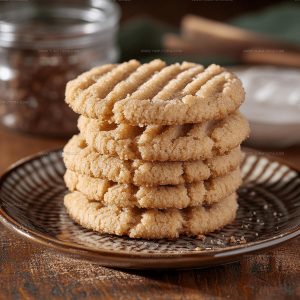
Crisp edges and signature ridged pattern make these cookies stand out on any dessert plate.
Delicate yet substantial, they offer a perfect balance between tender crumb and satisfying crunch.
Bakers of all skill levels can confidently master this classic recipe with minimal effort.
Simple ingredients and straightforward preparation ensure you’ll create something truly memorable.
Prepare to delight friends and family with a timeless cookie that sparks joy and connection.
What Makes Washboard Cookies So Nostalgic
What Makes Washboard Cookies
Main Ingredients:Dry Ingredients:Optional Add-Ins:Equipment You’ll Use for Washboard Cookies
Cooking Method for Washboard Cookies
Prepare Butter and Sugar
Grab your mixing bowl and dump in 1 cup softened unsalted butter. Sprinkle 1 cup granulated sugar right on top. Whip these together with your mixer until they transform into a fluffy, pale mixture – about 2-3 minutes of steady beating will do the trick.
Add Moisture
Crack 1 large egg into the butter-sugar blend. Pour in 1 teaspoon pure vanilla extract. Mix everything until the liquid disappears completely into your creamy base.
Combine Dry Ingredients
In a separate bowl, measure out your dry ingredients carefully:
Gently stir these dry ingredients together, then slowly fold into your wet mixture. Mix just until everything looks incorporated.
Form Cookie Logs
Heat your oven to 350 degrees Fahrenheit. Line two baking sheets with parchment paper. Take small spoonfuls of dough and roll them into little logs about 2-2.5 inches long.
Create Washboard Design
Press a fork gently across each dough log to create those signature ridged lines. This gives your cookies that classic washboard texture.
Bake to Golden Perfection
Slide your baking sheets into the preheated oven. Bake for 10-12 minutes until the cookie edges turn a beautiful golden color. Let them rest on the baking sheet for 5 minutes, then transfer to a wire rack to cool completely.
Key Cooking Insights For Washboard Cookies
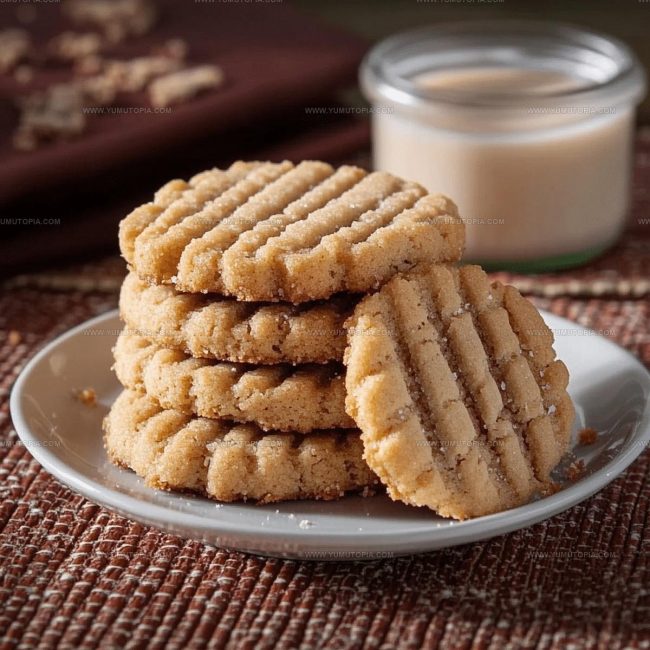
Simple Variations For Washboard Cookies
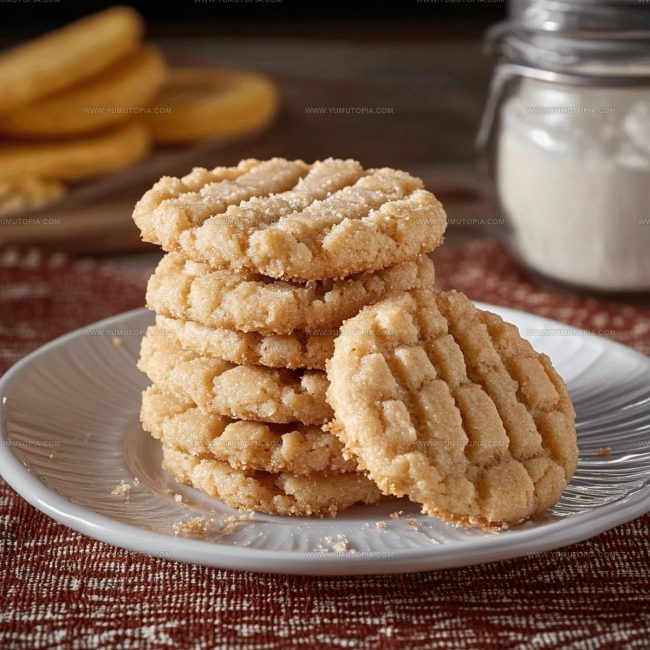
Classic Serving Ideas For Washboard Cookies
Smart Storage Tips For Washboard Cookies
Washboard Cookies FAQs
What tool creates the classic washboard pattern?
A fork or the back of a ribbed pastry tool works perfectly to make those signature ridges across the top of each cookie.
Can I skip the oats or coconut in the recipe?
Absolutely. These ingredients are optional and won’t impact the basic cookie structure if you choose to omit them.
How thin should the dough logs be?
Shape your dough logs to be about 2-2.5 inches long and relatively narrow, which helps create the traditional washboard shape.
Do these cookies spread a lot during baking?
These cookies maintain their shape quite well and won’t dramatically expand across the baking sheet.
Can children help make washboard cookies?
Definitely! Kids love creating the fork pattern and can easily help shape the small dough logs.
Are washboard cookies crunchy or soft?
These cookies have a classic crisp texture with a slight crumbly edge, making them perfect for dunking in milk or coffee.
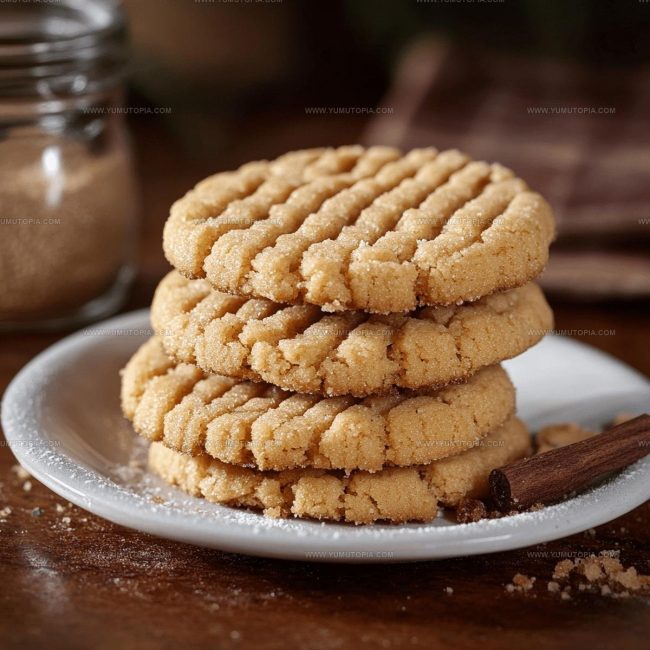
Classic Washboard Cookies Recipe
- Total Time: 38-40 minutes
- Yield: 12 1x
Description
Washboard cookies bring back memories of grandma’s kitchen, where simple ingredients create the most delightful treats your family will adore. Crisp, buttery, and delicately textured, these classic cookies are perfect for dunking in milk or enjoying with afternoon tea.
Ingredients
Primary Ingredients:
- 1 cup unsalted butter
- 1 cup granulated sugar
- 2 cups all-purpose flour
- 1 large egg
Supporting Ingredients:
- 1 teaspoon pure vanilla extract
- ½ teaspoon baking soda
- ¼ teaspoon salt
Optional Add-Ins:
- ½ cup quick oats
- ½ cup shredded coconut
Instructions
- Pull softened 1 cup butter and 1 cup sugar into a mixing bowl. Beat with an electric mixer for 2-3 minutes until the mixture transforms into a pale, airy consistency.
- Crack 1 large egg into the butter mixture. Pour in 1 teaspoon vanilla extract. Blend thoroughly until the ingredients seamlessly combine.
- Grab a separate bowl and measure out 2 cups all-purpose flour, ½ teaspoon baking soda, and ¼ teaspoon salt. Whisk the dry ingredients together until they’re evenly distributed.
- Heat your oven to 350°F. Line two baking sheets with parchment paper. Pour dry ingredients into wet mixture and stir gently until just combined.
- Scoop tablespoon-sized portions of dough. Roll each portion into a small log approximately 2-2.5 inches long on the prepared baking sheets.
- Take a fork and press gentle horizontal ridges across the top of each dough log, creating the signature washboard texture.
- Slide baking sheets into the preheated 350°F oven. Bake for 10-12 minutes until cookie edges turn a soft golden brown.
- Remove sheets from oven. Let cookies rest on the baking sheet for 5 minutes to firm up slightly.
- Transfer cookies carefully to a wire cooling rack. Allow them to cool completely before serving or storing.
Notes
- Soft butter creates smoother dough, so let it sit at room temperature for about 30 minutes before starting.
- Use a fork with sturdy tines to create consistent washboard ridges across each cookie.
- Coconut adds fantastic texture, but toast it lightly first to enhance the nutty flavor profile.
- Chill your dough for 15-20 minutes before shaping if the mixture feels too soft or sticky, which helps maintain crisp edges during baking.
- Prep Time: 28 minutes
- Cook Time: 10-12 minutes
- Category: Cookies
- Method: Baking
- Cuisine: American
Nutrition
- Serving Size: 12
- Calories: 246 kcal
- Sugar: 11 g
- Sodium: 107 mg
- Fat: 14 g
- Saturated Fat: 8 g
- Unsaturated Fat: 6 g
- Trans Fat: 0 g
- Carbohydrates: 29 g
- Fiber: 1 g
- Protein: 2 g
- Cholesterol: 15 mg
Madison Wyman
Recipe Developer & Food Storyteller
Expertise
Recipe Research and Adaptation, Food Writing and Cultural Storytelling, Sustainable and Ethical Sourcing, Dietary Adaptations (e.g., gluten-free, plant-based)
Education
Oregon Health & Science University
Portland Community College
Madison’s passion for flavor and culture ignited amidst the rich Southern cooking traditions of her upbringing, where cherished family recipes told delicious tales.
Armed with a Master’s in Food Systems and Society from Oregon Health & Science University and a Culinary Arts Certificate from Portland Community College, Madison truly excels at transforming rich, intricate flavors into dishes that are both approachable and heartfelt.
For her, cooking is a vibrant blend of science, art, and heritage – a powerful way to connect us to our roots and each other. Her recipes invite you to delve deeper, uncovering the fascinating stories woven into every ingredient.