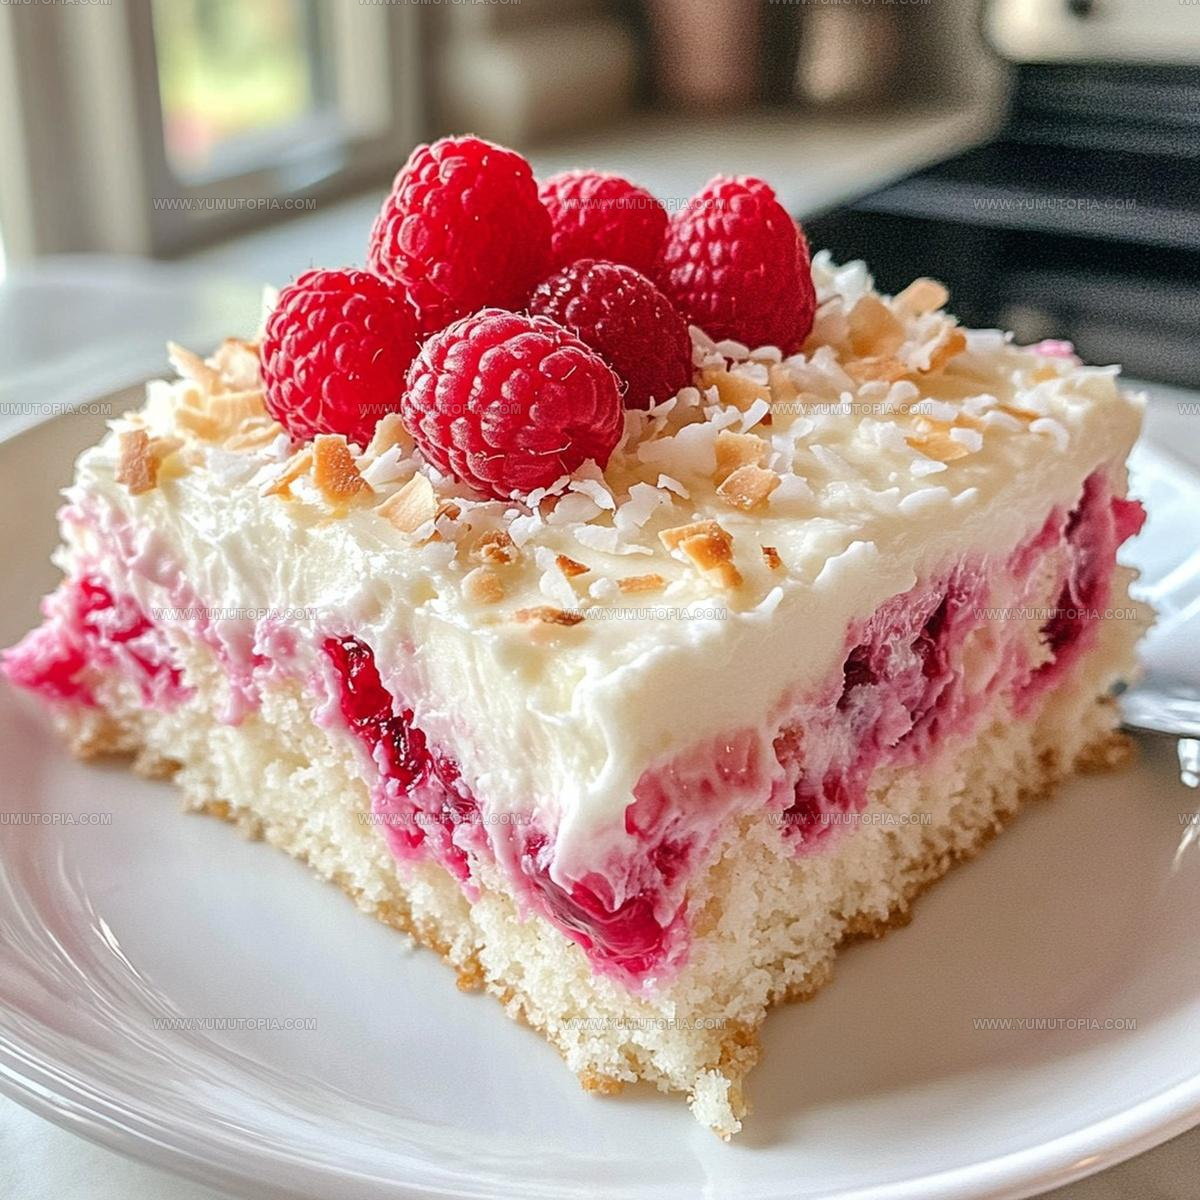
Fruity Raspberry Zinger Poke Cake Recipe To Enkoy
Raspberry Zinger Poke Cake recipe turns a beloved childhood snack into a fun dessert that works beautifully for birthdays, potlucks, or casual get-togethers.
Moist cake soaked with sweet flavor creates an eye-catching treat that looks as good as it tastes.
The preparation is surprisingly simple, making it accessible for bakers of all skill levels.
Bright colors and familiar flavors make it a crowd-pleaser that always disappears quickly from the dessert table.
Perfect for warm weather celebrations or anytime you need something cheerful and satisfying, it never fails to put smiles on faces.
The combination of textures and sweetness hits all the right notes without being overly complicated.
When you need a dessert that feels special but comes together without stress, here’s exactly what to make.
Standout Features Of Raspberry Zinger Poke Cake
Raspberry Zinger Poke Cake Ingredient Breakdown
Cake Base:Raspberry Layer:Topping:Handy Kitchen Tools for Raspberry Zinger Poke Cake
Easy to Follow Directions for Raspberry Zinger Poke Cake
Mix and Bake the Cake
Crank your oven to a toasty 350F. Grab a 9×13-inch baking dish and give it a quick spray of cooking oil. Whip up that cake mix following the box instructions. This means measuring out:
Pour the batter into the pan and slide it into the oven. Bake for 25-30 minutes until a toothpick comes out clean.
Create Cake Holes
Let the cake cool down for a few minutes. Grab a wooden spoon handle and start poking holes all across the top, spacing them about an inch apart. Think of it like making a polka dot pattern.
Raspberry Gelatin Magic
Boil 1 cup of water and dissolve the raspberry gelatin packet completely. Stir in 1/2 cup cold water. Carefully pour this vibrant liquid all over the cake, making sure it seeps into every single hole.
Preserve the Flavor
After about 15 minutes, when the gelatin starts to set, spread 1/2 cup of raspberry preserves across the entire cake surface. This adds an extra burst of fruity goodness.
Creamy Topping
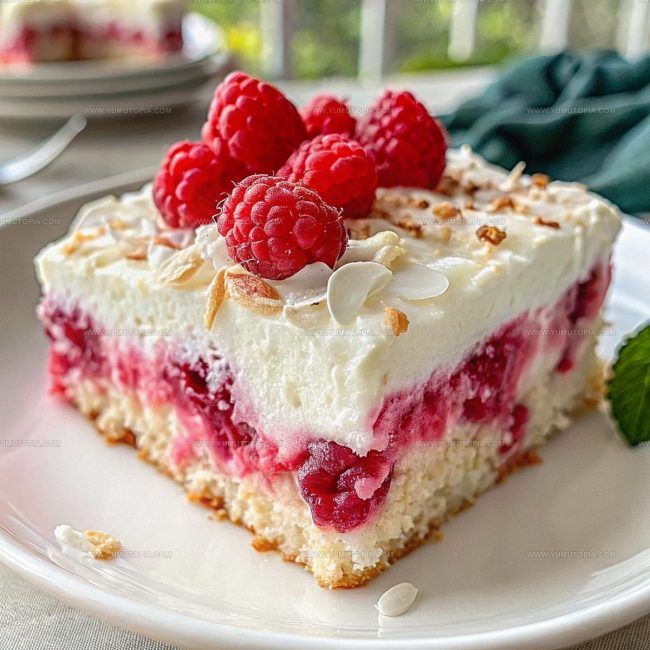
Once the cake has cooled completely, spread the entire container of whipped topping evenly across the top. Make it smooth and pretty.
Coconut Finish
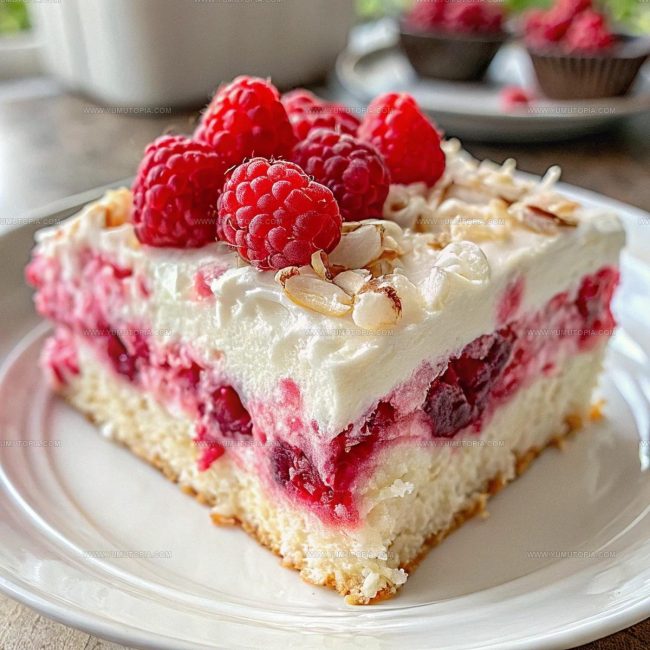
Sprinkle 1 cup of shredded coconut over the whipped topping. For extra flavor, toast the coconut in a dry pan until it’s golden brown before sprinkling.
Chill and Serve
Stick the cake in the refrigerator for 2-3 hours. This lets all those delicious flavors blend together. Before serving, toss a few fresh raspberries on top if you want a little extra pizzazz.
Cooking Know-How for Raspberry Zinger Poke Cake
Nostalgic Variations for Raspberry Zinger Poke Cake
Serving And Pairing Ideas For Raspberry Zinger Poke Cake
Best Storage Method for Raspberry Zinger Poke Cake
Raspberry Zinger Poke Cake FAQ Guide
Can I use a different flavor of gelatin?
Raspberry works best, but strawberry or cherry gelatin are great alternatives that give similar bright, fruity results.
Does the cake need to be completely cool before adding gelatin?
The cake should be slightly warm – not hot – when poking holes and adding gelatin. This helps the liquid absorb better into the cake.
What if my gelatin doesn’t set properly?
Ensure you mix the boiling and cold water exactly as directed. Too much liquid prevents proper setting and can make your cake soggy.
Can this cake be made gluten-free?
Absolutely! Simply use a gluten-free cake mix and check that your gelatin and preserves are gluten-free certified.
How do I know how deep to poke the holes?
Poke holes about halfway through the cake’s thickness. The wooden spoon handle works perfectly for creating consistent holes.
Can I make this cake ahead of time?
This dessert is perfect for preparing a day in advance. The flavors actually improve as the cake chills and the gelatin sets completely.

Coconut-Topped Raspberry Zinger Poke Cake Recipe
- Total Time: 3 hours 45 minutes to 4 hours
- Yield: 12 1x
Description
Raspberry Zinger Poke Cake brings nostalgic diner dessert vibes straight to your kitchen table. Creamy, tangy layers with a raspberry twist make this simple cake a total crowd-pleaser that guarantees smiles around your gathering.
Ingredients
Main Ingredients:
- 1 box white or yellow cake mix
- 1 package 3 ounces raspberry-flavored gelatin
- 1 container whipped topping
Supporting Ingredients:
- ½ cup raspberry preserves or jam
- 1 cup shredded coconut
Baking Ingredients:
- Eggs (as specified on cake mix box)
- Oil (as specified on cake mix box)
- Water (as specified on cake mix box)
- 1 cup boiling water
- ½ cup cold water
- Fresh raspberries (optional)
Instructions
- Preheat your oven to 350F. Grease a 9×13-inch baking dish thoroughly with cooking spray or butter.
- Mix the white cake mix according to package instructions, using the specified eggs, oil, and water amounts.
- Pour the prepared cake batter into the greased baking dish, spreading it evenly with a spatula.
- Bake the cake at 350F for 25-30 minutes until a toothpick inserted in the center comes out clean.
- Allow the cake to cool for 10-15 minutes after removing it from the oven.
- Use a wooden spoon handle to poke holes across the entire cake surface, spacing them about 1 inch apart.
- Dissolve the 3-ounce raspberry gelatin packet in 1 cup of boiling water, then stir in ½ cup cold water.
- Slowly pour the gelatin mixture over the cake, ensuring it seeps into each hole completely.
- Let the gelatin set for 15 minutes at room temperature.
- Spread ½ cup of raspberry preserves evenly across the cake’s surface.
- Cover the entire cake with a full container of whipped topping, using a spatula to create a smooth layer.
- Sprinkle 1 cup of shredded coconut over the whipped topping, covering the entire cake.
- Refrigerate the cake for 2-3 hours to allow flavors to blend and gelatin to set completely.
- Optional: Garnish with fresh raspberries before serving.
Notes
- Toasting the coconut brings out a deeper, nuttier flavor that adds amazing texture and richness to the cake’s final presentation.
- For a gluten-free version, swap the regular cake mix with a gluten-free boxed cake mix and ensure your gelatin is certified gluten-free.
- Make sure to poke holes generously and evenly across the cake’s surface so the raspberry gelatin distributes beautifully throughout each slice.
- Chilling the cake for the full recommended time helps the flavors meld and allows the gelatin to set completely, creating a more cohesive and delicious dessert.
- Prep Time: 20 minutes
- Cook Time: 25-30 minutes
- Category: Cakes
- Method: Baking
- Cuisine: American
Nutrition
- Serving Size: 12
- Calories: 285 kcal
- Sugar: 24 g
- Sodium: 220 mg
- Fat: 12 g
- Saturated Fat: 5 g
- Unsaturated Fat: 6 g
- Trans Fat: 0.2 g
- Carbohydrates: 40 g
- Fiber: 2 g
- Protein: 3 g
- Cholesterol: 30 mg
Logan Lemaster
Founder & Culinary Innovator
Expertise
Recipe Development and Innovation, Menu Design and Optimization, Fine Dining Techniques, Ingredient Pairing and Flavor Science
Education
Metropolitan Culinary Arts Institute
Logan’s culinary journey kicked off in his vibrant Chicago family kitchen, where fresh, seasonal ingredients and bold flavors were always front and center.
After graduating from the Metropolitan Culinary Arts Institute in Arlington, Virginia, and honing his skills in renowned restaurants, Logan mastered the art of blending classic techniques with exciting, modern twists.
His kitchen is a dynamic lab for flavor exploration. Through Yum Utopia, Logan aims to empower you to cook with both confidence and creativity, turning simple ingredients into spectacular meals.