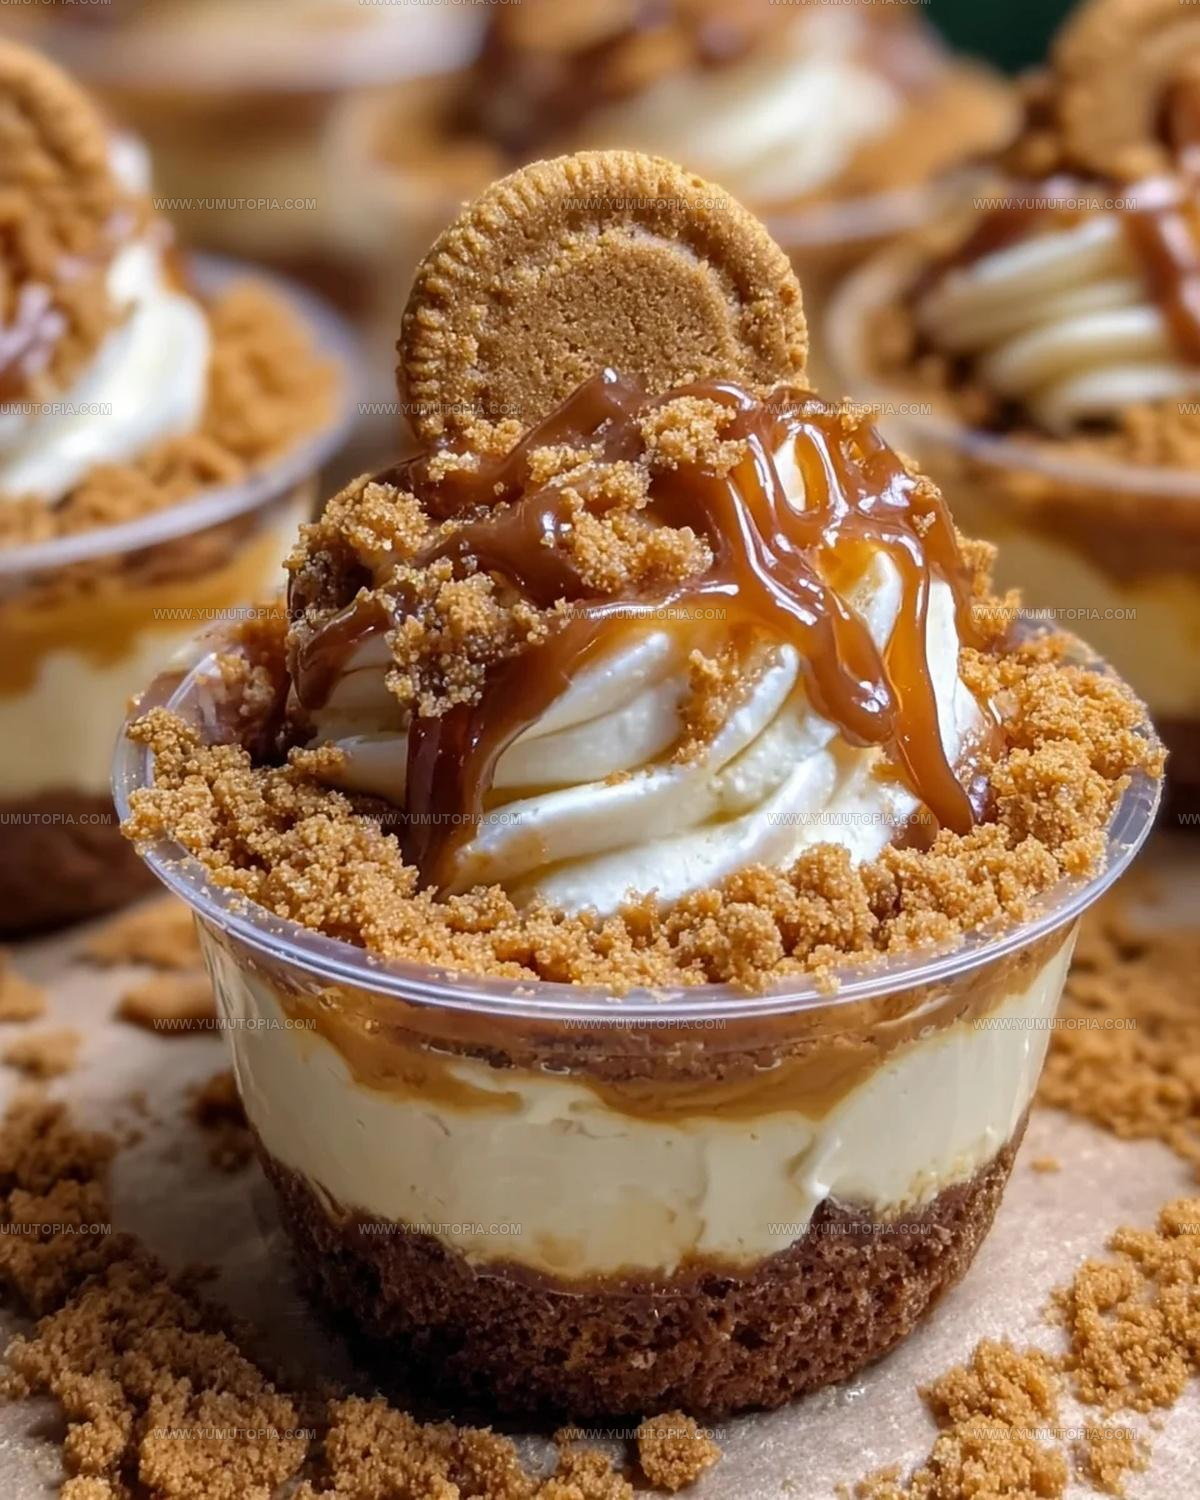
Cookie Butter Cheesecake Cups Recipe in Minutes
Cookie Butter Cheesecake Cups deliver pure dessert magic in convenient single servings that look as impressive as they taste.
The creamy sweetness paired with that distinctive spiced cookie flavor creates an unforgettable combination that appeals to dessert fans everywhere.
Serving them in individual portions makes entertaining absolutely effortless while giving everyone their own perfectly portioned treat.
No special occasion is required to enjoy something so delightfully smooth and satisfying.
They work beautifully for parties, potlucks, or simply when you want something special after dinner.
The contrasting textures and rich flavors come together in a way that feels indulgent without being overly complicated.
Each cup offers the kind of balanced sweetness that keeps you coming back for just one more bite, and honestly, nobody can stop at just one.
What Makes Cookie Butter Cheesecake Cups So Rich

Cookie Butter Cheesecake Cups Ingredients Used
Crust Ingredients:Cheesecake Filling Ingredients:Topping and Garnish Ingredients:Essential Tools for Cookie Butter Cheesecake Cups
Cookie Butter Cheesecake Cups Preparation
Crush the Cookies
Grab your cookie butter sandwich cookies and crush them into fine crumbs. You’ll want to use 1 ½ cups of crushed cookies for the perfect base.
Make Cookie Crust
Melt 5 tablespoons of unsalted butter and mix it thoroughly with the cookie crumbs until the mixture looks like damp sand. Press this mixture firmly into the bottom of your serving cups or small jars.
Prepare Cream Cheese Base
Take 8 ounces of cream cheese and beat it until completely smooth. Make sure the cream cheese is softened at room temperature for easy mixing.
Whip the Cream
In a separate bowl, pour ½ cup of cold heavy cream and whip it until stiff peaks form. This will give your cheesecake filling an incredible light texture.
Combine Filling Ingredients
Gently fold your whipped cream into the cream cheese, adding:
Mix until the filling becomes smooth and fluffy.
Add Cookie Butter Layer
Slightly warm ½ cup of cookie butter spread to make it easier to work with. Spread a thin layer over your cookie crust in each cup.
Fill the Cups
Spoon the cheesecake filling over the cookie butter layer, filling each cup nearly to the top.
Chill and Set
Refrigerate the cups for 2-3 hours at 40°F until the filling is completely set and firm.
Garnish and Serve
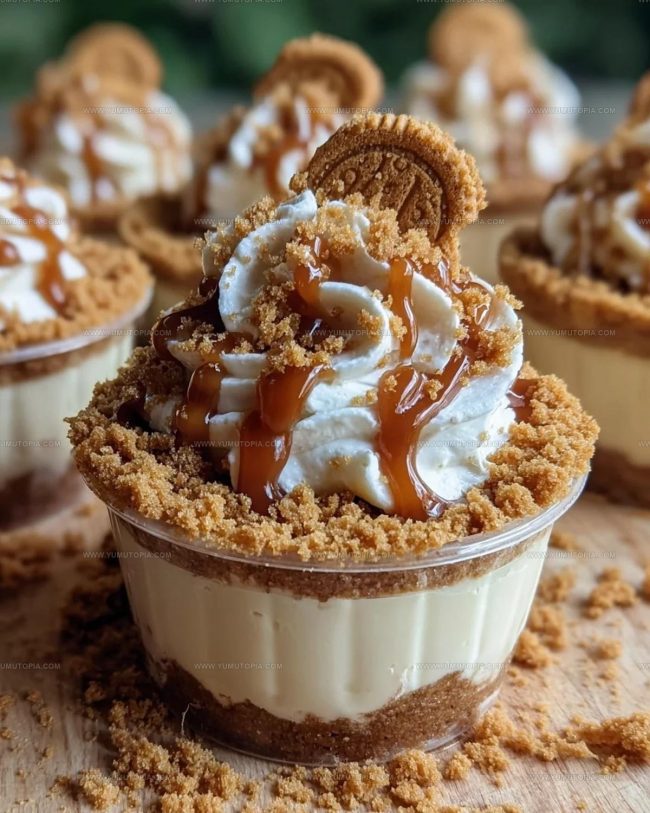
Before serving, top each cup with:
Serve chilled and enjoy your delightful dessert!
Easy Portion Tips For Cookie Butter Cheesecake Cups
Cookie Butter Cheesecake Cup Flavor Variations
Sweet Ways to Enjoy Cookie Butter Cheesecake Cups
How to Store Cookie Butter Cheesecake Cups
Cookie Butter Cheesecake Cups Questions Answered
Can I make these ahead of time?
Absolutely! These cheesecake cups can be prepared up to 3 days in advance and stored in the refrigerator, which actually helps the flavors develop even more.
Do I need special equipment?
No special tools required – just a mixing bowl, hand mixer or whisk, and small serving cups or jars you already have in your kitchen.
What if I cannot find cookie butter?
Speculoos or graham cracker spread work perfectly as substitutes, or you could use melted chocolate or caramel sauce as an alternative layer.
Are these cheesecake cups gluten-free?
The standard recipe is not gluten-free because of the cookie crust. However, you can easily swap regular cookies for gluten-free versions to make the entire dessert safe for those with gluten sensitivities.
How many servings does this recipe make?
The recipe typically yields 4-6 individual dessert cups, depending on the size of your serving containers.
Can I freeze these cheesecake cups?
These freeze wonderfully! Wrap each cup tightly in plastic wrap and store in the freezer for up to one month. Thaw in the refrigerator before serving.

Cookie Butter Cheesecake Cups Recipe
- Total Time: 15 minutes
- Yield: 4 1x
Description
Whipping up Cookie Butter Cheesecake Cups brings pure joy to your dessert table, delivering creamy, spiced bliss in adorable individual servings that anyone can master with minimal effort.
Ingredients
Main Ingredients:
- 225 g cream cheese
- 1.5 cups cookie butter sandwich cookies or speculoos cookies
- 0.5 cup cookie butter spread
Supporting Ingredients:
- 5 tablespoons unsalted butter
- 0.5 cup heavy cream
- 0.5 cup powdered sugar
- 0.5 teaspoon vanilla extract
Garnish:
- Whipped cream
- Extra cookie crumbs
- Warmed cookie butter drizzle
Instructions
- Crush 1 ½ cups of cookie butter sandwich cookies into fine crumbs. Mix thoroughly with 5 tablespoons melted unsalted butter until the texture resembles wet sand.
- Press the cookie mixture firmly into the bottom of 6-8 serving cups, creating a compact base layer.
- Using an electric mixer, beat 8 ounces of softened cream cheese for 2-3 minutes until completely smooth and free of lumps.
- In a separate clean bowl, whip ½ cup cold heavy cream until stiff, defined peaks form, about 3-4 minutes at medium-high speed.
- Gently fold the whipped cream, ½ cup powdered sugar, and ½ teaspoon vanilla extract into the cream cheese until the mixture becomes light and fluffy.
- Warm ½ cup cookie butter spread for 15-20 seconds in the microwave to reach a drizzling consistency.
- Spread a thin, even layer of warmed cookie butter directly over the cookie crumb base in each cup.
- Carefully spoon the cheesecake mixture over the cookie butter layer, filling each cup about ¾ full.
- Chill the assembled cups in the refrigerator for 2-3 hours until the filling sets completely and becomes firm.
- Before serving, garnish each cup with a dollop of whipped cream, a sprinkle of crushed cookie crumbs, and a delicate drizzle of additional warmed cookie butter.
Notes
- Crush cookies finely to ensure a smooth, even base that holds together perfectly in your cups.
- Use room temperature cream cheese to avoid lumps and create a silky, luxurious filling that blends seamlessly.
- For a gluten-free version, swap regular cookies with gluten-free cookie alternatives like almond flour or graham crackers.
- Chill your cups thoroughly to help layers set and develop a rich, dense texture that makes each bite delightful.
- Prep Time: 15 minutes
- Cook Time: 0 minutes
- Category: Cheesecakes
- Method: Chilling
- Cuisine: American
Nutrition
- Serving Size: 4
- Calories: 426 kcal
- Sugar: 29 g
- Sodium: 135 mg
- Fat: 32 g
- Saturated Fat: 18 g
- Unsaturated Fat: 12 g
- Trans Fat: 0.5 g
- Carbohydrates: 27 g
- Fiber: 1.5 g
- Protein: 4 g
- Cholesterol: 80 mg
Madison Wyman
Recipe Developer & Food Storyteller
Expertise
Recipe Research and Adaptation, Food Writing and Cultural Storytelling, Sustainable and Ethical Sourcing, Dietary Adaptations (e.g., gluten-free, plant-based)
Education
Oregon Health & Science University
Portland Community College
Madison’s passion for flavor and culture ignited amidst the rich Southern cooking traditions of her upbringing, where cherished family recipes told delicious tales.
Armed with a Master’s in Food Systems and Society from Oregon Health & Science University and a Culinary Arts Certificate from Portland Community College, Madison truly excels at transforming rich, intricate flavors into dishes that are both approachable and heartfelt.
For her, cooking is a vibrant blend of science, art, and heritage – a powerful way to connect us to our roots and each other. Her recipes invite you to delve deeper, uncovering the fascinating stories woven into every ingredient.