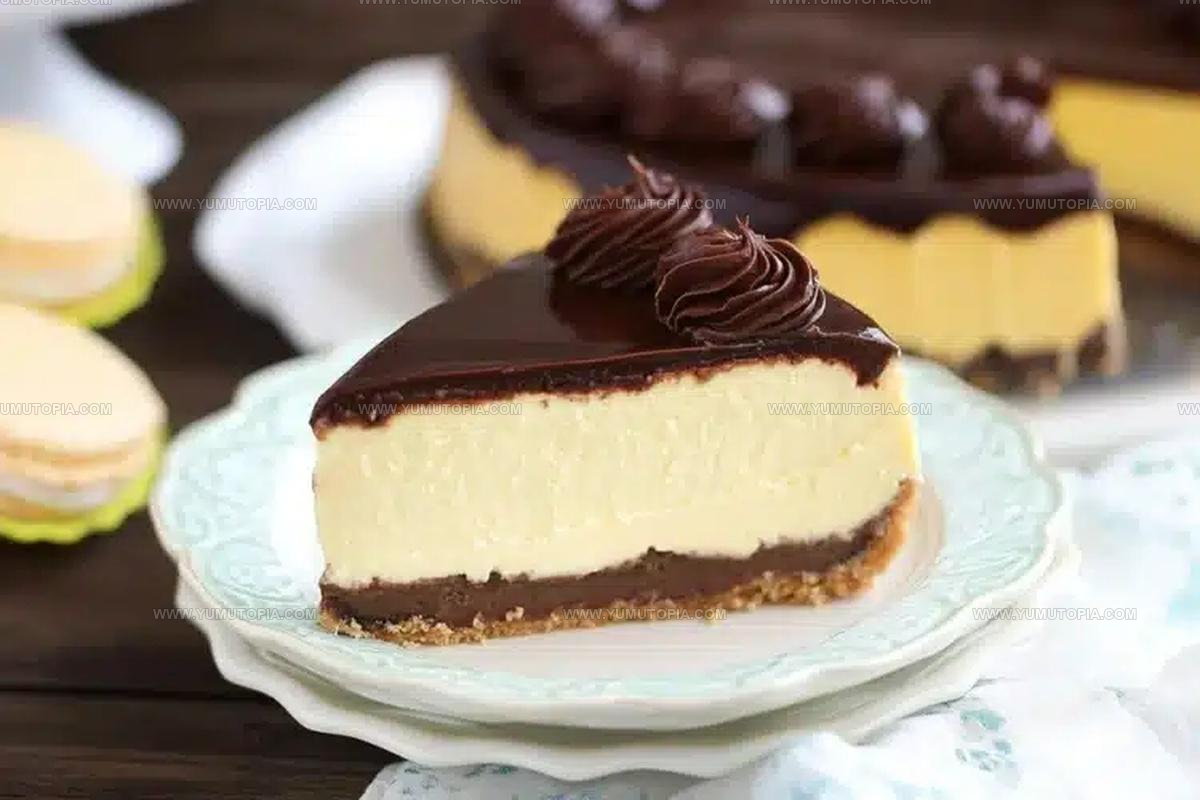
Boston Cream Pie Cheesecake Recipe with Silk
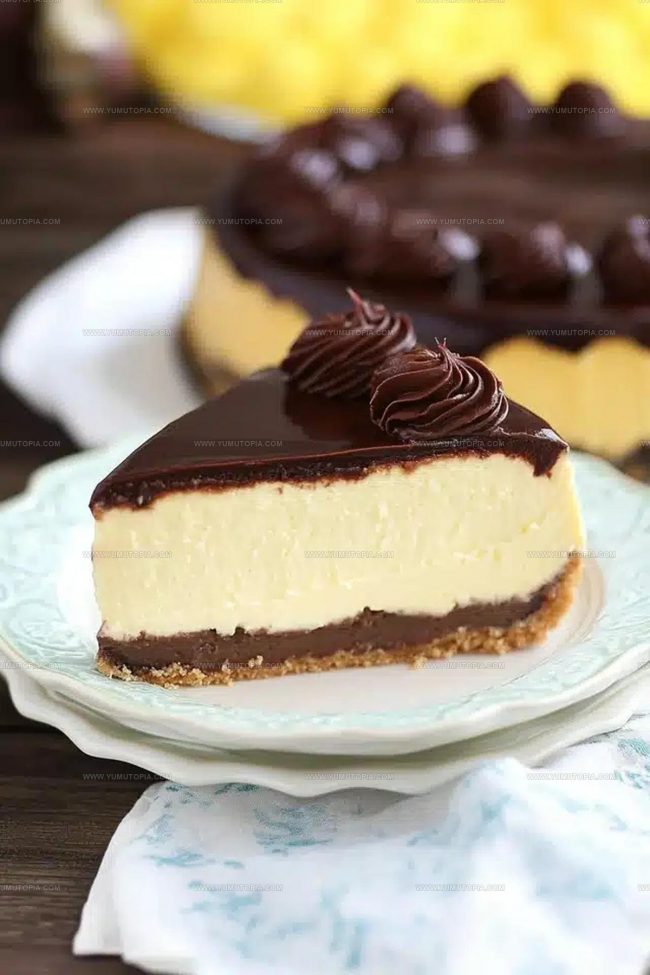
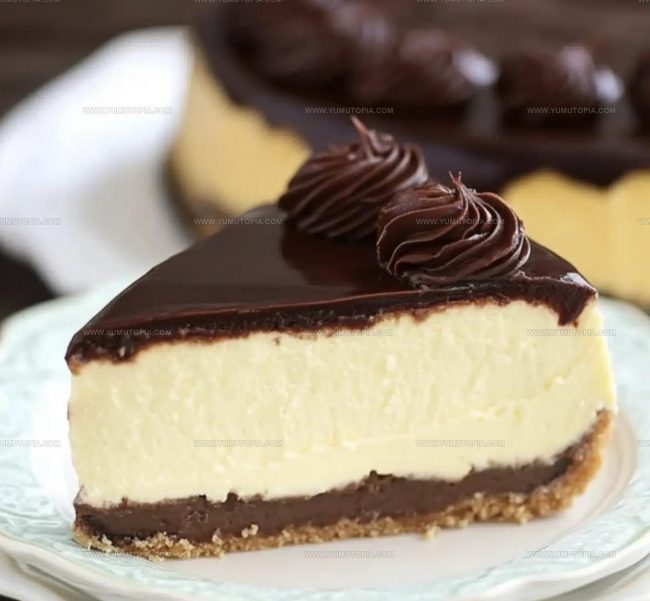
Creamy Boston Cream Pie Cheesecake combines two beloved desserts into one show-stopping treat that tastes like pure indulgence.
Rich layers of velvety sweetness make every bite feel like a special occasion, whether for celebrations or simply because the craving strikes.
The dessert gives that perfect balance between decadent and smooth, satisfying anyone with a serious sweet tooth.
Fans of classic American bakery favorites find themselves drawn to its luxurious appeal and beautiful presentation.
Each forkful offers comfort and joy wrapped in silky textures that melt on the palate.
No fancy occasion required, sometimes life just calls for something extraordinary on the dessert table.
The recipe below shows you exactly how to create it from scratch in a way that feels totally achievable.
Secrets Behind The Decadent Fusion Of Boston Cream Pie Cheesecake
What Gives This Boston Cream Pie Cheesecake Its Showstopping Appeal
Equipment Needed For This Boston Cream Pie Cheesecake
Assembly Steps for Boston Cream Dessert
Prepare Cake Base
Preheat the oven to 350°F (176°C). Grab your 9-inch springform pan and grease it thoroughly. Cut a piece of parchment paper to line the bottom, which will make removing the cake super easy later. In a medium bowl, mix these dry ingredients:
Create Cake Batter
Blend in the wet ingredients until your batter looks smooth:
Pour the batter into your prepared pan and spread it evenly.
Bake Cake Base
Slide the pan into the preheated oven and bake for 18-20 minutes. Check doneness by inserting a toothpick in the center – it should come out clean. Let the cake rest in the pan while you prep the next layer.
Mix Cheesecake Layer
In a large mixing bowl, combine:
Blend until the mixture is completely smooth and creamy.
Prepare Custard Filling
In a saucepan, whisk together:
Cook over medium heat, stirring constantly until the mixture thickens. Remove from heat and stir in 1 tbsp unsalted butter.
Assemble Layers
Pour the cheesecake mixture over the cooled cake base. Gently spread the custard filling on top.
Create Chocolate Ganache
Heat ½ cup heavy cream until just steaming. Pour over 6 oz finely chopped semi-sweet chocolate. Let sit for 2 minutes, then stir until glossy and smooth.
Final Topping
Drizzle the chocolate ganache over the custard layer, creating an elegant finish. Refrigerate for at least 4 hours before serving.
Flavor Boosts That Elevate Each Layer
Playful Variations For A Boston Cream Remix
Serving Hacks For An Indulgent Boston Cream Pie Cheesecake
Temperature Stability for Boston Cream Pie Cheesecake
Boston Cream Cheesecake Questions Bakers Ask
Can I use a different type of pan?
Springform pans work best for this recipe because they have a removable bottom that helps you take the cheesecake out cleanly without damaging your beautiful dessert.
What if I don’t have parchment paper?
You can use a light coating of cooking spray or butter on the pan bottom to help prevent sticking, but parchment paper provides the smoothest release.
How do I know when the cake base is fully baked?
When a toothpick inserted into the center comes out clean and the edges look slightly golden, your cake base is perfectly done.
Can I prepare this recipe ahead of time?
Absolutely! You can make the cake base and cheesecake layers a day before assembling, which helps the flavors settle and makes your prep easier.
Do I need any special baking skills for this recipe?
Not at all! If you can measure ingredients and follow simple mixing instructions, you can create this delicious dessert.
What makes this different from a traditional Boston cream pie?
This version combines the classic flavors of Boston cream pie with a rich cheesecake texture, creating a delightful twist on the original dessert.

Creamy Boston Cream Pie Cheesecake Recipe
- Total Time: 28-30 minutes
- Yield: 8 1x
Description
Creamy Boston Cream Pie Cheesecake brings together two classic desserts in one incredible slice of pure deliciousness. Smooth vanilla custard and rich chocolate ganache create a dreamy combination that will have your friends and family begging for seconds.
Ingredients
Cake Base:
- 1 large egg
- ¼ cup (56g) unsalted butter, melted
- ¼ cup (60ml) milk
- ¾ cup (98g) all-purpose flour
- ½ cup (103g) sugar
- 1 tsp baking powder
- ¼ tsp salt
- ½ tsp vanilla extract
Cheesecake Layer:
- 16 oz (452g) cream cheese, softened
- 2 large eggs
- ⅔ cup (138g) sugar
- 2 tsp vanilla extract
- ⅔ cup (154g) sour cream
Custard and Chocolate Topping:
- 1 cup (240ml) milk
- ¼ cup (52g) sugar
- 1 large egg yolk
- 2 tbsp cornstarch
- ½ tsp vanilla extract
- 1 tbsp unsalted butter
- 6 oz (170g) semi-sweet chocolate, finely chopped
- ½ cup (120ml) heavy cream
Instructions
- Mix 98g flour, 103g sugar, baking powder, and salt in a medium bowl. Whisk these dry ingredients until completely blended.
- Add 56g melted butter, 60ml milk, 1 egg, and ½ tsp vanilla extract. Stir the mixture until smooth and no lumps remain.
- Transfer the batter into a greased 9-inch springform pan lined with parchment paper. Spread evenly across the bottom.
- Bake at 350°F (176°C) for 18-20 minutes. Check doneness by inserting a toothpick into the center – it should come out clean.
- Remove the cake base from the oven. Allow it to rest and cool completely inside the pan while preparing the next layer.
- Beat 452g softened cream cheese and 138g sugar in a large mixer bowl until completely smooth and creamy.
- Incorporate 2 eggs and 2 tsp vanilla extract into the cream cheese mixture. Mix at medium speed until fully integrated.
- Fold 154g sour cream gently into the cheesecake batter. Ensure no streaks remain when mixing.
- Pour the cheesecake mixture over the cooled cake base. Use a spatula to distribute evenly.
- Bake at 325°F (163°C) for 40-45 minutes. The center should slightly jiggle but not be liquid.
- Create the custard by whisking 240ml milk, 52g sugar, 1 egg yolk, 2 tbsp cornstarch, and ½ tsp vanilla in a saucepan.
- Cook the custard over medium heat, stirring constantly until it thickens to pudding consistency, about 5-7 minutes.
- Remove custard from heat. Stir in 1 tbsp butter until completely melted and incorporated.
- Cool the custard to room temperature, then spread over the baked cheesecake layer.
- Prepare ganache by heating 120ml heavy cream until steaming. Pour over 170g chopped chocolate.
- Let the chocolate sit for 3 minutes, then stir until glossy and smooth.
- Pour the chocolate ganache over the chilled custard layer. Tilt the pan to ensure even coverage.
- Refrigerate the cheesecake for minimum 4 hours before serving. This allows all layers to set properly.
Notes
- Check cake doneness by inserting a toothpick in the center, which should come out clean with just a few moist crumbs.
- Prevent cracking by baking the cheesecake in a water bath and avoiding overmixing the batter.
- Cool the cheesecake gradually by turning off the oven and leaving the door slightly open for an hour after baking.
- For a gluten-free version, substitute graham cracker crumbs with almond flour and use gluten-free cake mix for the base layer.
- Prep Time: 10 minutes
- Cook Time: 18-20 minutes
- Category: Cheesecakes
- Method: Baking
- Cuisine: American
Nutrition
- Serving Size: 8
- Calories: 393 kcal
- Sugar: 29 g
- Sodium: 190 mg
- Fat: 28 g
- Saturated Fat: 16 g
- Unsaturated Fat: 11 g
- Trans Fat: 0.4 g
- Carbohydrates: 25 g
- Fiber: 2 g
- Protein: 7 g
- Cholesterol: 120 mg
Logan Lemaster
Founder & Culinary Innovator
Expertise
Recipe Development and Innovation, Menu Design and Optimization, Fine Dining Techniques, Ingredient Pairing and Flavor Science
Education
Metropolitan Culinary Arts Institute
Logan’s culinary journey kicked off in his vibrant Chicago family kitchen, where fresh, seasonal ingredients and bold flavors were always front and center.
After graduating from the Metropolitan Culinary Arts Institute in Arlington, Virginia, and honing his skills in renowned restaurants, Logan mastered the art of blending classic techniques with exciting, modern twists.
His kitchen is a dynamic lab for flavor exploration. Through Yum Utopia, Logan aims to empower you to cook with both confidence and creativity, turning simple ingredients into spectacular meals.