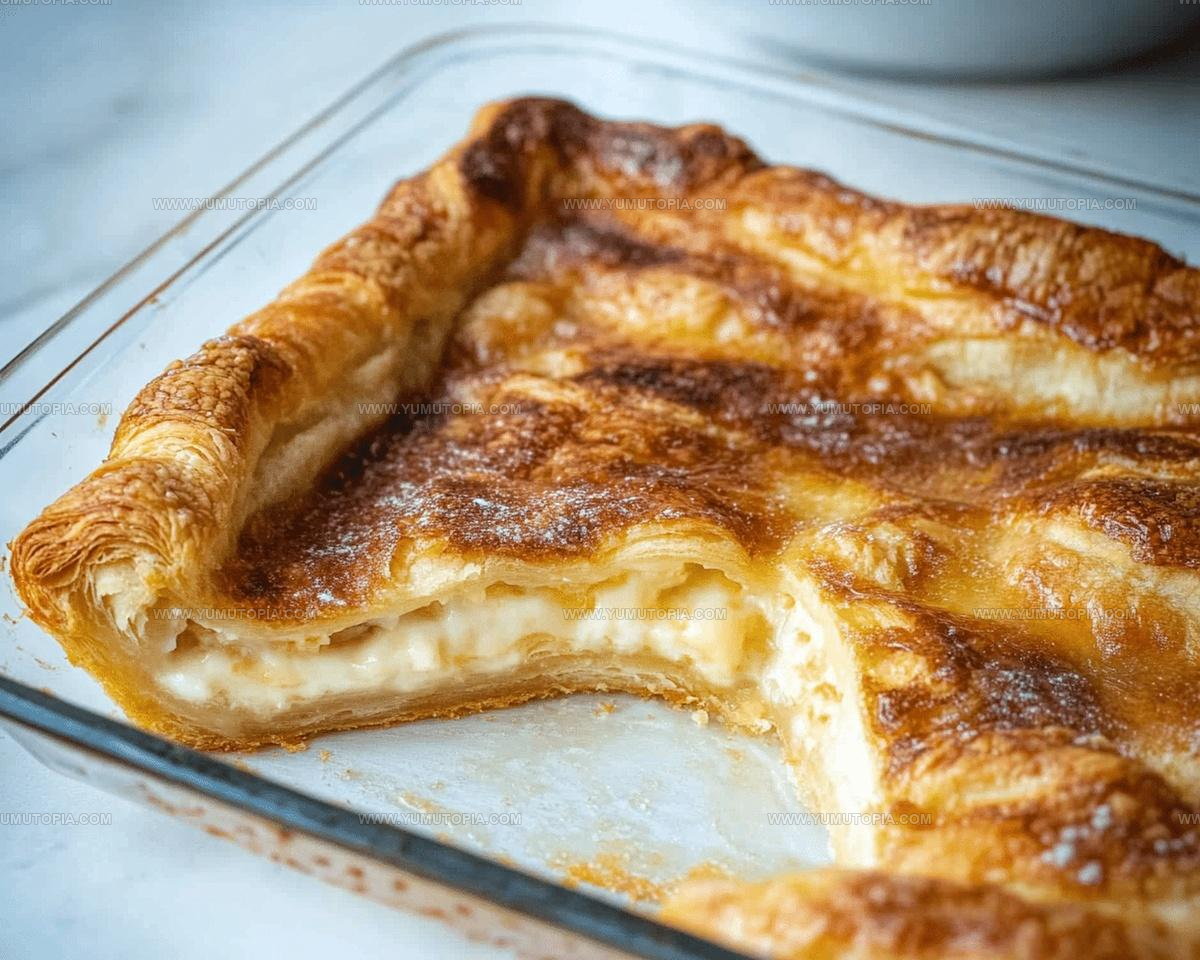
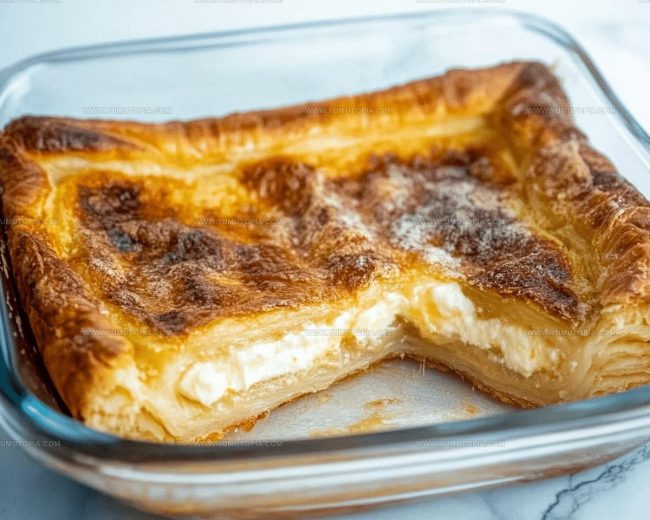
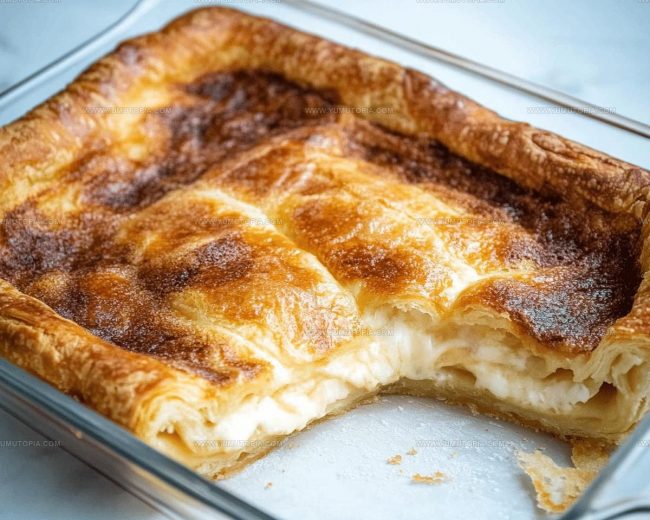
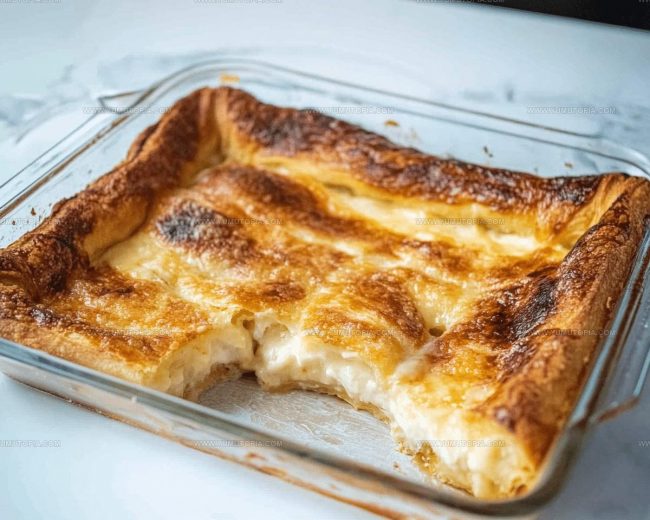
Flaky Crescent Cheesecake Rolls Recipe for Sweet Mornings
Crescent cheesecake rolls combine two beloved dessert favorites into one seriously delectable treat.
Sweet pastry and creamy filling create a match made in dessert heaven.
Soft, flaky layers promise pure comfort with every single bite.
Minimal effort yields maximum deliciousness, making this recipe a total crowd-pleaser for any gathering.
Dessert enthusiasts will adore how quickly these rolls come together without complicated techniques.
Impressive yet simple, they work perfectly for casual family nights or elegant dinner parties.
Prepare to become the most popular baker in your social circle with this winning combination.
What Makes Crescent Cheesecake Rolls So Easy
Main Ingredients for Crescent Cheesecake Rolls
Main Ingredients:Common Prep Tools for Crescent Cheesecake Rolls
Steps to Prepare Crescent Cheesecake Rolls
Heat the Oven
Set the oven to 350°F and grab a 9×13-inch baking dish. Give the dish a quick spray of cooking oil to prevent sticking.
Mix the Creamy Filling
Grab a mixing bowl and create the cheesecake layer. Blend until super smooth:
Create the Bottom Crust
Open the first can of crescent roll dough and carefully spread it across the bottom of the baking dish. Press down gently and pinch all the little seams together so you have one solid layer of dough.
Spread the Cheesecake Layer
Take your creamy mixture and spread it evenly across the bottom dough layer. Make sure it reaches all the corners of the dish.
Top with Second Dough Layer
Open the second can of crescent roll dough and drape it over the cheesecake filling. Gently seal the edges so everything stays tucked inside.
Prepare the Delicious Topping
Melt 1/4 cup butter and brush it generously over the top layer. In a small bowl, mix together:
Sprinkle this sweet mixture all over the top.
Bake to Golden Perfection
Slide the dish into the preheated oven and bake for 25-30 minutes. Watch for a beautiful golden-brown color across the top.
Cool and Serve
Let the dish rest for 15 minutes after removing from the oven. This helps everything set up nicely. Slice and serve warm for maximum deliciousness.
Helpful Cooking Notes For Crescent Cheesecake Rolls
Flavor Twists For Crescent Cheesecake Rolls
Creative Serving Ideas For Crescent Cheesecake Rolls
Practical Storage Notes For Crescent Cheesecake Rolls
Answers To Common Questions About Crescent Cheesecake Rolls
Can I use low-fat cream cheese?
Absolutely! Low-fat cream cheese works perfectly in this recipe. The texture and taste will remain delicious, and your dessert will be slightly lighter.
What if my dough tears when unrolling?
No worries. Gently press the torn sections together with your fingers. The dough is forgiving and will seal back nicely during baking.
Can this be made ahead of time?
Definitely! Prepare the entire dish and refrigerate unbaked for up to 8 hours. Just add a few extra minutes to your baking time when ready to cook.
Do I need a stand mixer for the filling?
Not at all. A hand mixer or even a whisk works great for blending the cream cheese mixture until smooth and creamy.
How do I know when the cheesecake rolls are done?
Look for a golden-brown top and slightly firm edges. The center should be set but still have a slight jiggle when you gently shake the pan.
Can I freeze these cheesecake rolls?
Absolutely. Wrap tightly in plastic wrap and freeze for up to 3 weeks. Thaw overnight in the refrigerator before serving.

Crescent Cheesecake Rolls Recipe
- Total Time: 40-45 minutes
- Yield: 8 1x
Description
Crescent cheesecake rolls wrap delicate pastry around a smooth cream cheese center that melts in your mouth. Serve these tender treats warm from the oven for a quick dessert that sparks pure comfort and joy.
Ingredients
Main Ingredients:
- 2 cans (8 oz each) crescent roll dough
- 8 oz cream cheese
Filling Ingredients:
- ½ cup granulated sugar
- 1 teaspoon vanilla extract
Topping Ingredients:
- ¼ cup butter, melted
- ¼ cup granulated sugar
- 1 teaspoon cinnamon
Instructions
- Warm your oven to 350°F and lightly coat a 9×13-inch baking dish with cooking spray.
- Mix 8 oz softened cream cheese, ½ cup sugar, and 1 teaspoon vanilla in a bowl until completely smooth and creamy.
- Open the first crescent roll can and carefully spread the dough across the bottom of the dish, pressing seams together to create a solid base.
- Gently spread the entire cream cheese mixture across the first dough layer, ensuring even coverage.
- Unroll the second crescent roll can and place the dough directly on top of the cream cheese layer, sealing edges with your fingers.
- Melt ¼ cup butter and brush generously over the entire top surface of the dough.
- Combine ¼ cup sugar and 1 teaspoon cinnamon, then sprinkle the mixture evenly across the surface.
- Slide the dish into the preheated 350°F oven and bake for exactly 28 minutes until the top turns golden brown.
- Remove from the oven and allow the dish to rest for 15 minutes before cutting into squares.
- Slice and serve warm or at room temperature.
Notes
- Softening cream cheese at room temperature helps create a smoother, lump-free filling that spreads easily across the crescent dough.
- Pinching the crescent roll seams completely prevents filling from leaking and ensures a neat, professional-looking dessert.
- For a lighter version, substitute low-fat cream cheese and use a sugar substitute like stevia to reduce calories and make the recipe more diet-friendly.
- Storing leftovers in an airtight container in the refrigerator keeps these rolls fresh for 3-4 days, making them a great make-ahead dessert.
- Prep Time: 15 minutes
- Cook Time: 25-30 minutes
- Category: Pastries
- Method: Baking
- Cuisine: American
Nutrition
- Serving Size: 8
- Calories: 306 kcal
- Sugar: 14 g
- Sodium: 316 mg
- Fat: 20 g
- Saturated Fat: 11 g
- Unsaturated Fat: 7 g
- Trans Fat: 0.5 g
- Carbohydrates: 27 g
- Fiber: 1 g
- Protein: 4 g
- Cholesterol: 44 mg
Madison Wyman
Recipe Developer & Food Storyteller
Expertise
Recipe Research and Adaptation, Food Writing and Cultural Storytelling, Sustainable and Ethical Sourcing, Dietary Adaptations (e.g., gluten-free, plant-based)
Education
Oregon Health & Science University
Portland Community College
Madison’s passion for flavor and culture ignited amidst the rich Southern cooking traditions of her upbringing, where cherished family recipes told delicious tales.
Armed with a Master’s in Food Systems and Society from Oregon Health & Science University and a Culinary Arts Certificate from Portland Community College, Madison truly excels at transforming rich, intricate flavors into dishes that are both approachable and heartfelt.
For her, cooking is a vibrant blend of science, art, and heritage – a powerful way to connect us to our roots and each other. Her recipes invite you to delve deeper, uncovering the fascinating stories woven into every ingredient.