Crispy Fried Cheesecake Recipe That Turns Dessert Golden
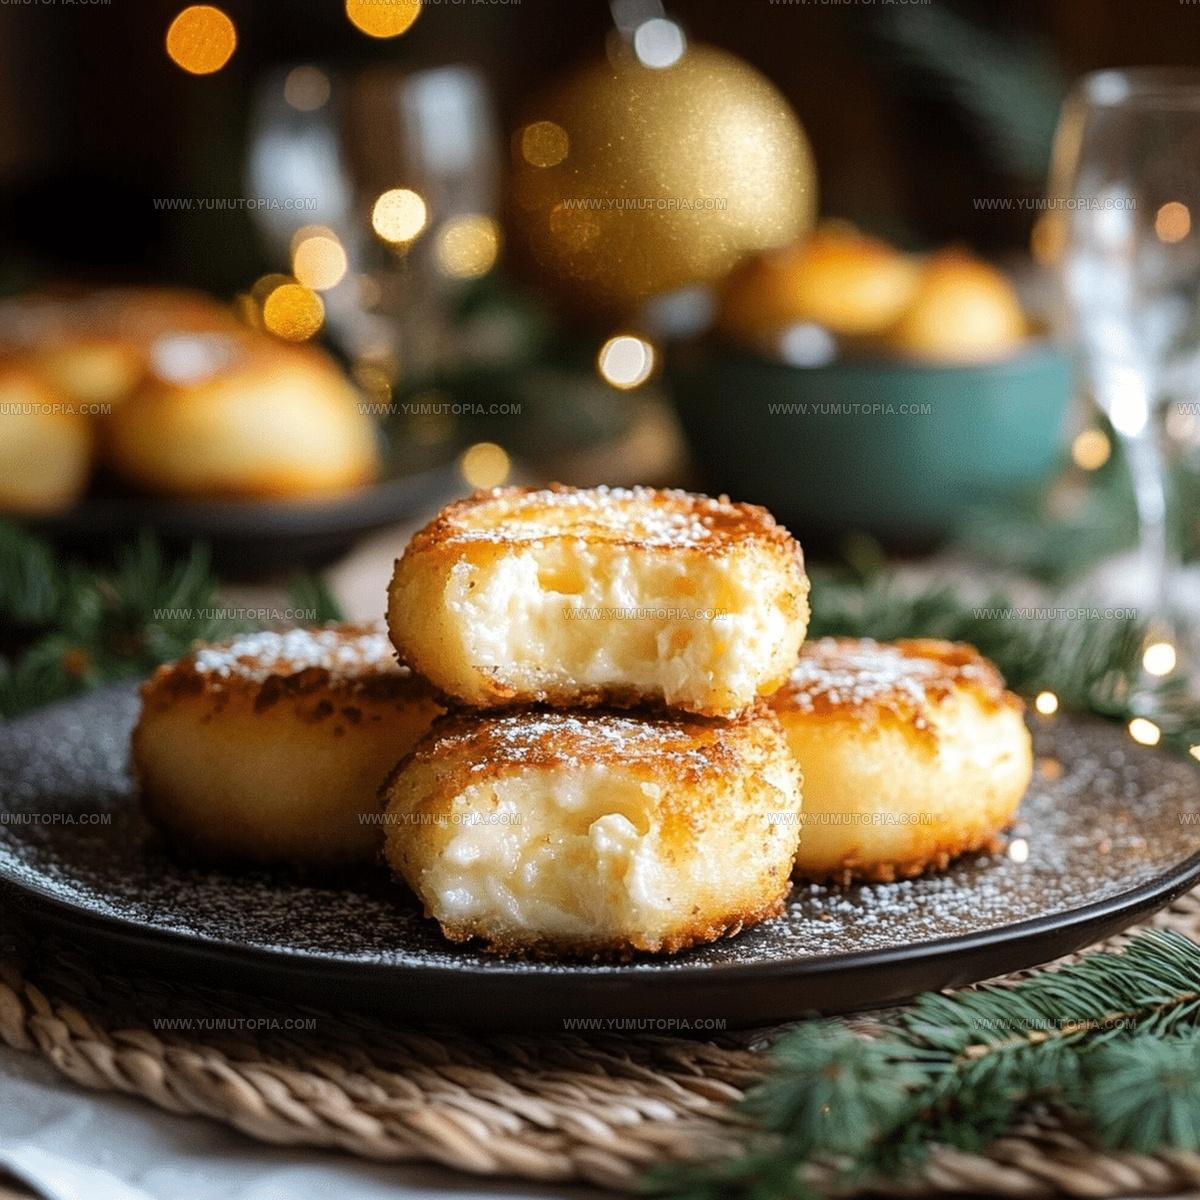
Crispy fried cheesecake combines two beloved desserts into one unforgettable treat that satisfies every craving.
The contrast between the warm, golden exterior and the cool, creamy center creates an experience unlike any other dessert.
State fairs and carnivals have long showcased this decadent creation, but now it’s easier than ever to enjoy from home.
What makes it so appealing is how it balances richness with texture in every single bite.
Parties, celebrations, and casual weeknight desserts all become more memorable when something special appears on the table.
When something sounds too good to be true but absolutely delivers, it becomes an instant favorite.
Scroll down to see just how simple it is to make dessert magic happen in less time than you’d expect.
Why Fried Cheesecake Is Worth the Indulgence
What Goes Into Crispy Fried Cheesecake
Main Ingredients:Finishing Touch:Tools Used Along the Way for Fried Cheesecake
Fried Cheesecake Step-by-Step Cooking Guide
Whip Up Cheesecake Base
Grab your mixing bowl and blend 8 oz softened cream cheese, 1/2 cup granulated sugar, and 1 teaspoon vanilla extract until the mixture looks super smooth and creamy. Make sure your cream cheese is at room temperature so everything mixes perfectly.
Chill the Mixture
Pop that delicious mixture into the refrigerator for 30 minutes. This helps firm things up and makes rolling easier later.
Create Cheesecake Balls
Roll the chilled mixture into small round balls, each measuring about 1 inch across. Your hands might get a bit messy, but that’s part of the fun!
Coat with Graham Cracker Crunch
Roll each ball through 2 cups of finely crushed graham crackers. Press gently so the crumbs stick really well to your cheesecake spheres.
Prepare Coating Stations
Set up three separate bowls for your dipping adventure:
Triple Dip Technique
Carefully dunk each graham-coated ball first into flour, then milk, then panko breadcrumbs. Do this twice to create an extra crispy outer layer.
Heat the Oil
Pour oil into a deep fryer or large pot and heat to exactly 350°F. Use a thermometer to check the temperature for perfect frying.
Fry to Golden Perfection
Drop the coated balls into hot oil, cooking in small batches. Fry for 2-3 minutes until they turn a beautiful golden brown color.
Drain and Cool
Use a slotted spoon to transfer the fried cheesecake balls onto a cooling rack. Let excess oil drip away.
Final Touch
Sprinkle powdered sugar over the warm treats just before serving. Grab a plate and enjoy your crispy, creamy creation!
Things Worth Noting About Fried Cheesecake
Fried Cheesecake Flavor Twists
How to Serve Fried Cheesecake While Warm?
How to Store Fried Cheesecake
Fried Cheesecake Reader Questions
Can I freeze the cheesecake balls before frying?
Freezing them for about 15 minutes helps them hold their shape and prevents melting during the frying process.
What type of oil works best for frying?
Vegetable or canola oil are excellent choices because they have high smoke points and neutral flavors that won’t overpower the cheesecake.
How do I know the oil is at the right temperature?
Use a cooking thermometer to confirm 350°F, or drop a breadcrumb into the oil – if it sizzles immediately, the temperature is perfect.
Can I make these ahead of time?
Prepare the cheesecake balls up to a day in advance and keep them refrigerated until ready to coat and fry.
How do I prevent the cheesecake from leaking during frying?
Make sure the balls are tightly rolled and completely coated in breadcrumbs to create a sealed exterior.
Are there alternatives to panko breadcrumbs?
Regular breadcrumbs or crushed graham crackers can work, but panko provides the crispiest, lightest coating.

Crispy Fried Cheesecake Recipe
- Total Time: 43 minutes
- Yield: 4 1x
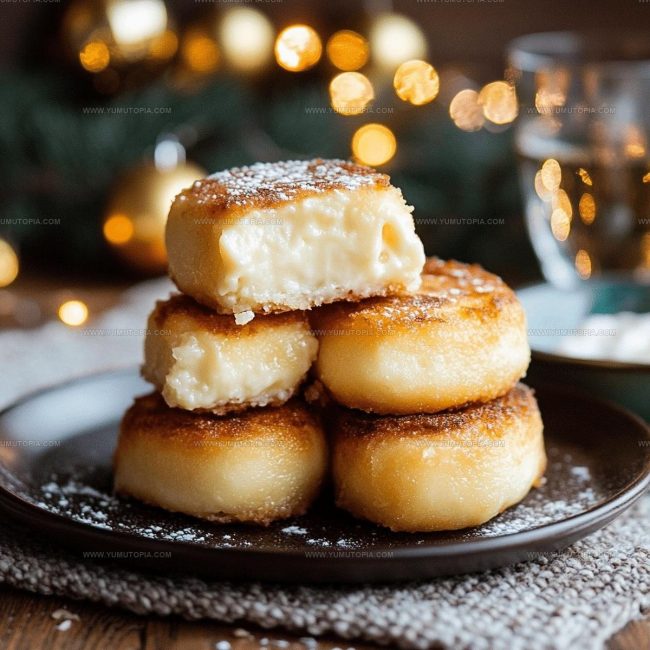
Description
Fried Cheesecake delivers a crispy, golden dessert that melts in your mouth with creamy sweetness. Grab your fork and dive into this delightful treat that brings restaurant-style indulgence straight to your kitchen.
Ingredients
Main Ingredients:
- 1 8 oz block cream cheese
- 1 cup flour
- 2 large eggs
- 1 cup milk
Supporting Ingredients:
- 2 cups finely crushed graham crackers
- 2 cups panko breadcrumbs
- ½ cup granulated sugar
Finishing Ingredients:
- 1 teaspoon vanilla extract
- Oil for frying
- Powdered sugar
Instructions
- Whip 8 ounces of softened cream cheese with ½ cup sugar and 1 teaspoon vanilla until your mixture becomes silky and uniform.
- Refrigerate the cream cheese blend for precisely 30 minutes so it sets and becomes manageable for shaping.
- Form small spheres from the chilled mixture, creating 1-inch diameter balls with gentle, consistent pressure.
- Roll each ball generously in 2 cups of crushed graham crackers, ensuring complete and even coverage.
- Arrange three separate shallow dishes: one with 1 cup flour, another with 2 beaten eggs, and the third with 2 cups panko breadcrumbs.
- Carefully coat each cheesecake sphere first in flour, then submerge in milk, and finally roll thoroughly in panko breadcrumbs for a robust exterior.
- Double-coat the balls by repeating the egg and breadcrumb process to create an extra crispy shell.
- Heat vegetable oil in a deep fryer or heavy pot to precisely 350°F, maintaining a consistent temperature.
- Gently lower cheesecake balls into hot oil, frying 3-4 pieces simultaneously for 2-3 minutes until they transform into a rich golden brown.
- Extract fried spheres using a slotted spoon, positioning them on a wire rack to drain excess oil.
- Dust the warm treats with powdered sugar just before serving, creating a delicate sweet finish.
Notes
- Chill the cheesecake mixture thoroughly to help it hold shape during frying and prevent melting.
- Use cold cream cheese for a firmer texture that stays intact when coated and fried.
- Double-coat the cheesecake balls in breadcrumbs for an extra crispy, golden exterior that locks in the creamy center.
- Serve immediately after frying while the outside is crunchy and the inside remains soft and warm.
- Prep Time: 40 minutes
- Cook Time: 3 minutes
- Category: Cheesecakes
- Method: Frying
- Cuisine: American
Nutrition
- Serving Size: 4
- Calories: 550 kcal
- Sugar: 20 g
- Sodium: 350 mg
- Fat: 35 g
- Saturated Fat: 15 g
- Unsaturated Fat: 18 g
- Trans Fat: 0.5 g
- Carbohydrates: 45 g
- Fiber: 2 g
- Protein: 12 g
- Cholesterol: 120 mg
Madison Wyman
Recipe Developer & Food Storyteller
Expertise
Recipe Research and Adaptation, Food Writing and Cultural Storytelling, Sustainable and Ethical Sourcing, Dietary Adaptations (e.g., gluten-free, plant-based)
Education
Oregon Health & Science University
Portland Community College
Madison’s passion for flavor and culture ignited amidst the rich Southern cooking traditions of her upbringing, where cherished family recipes told delicious tales.
Armed with a Master’s in Food Systems and Society from Oregon Health & Science University and a Culinary Arts Certificate from Portland Community College, Madison truly excels at transforming rich, intricate flavors into dishes that are both approachable and heartfelt.
For her, cooking is a vibrant blend of science, art, and heritage – a powerful way to connect us to our roots and each other. Her recipes invite you to delve deeper, uncovering the fascinating stories woven into every ingredient.