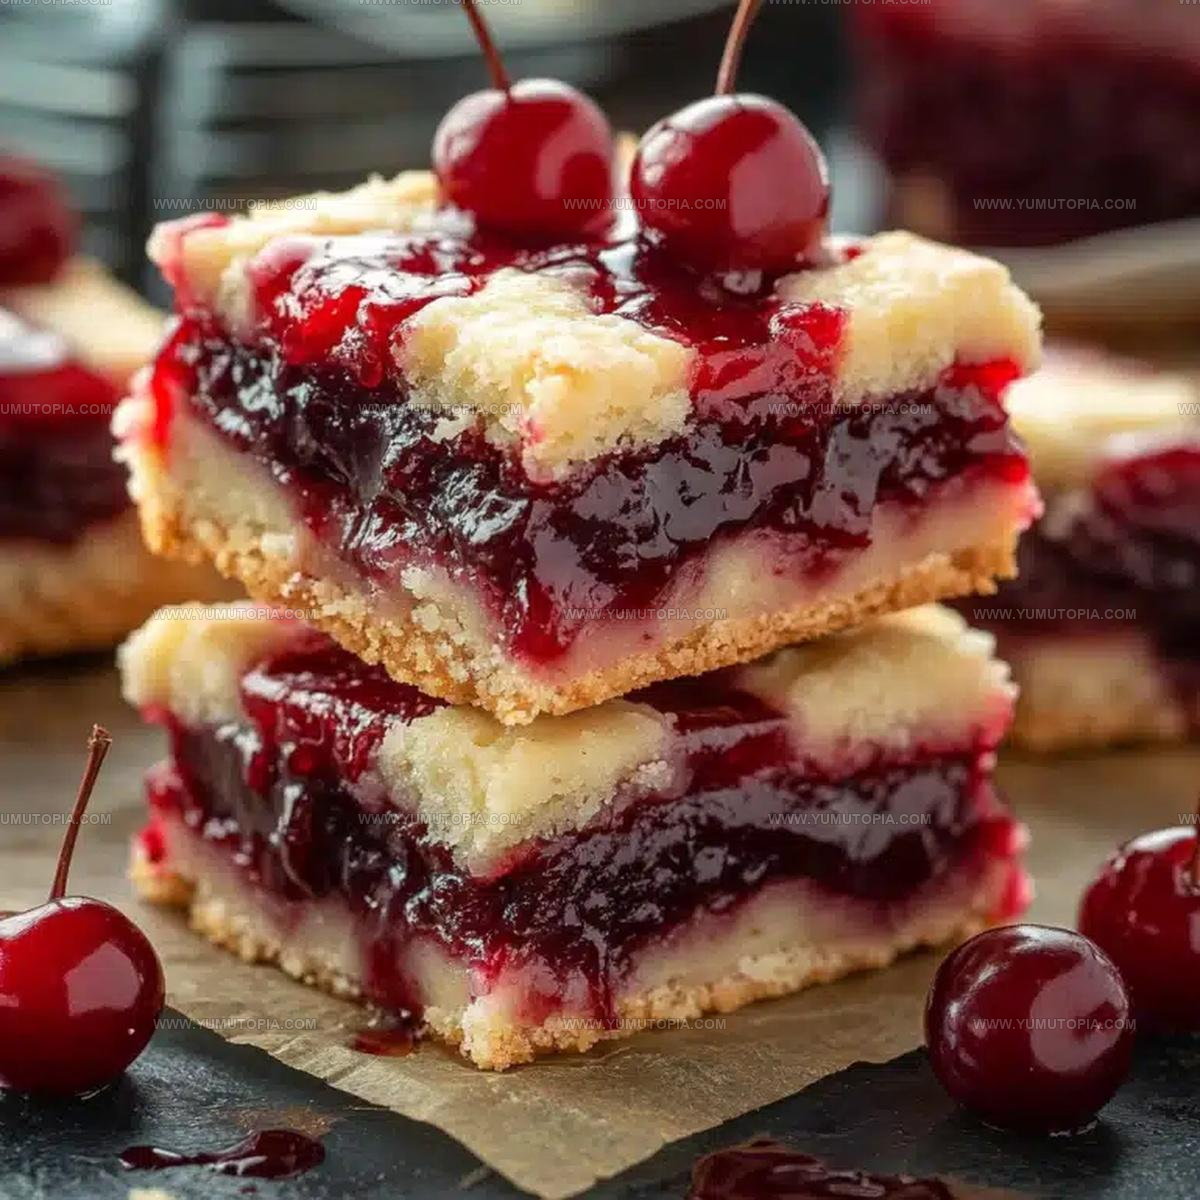
Classic Cherry Bars Recipe for Sweet Summer Gatherings
Cherry bars recipe adds all the satisfaction of homemade baking without demanding hours in the kitchen.
The combination of sweet fruit and buttery layers creates a dessert that works beautifully for potlucks, afternoon gatherings, or casual weeknight treats.
Everyone loves the balance of textures and flavors that make each bite memorable.
These bars come together quickly, which means less time measuring and more time enjoying what really matters.
The result looks impressive yet requires minimal effort from start to finish.
Perfect for both experienced bakers and kitchen newcomers, this dessert proves that simple doesn’t mean boring.
Treat yourself to a dessert that tastes like you spent all day baking when you really only spent minutes.
The Effortless, Fruit-Filled Bliss of Homemade Cherry Bars
Cherry Bars Crust Filling And Glaze Ingredients
Standard Baking Tins And Mixing Hardware For Cherry Bars
Ways to Slice Neat and Tender Cherry Bar Squares
Prepare the Oven
Preheat your oven to exactly 350°F (175°C). Grab a 9×13-inch baking pan and grease it thoroughly or line with parchment paper to prevent sticking.
Create the Base Mixture
Grab 1 cup (2 sticks or 226 grams) of softened unsalted butter and 2 cups (400 grams) of granulated sugar. Beat them together until the mixture becomes light and fluffy. This is where the magic of your dessert begins to take shape.
Add Eggs and Flavor
Crack 4 large eggs into the butter-sugar mixture, adding them one at a time. Stir in 1 teaspoon (5 ml) of vanilla extract, mixing until everything is smooth and well combined.
Combine Dry Ingredients
In a separate bowl, whisk together 3 cups (375 grams) of all-purpose flour and 1 teaspoon (6 grams) of salt. Gradually add these dry ingredients to your wet mixture, stirring carefully until everything blends perfectly.
Prepare the Cherry Layer
Open a 21-ounce (595 grams) can of cherry pie filling. If using fresh cherries, cook 2 cups (300 grams) of cherries with a bit of sugar until they soften.
Assemble the Bars
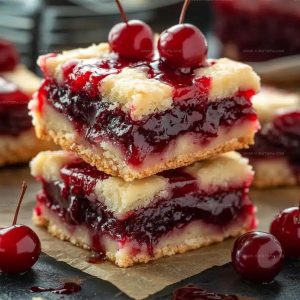
Spread two-thirds of the batter evenly across the bottom of your prepared pan. Carefully spoon the cherry filling over this layer. Drop the remaining batter in small spoonfuls across the top, creating a rustic, swirled look.
Bake to Perfection
Place the pan in the preheated oven and bake for 35-40 minutes. Watch for a golden color and a set texture – this means your bars are ready to come out.
Cool and Finish
Let the bars cool completely in the pan. Once cooled, slice into squares. If you’re feeling fancy, dust the top with a light sprinkle of powdered sugar before serving.
Bottom Crust Secrets for Sturdy and Sweet Cherry Bars
Simple Versions Of Irresistible Cherry Bars
Simple Sweet Service Maneuvers For Easy Cherry Bars
Fruit Bar Longevity Formulations For Cherry Bars
Cherry Bars Q&A for Sweet and Easy Results
Can I use frozen cherries instead of canned filling?
Absolutely! Thaw and drain frozen cherries completely, then mix with a little sugar and cornstarch to create a similar consistency to canned filling.
How do I know when the bars are perfectly baked?
Watch for golden edges and a slightly firm center. A toothpick inserted near the middle should come out with just a few moist crumbs.
What if my batter seems too thick to spread?
Gently thin it with a tablespoon of milk or add an extra egg to help it spread more easily across the pan.
Can these bars be made gluten-free?
Replace the all-purpose flour with a gluten-free flour blend designed for baking to create a similar texture and taste.
Why do I need to let the bars cool completely?
Cooling helps the bars set properly, making them easier to slice cleanly and preventing a crumbly mess when cutting.
How can I make the top layer of batter look more decorative?
Use a knife to swirl the dropped spoonfuls of batter, creating a marbled effect that looks professionally made.
Easy Cherry Bars Recipe
- Total Time: 50-55 minutes
- Yield: 12 1x
Description
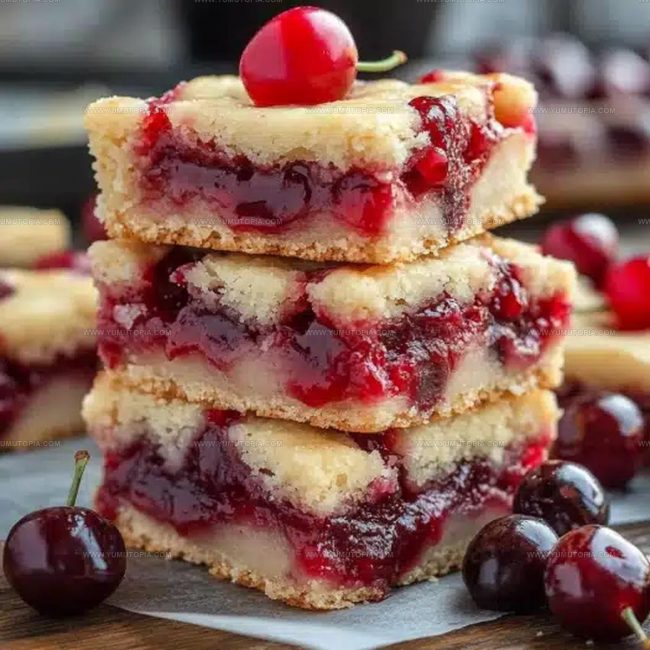
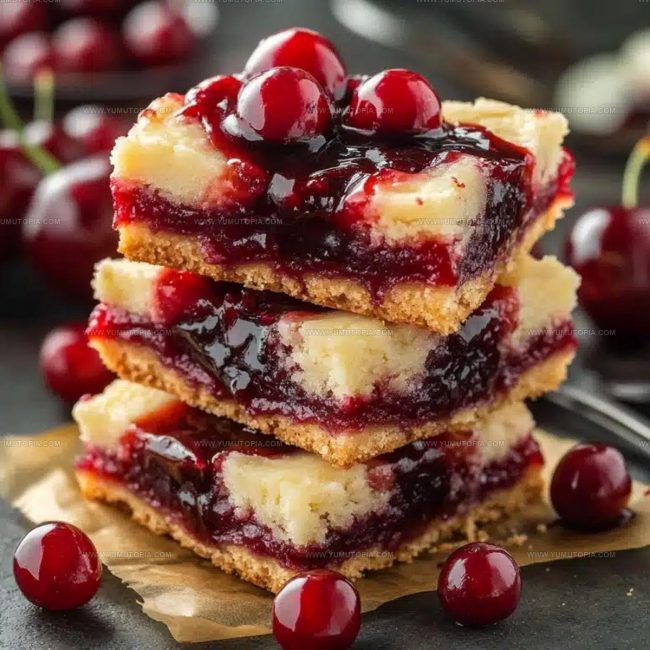
Cherry bars bring pure delight straight from your kitchen, combining sweet fruit and buttery pastry into a simple dessert that everyone adores. Baked with fresh cherries and a crumbly streusel topping, these bars make dessert time a celebration of simple, delicious comfort.
Ingredients
Main Ingredients:
- 3 cups all-purpose flour
- 2 cups granulated sugar
- 1 can (21 ounces / 595 grams) cherry pie filling
Supporting Ingredients:
- 4 large eggs
- 1 cup (2 sticks / 227 grams) unsalted butter, softened
Finishing Ingredients:
- 1 teaspoon vanilla extract
- 1 teaspoon salt
- Optional: powdered sugar for dusting
Instructions
- Cream 1 cup (226 grams) softened butter with 2 cups (400 grams) granulated sugar using an electric mixer until the mixture becomes light and fluffy, approximately 3-4 minutes.
- Incorporate 4 large eggs into the butter mixture one at a time, ensuring each egg is fully blended before adding the next. Mix in 1 teaspoon vanilla extract until smooth.
- Sift 3 cups (375 grams) all-purpose flour with 1 teaspoon salt in a separate bowl to remove any potential lumps.
- Gradually fold dry ingredients into wet mixture, stirring gently until a consistent batter forms without overmixing.
- Preheat oven to 350°F (175°C) and prepare a 9×13-inch baking pan by lightly greasing or lining with parchment paper.
- Spread approximately ⅔ of the batter evenly across the prepared pan using a spatula.
- Carefully distribute 21 ounces (595 grams) of cherry pie filling over the initial batter layer, ensuring an even coverage.
- Drop remaining batter in small spoonfuls across the cherry layer, creating a rustic, marbled appearance.
- Bake in preheated oven for 35-40 minutes, watching for golden edges and a set center.
- Remove from oven and allow bars to cool completely at room temperature for about 2 hours.
- Optional: Dust the cooled bars with powdered sugar just before serving for an elegant finishing touch.
Notes
- Choose ripe, sweet cherries for the most flavorful filling when making homemade cherry bars.
- Cold butter works best when creaming with sugar to create a light, fluffy base for the bars.
- Drop spoonfuls of remaining batter randomly over the cherry layer to create a rustic, beautiful top crust.
- For a gluten-free version, swap regular flour with a cup-for-cup gluten-free flour blend to keep the same texture and taste.
- Prep Time: 15 minutes
- Cook Time: 35-40 minutes
- Category: Dessert Bars
- Method: Baking
- Cuisine: American
Nutrition
- Serving Size: 12
- Calories: 360
- Sugar: 30 g
- Sodium: 110 mg
- Fat: 18 g
- Saturated Fat: 11 g
- Unsaturated Fat: 7 g
- Trans Fat: 0.5 g
- Carbohydrates: 47 g
- Fiber: 1 g
- Protein: 4 g
- Cholesterol: 70 mg
Logan Lemaster
Founder & Culinary Innovator
Expertise
Recipe Development and Innovation, Menu Design and Optimization, Fine Dining Techniques, Ingredient Pairing and Flavor Science
Education
Metropolitan Culinary Arts Institute
Logan’s culinary journey kicked off in his vibrant Chicago family kitchen, where fresh, seasonal ingredients and bold flavors were always front and center.
After graduating from the Metropolitan Culinary Arts Institute in Arlington, Virginia, and honing his skills in renowned restaurants, Logan mastered the art of blending classic techniques with exciting, modern twists.
His kitchen is a dynamic lab for flavor exploration. Through Yum Utopia, Logan aims to empower you to cook with both confidence and creativity, turning simple ingredients into spectacular meals.