Marshmallow Pie Recipe for a Fluffy Dessert Treat
Easy marshmallow pie gives comfort and sweetness in one of the most delightful desserts out there.
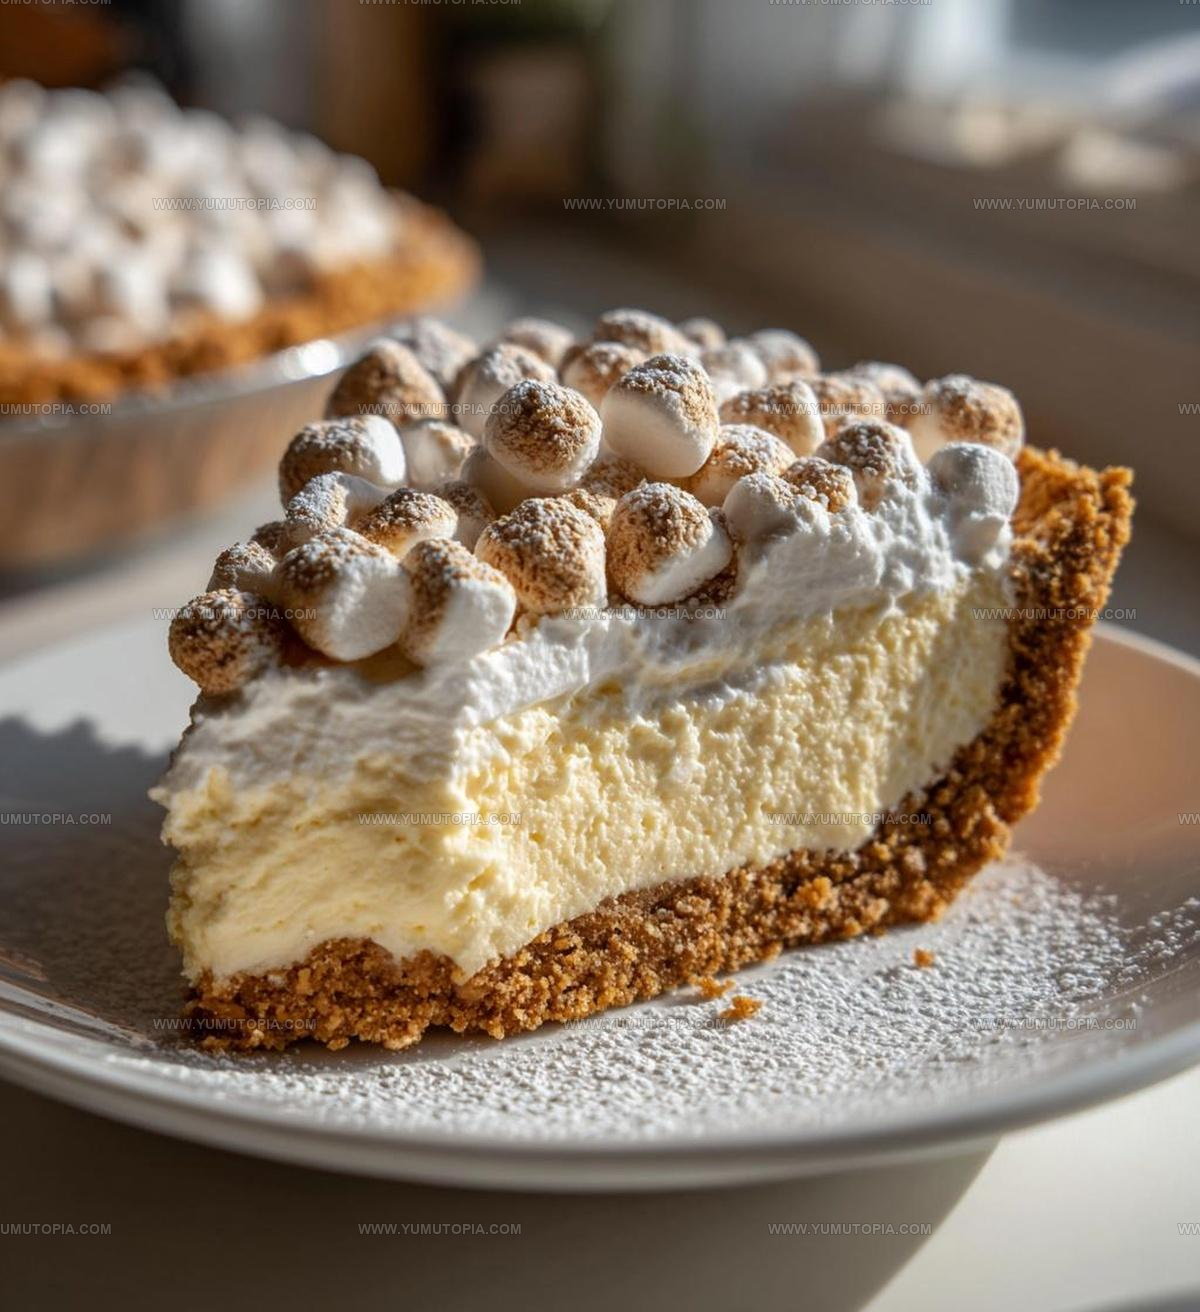
Soft, fluffy, and absolutely satisfying, it has a way of winning over anyone who takes a bite.
The preparation truly lives up to its name, making it accessible even on the busiest weeknights.
Potlucks, holidays, and casual gatherings all become more memorable when dessert feels special without demanding hours in the kitchen.
Light yet decadent, it strikes that perfect balance between impressive presentation and minimal fuss.
Few desserts manage to feel both nostalgic and fresh at the same time, but somehow it accomplishes exactly that.
When you want something crowd-pleasing that won’t stress you out, it’s hard to find a better option than what awaits below.
Why You’ll Love Marshmallow Pie
Full Ingredient Breakdown for Marshmallow Pie
Base:Creamy Filling:Marshmallow Element:Tools Used for Easy Marshmallow Pie
Easy No-Bake Instructions for Marshmallow Pie
Whip the Cream
Grab your mixing bowl and pour in 1 cup of heavy cream. Using an electric mixer, whip that cream at medium-high speed for about 3-4 minutes until soft peaks start to form. Your arm might get a little tired, but keep going!
Add Sweetness
Time to make this cream extra delicious. Sprinkle in:
Continue whipping the mixture at medium-high speed for another 2 minutes until the peaks stand up nice and stiff.
Fold in Marshmallows
Take 2 cups of mini marshmallows and gently fold them into the whipped cream. Use a spatula and be super careful – you want those marshmallows distributed evenly without deflating all the beautiful air we’ve whipped into the cream.
Fill the Crust
Grab that pre-made graham cracker crust and carefully pour in the marshmallow cream mixture. Smooth the top with your spatula to make it look neat and tidy.
Chill and Wait
Pop the pie into the refrigerator for exactly 4 hours at 40°F. This gives the pie time to set and lets all those flavors mingle and get to know each other.
Serve and Enjoy
After 4 hours, pull the pie out of the fridge. Slice it up and serve right away for a cool, creamy treat that’ll make everyone at the table smile.
Practical Cooking Advice for Marshmallow Pie
Easy Marshmallow Pie Variations That Set Perfectly
How to Serve Marshmallow Pie
How to Store Marshmallow Pie
Marshmallow Pie Questions & Answers
Can I use a different type of crust?
Graham cracker crusts work best, but you can swap in an Oreo or chocolate cookie crust for extra flavor.
Do marshmallows need to be a specific size?
Mini marshmallows blend smoothest, but regular-sized ones chopped small will also work perfectly in the recipe.
What if my cream won’t whip properly?
Ensure your cream is very cold and use a chilled bowl. Room temperature ingredients prevent proper whipping.
How do I know when the cream reaches stiff peaks?
The cream should stand up straight when you lift the beater and not droop or fall over.
Can this dessert be made ahead of time?
Absolutely! The pie can be prepared up to two days before serving and stored covered in the refrigerator.

Easy Marshmallow Pie Recipe
- Total Time: 10 minutes
- Yield: 8 1x
Description
Marshmallow Pie brings pure delight to your dessert table with minimal effort and maximum flavor. Creamy, light, and totally crowd-pleasing, this simple treat will become your new go-to sweet for family gatherings and casual get-togethers.
Ingredients
Pie Base:
- 1 graham cracker crust
Marshmallow Filling:
- 2 cups mini marshmallows
- 1 cup heavy cream
- ½ cup powdered sugar
Flavoring:
- 1 teaspoon vanilla extract
Instructions
- Pour 1 cup of heavy cream into a chilled mixing bowl. Whip with an electric mixer at medium-high speed for 2-3 minutes until soft peaks develop.
- Add ½ cup powdered sugar and 1 teaspoon vanilla extract to the whipped cream. Continue beating for another 1-2 minutes until stiff peaks form.
- Carefully incorporate 2 cups mini marshmallows into the cream mixture using a rubber spatula. Fold gently to maintain the cream’s airy texture.
- Transfer the fluffy marshmallow mixture into your pre-made graham cracker crust. Spread evenly using the back of a spoon to create a smooth surface.
- Place the pie in the refrigerator for a minimum of 4 hours, allowing it to set completely and develop a firm, creamy consistency.
- Remove from the refrigerator 10 minutes before serving to soften slightly and enhance the marshmallow cream’s texture.
Notes
- Whip the cream carefully to avoid overbeating, which can turn it grainy and cause separation.
- Use room temperature marshmallows for smoother folding and more even distribution in the pie.
- For a gluten-free version, swap the graham cracker crust with a nut-based or gluten-free cookie crust.
- Garnish with chocolate shavings or toasted marshmallows for extra texture and visual appeal.
- Prep Time: 10 minutes
- Cook Time: 0 minutes
- Category: Pies
- Method: Blending
- Cuisine: American
Nutrition
- Serving Size: 8
- Calories: 261 kcal
- Sugar: 30 g
- Sodium: 82 mg
- Fat: 15 g
- Saturated Fat: 9 g
- Unsaturated Fat: 5 g
- Trans Fat: 0.3 g
- Carbohydrates: 28 g
- Fiber: 0.4 g
- Protein: 1.2 g
- Cholesterol: 50 mg
Logan Lemaster
Founder & Culinary Innovator
Expertise
Recipe Development and Innovation, Menu Design and Optimization, Fine Dining Techniques, Ingredient Pairing and Flavor Science
Education
Metropolitan Culinary Arts Institute
Logan’s culinary journey kicked off in his vibrant Chicago family kitchen, where fresh, seasonal ingredients and bold flavors were always front and center.
After graduating from the Metropolitan Culinary Arts Institute in Arlington, Virginia, and honing his skills in renowned restaurants, Logan mastered the art of blending classic techniques with exciting, modern twists.
His kitchen is a dynamic lab for flavor exploration. Through Yum Utopia, Logan aims to empower you to cook with both confidence and creativity, turning simple ingredients into spectacular meals.