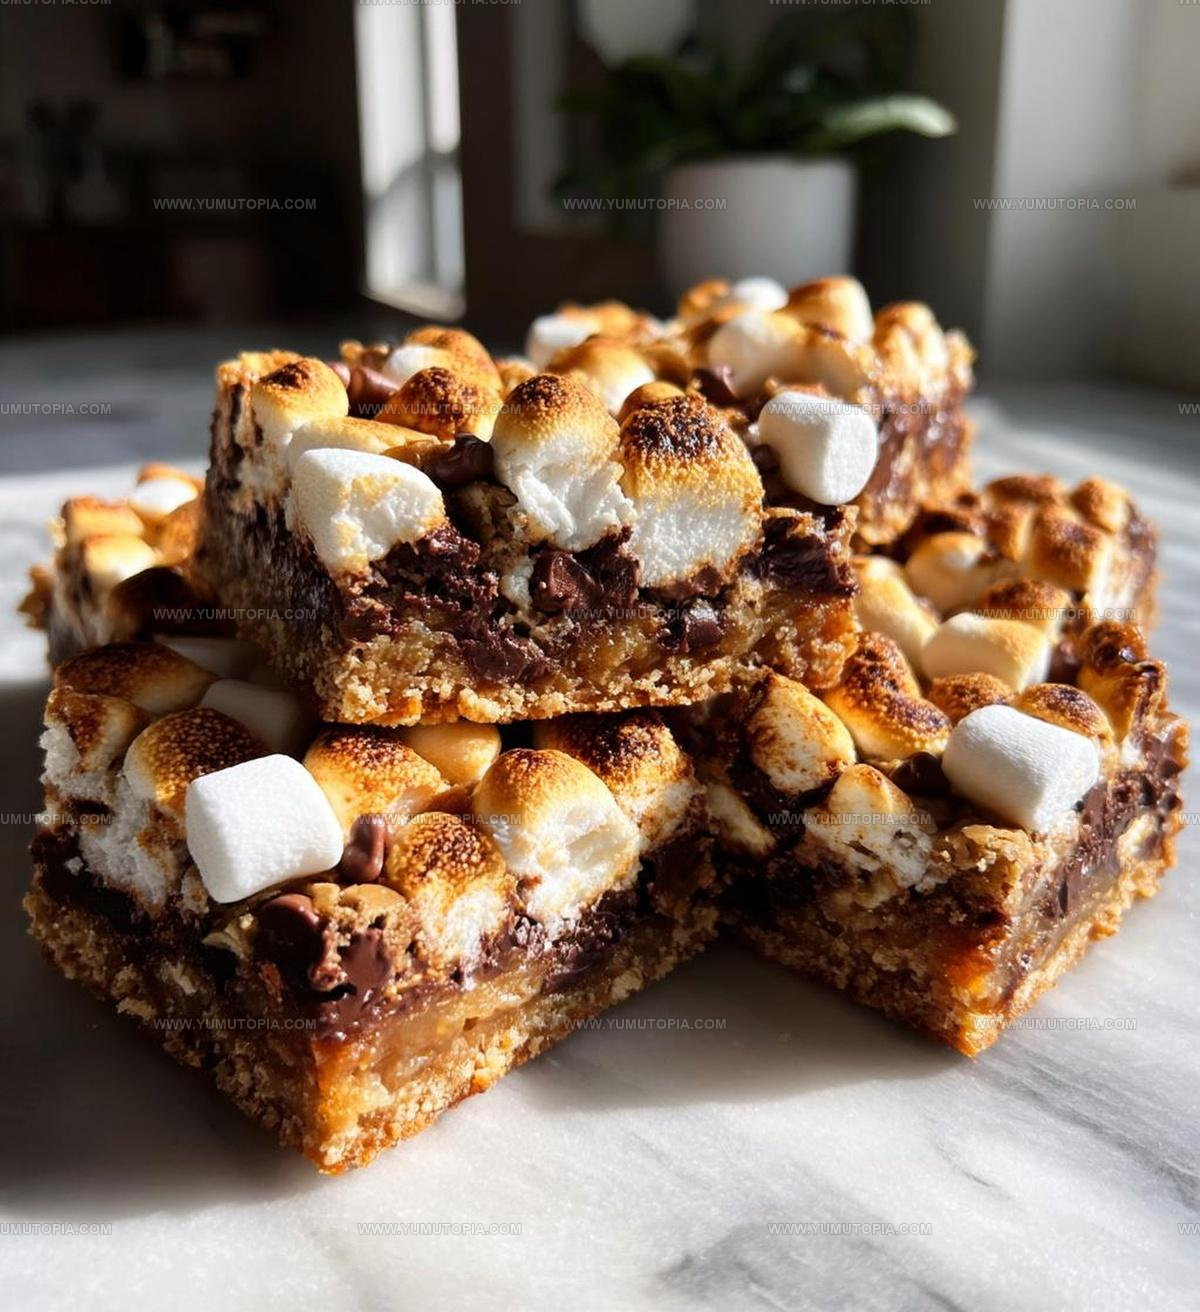
S’mores Bars Recipe for Campfire Flavor at Home
Smores bars bring all the magic of campfire nights right into your kitchen, no fire pit required.
The combination of sweet, crunchy, and gooey textures makes every bite feel like a celebration.
Whether hosting a party or simply craving something comforting on a quiet evening, this dessert gives both nostalgia and satisfaction.
Busy weeknights become special when something this delightful appears after dinner.
When cravings hit and time feels short, there’s nothing quite like a dessert that tastes like summer memories and gives pure comfort in every square.
Why You’ll Love Smores Bars
What This S’mores Bars Is Made Of
Graham Cracker Base:Chocolate Layer:Marshmallow Topping:What Tools Make S’mores Bars
Easy Baking Guide for S’mores Bars
Prepare Oven
Crank up the oven to 350F. Grab an 8×8 inch baking pan and give it a quick spray with cooking spray to prevent sticking.
Make Graham Cracker Base
Grab a mixing bowl and combine the ingredients for your crust:
Stir everything together until the mixture looks like damp sand and clumps nicely when pressed.
Create the Crust
Press the graham cracker mixture firmly into the bottom of your prepared pan. Use the back of a spoon or your fingers to pack it down evenly. Make sure it’s compact so your bars hold together perfectly.
Add Chocolate Layer
Sprinkle 1 cup of chocolate chips across the entire surface of the graham cracker base. Spread them out so they cover every inch of the crust.
Top with Marshmallows
Scatter 1 cup of mini marshmallows over the chocolate chips. Try to distribute them evenly so each bar gets a good marshmallow coverage.
Bake to Perfection
Slide the pan into the preheated 350F oven. Bake for exactly 15 minutes. Watch for the marshmallows to turn golden and puffy – that’s when you know they’re ready.
Cool and Slice
Pull the pan from the oven and let it cool completely on a wire rack. Once cooled, slice into squares. These bars are best enjoyed the same day, when the marshmallows are still soft and the chocolate is melty.
Top Layering Tips for Smores Bars
Which Smores Bar Variations Are Gooey
How to Serve Smores Bars
Best Storage Tips for Smores Bars
Smores Bars Questions & Answers
Can I make these bars ahead of time?
Absolutely! Prepare the bars up to a day before serving and store them at room temperature covered with foil.
What type of chocolate works best?
Milk chocolate chips are classic, but semi-sweet or dark chocolate chips also create delicious results. Choose your favorite chocolate.
Do I need special equipment?
No special tools required – just a standard baking dish, mixing bowl, and basic measuring tools work perfectly.
Are graham crackers necessary?
Graham crackers create the traditional base, but you could substitute crushed digestive biscuits or another similar crisp cookie.
Can this recipe be made gluten-free?
Replace standard graham crackers with gluten-free graham cracker crumbs to make the entire dessert gluten-free.
How many bars does this recipe make?
Typically, this recipe yields 9-12 bars depending on how you slice them in your baking dish.

Easy Smores Bars Recipe
- Total Time: 25 minutes
- Yield: 8 1x
Description
S’mores Bars bring campfire memories right to your kitchen counter, melding graham cracker, chocolate, and marshmallow into a delightful square that captures summer’s sweet nostalgia.
Ingredients
Main Ingredients:
- 1 cup chocolate chips
- 1 cup mini marshmallows
Supporting Ingredients:
- 1 cup graham cracker crumbs
- ½ cup unsalted butter, melted
Sweeteners:
- ¼ cup granulated sugar
Instructions
- Heat your oven to exactly 350°F and coat an 8×8 inch baking pan with cooking spray.
- Combine 1 cup graham cracker crumbs, ½ cup melted butter, and ¼ cup sugar in a medium mixing bowl until the mixture resembles coarse sand.
- Firmly press the graham cracker mixture into the bottom of the prepared pan, creating an even, compact base layer.
- Sprinkle 1 cup chocolate chips uniformly across the graham cracker crust, covering the entire surface.
- Distribute 1 cup mini marshmallows over the chocolate chips, ensuring they cover the entire top of the pan.
- Place the pan in the preheated 350°F oven and bake for exactly 15 minutes, watching carefully as marshmallows turn golden brown and puffy.
- Remove the pan from the oven and let the bars cool completely at room temperature for 30 minutes before slicing into 9 equal squares.
Notes
- Crumble the graham crackers finely for a smoother, more even crust that holds together perfectly.
- Line the baking dish with parchment paper for easy removal and clean cutting of the bars.
- Toast the marshmallows carefully to get that perfect golden-brown color without burning them.
- For a gluten-free version, swap graham cracker crumbs with gluten-free cookie crumbs or almond flour.
- Prep Time: 10 minutes
- Cook Time: 15 minutes
- Category: Dessert Bars
- Method: Baking
- Cuisine: American
Nutrition
- Serving Size: 8
- Calories: 258 kcal
- Sugar: 18 g
- Sodium: 46 mg
- Fat: 14 g
- Saturated Fat: 8 g
- Unsaturated Fat: 5 g
- Trans Fat: 0.1 g
- Carbohydrates: 30 g
- Fiber: 2 g
- Protein: 2 g
- Cholesterol: 20 mg
Madison Wyman
Recipe Developer & Food Storyteller
Expertise
Recipe Research and Adaptation, Food Writing and Cultural Storytelling, Sustainable and Ethical Sourcing, Dietary Adaptations (e.g., gluten-free, plant-based)
Education
Oregon Health & Science University
Portland Community College
Madison’s passion for flavor and culture ignited amidst the rich Southern cooking traditions of her upbringing, where cherished family recipes told delicious tales.
Armed with a Master’s in Food Systems and Society from Oregon Health & Science University and a Culinary Arts Certificate from Portland Community College, Madison truly excels at transforming rich, intricate flavors into dishes that are both approachable and heartfelt.
For her, cooking is a vibrant blend of science, art, and heritage – a powerful way to connect us to our roots and each other. Her recipes invite you to delve deeper, uncovering the fascinating stories woven into every ingredient.