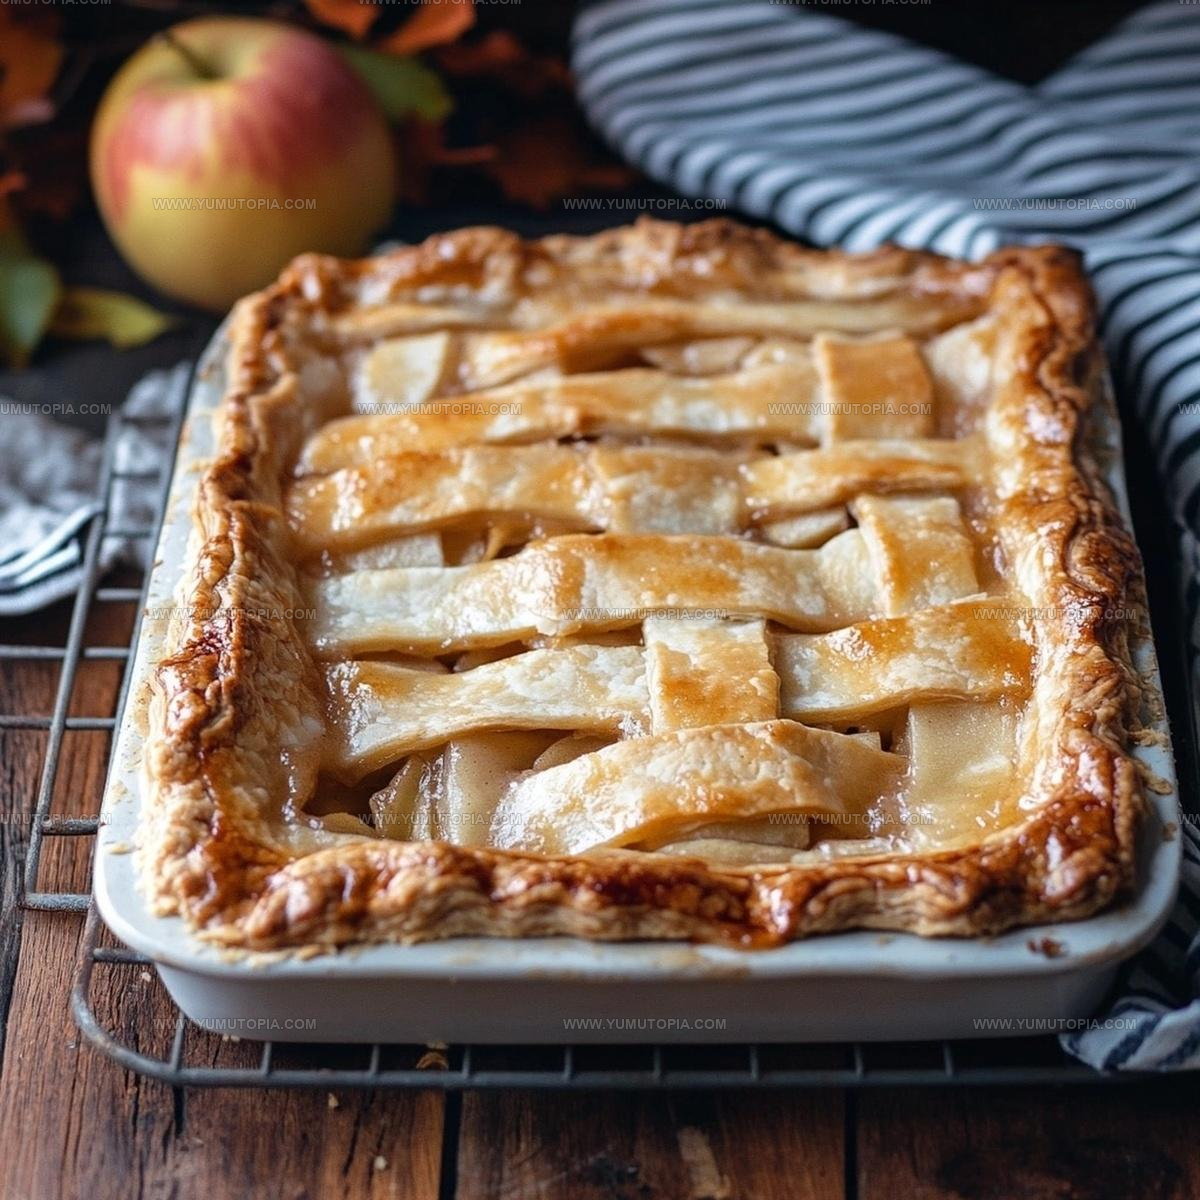
Recipe for Buttery Apple Slab Pie with Golden Crust
Flaky apple slab pie makes feeding a crowd during fall gatherings absolutely effortless while delivering all the cozy flavors everyone craves.
This sheet pan version offers generous servings without the fuss of slicing individual wedges, which means more time enjoying company and less time in the kitchen.
The golden, buttery layers contrast beautifully with the warm, spiced filling that captures everything wonderful about autumn baking.
Potlucks, holiday dinners, and weekend brunches become instantly more memorable when you show up with something so universally loved.
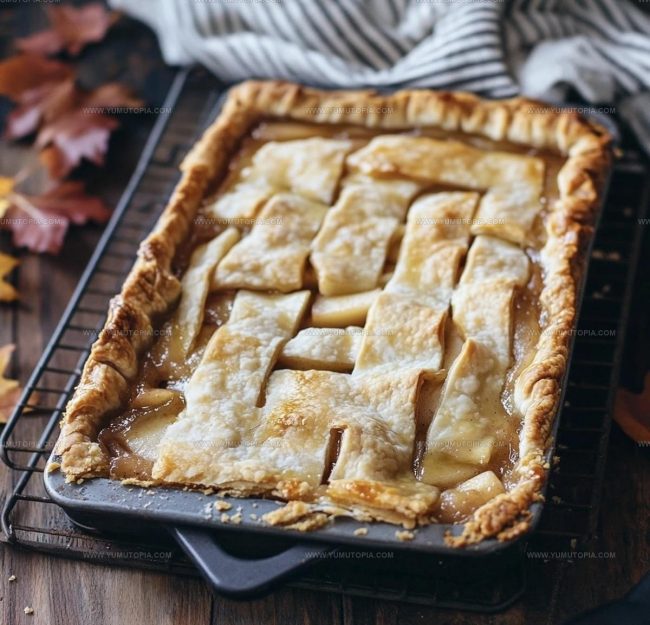
Unlike traditional round pies, the rectangular shape cuts into neat squares that are easy to serve and even easier to eat.
Both experienced bakers and newcomers will appreciate how forgiving and flexible the format can be.
When you need something impressive but manageable, few desserts deliver quite like a generous slab that disappears almost as quickly as it comes out of the oven.
Why Apple Slab Pie Is Perfect for Sharing
Apple Slab Pie Ingredients You’ll Need
Pie Crust:Apple Filling:Finishing Touches:Kitchen Tools Used for Apple Slab Pie
Apple Slab Pie Large-Batch Baking Method
Mix the Dough Foundation
Grab a spacious mixing bowl and toss in 3 ¾ cups of flour, 1 ½ tbsp sugar, and 1 ½ tsp salt. Break down 3 sticks of cold butter into tiny cubes, then work them into the flour mixture using your fingertips until everything looks like rough breadcrumbs. Drizzle in ¾ cup of super cold water and mix until the dough just starts to come together. Split the dough into two sections – one slightly larger for the bottom crust – and wrap each chunk in plastic wrap. Stick these in the refrigerator for at least 2 hours to chill out.
Prepare Apple Filling
While the dough rests, prep your apples by peeling and chopping 3 ½ to 4 pounds of fruit. Splash a bit of lemon juice over the chopped apples to keep them fresh. In a separate bowl, blend these dry ingredients:
Pour this spice mixture over the apples and stir until everything is evenly coated.
Roll Out the Crust
Warm up your oven to 375°F. Take the larger dough portion and roll it into an 18×13-inch rectangle. Carefully transfer this to a parchment-lined jelly roll pan, letting the edges hang over the sides.
Add Apple Filling
Spread the seasoned apple mixture evenly across the bottom crust, making sure it reaches all the corners.
Top and Seal the Pie
Roll out the second, smaller dough portion into a rectangle. Drape this over the apple filling. Trim the edges and pinch them together to create a sealed border. Cut a few slits on top to let steam escape.
Final Touches and Baking
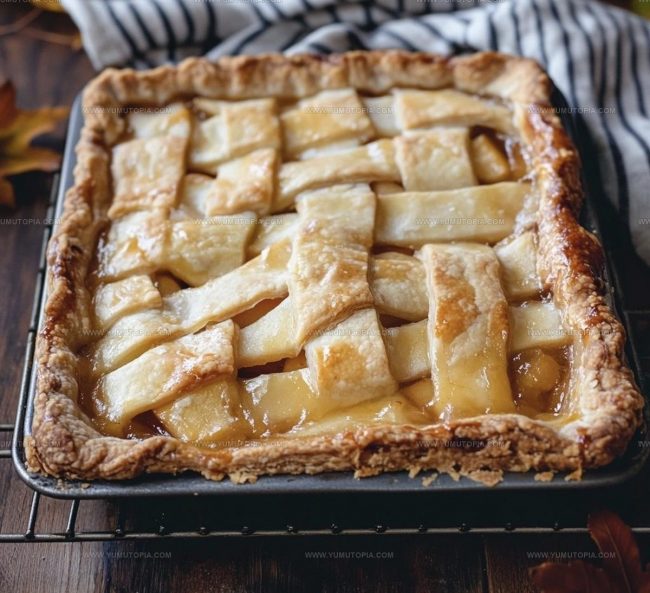
Brush the top crust with 2 tbsp of heavy cream. Slide the pan onto a baking sheet to catch any potential drips. Bake at 375°F for 40 to 50 minutes, watching for a golden-brown crust and bubbling filling. After removing from the oven, let the pie rest and cool for 45 minutes before slicing.
Cooking Tips for Apple Slab Pie
Apple Slab Pie with Classic and Modern Twists
How to Serve Apple Slab Pie
Apple Slab Pie Storage for Clean Cuts
Apple Slab Pie Common Questions
Can I use different types of apples?
Absolutely! Mix tart varieties like Granny Smith with sweeter options like Honeycrisp for balanced flavor and texture. Some apples hold their shape better during baking.
How thin should I roll the dough?
Aim for about 1/8-inch thickness. Too thick makes a heavy crust, while too thin risks tearing. Roll carefully and evenly for the best results.
What if my butter isn’t super cold?
Cold butter is crucial for flaky pastry. If yours has softened, pop it back in the refrigerator for 10-15 minutes before incorporating into the dough.
Can this pie be made ahead of time?
Definitely! You can prepare the dough and filling a day in advance. Keep the dough wrapped in the refrigerator and the apple mixture in a separate container.
Do I need special equipment to make this pie?
Not really. A pastry cutter helps, but your fingertips work perfectly for blending butter into flour. A rolling pin and baking sheet are the main tools you’ll need.
How do I know when the pie is fully baked?
Look for a deep golden-brown crust and bubbling filling around the edges. The apples should be tender when pierced with a knife.

Flaky Apple Slab Pie Recipe
- Total Time: 3 hours 10-20 minutes
- Yield: 8 1x
Description
Apple slab pie features tender apples baked with warm spices inside a buttery crust. This large-format dessert is perfect for sharing at celebrations and get-togethers.
Ingredients
Fruit:
- 3.5 to 4 pounds apples
- 1 squeeze lemon juice
Seasonings and Thickeners:
- 0.67 to 0.75 cups sugar
- 3 tablespoons cornstarch
- 1 teaspoon ground cinnamon
- 0.25 teaspoon ground nutmeg
- 0.25 teaspoon ground allspice
- 0.125 teaspoon table salt
Crust:
- 3.75 cups all-purpose flour
- 12 ounces unsalted butter
- 0.75 cup very cold water
- 1.5 tablespoons granulated sugar
- 1.5 teaspoons table salt
Finishing:
- 2 tablespoons heavy cream
Instructions
- Combine 3 ¾ cups flour, 1 ½ tbsp sugar, and 1 ½ tsp salt in a large mixing bowl. Slice 3 sticks of cold butter into small cubes and work them into the dry ingredients using your fingertips until the mixture looks like coarse breadcrumbs.
- Gradually pour ¾ cup very cold water into the flour mixture. Gently stir until the dough just comes together. Divide the dough into two portions, with one slightly larger. Wrap each in plastic wrap and refrigerate for 2 hours.
- Peel and chop 3 ½ pounds of apples into small pieces. Squeeze fresh lemon juice over the apples to prevent browning.
- Mix ⅔ cup sugar, 3 tbsp cornstarch, 1 tsp cinnamon, ¼ tsp nutmeg, ¼ tsp allspice, and ⅛ tsp salt in a separate bowl. Toss the apple pieces in this spice mixture until they are evenly coated.
- Heat your oven to 375°F. Roll the larger dough portion into an 18×13-inch rectangle. Carefully transfer the dough to a parchment-lined jelly roll pan, allowing excess to hang over the sides.
- Spread the seasoned apple mixture evenly across the bottom crust, ensuring an even layer.
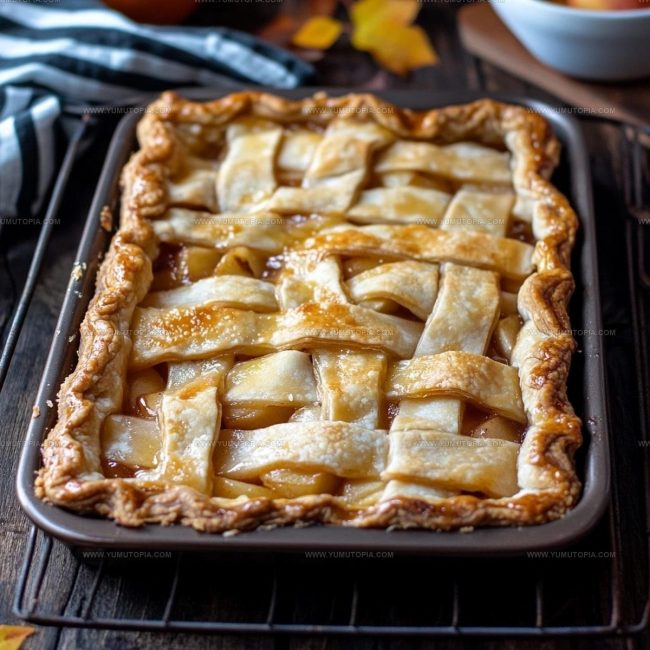
- Roll the second dough portion into a slightly smaller rectangle. Drape it over the apple filling. Trim the edges and crimp them together to seal. Cut 4-5 small slits in the top crust for steam release.
- Brush the entire top crust with 2 tbsp heavy cream. Place the pan on a baking sheet to catch any potential drips.
- Bake at 375°F for 40-50 minutes, until the crust turns golden brown and the filling starts bubbling. Remove from the oven and let the pie cool for 45 minutes before slicing.
Notes
- Always use cold butter when making the pie crust to ensure a flaky, tender texture that crumbles perfectly when you slice into it.
- Let the apple filling sit for 15-20 minutes before assembling to help the cornstarch thicken and prevent a watery bottom crust.
- For a gluten-free version, swap the all-purpose flour with a reliable gluten-free flour blend and add a touch of xanthan gum to help bind the dough.
- When cutting slits in the top crust, make them decorative by creating a lattice pattern or simple geometric shapes to release steam and add visual appeal.
- Prep Time: 2 hours 30 minutes
- Cook Time: 40-50 minutes
- Category: Pies
- Method: Baking
- Cuisine: American
Nutrition
- Serving Size: 8
- Calories: 429 kcal
- Sugar: 18 g
- Sodium: 242 mg
- Fat: 23 g
- Saturated Fat: 14 g
- Unsaturated Fat: 8 g
- Trans Fat: 0.5 g
- Carbohydrates: 54 g
- Fiber: 3 g
- Protein: 4 g
- Cholesterol: 43 mg
Madison Wyman
Recipe Developer & Food Storyteller
Expertise
Recipe Research and Adaptation, Food Writing and Cultural Storytelling, Sustainable and Ethical Sourcing, Dietary Adaptations (e.g., gluten-free, plant-based)
Education
Oregon Health & Science University
Portland Community College
Madison’s passion for flavor and culture ignited amidst the rich Southern cooking traditions of her upbringing, where cherished family recipes told delicious tales.
Armed with a Master’s in Food Systems and Society from Oregon Health & Science University and a Culinary Arts Certificate from Portland Community College, Madison truly excels at transforming rich, intricate flavors into dishes that are both approachable and heartfelt.
For her, cooking is a vibrant blend of science, art, and heritage – a powerful way to connect us to our roots and each other. Her recipes invite you to delve deeper, uncovering the fascinating stories woven into every ingredient.