S’mores Cookie Bars Recipe for Campfire Flavor at Home
Smores Cookie Bars combine everything loved about campfire treats into a dessert that works for any occasion, from backyard gatherings to weeknight cravings.
When you want something sweet but don’t feel like standing over a flame, this dessert serves up all that gooey, chocolatey satisfaction in a more convenient form.
The bars come together quickly in one pan, which means less cleanup and more time to enjoy the results.
Layers of flavor create that familiar taste everyone recognizes, bringing back memories of summer nights while fitting perfectly into busy schedules.
Whether served warm from the oven or at room temperature, they disappear fast at potlucks and parties.
The portable format makes them easy to pack for picnics or share with friends at work.
One batch yields plenty of servings, so there’s enough to go around when a crowd gathers.
Why You’ll Love Smores Cookie Bars
S’mores Cookie Bar Ingredients You’ll Need
Base Ingredients:Binding Ingredients:Dry Ingredients:Flavor Mix-Ins:Which Tools Are Necessary for Smores Cookie Bars?
Easy Baking Steps for S’mores Cookie Bars
Warm Up The Oven
Crank your oven to 350°F and grab a 9×13 inch baking pan. Spray it with cooking spray or line with parchment paper so nothing sticks.
Mix Creamy Base
Grab your electric mixer and beat together:
Whip these until they’re smooth and fluffy, about 3 minutes.
Add Wet Ingredients
Crack in 2 large eggs and pour 2 teaspoons vanilla extract. Mix until everything looks combined and glossy.
Combine Dry Ingredients
In a separate bowl, whisk together:
Slowly blend these dry ingredients into your wet mixture until just combined.
Stir In Delicious Extras
Fold in with a wooden spoon:
Create Cookie Layer
Spread half the dough across the bottom of your prepared pan. Make sure it covers evenly.
Add Marshmallow Magic
Sprinkle across the first dough layer:
Top With Remaining Dough
Carefully spread the rest of the cookie dough on top, covering the marshmallows and chocolate.
Bake To Perfection
Slide the pan into the 350°F oven and bake for 25-30 minutes. The top should look golden and slightly firm.
Cool And Slice
Let the bars cool completely in the pan before cutting into squares. This helps them set up perfectly.
Everyday Cooking Notes for Smores Cookie Bars
Smores Cookie Bar Variations With Sweet Twists
How to Serve S’mores Cookie Bars
Storage Tips for S’mores Cookie Bars
Smores Cookie Bars Common Questions
Can I use regular-sized marshmallows instead of mini ones?
Regular marshmallows work, but chop them into smaller pieces so they melt evenly across your cookie bars.
What if I don’t have graham cracker crumbs?
Crush whole graham crackers in a food processor or place them in a sealed bag and crush with a rolling pin until finely ground.
How thick should the dough layers be when spreading in the pan?
Aim for an even layer that covers the entire bottom of the pan, about 1/4 to 1/2 inch thick.
Can these bars be made gluten-free?
Substitute the flour and graham cracker crumbs with gluten-free alternatives to create a celiac-friendly version.
What kind of chocolate works best for this recipe?
Milk chocolate or semisweet chocolate squares from candy bars like Hershey’s will give you the classic s’mores flavor.
How do I know when the bars are fully baked?
Look for golden brown edges and a slightly set center. The top should look lightly golden and not wet.

Flavorful S’mores Cookie Bars Recipe
- Total Time: 40-45 minutes
- Yield: 12 1x
Description
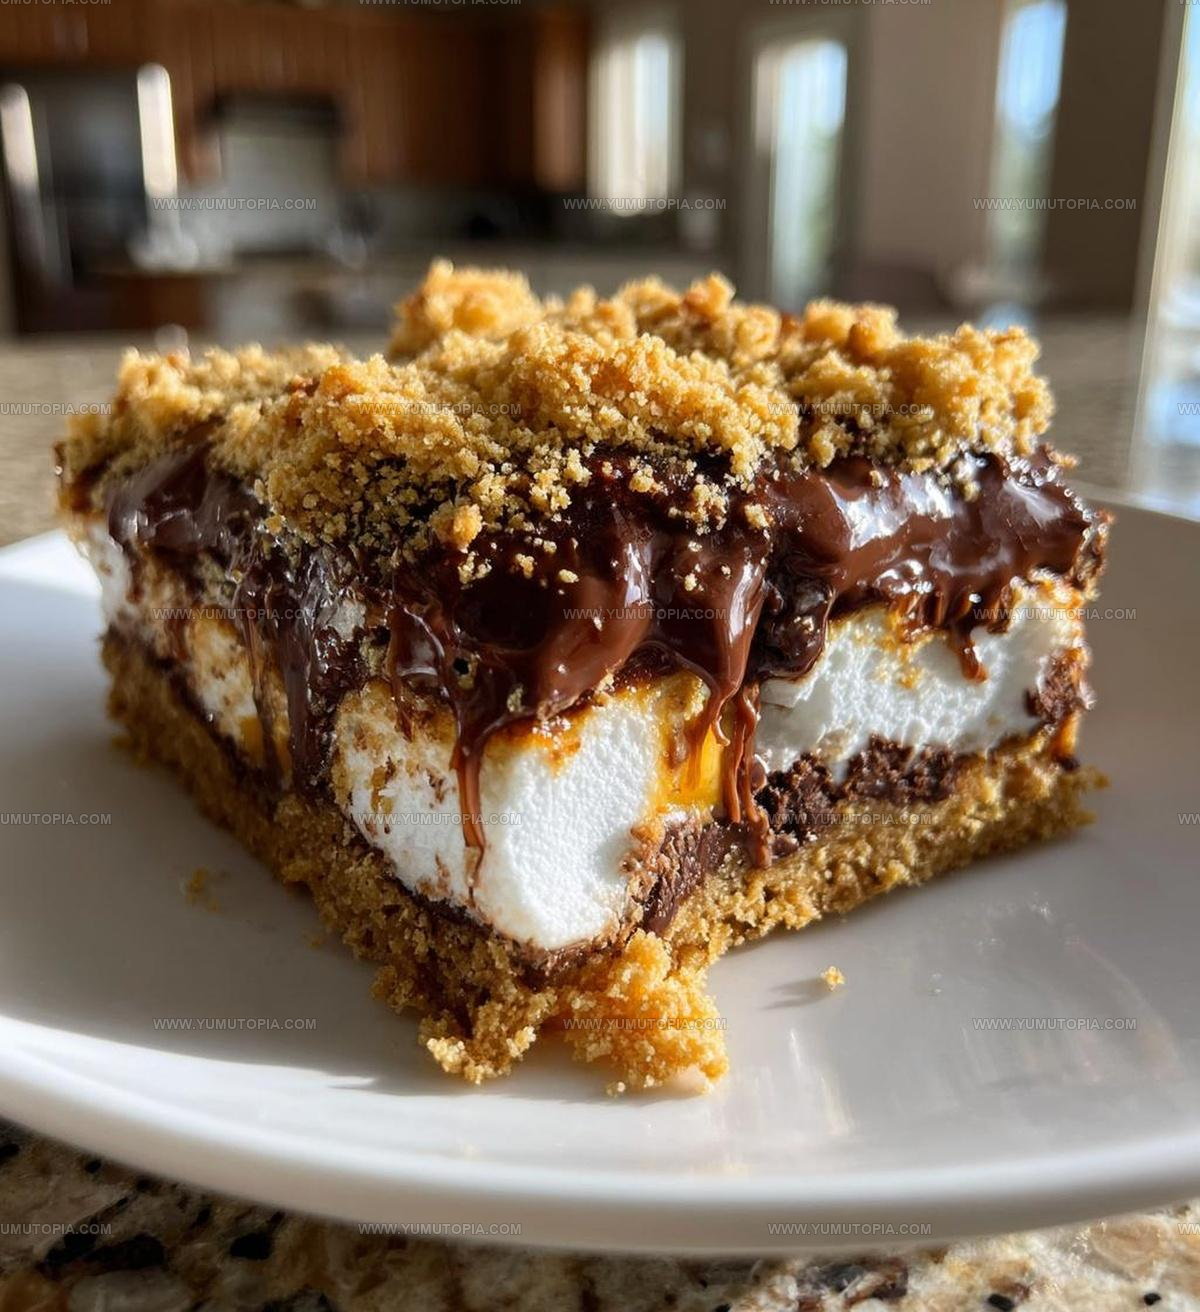
Campfire-inspired s’mores cookie bars combine graham cracker crust, rich chocolate, and toasted marshmallows for a nostalgic treat that brings summer memories right to your kitchen. Grab a plate and savor each gooey, chocolatey bite of this classic American dessert that feels like a warm hug from childhood.
Ingredients
Base Ingredients:
- 3 cups all-purpose flour
- 1 cup unsalted butter, softened
- 1 cup brown sugar
- 1 cup granulated sugar
Sweet and Flavor Enhancers:
- 2 large eggs
- 2 teaspoons vanilla extract
- 1 cup chocolate chips
- ½ cup chocolate squares
- 1 cup mini marshmallows
- 1 cup graham cracker crumbs
Stabilizers and Seasonings:
- 1 teaspoon baking soda
- ½ teaspoon salt
Instructions
- Warm your oven to 350°F and prepare a 9×13 inch baking pan with butter or cooking spray.
- Cream 1 cup softened butter with 1 cup brown sugar and 1 cup granulated sugar until the mixture becomes smooth and fluffy.
- Incorporate 2 large eggs and 2 teaspoons vanilla extract, mixing until fully blended.
- Whisk 3 cups all-purpose flour with 1 teaspoon baking soda and ½ teaspoon salt in a separate bowl.
- Gradually fold the dry ingredients into the wet mixture, ensuring no flour pockets remain.
- Gently mix in 1 cup chocolate chips and 1 cup graham cracker crumbs until evenly distributed.
- Spread half the cookie dough across the prepared pan, creating an even base layer.
- Arrange 1 cup mini marshmallows and ½ cup chocolate squares over the first dough layer.
- Carefully cover the marshmallow and chocolate layer with remaining cookie dough, sealing the ingredients underneath.
- Bake at 350°F for 25-30 minutes until the top turns golden brown and edges look slightly crisp.
- Remove from oven and allow bars to cool completely before cutting into squares.
Notes
- Graham cracker crumbs add authentic s’mores flavor and help create a sandy, textured base for your bars.
- Softened butter blends more smoothly and creates a more consistent cookie dough texture.
- For gluten-free options, swap regular flour with a cup-for-cup gluten-free baking blend and use gluten-free graham crackers.
- Let the bars cool completely to help them set and make cutting cleaner, preventing marshmallows from stretching when sliced.
- Prep Time: 15 minutes
- Cook Time: 25-30 minutes
- Category: Dessert Bars
- Method: Baking
- Cuisine: American
Nutrition
- Serving Size: 12
- Calories: 316 kcal
- Sugar: 25 g
- Sodium: 138 mg
- Fat: 16 g
- Saturated Fat: 9 g
- Unsaturated Fat: 6 g
- Trans Fat: 0.2 g
- Carbohydrates: 41 g
- Fiber: 1.5 g
- Protein: 3 g
- Cholesterol: 37 mg
Madison Wyman
Recipe Developer & Food Storyteller
Expertise
Recipe Research and Adaptation, Food Writing and Cultural Storytelling, Sustainable and Ethical Sourcing, Dietary Adaptations (e.g., gluten-free, plant-based)
Education
Oregon Health & Science University
Portland Community College
Madison’s passion for flavor and culture ignited amidst the rich Southern cooking traditions of her upbringing, where cherished family recipes told delicious tales.
Armed with a Master’s in Food Systems and Society from Oregon Health & Science University and a Culinary Arts Certificate from Portland Community College, Madison truly excels at transforming rich, intricate flavors into dishes that are both approachable and heartfelt.
For her, cooking is a vibrant blend of science, art, and heritage – a powerful way to connect us to our roots and each other. Her recipes invite you to delve deeper, uncovering the fascinating stories woven into every ingredient.