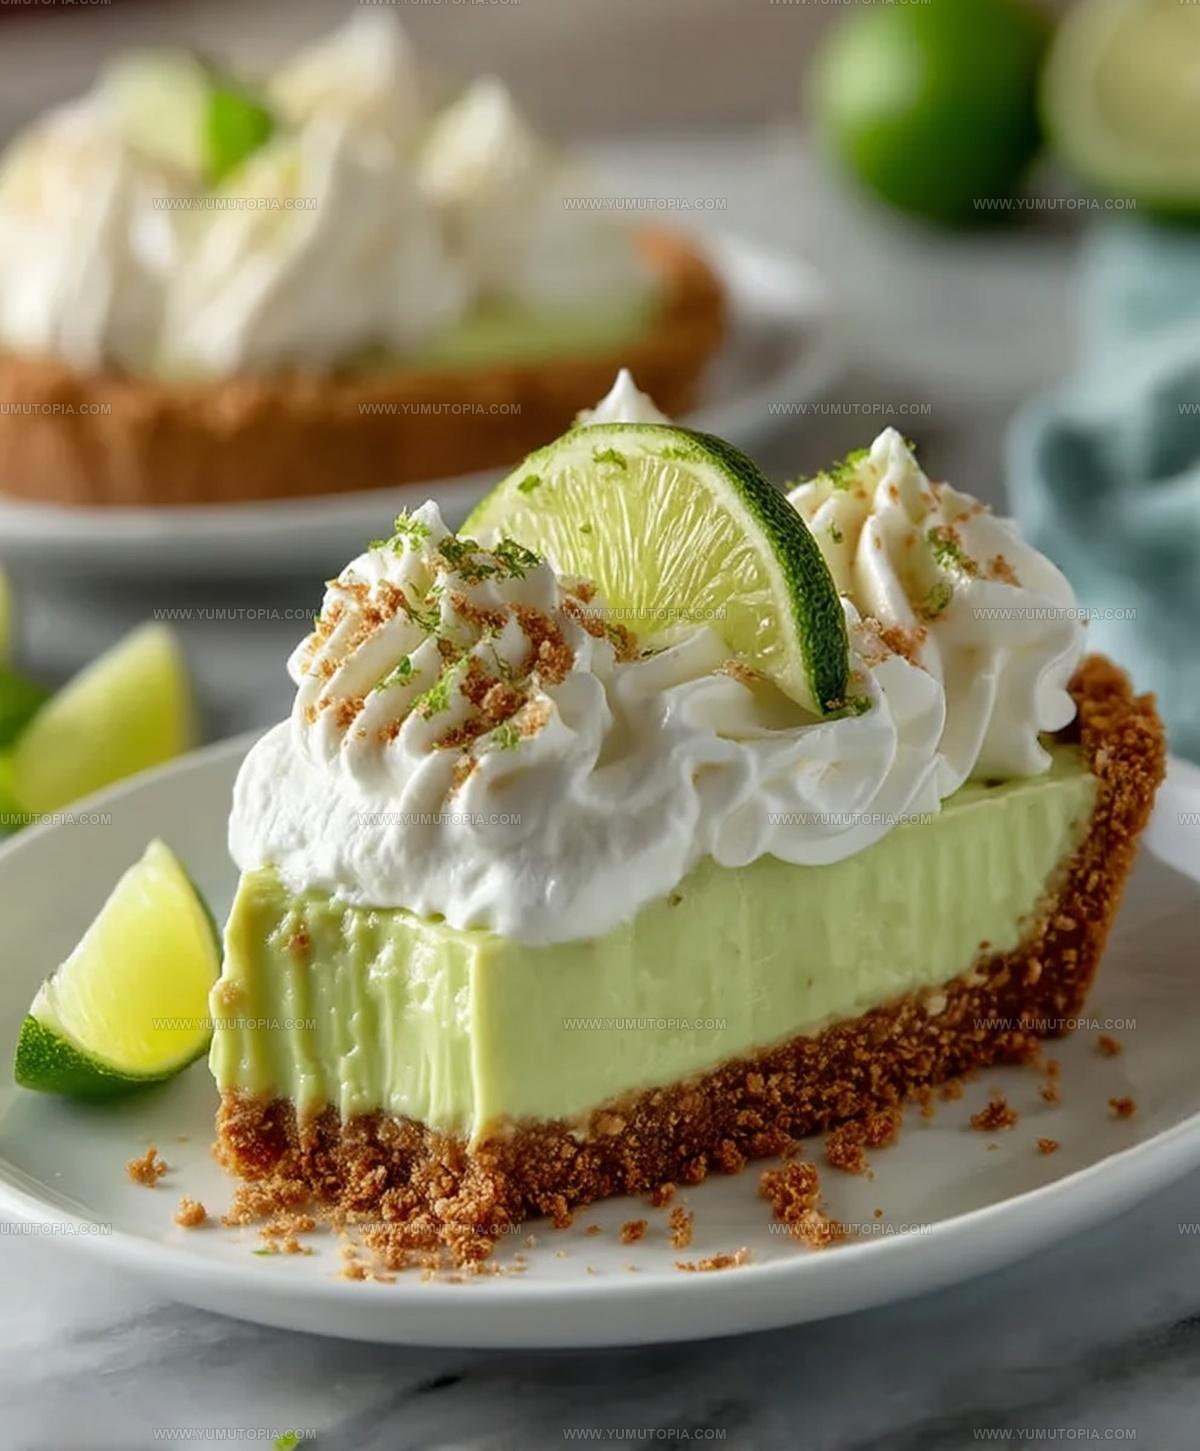
Key Lime Pie Recipe For Tantalizing Citrus Dessert Lovers
Key lime pie holds a special place at dessert tables everywhere, loved for its perfect balance of sweet and tart flavors wrapped in a smooth, creamy filling.
Born in the Florida Keys, it has become an iconic American dessert that feels both refreshing and comforting at the same time.
The bright, citrusy profile makes it a natural choice for warm weather gatherings, though honestly, any season feels right when a slice is on the plate.
What makes it so appealing is how it manages to feel light yet satisfying, never too heavy after a meal.
Whether served at casual backyard barbecues or elegant dinner parties, it always seems to disappear quickly.
The combination of that buttery crust with the silky filling creates a contrast that keeps people coming back for more.
Even if you haven’t spent much time in the kitchen, putting together something so delicious and impressive is completely within reach.
One bite will show you exactly why it has remained a beloved classic for generations.
Classic Dessert Reasons to Make Key Lime Pie
Ingredient Overview for Key Lime Pie
Graham Cracker Crust:Pie Filling:Whipped Cream Topping:Garnish:What Tools Set Key Lime Pie
Step-by-Step Baking Guide for Key Lime Pie
Prepare Graham Cracker Crust
Grab a 9-inch pie plate and set your oven to 350F. Crush 12 graham crackers into fine crumbs. Mix 1 1/2 cups graham cracker crumbs with 1/4 cup granulated sugar and a tiny pinch of salt in a bowl. Pour 5 tablespoons melted butter over the crumb mixture and stir until everything looks like damp sand.
Shape Crust
Press the buttery crumb mixture firmly into the pie plate, covering the bottom and sides evenly. Use the bottom of a measuring cup to pack the crumbs tightly.
Bake Crust
Slide the crust into the preheated 350F oven and bake for 8-10 minutes until it turns a light golden brown. The kitchen will smell wonderfully toasty.
Mix Filling Base
Grab a large bowl and whisk 4 egg yolks until they look pale and slightly thickened. Slowly pour in 1 can of sweetened condensed milk, whisking constantly to create a smooth mixture.
Add Lime Flavor
Squeeze fresh Key limes until you have 1/2 cup juice. Grate the zest from a couple limes. Pour the lime juice and 1 teaspoon zest into your filling, stirring until everything blends smoothly.
Bake Pie
Pour the lime filling into your cooled crust. Bake at 350F for 15-18 minutes. The edges should look set, but the center will have a slight jiggle.
Cool and Chill
Let the pie cool completely at room temperature. Then refrigerate for 3-4 hours or overnight to help the filling set perfectly.
Prepare Whipped Cream
Chill your mixing bowl for 15 minutes. Pour 1 cup cold heavy cream into the chilled bowl. Beat on medium speed until soft peaks form.
Finish Whipped Cream
Add these to the cream and continue beating until stiff peaks develop.
Decorate and Serve
Spread the whipped cream over the chilled pie. Sprinkle with extra lime zest or add a few thin lime slices on top. Slice and serve straight from the refrigerator for the best flavor.
Essential Baking Tips for Key Lime Pie
Classic Key Lime Pie Variations to Try
Classic Pairing Styles for Key Lime Pie
Best Storage Advice for Key Lime Pie
Key Lime Pie FAQs
What are Key limes, and how do they differ from regular limes?
Key limes are smaller, rounder, and more tart than Persian limes. They have a more intense, floral flavor that gives the pie its distinctive tangy taste.
Can regular limes be substituted for Key limes?
While you can use regular lime juice, the flavor won’t be as authentic. Key limes provide a unique, more concentrated citrus punch that defines the classic pie.
Why does the recipe use sweetened condensed milk?
Sweetened condensed milk creates the pie’s signature smooth, creamy texture. It also balances the tartness of the lime juice and helps the filling set perfectly.
How can I tell if the pie is fully baked?
The filling should be set around the edges but slightly jiggly in the center. It will continue to set as it cools, so don’t overbake and dry out your delicious creation.
What’s the best way to get clean pie slices?
Chill the pie thoroughly before cutting. Use a sharp knife dipped in hot water and wiped dry between each slice for clean, beautiful cuts.

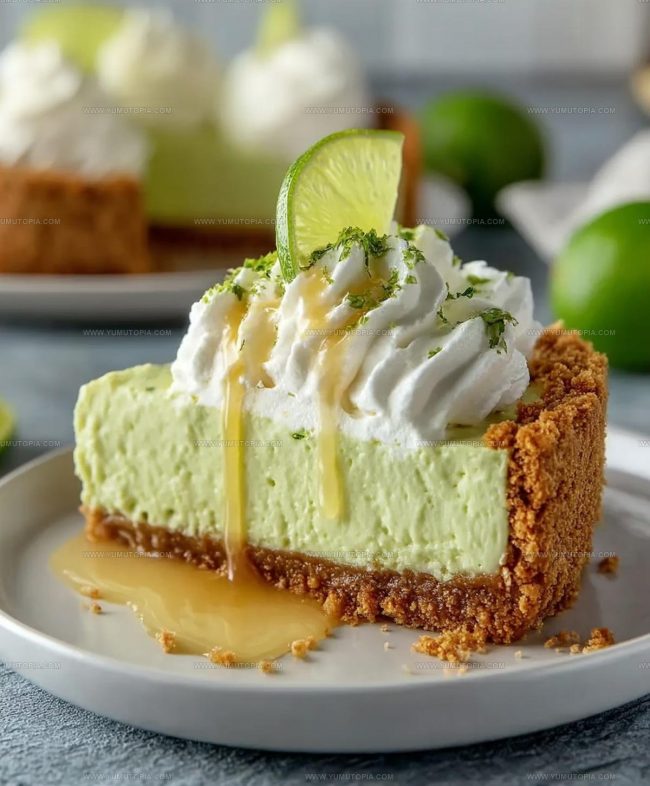
Florida Citrus Key Lime Pie Recipe
- Total Time: 3 hours 45 minutes to overnight
- Yield: 8 1x
Description
Whip up a delightful key lime pie that’ll transport your taste buds straight to the Florida Keys with tangy citrus and creamy sweetness. Cracking the code to this classic dessert means mastering a few simple tricks that’ll make your pie a total crowd-pleaser.
Ingredients
Pie Filling:
- 1 (14 ounce) can sweetened condensed milk
- ½ cup Key lime juice
- 4 large egg yolks
- 1 teaspoon Key lime zest
Crust:
- 1 ½ cups graham cracker crumbs
- ¼ cup granulated sugar
- 5 tablespoons unsalted butter
- ⅛ teaspoon salt
Topping:
- 1 cup heavy cream
- 2 tablespoons powdered sugar
- ½ teaspoon vanilla extract
- Key lime slices or zest
Instructions
- Crush 12 graham crackers into fine crumbs to measure 1½ cups. Mix crumbs with ¼ cup sugar and a pinch of salt in a medium bowl.
- Drizzle 5 tablespoons melted butter over the crumb mixture. Toss with a fork until the mixture resembles damp sand.
- Press the graham cracker mixture firmly into a 9-inch pie plate, covering the bottom and sides evenly using your fingertips or the bottom of a measuring cup.
- Slide the crust into a 350°F oven. Bake for 10 minutes until the edges turn golden brown and the kitchen fills with a toasty aroma.
- Remove the crust and let it cool completely on a wire rack, about 30 minutes.
- Separate 4 egg yolks into a large mixing bowl. Whisk until they transform into a light, creamy texture.
- Gradually pour in the entire 14-ounce can of sweetened condensed milk. Whisk constantly until the mixture becomes silky smooth.
- Add ½ cup freshly squeezed Key lime juice and 1 teaspoon lime zest. Whisk thoroughly to distribute the bright citrus flavors.
- Pour the lime filling into the cooled graham cracker crust, spreading it to create an even layer.
- Return the pie to the 350°F oven. Bake for 16 minutes until the edges look set but the center remains slightly jiggly.
- Transfer the pie to a wire rack. Allow it to cool completely at room temperature for about 1 hour.
- Refrigerate the pie, loosely covered with plastic wrap, for at least 4 hours or overnight to help the filling fully set.
- Chill a mixing bowl and whisk in the freezer for 15 minutes before whipping cream.
- Pour 1 cup cold heavy cream into the chilled bowl. Beat on medium speed until soft peaks form.
- Sprinkle 2 tablespoons powdered sugar and ½ teaspoon vanilla extract into the cream. Continue beating until stiff peaks develop.
- Spread the whipped cream across the chilled pie, or pipe decorative swirls using a pastry bag.
- Garnish with fresh Key lime slices or extra zest. Slice and serve directly from the refrigerator.
Notes
- Swap regular limes for authentic Key limes to capture the true tangy flavor of this classic dessert.
- Ensure your graham cracker crust is firmly packed to prevent a crumbly base that falls apart when slicing.
- Let the pie chill overnight for the best texture and flavor development, allowing the filling to set perfectly.
- For a gluten-free version, use gluten-free graham crackers or swap the crust for an almond meal base to accommodate dietary restrictions.
- Prep Time: 20-25 minutes
- Cook Time: 23-28 minutes
- Category: Pies
- Method: Baking
- Cuisine: American
Nutrition
- Serving Size: 8
- Calories: 281 kcal
- Sugar: 27 g
- Sodium: 76 mg
- Fat: 15 g
- Saturated Fat: 9 g
- Unsaturated Fat: 5 g
- Trans Fat: 0.2 g
- Carbohydrates: 33 g
- Fiber: 1 g
- Protein: 4 g
- Cholesterol: 115 mg
Madison Wyman
Recipe Developer & Food Storyteller
Expertise
Recipe Research and Adaptation, Food Writing and Cultural Storytelling, Sustainable and Ethical Sourcing, Dietary Adaptations (e.g., gluten-free, plant-based)
Education
Oregon Health & Science University
Portland Community College
Madison’s passion for flavor and culture ignited amidst the rich Southern cooking traditions of her upbringing, where cherished family recipes told delicious tales.
Armed with a Master’s in Food Systems and Society from Oregon Health & Science University and a Culinary Arts Certificate from Portland Community College, Madison truly excels at transforming rich, intricate flavors into dishes that are both approachable and heartfelt.
For her, cooking is a vibrant blend of science, art, and heritage – a powerful way to connect us to our roots and each other. Her recipes invite you to delve deeper, uncovering the fascinating stories woven into every ingredient.