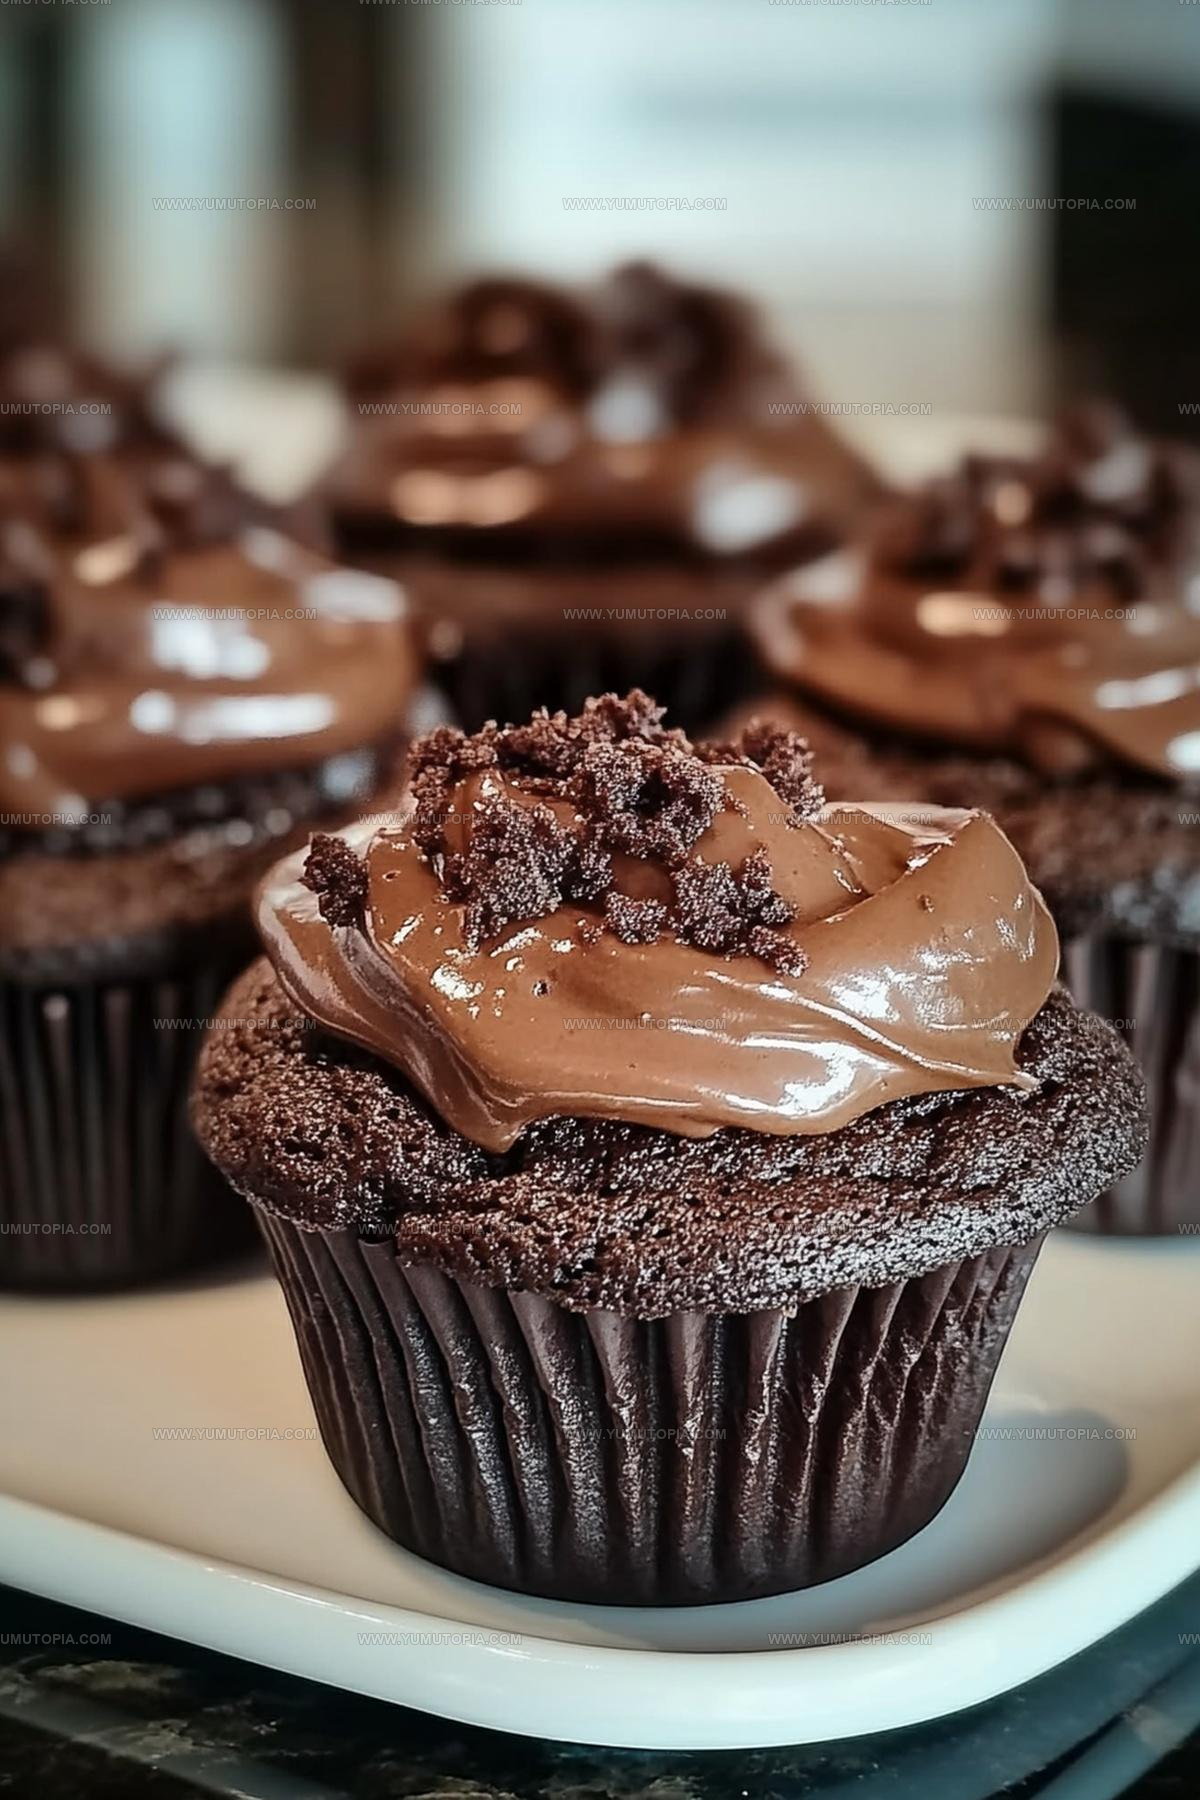
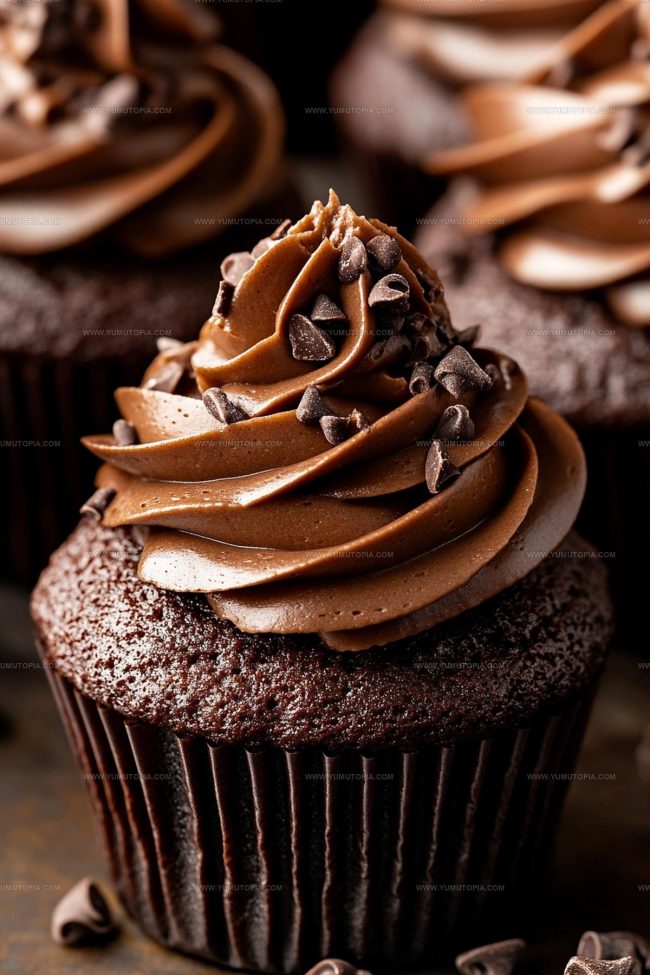
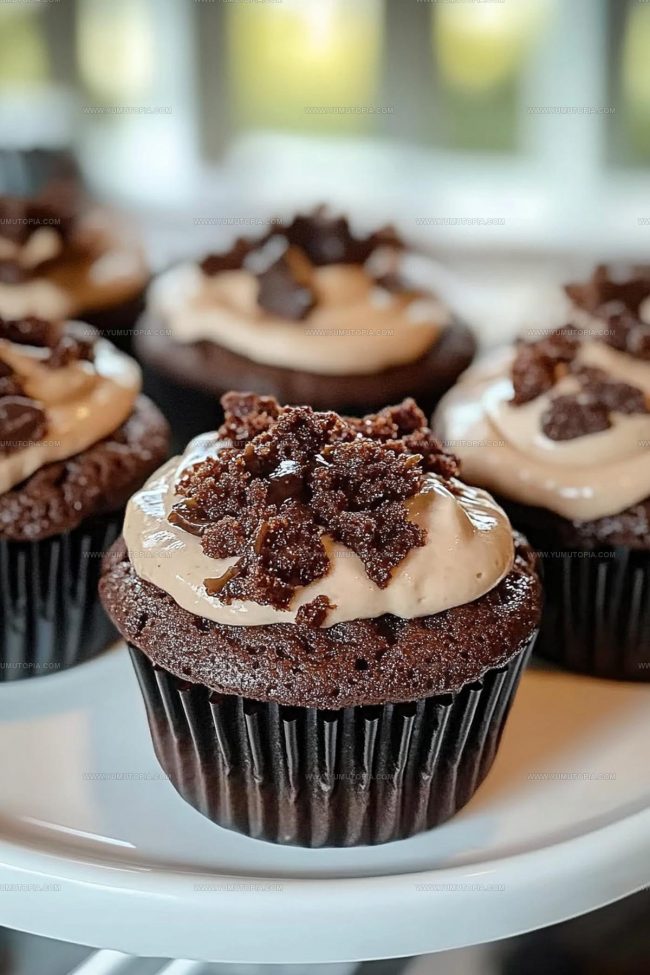
Fudgy Brownie Cupcakes Recipe With Rich Flavor
Crispy Chewy Brownie Cupcakes deliver everything chocolate lovers crave in one incredible treat.
The contrast between textures makes each bite feel special, almost like enjoying two desserts at once.
Everyone appreciates a dessert that looks impressive but doesn’t require fancy techniques or hours in the kitchen.
These treats work beautifully for birthday parties, weekend baking projects, or simply satisfying an afternoon chocolate craving.
The portable size means no plates or forks are needed, which makes serving a breeze at any gathering.
Baking something this satisfying proves that homemade desserts can be both simple and spectacular.
Start baking and watch how quickly these disappear from the counter!
Why Brownie Cupcakes Balance Fudgy and Crisp

What Makes Brownie Cupcakes
Main Ingredients:Chocolate Components:Dry Ingredients:Flavor Enhancer:Cupcake Tools for Brownie-Like Chewy Goodness
Step-by-Step Guide to Brownie Cupcakes
Warm Up the Kitchen
Crank your oven to 350°F (175°C). Grab a 12-cup muffin tin and line it with those adorable cupcake papers. Everything’s about to get deliciously chocolatey!
Mix the Wet Ingredients
Grab a mixing bowl and pour in 1/2 cup (113g) melted unsalted butter. Dump in 1 cup (200g) granulated sugar and whisk them together until they’re best friends. Crack in 2 large eggs and splash 1 teaspoon vanilla extract. Give it a solid mix until everything looks smooth and happy.
Create the Chocolate Base
Time to get your dry ingredients in on the action. Sift these goodies into your wet mixture:
Stir gently until everything just comes together. No need to beat it into submission!
Add the Chocolate Bonus
Sprinkle 1/2 cup (85g) chocolate chips into the batter. Fold them in so they’re evenly distributed but not overmixed.
Fill the Cups
Divide your batter among the muffin liners, filling each about two-thirds full. This gives them room to rise and get gorgeous.
Bake to Perfection
Slide the tin into your preheated oven and bake for 18-20 minutes. You’ll know they’re done when a toothpick poked into the center comes out with just a few moist crumbs clinging to it.
Cool and Enjoy
Let these chocolate treasures cool in the tin for a few minutes, then transfer to a wire rack. Snag one while they’re still warm for a gooey center, or wait until they’re room temperature for a firmer bite.
Baking Tips for Fudgy Brownie Cups
Flavor Changes for Brownie Cupcakes
How Brownie Cupcakes Are Served
Keeping Brownie Cupcakes Fresh
Brownie Cupcake Questions You Might Have
Why are my brownie cupcakes not rising properly?
Ensure you’re using fresh baking powder and don’t overmix the batter. Gently fold ingredients together until just combined to keep the texture light and prevent dense results.
Can I use natural cocoa powder instead of Dutch-processed?
Dutch-processed cocoa works best for a richer flavor and smoother texture. Natural cocoa might make your cupcakes slightly less tender and affect the final taste.
How do I prevent chocolate chips from sinking?
Toss your chocolate chips in a small amount of flour before adding to the batter. This helps them stay suspended during baking instead of dropping to the bottom.
What makes these cupcakes different from regular brownies?
The cupcake format gives you crispy edges and a chewy center with individual portions that are perfect for sharing or controlling serving sizes.
Can I substitute butter with oil?
Butter provides better flavor and helps create the signature chewy texture. Oil will change the final consistency and taste of your brownie cupcakes.
Why did my cupcakes turn out dry?
Be careful not to overbake. Remove them from the oven when a toothpick still has a few moist crumbs for the perfect fudgy texture.

Fudgy Brownie Cupcakes Recipe
- Total Time: 28-30 minutes
- Yield: 12 1x
Description
Whip up these crispy chewy brownie cupcakes for a delightful chocolate treat that melts in your mouth and satisfies those sweet cravings. Perfect for sharing with friends or enjoying solo, these little bites pack rich chocolate goodness into a compact, irresistible package.
Ingredients
Main Ingredients:
- ½ cup unsalted butter
- 1 cup granulated sugar
- 2 large eggs
- ⅓ cup unsweetened cocoa powder
- ½ cup all-purpose flour
- ½ cup chocolate chips
Supporting Ingredients:
- 1 teaspoon vanilla extract
- ¼ teaspoon salt
- ¼ teaspoon baking powder
Instructions
- Melt ½ cup unsalted butter in a microwave-safe bowl. Combine with 1 cup granulated sugar, whisking until smooth and slightly glossy.
- Crack 2 large eggs into the butter mixture. Add 1 teaspoon vanilla extract and blend thoroughly until completely incorporated.
- Sift ⅓ cup unsweetened cocoa powder, ½ cup all-purpose flour, ¼ teaspoon salt, and ¼ teaspoon baking powder directly into the wet ingredients.
- Gently fold the dry ingredients into the mixture until just combined. Avoid overmixing to keep your brownies tender.
- Sprinkle ½ cup chocolate chips into the batter. Stir carefully to distribute evenly throughout.
- Preheat your oven to 350°F (175°C). Line a 12-cup muffin tin with cupcake liners.
- Distribute the batter evenly among the liners, filling each approximately ⅔ full for perfect rising.
- Slide the muffin tin into the preheated oven. Bake for 18-20 minutes, checking doneness with a toothpick.
- Remove cupcakes when the toothpick shows a few moist crumbs. Allow them to cool in the tin for 5 minutes.
- Transfer cupcakes to a wire rack. Let them rest for an additional 10 minutes before serving.
Notes
- Check brownie cupcake doneness carefully, as overbaking leads to dry results and underbaking creates raw centers.
- Experiment with different chocolate chip varieties like dark, milk, or semi-sweet for unique flavor profiles.
- Let cupcakes cool completely before removing from tin to prevent crumbling and maintain structural integrity.
- For gluten-free adaptation, substitute regular flour with almond or gluten-free baking flour blend to accommodate dietary restrictions.
- Prep Time: 10 minutes
- Cook Time: 18-20 minutes
- Category: Brownies
- Method: Baking
- Cuisine: American
Nutrition
- Serving Size: 12
- Calories: 185 kcal
- Sugar: 15 g
- Sodium: 70 mg
- Fat: 9 g
- Saturated Fat: 5 g
- Unsaturated Fat: 4 g
- Trans Fat: 0.1 g
- Carbohydrates: 25 g
- Fiber: 2 g
- Protein: 2 g
- Cholesterol: 30 mg
Logan Lemaster
Founder & Culinary Innovator
Expertise
Recipe Development and Innovation, Menu Design and Optimization, Fine Dining Techniques, Ingredient Pairing and Flavor Science
Education
Metropolitan Culinary Arts Institute
Logan’s culinary journey kicked off in his vibrant Chicago family kitchen, where fresh, seasonal ingredients and bold flavors were always front and center.
After graduating from the Metropolitan Culinary Arts Institute in Arlington, Virginia, and honing his skills in renowned restaurants, Logan mastered the art of blending classic techniques with exciting, modern twists.
His kitchen is a dynamic lab for flavor exploration. Through Yum Utopia, Logan aims to empower you to cook with both confidence and creativity, turning simple ingredients into spectacular meals.