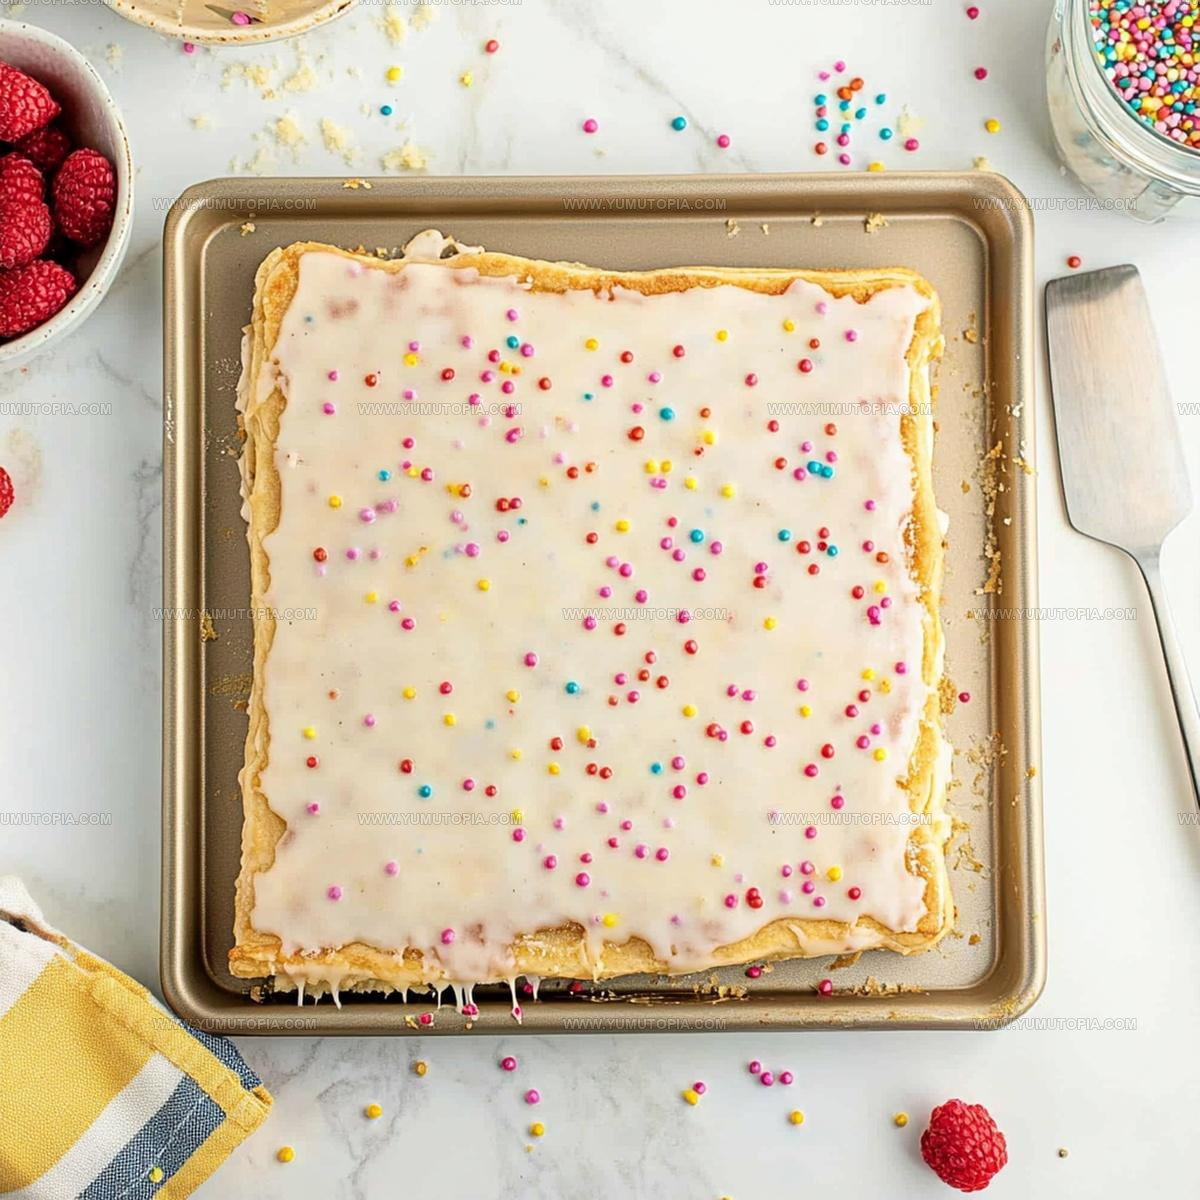
Sheet Pan Pop Tart Recipe To Frost & Slice
Sheet Pan Pop Tart makes mornings feel like a celebration without all the fuss of individual pastries.
This breakfast treat combines flaky layers with sweet filling in one easy format that feeds a crowd.
Perfect for lazy weekends or busy school mornings, it captures that nostalgic bakery flavor everyone loves.
The beauty lies in how simple it is to prepare while still looking impressive on the table.
Whether served warm with a dusting of icing or enjoyed at room temperature, each slice offers pure satisfaction.
Kids ask for seconds, and adults appreciate the minimal cleanup involved.
What Makes Sheet Pan Pop Tarts So Fun to Love
What You’ll Need for Sheet Pan Pop Tart
Main Ingredients:Filling and Binding:Supporting Ingredients:Sheet Pan Pop Tart: Tools for Giant Bakes
Sheet Pan Baking Guide for Pop Tart Slabs
Mix Dry Ingredients
Grab a spacious mixing bowl and toss in 2 cups (240g) all-purpose flour, 1/4 cup (50g) granulated sugar, and 1/2 teaspoon salt. Whisk these together until they’re perfectly combined.
Work in Cold Butter
Take your chilled 1 cup (226g) unsalted butter and slice it into small cubes. Use a pastry cutter or your fingertips to work the butter into the flour mixture until it looks like rough, bumpy breadcrumbs. Keep your hands cool while doing this to prevent the butter from melting.
Create Dough Base
Drizzle 6-8 tablespoons (90-120ml) cold water over the crumbly mixture. Gently stir and press the dough until it just starts to come together. Don’t overwork the dough – some loose bits are totally okay.
Chill the Dough
Wrap your dough in plastic wrap and tuck it into the refrigerator for 30 minutes. This helps the butter firm up and makes rolling easier.
Prepare Baking Sheet
Grab a standard sheet pan and line it with parchment paper. This prevents sticking and makes cleanup a breeze.
Roll Out Pastry
On a lightly floured surface, roll the chilled dough into two rectangular shapes, each about 1/8 inch (3mm) thick. Make sure they’re roughly the same size to match up perfectly.
Add Delicious Filling
Spread your favorite filling across one pastry rectangle. Options include:
Leave a small border around the edges to prevent filling from leaking.
Seal and Decorate
Place the second pastry rectangle on top of the filled one. Press the edges together with a fork to create a cute crimped seal. Cut a few small slits on top to let steam escape.
Prepare Egg Wash
Whisk together 1 egg and 1 tablespoon milk. Brush this mixture gently over the top of your pastry for a gorgeous golden finish.
Bake to Perfection
Slide your sheet pan into a preheated oven at 375°F (190°C). Bake for 20-25 minutes until the pastry turns a beautiful golden brown color. The aroma will be absolutely wonderful!
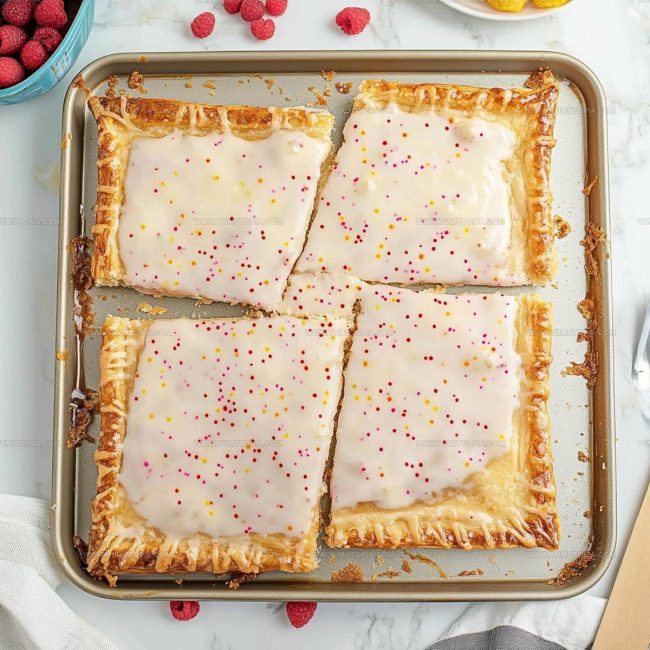
Cool and Serve
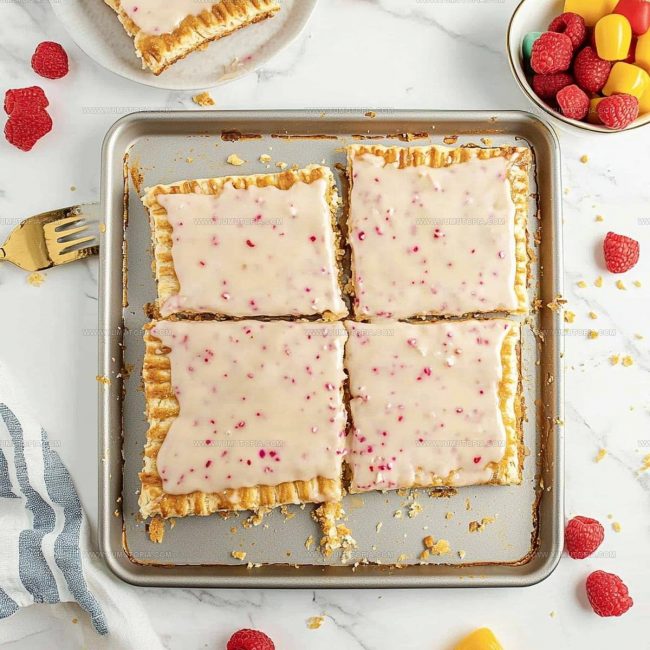
Remove from the oven and let the pop tart cool on the sheet pan for about 10 minutes. Slice into squares and serve warm or at room temperature.
Baking Notes for Sheet Pan Pop Tart
Flavor Directions for Sheet Pan Pop Tart
How Sheet Pan Pop Tart Is Served
Holding Sheet Pan Pop Tart After Baking
Big Pop-Tart Style Sheet Pan Questions Explained
Can I make the dough ahead of time?
Absolutely! Prepare the pastry dough up to two days before baking. Wrap it tightly in plastic and store in the refrigerator until you’re ready to roll and fill.
What fillings work best for sheet pan pop tarts?
Jam, fruit preserves, chocolate spread, and cream cheese filling are perfect options. Choose something thick that won’t leak during baking.
Do I need special equipment to make these?
A large sheet pan, rolling pin, and basic mixing bowls are all your kitchen requires. No fancy gadgets necessary for creating delicious homemade pop tarts.
How do I get crisp edges on my pop tarts?
Press the edges firmly with a fork to create a tight seal. This prevents filling from leaking and ensures beautiful, crisp pastry borders.
Can kids help make these pop tarts?
Definitely! Children can help mix ingredients, spread fillings, and crimp edges. Supervise them around the oven and sharp tools.
How do I prevent my filling from bubbling out?
Leave about a half-inch border around the filling and seal edges completely. This contains the filling and creates clean, professional-looking pop tarts.

Giant Sheet Pan Pop Tart Recipe
- Total Time: 1 hour – 1 hour 5 minutes
- Yield: 4 1x
Description
Whipping up sheet pan Pop Tart delivers pure nostalgic breakfast comfort straight from your kitchen, with golden pastry and sweet berry filling that reminds you of childhood mornings. Crisp edges, warm jam center, and simple ingredients make this classic treat something your family will devour in minutes.
Ingredients
Main Ingredients:
- 2 cups all-purpose flour
- 1 cup unsalted butter (chilled)
- 1 cup jam or chocolate spread
Supporting Ingredients:
- ¼ cup granulated sugar
- ½ teaspoon salt
Finishing Ingredients:
- 1 egg
- 1 tablespoon milk
- 6 tablespoons cold water
Instructions
- Mix 2 cups flour, ¼ cup sugar, and ½ tsp salt in a spacious mixing bowl. Dice your chilled 1 cup butter into small cubes and incorporate until the mixture looks like rough breadcrumbs.
- Pour 6-8 tbsp cold water gradually into the flour mixture, stirring until a cohesive dough emerges. Wrap the dough in plastic and refrigerate for 30 minutes to firm up.
- Heat your oven to precisely 375°F (190°C). Lightly dust your work surface with flour and roll the chilled dough into two rectangular sheets approximately 1/8-inch thick.
- Spread 1 cup of jam or chocolate spread across one dough rectangle, maintaining a ½-inch border around the edges. Carefully position the second dough sheet overtop.
- Press your fingertips along the dough’s perimeter to create a tight seal. Trim any uneven edges with a sharp knife for a clean presentation.
- Create small diagonal vents across the pastry’s surface using a paring knife to allow steam escape. Whisk 1 egg with 1 tbsp milk and gently brush the entire surface.
- Transfer the sheet pan to the center oven rack and bake for exactly 22-25 minutes until the pastry turns a rich golden-brown color.
Notes
- Cold butter is crucial for creating a flaky, tender crust that crumbles perfectly in your mouth.
- Chilling the dough helps prevent shrinkage and maintains the pastry’s structure during baking.
- For a gluten-free version, swap regular flour with a cup-for-cup gluten-free blend and add a pinch of xanthan gum.
- Experiment with different fillings like raspberry jam, Nutella, or even savory options like cheese and herb mixtures to customize your sheet pan pop tart.
- Prep Time: 40 minutes
- Cook Time: 20-25 minutes
- Category: Tarts
- Method: Baking
- Cuisine: American
Nutrition
- Serving Size: 4
- Calories: 460 kcal
- Sugar: 14 g
- Sodium: 150 mg
- Fat: 25 g
- Saturated Fat: 15 g
- Unsaturated Fat: 9 g
- Trans Fat: 0.5 g
- Carbohydrates: 50 g
- Fiber: 1.5 g
- Protein: 5 g
- Cholesterol: 40 mg
Madison Wyman
Recipe Developer & Food Storyteller
Expertise
Recipe Research and Adaptation, Food Writing and Cultural Storytelling, Sustainable and Ethical Sourcing, Dietary Adaptations (e.g., gluten-free, plant-based)
Education
Oregon Health & Science University
Portland Community College
Madison’s passion for flavor and culture ignited amidst the rich Southern cooking traditions of her upbringing, where cherished family recipes told delicious tales.
Armed with a Master’s in Food Systems and Society from Oregon Health & Science University and a Culinary Arts Certificate from Portland Community College, Madison truly excels at transforming rich, intricate flavors into dishes that are both approachable and heartfelt.
For her, cooking is a vibrant blend of science, art, and heritage – a powerful way to connect us to our roots and each other. Her recipes invite you to delve deeper, uncovering the fascinating stories woven into every ingredient.