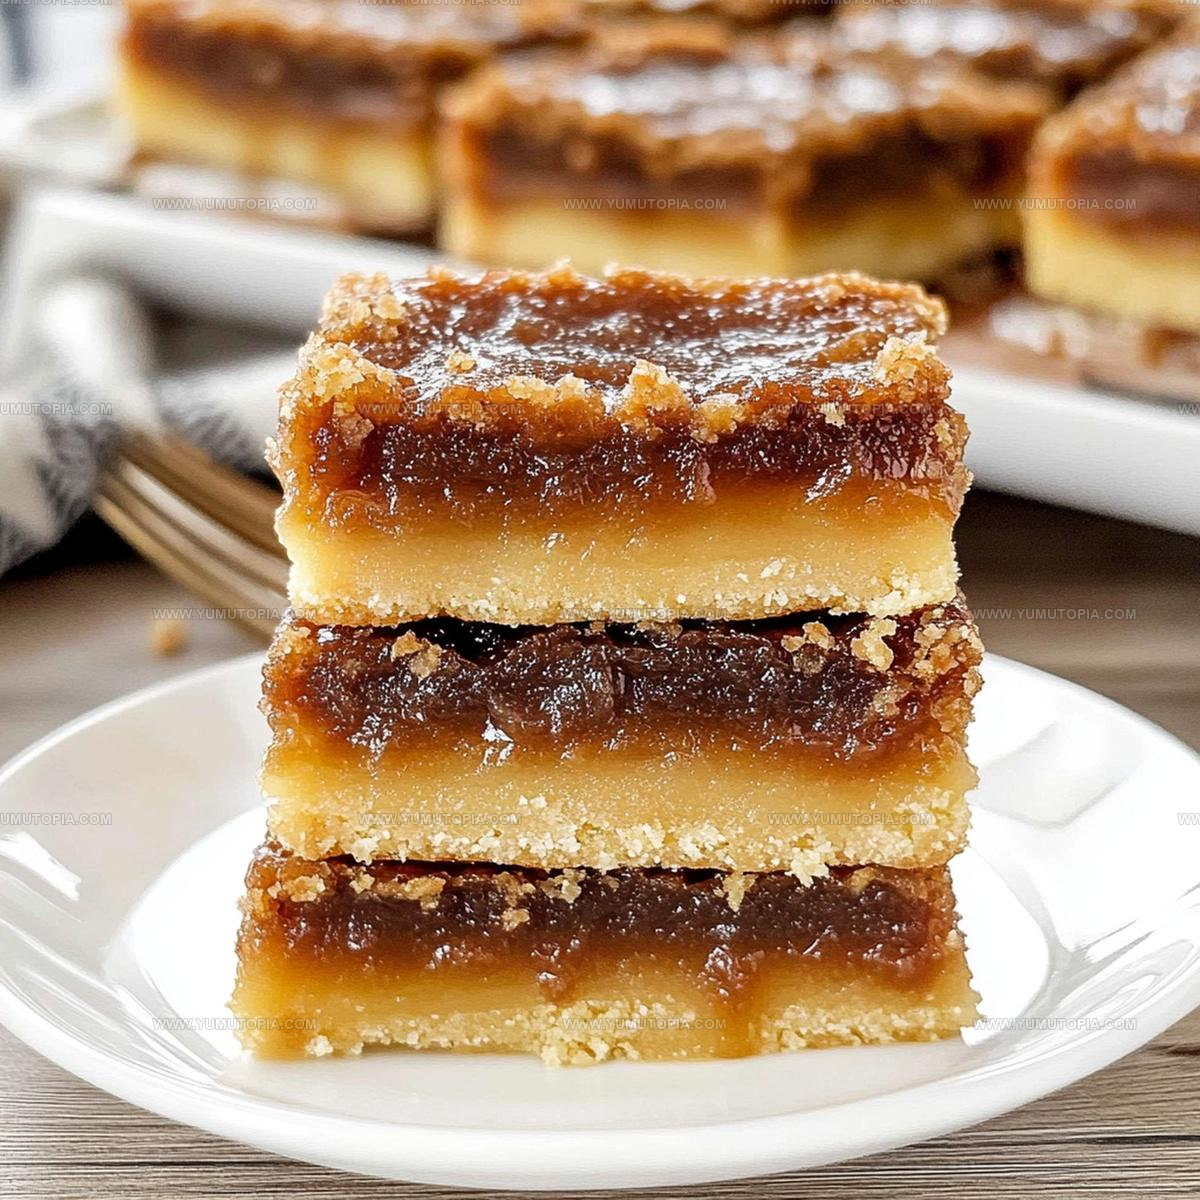
Butter Tart Squares Recipe To Slice Gooey & Sweet
Butter tart squares deliver all the beloved flavors of Canada’s iconic dessert in a format that’s easier to serve and share at gatherings.
The dessert combines a tender base with a sweet, gooey topping that satisfies even the strongest sweet tooth.
Perfect for potlucks, bake sales, or casual weekend treats, this recipe solves the challenge of making individual tarts when time is limited.
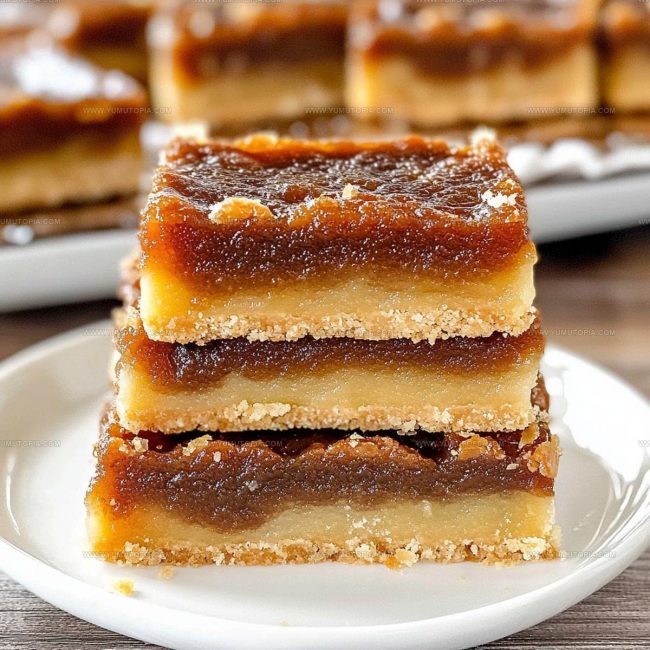
Each bite offers that signature caramelized richness Canadians have cherished for generations.
The bar format means less fuss with pastry shells and more time enjoying the results.
You can prepare a whole pan in the time it takes to shape just a few traditional tarts.
Why Butter Tart Squares Always Impress
What You’ll Need for Butter Tart Squares
Base Ingredients:Binding Ingredients:Optional Texture Ingredients:Useful Tools for Butter Tart Squares
How to Bake Butter Tart Squares
Prepare the Oven
Heat your oven to 350°F (175°C). Grab an 8×8-inch baking dish and give it a quick spray with cooking oil or rub it with butter to prevent sticking.
Create the Crust
Grab a mixing bowl and combine 1 cup all-purpose flour with 1/2 cup melted unsalted butter. Use your fingers or a fork to mix until the mixture looks like chunky breadcrumbs. Press this crumbly mixture evenly into the bottom of your prepared baking dish. Slide the dish into the preheated oven and bake for exactly 15 minutes until the crust turns a warm golden color.
Mix the Filling
While the crust is baking, grab another bowl for the filling. Whisk together these ingredients:
Blend everything until the mixture looks smooth and well combined. If you’re feeling adventurous, fold in 1/2 cup of chopped pecans or raisins.
Bake the Filling
Pour the filling carefully over the golden crust. Return the baking dish to the oven and bake for 25-30 minutes. You’re looking for the filling to set but still have a slight jiggle in the center when you gently shake the dish.
Cool and Slice
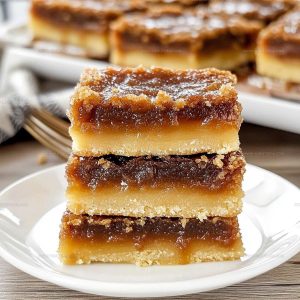
Let the butter tart squares cool completely in the baking dish. This helps them set up perfectly. Once cooled, use a sharp knife to cut into neat squares. Enjoy your delicious treat with a cup of coffee or tea!
Helpful Baking Notes for Butter Tart Squares
Flavor Ideas to Change Butter Tart Squares
Best Ways to Serve Butter Tart Squares
Keeping Butter Tart Squares Fresh
Butter Tart Square Curiosities Explained
What gives butter tart squares their signature flavor?
The brown sugar and vanilla extract create a rich, caramel-like sweetness that’s classic to Canadian butter tart recipes.
Can pecans or raisins really change the taste?
Absolutely! Adding nuts or raisins provides extra texture and depth to the traditional butter tart flavor profile.
How do raisins work in this recipe?
Gently fold raisins into the filling before baking to distribute them evenly throughout your squares.
Is this dessert similar to a traditional butter tart?
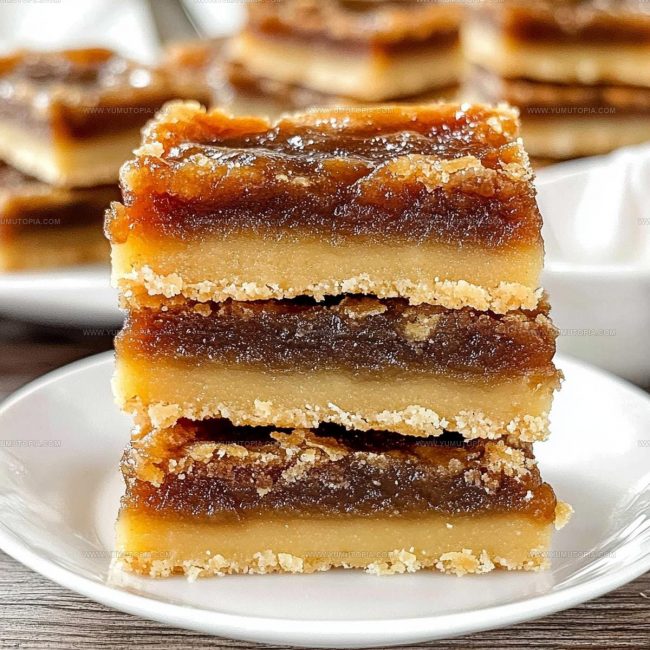
These squares capture the same sweet, gooey filling of a classic butter tart but in an easier-to-serve bar format.
Why do the squares need to cool completely?
Cooling allows the filling to set properly, ensuring clean cuts and the perfect texture when you slice your dessert.
Do these taste best fresh or after sitting?
The flavor actually develops and becomes more rich after sitting for a few hours, making them even more delicious.
Gooey Butter Tart Squares Recipe
- Total Time: 50-55 minutes
- Yield: 9 1x
Description
Butter Tart Squares bring Canadian prairie comfort straight to your kitchen table with a classic dessert that’s pure nostalgic happiness. Flaky pastry and sweet maple-caramel filling create a delightful treat perfect for sharing with friends and family.
Ingredients
Main Ingredients:
- 1 cup all-purpose flour
- 1 cup brown sugar
- 2 large eggs
- ½ cup unsalted butter
Supporting Ingredients:
- 1 teaspoon vanilla extract
- ¼ teaspoon salt
Optional Ingredients:
- ½ cup pecans or raisins
Instructions
- Prepare your workspace by setting the oven to precisely 350°F (175°C) and coating an 8×8-inch baking dish with a thin layer of cooking spray or butter.
- Combine 1 cup of all-purpose flour with ½ cup melted unsalted butter in a mixing bowl, using your fingers to create a crumbly texture that will form your base.
- Press the flour-butter mixture firmly into the prepared baking dish, ensuring an even layer across the bottom. Slide the dish into the preheated oven for exactly 15 minutes until the crust turns a gentle golden shade.
- While the crust bakes, grab another bowl and whisk together 1 cup brown sugar, 2 large eggs, 1 teaspoon vanilla extract, and ¼ teaspoon salt until the mixture becomes silky smooth.
- If desired, gently fold ½ cup of chopped pecans or raisins into your sugar mixture for added texture and flavor.
- Remove the golden crust from the oven and carefully pour the sugar mixture over the top, spreading it evenly with a spatula.
- Return the baking dish to the 350°F oven for 25-30 minutes, watching for a set filling with a subtle jiggle in the center.
- Remove from the oven and let the squares cool completely at room temperature for about 2 hours before slicing into neat squares.
Notes
- Always use room temperature eggs for the smoothest filling texture without lumps.
- Line the baking dish with parchment paper for easier removal and clean cutting of squares.
- Toast pecans before adding to enhance their nutty flavor and provide extra crunch in the filling.
- For a gluten-free version, swap regular flour with a cup-for-cup gluten-free flour blend in the crust.
- Prep Time: 10 minutes
- Cook Time: 40-45 minutes
- Category: Tarts
- Method: Baking
- Cuisine: Canadian
Nutrition
- Serving Size: 9
- Calories: 251 kcal
- Sugar: 18 g
- Sodium: 60 mg
- Fat: 13 g
- Saturated Fat: 6 g
- Unsaturated Fat: 6 g
- Trans Fat: 0.3 g
- Carbohydrates: 32 g
- Fiber: 1.2 g
- Protein: 2.5 g
- Cholesterol: 37 mg
Madison Wyman
Recipe Developer & Food Storyteller
Expertise
Recipe Research and Adaptation, Food Writing and Cultural Storytelling, Sustainable and Ethical Sourcing, Dietary Adaptations (e.g., gluten-free, plant-based)
Education
Oregon Health & Science University
Portland Community College
Madison’s passion for flavor and culture ignited amidst the rich Southern cooking traditions of her upbringing, where cherished family recipes told delicious tales.
Armed with a Master’s in Food Systems and Society from Oregon Health & Science University and a Culinary Arts Certificate from Portland Community College, Madison truly excels at transforming rich, intricate flavors into dishes that are both approachable and heartfelt.
For her, cooking is a vibrant blend of science, art, and heritage – a powerful way to connect us to our roots and each other. Her recipes invite you to delve deeper, uncovering the fascinating stories woven into every ingredient.