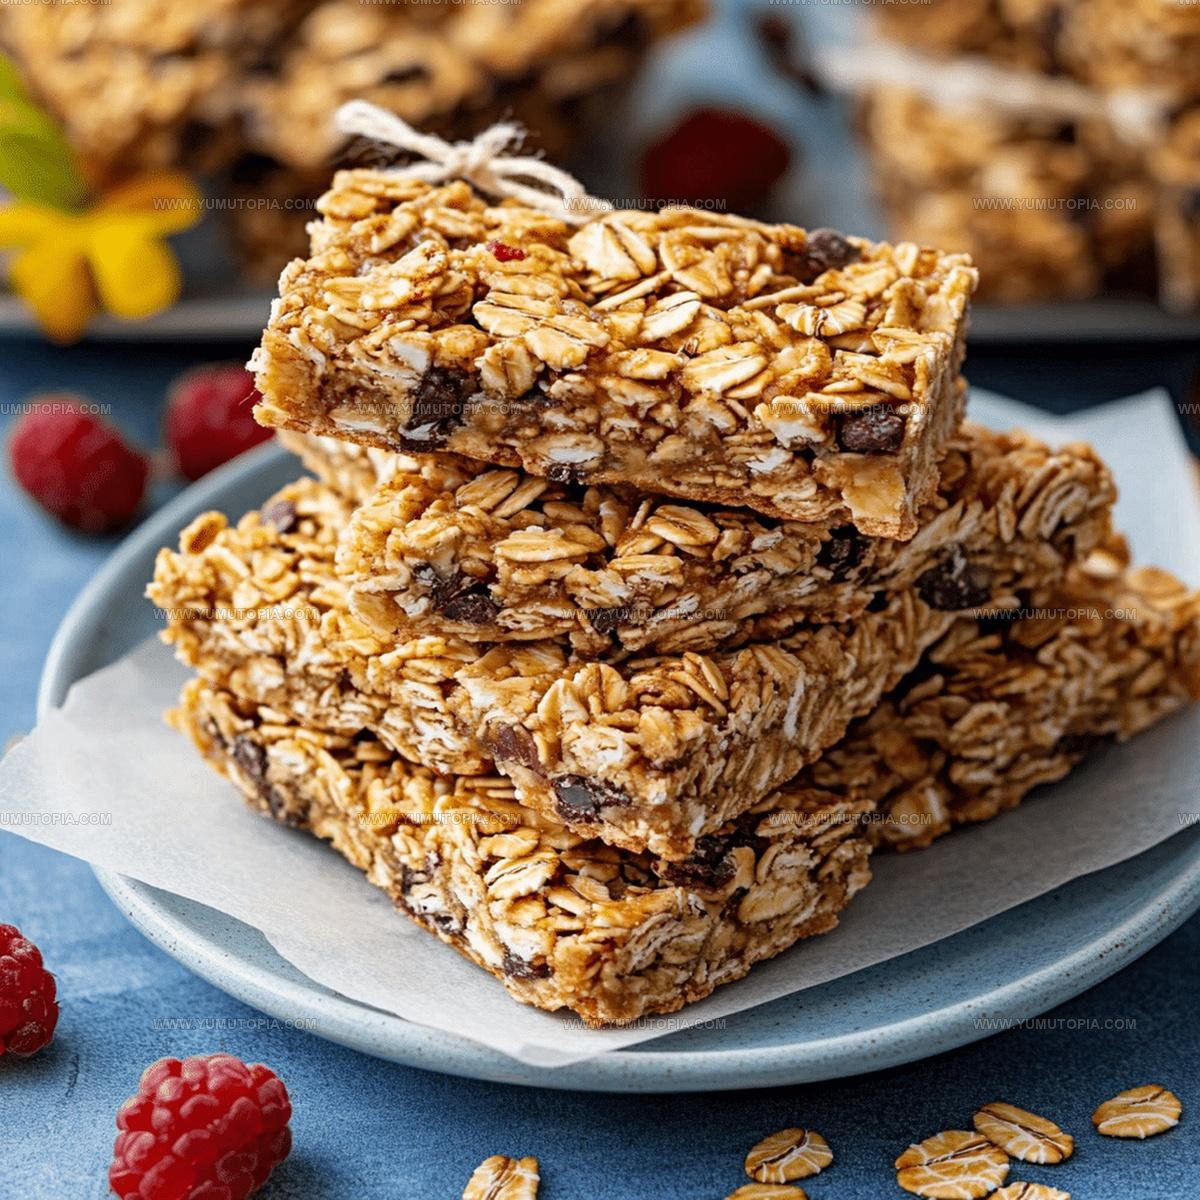
Chewy Granola Bar Recipe for Lunchbox Snacking
Craving homemade granola bars that pack a serious punch of flavor and nutrition? Snacking just got a whole lot more exciting with these delightful energy-packed treats.
Forget store-bought versions that lack personality and excitement.
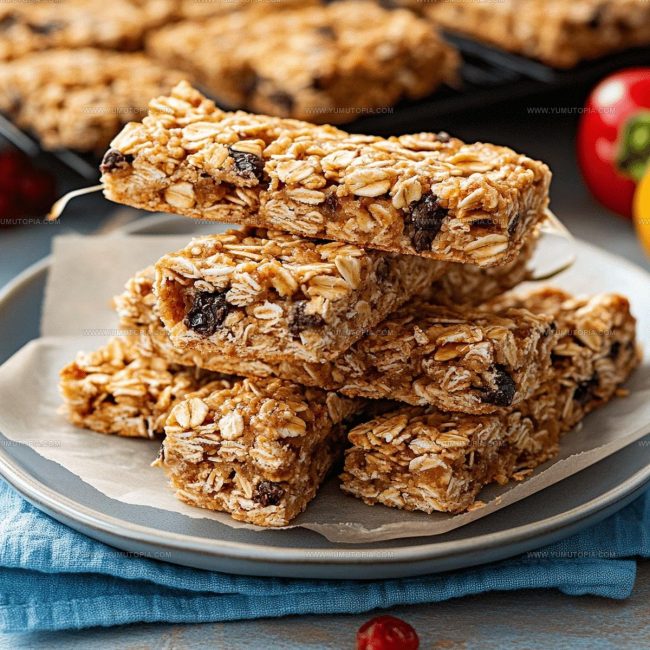
Homemade granola bars offer a perfect balance of wholesome goodness and pure deliciousness that will revolutionize your midday munching experience.
Crafting your own bars means total control over ingredients and taste profiles.
Nutrition meets satisfaction in every single bite of these customizable snacks.
You’ll fall in love with how simple and rewarding making these bars can be.
What Makes Homemade Granola Bars So Practical
Core Ingredients of Homemade Granola Bars
Base Ingredients:Binding And Flavor Ingredients:Optional Add-In Ingredients:Tools To Have Ready for Homemade Granola Bars
Steps to Prepare Homemade Granola Bars
Prepare Baking Surface
Heat the oven to exactly 350°F. Grab an 8×8-inch baking pan and give it a quick spray with cooking oil or line it with parchment paper so your bars won’t stick.
Create Wet Mixture
Grab a big mixing bowl and combine these ingredients:
Whisk everything together until it looks smooth. Splash in 1 teaspoon vanilla extract and sprinkle 1/4 teaspoon salt, then mix again.
Prepare Dry Ingredients
In a separate bowl, toss together these tasty mix-ins:
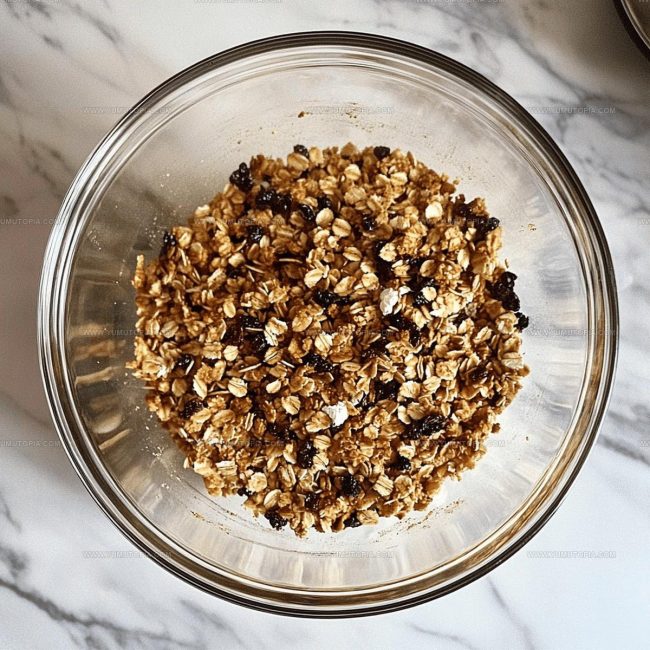
Combine Ingredients
Pour your wet mixture over the dry ingredients. Grab a wooden spoon and stir everything until it looks like a chunky, sticky blend that holds together when you press it.
Pack into Pan
Transfer the mixture into your prepared pan. Use the back of a spatula to press down firmly, creating an even layer that fills the entire pan.
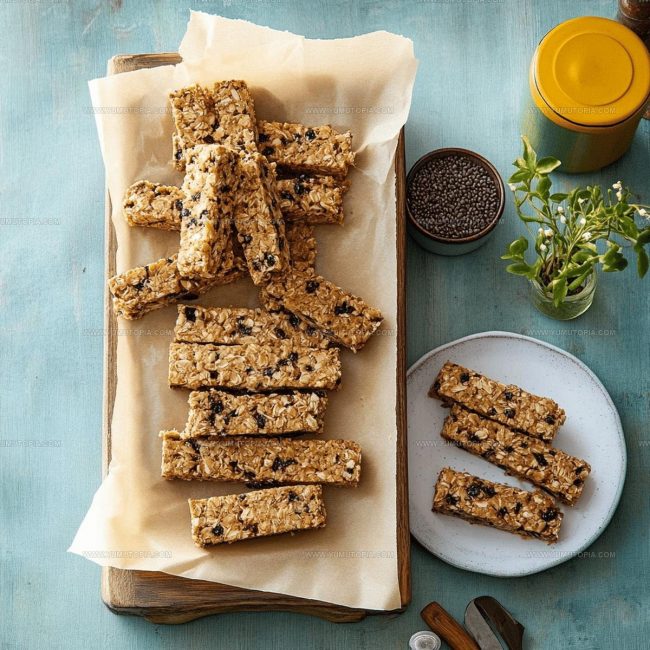
Bake and Cool
Slide the pan into the preheated oven and bake for exactly 18 minutes, until the edges turn golden brown. Remove from the oven and let the bars cool completely before cutting into squares.
Notes For Best Results With Homemade Granola Bars
Homemade Granola Bar Mix And Match Ideas
Simple Serving Ideas For Homemade Granola Bars
Best Storage Practices For Granola Bars
Common Queries About Homemade Granola Bars
Can I swap out ingredients in the granola bars?
Absolutely! Feel free to replace nuts, seeds, or dried fruit based on what you have in your pantry. Just keep the basic proportions similar so the bars hold together.
Are these granola bars gluten-free?
If you use certified gluten-free oats, these bars can definitely be gluten-free. Double-check all your ingredients to ensure total gluten-free status.
How do I get the bars to stick together well?
Press the mixture super firmly into the pan before baking. Use the back of a spatula or your hands to really compact the ingredients, which helps them bind together perfectly.
Can kids help make these granola bars?
Definitely! Kids can measure ingredients, stir the wet and dry mixtures, and help press the bars into the pan. Just supervise any oven or cutting activities.
What if my bars seem too crumbly?
If the mixture feels dry, add a bit more honey or nut butter. This helps create the right sticky consistency that keeps everything together.
How thick should the bars be in the pan?
Aim for about a half-inch thick layer. This ensures the bars are substantial but not too dense or thin.
Homemade Granola Bars Recipe
- Total Time: 30-35 minutes
- Yield: 8 1x
Description
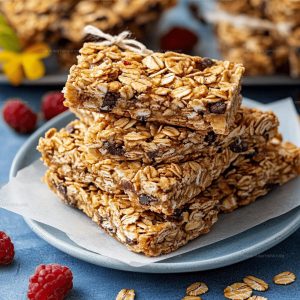
Whipping up homemade granola bars in your kitchen feels like a delightful weekend project that fills the house with a warm, nutty aroma. Packed with wholesome oats, honey, and your favorite nuts, these bars make perfect grab-and-go snacks that keep you energized throughout the day.
Ingredients
Base Ingredients:
- 2 cups rolled oats
- ½ cup nut butter
- ¼ cup honey
- ¼ cup coconut oil
Binding and Flavor Ingredients:
- 1 teaspoon vanilla extract
- ¼ teaspoon salt
Optional Mix-Ins:
- ½ cup dried fruit
- ¼ cup seeds
- ¼ cup nuts
- ¼ cup chocolate chips
Instructions
- Prepare your 8×8-inch baking pan by coating it with cooking spray at room temperature.
- Melt ¼ cup coconut oil in a microwave-safe bowl for 30 seconds until completely liquid.
- Whisk ½ cup nut butter, ¼ cup honey, and the melted coconut oil together until the mixture looks smooth and glossy.
- Stir 1 teaspoon vanilla extract and ¼ teaspoon salt into the wet ingredients until thoroughly incorporated.
- In a separate large mixing bowl, combine 2 cups rolled oats, ½ cup dried fruit, ¼ cup seeds, and ¼ cup chopped nuts.
- Pour the wet ingredients over the dry ingredients and mix until every oat is coated and the mixture feels sticky.
- Transfer the granola mixture into the prepared pan, pressing down firmly with a rubber spatula to create an even, compact layer.
- Preheat your oven to 350°F and position the rack in the center position.
- Bake the granola bars for exactly 18 minutes until the edges turn golden brown.
- Remove from the oven and let the pan cool completely on a wire rack for 1 hour before cutting into 10-12 rectangular bars.
Notes
- Store granola bars in an airtight container at room temperature for up to a week, keeping them away from humidity to maintain their crisp texture.
- Swap ingredients freely based on dietary needs, like using gluten-free oats for celiac diets or replacing nuts with seeds for allergy considerations.
- Press the mixture super firmly into the pan to ensure the bars hold together well and don’t crumble when cut or eaten.
- For extra protein, add a scoop of protein powder or swap some oats for quinoa flakes, which will boost nutrition without changing the basic recipe.
- Prep Time: 15 minutes
- Cook Time: 15-20 minutes
- Category: Dessert Bars
- Method: Baking
- Cuisine: American
Nutrition
- Serving Size: 8
- Calories: 224 kcal
- Sugar: 11 g
- Sodium: 60 mg
- Fat: 13 g
- Saturated Fat: 4 g
- Unsaturated Fat: 8 g
- Trans Fat: 0 g
- Carbohydrates: 24 g
- Fiber: 3 g
- Protein: 5 g
- Cholesterol: 0 mg
Logan Lemaster
Founder & Culinary Innovator
Expertise
Recipe Development and Innovation, Menu Design and Optimization, Fine Dining Techniques, Ingredient Pairing and Flavor Science
Education
Metropolitan Culinary Arts Institute
Logan’s culinary journey kicked off in his vibrant Chicago family kitchen, where fresh, seasonal ingredients and bold flavors were always front and center.
After graduating from the Metropolitan Culinary Arts Institute in Arlington, Virginia, and honing his skills in renowned restaurants, Logan mastered the art of blending classic techniques with exciting, modern twists.
His kitchen is a dynamic lab for flavor exploration. Through Yum Utopia, Logan aims to empower you to cook with both confidence and creativity, turning simple ingredients into spectacular meals.