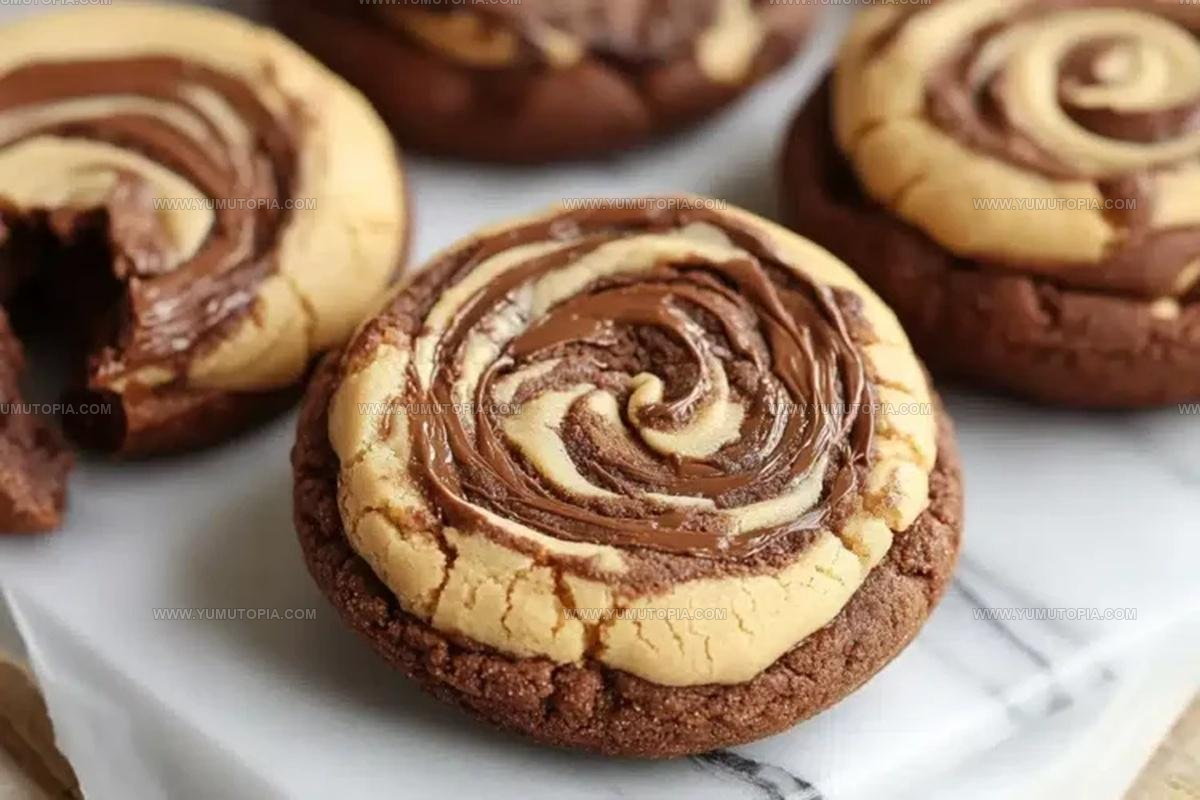
Peanut Butter Brownie Swirl Cookies Recipe for Sweet Swirls
A peanut butter brownie swirl cookie recipe delivers the best of two beloved desserts in one incredible bite.
Rich chocolate meets creamy peanut butter in a way that feels both indulgent and comforting.
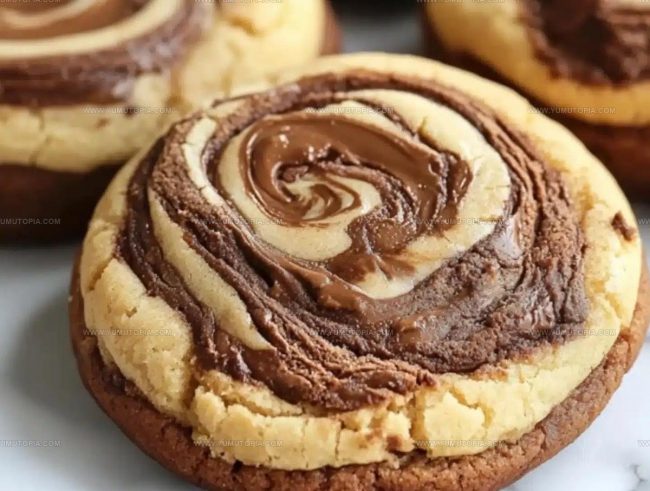
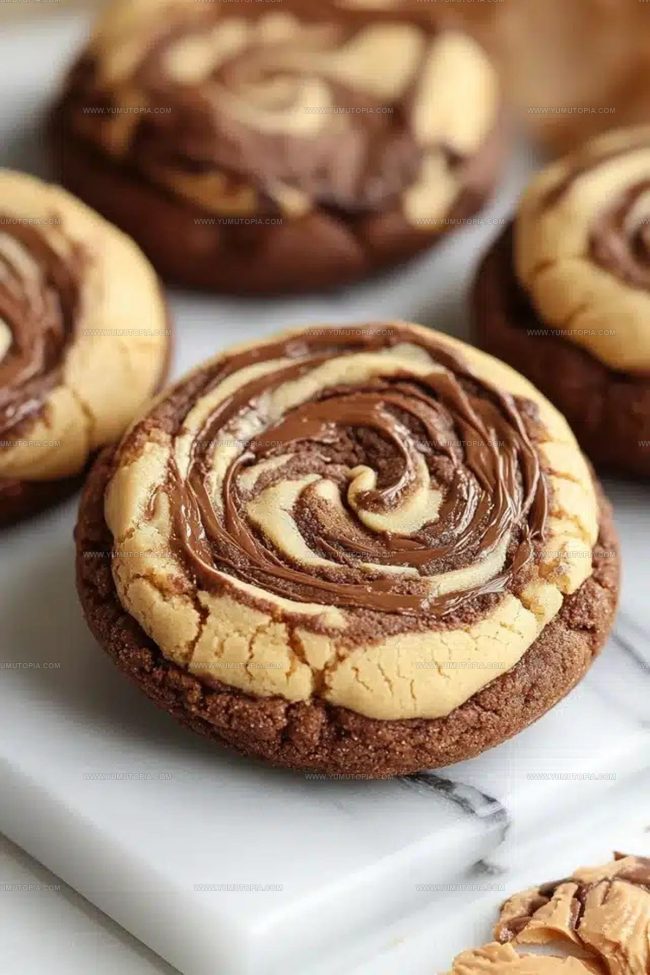
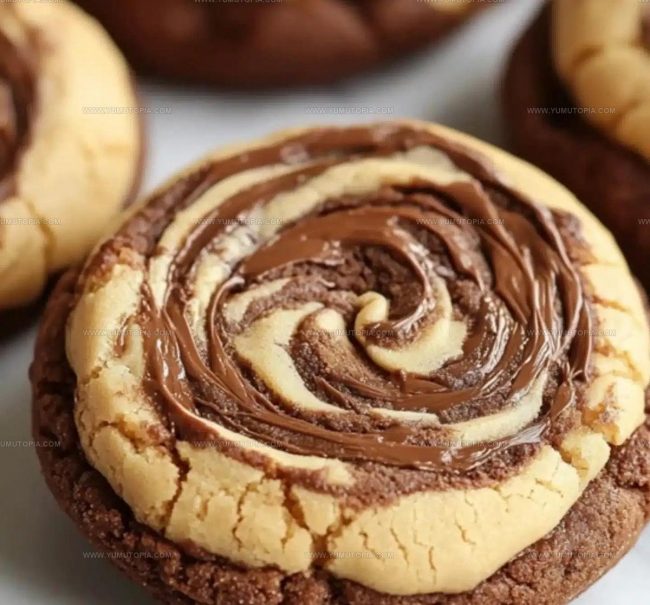
The marbled appearance makes each cookie look as impressive as it tastes, perfect for sharing at gatherings or enjoying during a cozy afternoon at home.
Everyone who tries one can’t help but reach for another, drawn in by the balance of flavors that never overwhelms.
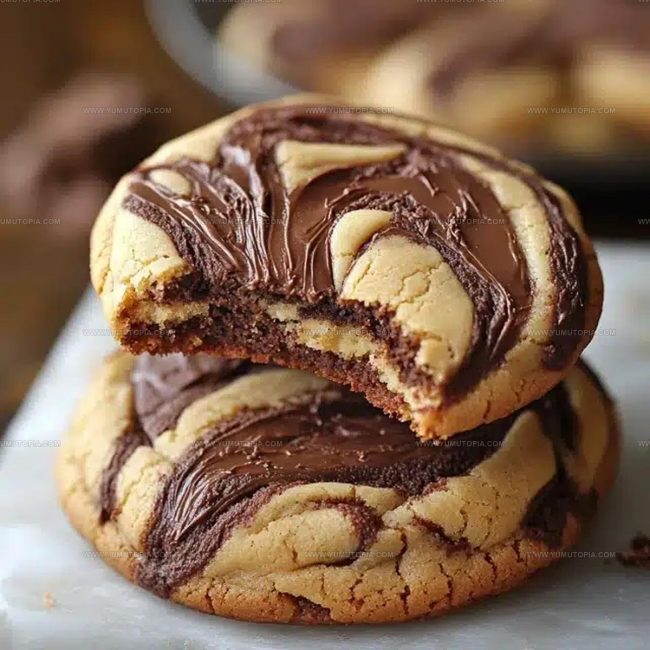
The soft, chewy texture keeps people coming back, while the stunning swirl pattern adds a touch of bakery-style charm.
You won’t find a more satisfying treat when sweet cravings strike.
What Makes These Peanut Butter Brownie Swirl Cookies A Perfect Match
What Sets These Swirl Cookies Apart As The Ultimate Duo Treat
Tools That Support Thick, Swirled Cookie Dough
Ways to Amplify the Chocolate-Peanut Butter Blend
Prepare Peanut Butter Dough
Grab a medium bowl and cream together:
Until the mixture feels smooth and light. Crack in:
Mix thoroughly. In a separate bowl, whisk together:
Gradually fold the dry ingredients into your wet mixture, stirring just until everything combines.
Create Brownie Dough
Melt ¼ cup butter and whisk it with ½ cup granulated sugar in a clean bowl. Stir in ¼ cup Dutch-process cocoa powder until the mixture looks glossy and thick. Beat in 1 large egg and ½ teaspoon vanilla extract. Add ½ cup all-purpose flour, ½ teaspoon baking powder, and ¼ teaspoon salt. Gently mix until smooth. Sprinkle in ⅓ cup chocolate chips and fold them through the dough.
Form Cookie Balls
Take a tablespoon of peanut butter dough and another tablespoon of brownie dough. Gently press them together in your hand and roll into a single ball. Place each cookie on a lined baking sheet. Using a toothpick, create swirled patterns across the surface of each cookie, making light “C” or “S” shapes to marble the two doughs.
Bake the Cookies
Preheat the oven to 350°F (175°C). Slide the baking sheet into the oven and bake for 10-12 minutes. The cookie edges should look set, while the centers remain slightly soft. After removing from the oven, let the cookies rest on the baking tray for 2-3 minutes. Transfer to a wire rack to cool completely.
Sharpening Swirl Definition in Classic Cookies
Fudgy And Nutty Swirl Pattern Ideas For Brownie Cookies
Serving Soft, Chewy Cookies at Their Best Texture
Keeping Swirl Cookie Texture Snappy
FAQs For Peanut Butter–Brownie Cookie Bakers
Can I use natural peanut butter?
Natural peanut butter tends to be oilier and might change your cookie texture. Stick with standard creamy peanut butter for the best results.
How do I get perfect swirls?
Gentle touch is key. Use a toothpick and drag lightly across the surface, creating simple “C” or “S” shapes without mixing the doughs completely.
What if my doughs are different consistencies?
Don’t worry. Gently press and roll the dough balls together. The slight difference in texture creates beautiful marbling.
Can these cookies be frozen?
Absolutely! Freeze unbaked dough balls on a tray, then transfer to a freezer bag. Bake directly from frozen, adding 1-2 extra minutes to baking time.
Why did my cookies spread too much?
This usually means butter was too soft. Make sure butter is just softened, not melted, and chill your dough for 15 minutes before baking.
Are these cookies crisp or chewy?
These bake up with soft, tender centers and slightly crisp edges – the perfect balanced cookie texture.

Marbled Peanut Butter Brownie Swirl Cookies Recipe
- Total Time: 25-27 minutes
- Yield: 12 1x
Description
Peanut Butter Brownie Swirl Cookies bring together chocolate and peanut butter in a delightful, swirled cookie that melts in your mouth. Grab your mixer and get ready to create a sweet treat that combines two classic favorites into one incredible bite.
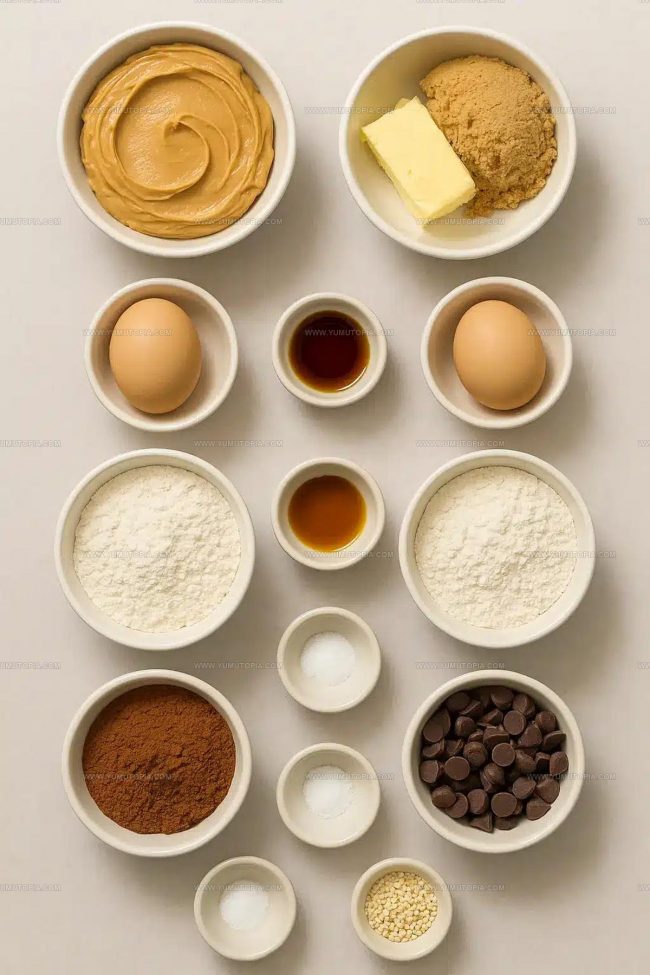
Ingredients
Primary Ingredients:
- ½ cup creamy peanut butter
- ¼ cup unsalted butter, softened
- ¼ cup unsalted butter, melted
- 1 large egg (peanut butter dough)
- 1 large egg (brownie dough)
Sugars and Sweeteners:
- ½ cup brown sugar
- ½ cup granulated sugar
Dry Ingredients and Flavorings:
- ¾ cup all-purpose flour (peanut butter dough)
- ½ cup all-purpose flour (brownie dough)
- ¼ cup Dutch-process cocoa powder
- ½ teaspoon baking soda (peanut butter dough)
- ½ teaspoon baking powder (brownie dough)
- ¼ teaspoon salt (peanut butter dough)
- ¼ teaspoon salt (brownie dough)
- ½ teaspoon vanilla extract (peanut butter dough)
- ½ teaspoon vanilla extract (brownie dough)
- ⅓ cup chocolate chips
Instructions
- Create a smooth peanut butter base by thoroughly blending ½ cup peanut butter, ¼ cup softened butter, and ½ cup brown sugar until creamy. Incorporate 1 large egg and ½ teaspoon vanilla extract, mixing until uniform.
- Separately combine ¾ cup flour, ½ teaspoon baking soda, and ¼ teaspoon salt. Gently fold dry ingredients into your peanut butter mixture, stirring until just incorporated.
- Prepare chocolate dough by whisking ¼ cup melted butter with ½ cup granulated sugar until glossy. Mix in ¼ cup cocoa powder, 1 large egg, and ½ teaspoon vanilla extract.
- Add ½ cup flour, ½ teaspoon baking powder, and ¼ teaspoon salt to chocolate mixture. Stir until smooth, then fold in ⅓ cup chocolate chips.
- Preheat oven to 350°F (175°C). Line baking sheet with parchment paper.
- Scoop 1 tablespoon of peanut butter dough and 1 tablespoon of chocolate dough. Gently press together and roll into a single ball.
- Place cookie balls 2 inches apart on prepared baking sheet. Use a toothpick to create gentle swirl patterns across each cookie’s surface.
- Bake for 10-12 minutes at 350°F (175°C) until edges are set but centers remain soft. Your cookies will have beautiful marbled appearance.
- Remove from oven and let cookies rest on baking sheet for 3 minutes. Transfer to wire rack for complete cooling.
Notes
- Chill the dough for at least 30 minutes to help prevent spreading and maintain the swirl pattern during baking.
- Use room temperature ingredients to ensure smooth mixing and consistent cookie texture.
- Swap out peanut butter for almond or sunflower seed butter if managing nut allergies or preferences.
- For a gluten-free version, replace all-purpose flour with a 1:1 gluten-free baking blend that includes xanthan gum.
- Prep Time: 15 minutes
- Cook Time: 10-12 minutes
- Category: Cookies
- Method: Baking
- Cuisine: American
Nutrition
- Serving Size: 12
- Calories: 220 kcal
- Sugar: 16 g
- Sodium: 120 mg
- Fat: 12 g
- Saturated Fat: 4 g
- Unsaturated Fat: 7 g
- Trans Fat: 0.1 g
- Carbohydrates: 25 g
- Fiber: 2 g
- Protein: 5 g
- Cholesterol: 40 mg
Madison Wyman
Recipe Developer & Food Storyteller
Expertise
Recipe Research and Adaptation, Food Writing and Cultural Storytelling, Sustainable and Ethical Sourcing, Dietary Adaptations (e.g., gluten-free, plant-based)
Education
Oregon Health & Science University
Portland Community College
Madison’s passion for flavor and culture ignited amidst the rich Southern cooking traditions of her upbringing, where cherished family recipes told delicious tales.
Armed with a Master’s in Food Systems and Society from Oregon Health & Science University and a Culinary Arts Certificate from Portland Community College, Madison truly excels at transforming rich, intricate flavors into dishes that are both approachable and heartfelt.
For her, cooking is a vibrant blend of science, art, and heritage – a powerful way to connect us to our roots and each other. Her recipes invite you to delve deeper, uncovering the fascinating stories woven into every ingredient.