Japanese Melon Pan Bread Recipe for Sweet Afternoons
Melon pan bread recipe enthusiasts know this Japanese bakery favorite provides a wonderfully sweet experience that brightens any morning or afternoon break.
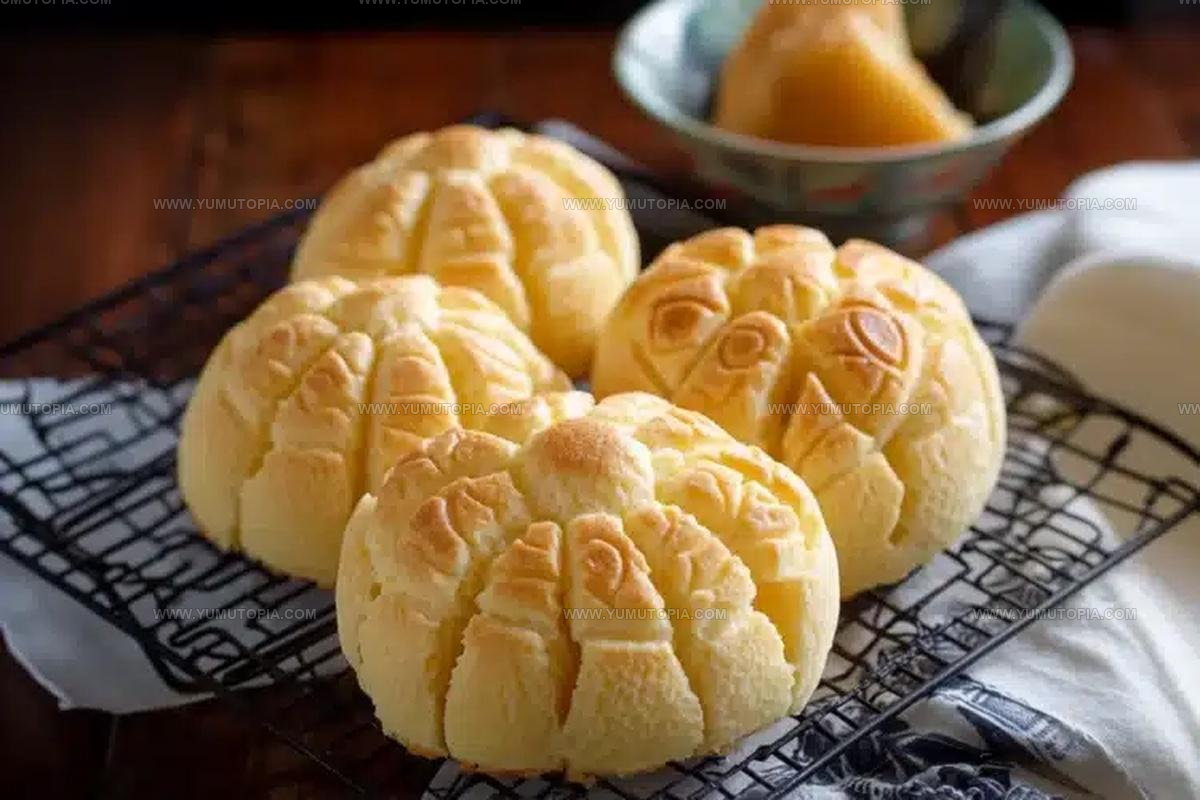
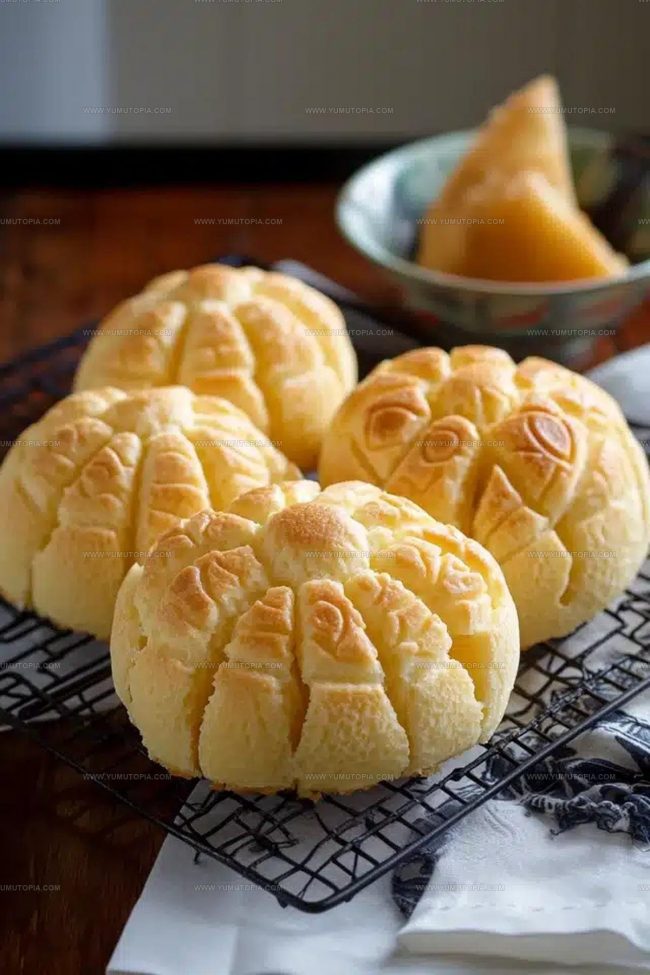
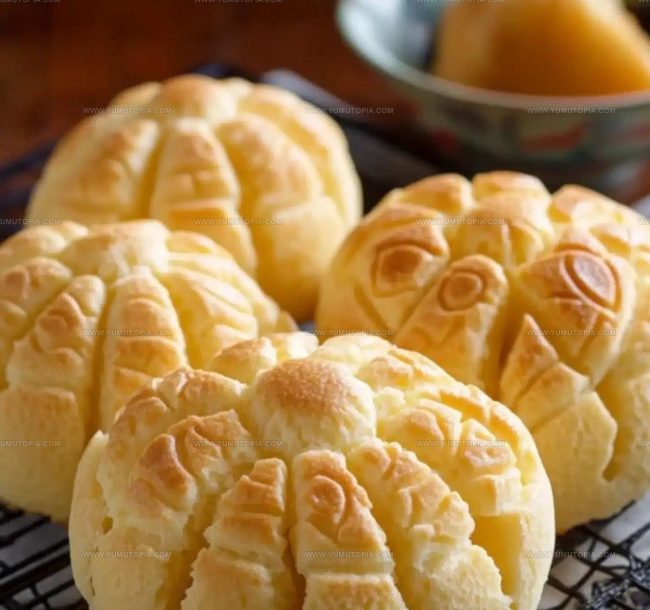
The signature cookie-like top creates a delightful contrast with the soft interior, making each bite satisfying in texture and flavor.
Bakeries across Japan have perfected this treat over generations, and now home bakers everywhere can recreate that same bakery-fresh quality in their own kitchens.
The distinctive crosshatch pattern on top isn’t just decorative, it adds charm that makes every loaf feel special and thoughtfully crafted.
Whether enjoyed with coffee, tea, or simply on its own, this bread offers comfort and a touch of sweetness that appeals to all ages.
The recipe proves surprisingly approachable even for beginners, requiring no specialized equipment or hard-to-find ingredients.
Start baking today and fill the house with that irresistible aroma of fresh bread straight from the oven.
Secrets Behind The Unique Sweetness Of This Japanese Melon Pan
Secrets Behind The Unique Sweetness Of Authentic Melon Pan
Tools That Shape Melon Pan’s Cookie Crown
Steps to Achieving a More Tender Melon Pan Crumb
Prepare the Bread Dough Base
Grab a large mixing bowl and toss in:
Pour in ⅔ cup (160ml) warm milk and crack 1 large egg into the mixture. Stir everything together until your dough looks shaggy and rough. Knead the dough for about 10 minutes until it becomes smooth and stretchy. Now add 3 tablespoons (45g) softened butter and keep kneading until the butter disappears into the dough and it becomes glossy.
Let the Dough Rise
Drape a clean kitchen towel over your bowl and park it in a warm spot for 1 hour. The dough should puff up and double in size during this time.
Make the Cookie Dough Topping
While the bread dough rests, whip up the cookie layer. Grab another bowl and cream together these ingredients:
Mix until the mixture looks light and fluffy. Add 1 large egg and ¼ teaspoon vanilla extract. Then fold in:
Divide the cookie dough into 8 equal portions and roll them into smooth balls. Wrap each ball in plastic and chill in the refrigerator.
Shape the Melon Buns
After the bread dough has risen, punch it down and divide into 8 equal pieces. Roll each piece into a neat ball. Take a chilled cookie dough ball and flatten it into a disk. Gently wrap the cookie dough over each bread ball, covering the top and sides completely.
Prepare for Baking
Dust the tops with granulated sugar and use a knife to create a gentle crosshatch pattern on the cookie crust. Let the buns rise again for 30-40 minutes until they look slightly puffy.
Bake the Melon Pan
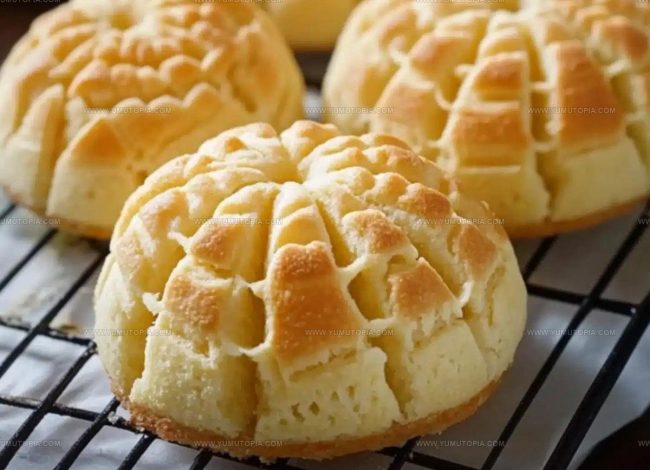
Heat your oven to 350°F (175°C). Slide the buns into the oven and bake for 15-18 minutes. Watch for a light golden color on top and a beautifully crackled cookie crust.
Cool and Serve
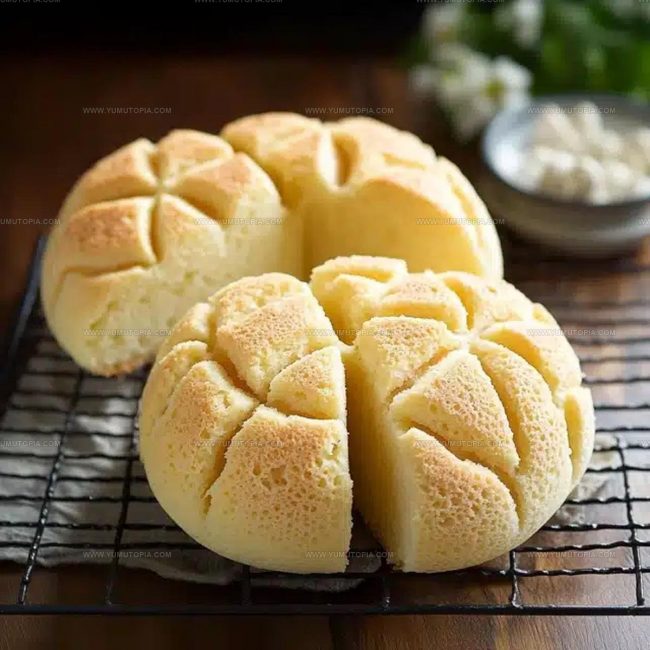
Let the melon pan cool for a few minutes on a wire rack. They’re delicious served warm or at room temperature – your choice!
Creative Melon Pan Flavors To Explore
Sweet Crust And Filling Adjustments For Japanese Melon Pan
Ways to Serve Sweet Japanese Melon Pan Bread
Keeping Doughs and Crusts Fresh Before Baking
Questions Bakers Ask About Melon Pan
Why is it called Melon Pan?
The name comes from the crackled cookie top that resembles a melon’s rough surface, even though the bread doesn’t taste like melon.
Do I need special equipment to make Melon Pan?
A standard mixing bowl, baking sheet, and kitchen scale work perfectly for creating these delightful sweet breads.
Can bread flour be replaced with all-purpose flour?
Bread flour creates better texture and chewiness, so stick with bread flour for the most authentic results.
How tricky is the cookie crust technique?
The cookie dough wrapping takes some practice, but don’t stress – even imperfect versions taste delicious and look charming.
What makes the cookie crust crisp and crackled?
Scoring the top with a knife before baking helps create those signature crackle lines and enhances the crispy texture.
Does the dough require advanced baking skills?
Not at all! Anyone comfortable following step-by-step instructions can successfully make Melon Pan with patience and care.

Melon Pan Bread Recipe
- Total Time: 1 hour 35-38 minutes
- Yield: 6 1x
Description
Melon Pan emerges as Japan’s delightful bakery treasure, where a buttery cookie layer gets baked over tender sweet bread, creating a crackly, golden-brown surface that shatters beautifully with each gentle bite. Baking this classic treat connects home cooks with traditional Japanese pastry craft, delivering a perfect balance of textures that delights bakery enthusiasts from Tokyo to your kitchen.
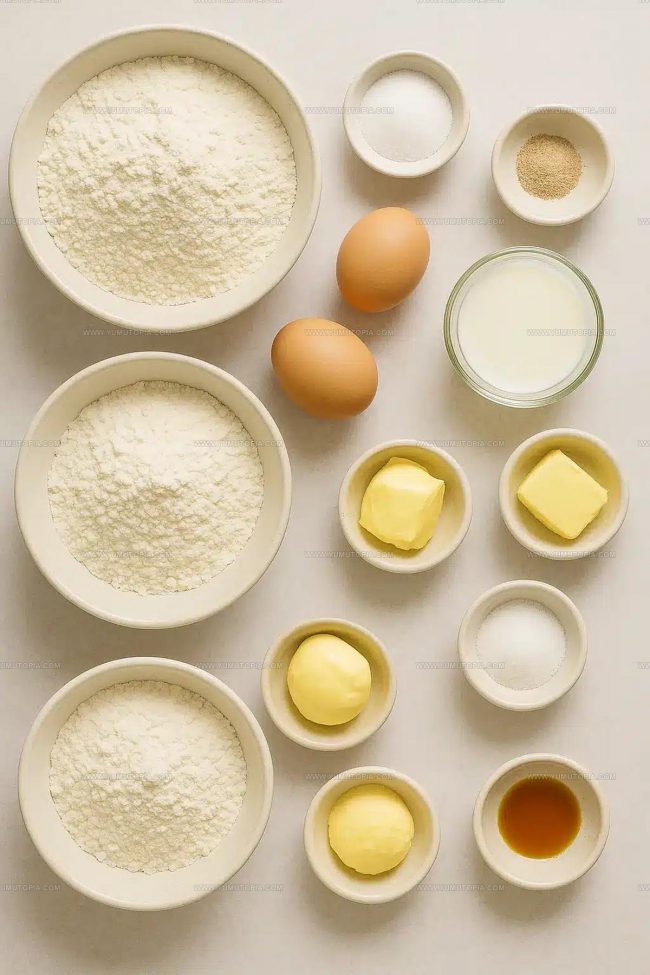
Ingredients
Bread Dough:
- 2 cups bread flour
- ⅔ cup warm milk (170 ml)
- 1 large egg
- 3 tablespoons unsalted butter, softened
- 3 tablespoons sugar
- 1 teaspoon instant yeast
- ¼ teaspoon salt
Supporting Ingredients:
- 1 cup all-purpose flour
- ⅓ cup unsalted butter, softened
- ⅓ cup sugar
- 1 large egg
Finishing Ingredients:
- ¼ teaspoon baking powder
- ¼ teaspoon vanilla extract
- Granulated sugar (for dusting)
Instructions
- Blend bread flour, sugar, salt, and yeast together in a spacious mixing bowl. Pour ⅔ cup warm milk and 1 large egg into the dry ingredients, stirring until a rough dough emerges.
- Knead the dough vigorously for 10 minutes until it transforms into a smooth, stretchy texture. Incorporate 3 tablespoons softened butter, continuing to knead until the fat integrates completely.
- Cover the bowl with a clean kitchen towel and let the dough rest in a warm environment for 60 minutes, watching it expand to double its original volume.
- While the bread dough rises, create the cookie topping by whisking ⅓ cup softened butter with ⅓ cup sugar until creamy. Mix in 1 large egg and ¼ teaspoon vanilla extract.
- Sift 1 cup all-purpose flour and ¼ teaspoon baking powder into the butter mixture, blending until a soft dough forms. Divide the cookie dough into 8 equal portions and refrigerate.
- Deflate the risen bread dough and portion it into 8 uniform balls. Flatten each chilled cookie dough piece and drape it over a bread ball, ensuring complete coverage.
- Sprinkle granulated sugar across the cookie-topped dough balls. Gently score a crosshatch pattern using a sharp knife or pastry scraper.
- Allow the shaped buns to proof for 30-40 minutes until they look puffy and slightly enlarged. Preheat the oven to 350°F (175°C) during this time.
- Slide the baking sheet into the preheated oven and bake for 15-18 minutes. Your melon pan is ready when the tops turn golden and the cookie crust develops delicate cracks.
- Remove from the oven and let the melon pan cool for 10 minutes before serving, allowing the textures to settle.
Notes
- Chill the cookie dough for 30 minutes before rolling to ensure it stays firm and creates a perfect crackly top.
- Use a sharp knife or pastry cutter to create the signature crosshatch pattern on the cookie layer for authentic melon pan texture.
- When shaping the bread dough, make sure the cookie dough completely covers the soft bread base without leaving any gaps.
- For a gluten-free version, substitute wheat flour with a reliable gluten-free blend and add xanthan gum to help bind the dough.
- Prep Time: 1 hour 20 minutes
- Cook Time: 15-18 minutes
- Category: Breads
- Method: Baking
- Cuisine: Japanese
Nutrition
- Serving Size: 6
- Calories: 290 kcal
- Sugar: 19 g
- Sodium: 140 mg
- Fat: 11 g
- Saturated Fat: 6 g
- Unsaturated Fat: 4 g
- Trans Fat: 0.2 g
- Carbohydrates: 40 g
- Fiber: 1.2 g
- Protein: 6 g
- Cholesterol: 55 mg
Logan Lemaster
Founder & Culinary Innovator
Expertise
Recipe Development and Innovation, Menu Design and Optimization, Fine Dining Techniques, Ingredient Pairing and Flavor Science
Education
Metropolitan Culinary Arts Institute
Logan’s culinary journey kicked off in his vibrant Chicago family kitchen, where fresh, seasonal ingredients and bold flavors were always front and center.
After graduating from the Metropolitan Culinary Arts Institute in Arlington, Virginia, and honing his skills in renowned restaurants, Logan mastered the art of blending classic techniques with exciting, modern twists.
His kitchen is a dynamic lab for flavor exploration. Through Yum Utopia, Logan aims to empower you to cook with both confidence and creativity, turning simple ingredients into spectacular meals.