M&M Sugar Cookie Bars Recipe for Chewy Sweet Treats
M&M sugar cookie bars combine two beloved treats into one simple dessert that appeals to cookie lovers of all ages.
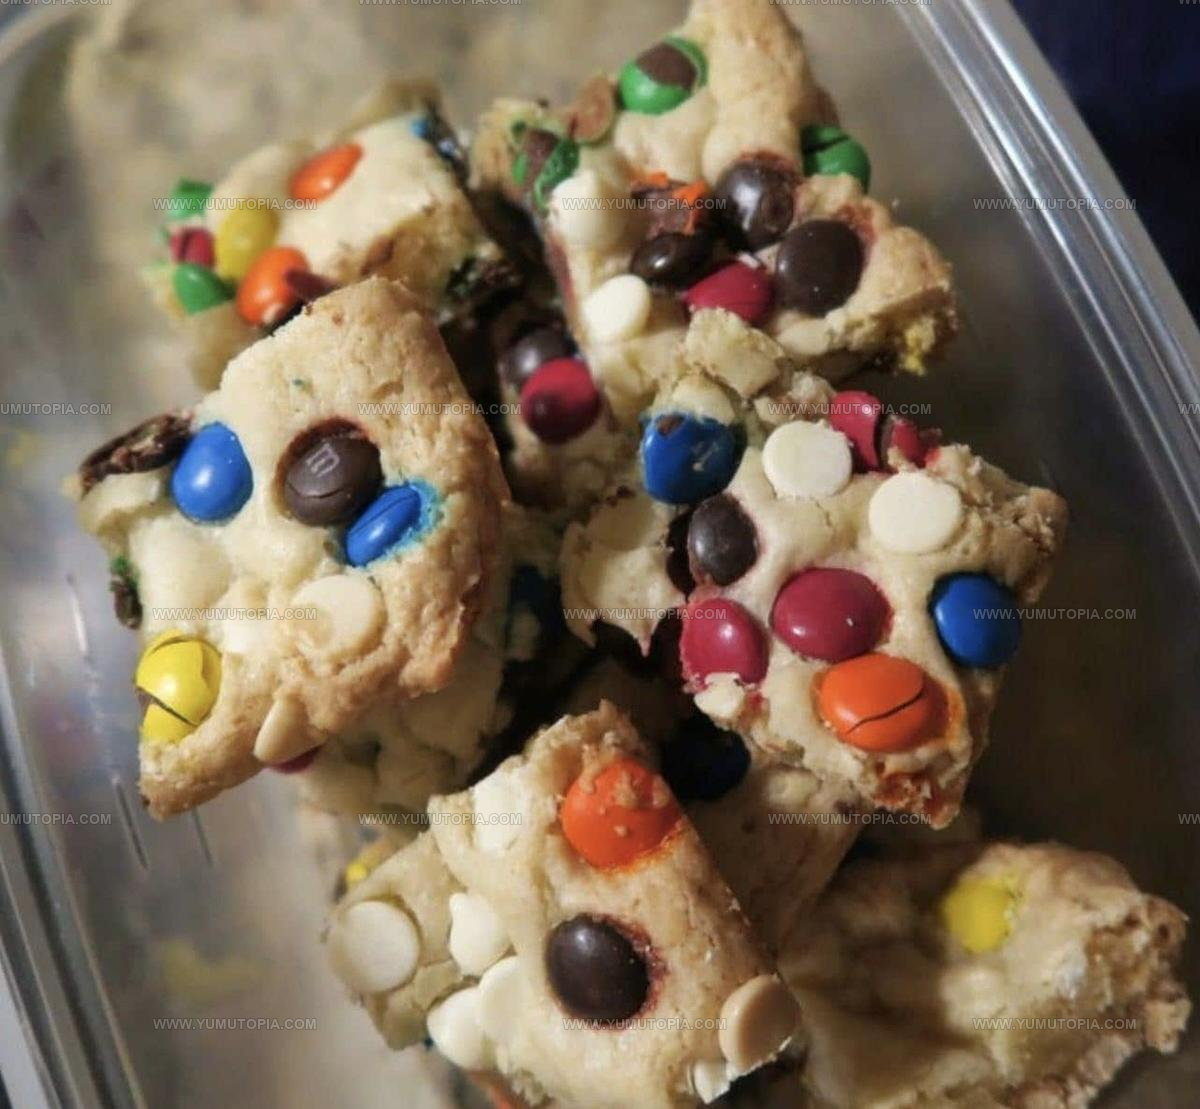
Soft, chewy, and loaded with colorful candy pieces, they’re an instant crowd-pleaser at parties, bake sales, and family gatherings.
The bars cut serving time in half compared to traditional drop cookies while delivering that same satisfying sweetness everyone craves.
They look festive on any dessert table and require minimal effort to pull together on busy weeknights.
Kids love helping arrange the candies on top before baking, making it a fun activity that brings families closer in the kitchen.
The rainbow of colors makes them suitable for holidays, birthdays, or random Tuesday afternoons when something sweet sounds absolutely necessary.
You can have a pan ready to share in less than an hour from start to finish.
Standout Features Of M and M Sugar Cookie Bars
Core Ingredients for M&M Sugar Cookie Bars
Flour Base:Sweet and Fatty Ingredients:Binding and Flavor Ingredients:Colorful Topping:Standard Cooking Tools for M&M Sugar Cookie Bars
Preparing M&M Sugar Cookie Bars Step by Step
Prepare the Oven and Pan
Crank your oven to 350°F and grab a 9×13-inch baking pan. Line it with parchment paper so these sweet treats slide right out later.
Mix Dry Ingredients
Grab a medium bowl and whisk together 2 cups all-purpose flour, 1/2 teaspoon baking powder, and 1/2 teaspoon salt until everything looks evenly combined.
Melt the Butter
Zap 3/4 cup unsalted butter in a microwave-safe bowl until it’s completely liquid and smooth.
Create the Sugar Base
Dump 1 1/2 cups granulated sugar into the melted butter. Stir until the mixture looks glossy and well blended.
Add Wet Ingredients
Crack in 2 large eggs and pour 2 teaspoons vanilla extract. Mix thoroughly until everything looks smooth and incorporated.
Combine Wet and Dry Mixtures
Slowly fold your dry ingredients into the wet mixture. Stir gently until just combined – don’t overmix or your bars will get tough.
Add First Batch of Candies
Fold in 3/4 cup of M&M candies into the batter. Make sure they’re distributed evenly throughout.
Prepare for Baking
Pour the batter into your prepared pan. Spread it out evenly with a spatula so it reaches all the corners.
Top with Remaining Candies
Sprinkle the remaining M&M candies across the top of the batter. This makes them look super colorful and fun.
Bake to Perfection
Slide the pan into the 350°F oven and bake for 22-25 minutes. Watch for golden edges and a clean toothpick test.
Cool Down
Take the pan out of the oven and let it cool completely in the pan. This takes about an hour, so be patient.
Slice and Serve
Use the parchment paper to lift the bars out of the pan. Slice into 24 equal squares and get ready to enjoy!
Helpful Cooking Notes For M&M Sugar Cookie Bars
Easy Variations for M&M Sugar Cookie Bars
Serving Notes For M And M Sugar Cookie Bars
Recommended Storage Method for M&M Sugar Cookie Bars
M&M Sugar Cookie Bars Questions And Answers
Can I use different types of chocolate candies?
Sure! Swap M&Ms for Reese’s Pieces, chocolate chips, or other colorful candy pieces that bake well.
How do I prevent the M&Ms from burning?
Mix most candies into the batter and sprinkle a few on top just before baking to keep their color bright and prevent burning.
What if my butter isn’t completely melted?
Microwave in short 10-second bursts, stirring between each to ensure even melting without overheating.
Should the butter be hot when mixing with sugar?
Let melted butter cool slightly so it doesn’t cook the eggs when you mix them together.
Can I make these bars gluten-free?
Replace all-purpose flour with a gluten-free flour blend that includes xanthan gum for best texture.
How do I know when the bars are perfectly baked?
Watch for golden edges and a toothpick that comes out with just a few moist crumbs – not wet batter.

M&M Sugar Cookie Bars Recipe
- Total Time: 1 hours 37-40 minutes
- Yield: 12 1x
Description
Whipping up m&m sugar cookie bars brings pure joy to your kitchen, turning a simple afternoon into a colorful sweet celebration. Chocolate candies scattered through buttery, tender cookie dough create the perfect treat that everyone will absolutely adore.
Ingredients
Primary Ingredients:
- 2 cups all-purpose flour
- 1 ½ cups granulated sugar
- ¾ cup unsalted butter
- 2 large eggs
- 1 cup M&M candies
Supporting Ingredients:
- ½ teaspoon baking powder
- ½ teaspoon salt
Flavor Enhancers:
- 2 teaspoons vanilla extract
Instructions
- Heat your oven to precisely 350°F and prepare a 9×13-inch pan with parchment paper for easy removal.
- Combine 2 cups flour, ½ teaspoon baking powder, and ½ teaspoon salt in a medium mixing bowl, whisking thoroughly.
- Melt ¾ cup butter completely in a microwave-safe bowl until fully liquid.
- Mix 1 ½ cups granulated sugar into the melted butter until the mixture looks smooth and slightly shiny.
- Incorporate 2 large eggs and 2 teaspoons vanilla extract, stirring until the ingredients blend seamlessly.
- Gently fold the dry flour mixture into the wet ingredients, mixing just until combined without overmixing.
- Carefully fold ¾ cup M&M candies into the batter, distributing them evenly throughout.
- Transfer the batter into the lined pan, spreading it smoothly and leveling the surface with a spatula.
- Scatter the remaining M&M candies across the top of the batter for extra color and crunch.
- Bake for exactly 22-25 minutes, watching for lightly golden edges and checking with a toothpick for doneness.
- Allow the bars to cool completely in the pan for approximately 1 hour, giving them time to set.
- Lift the entire batch out using the parchment paper edges and slice into 24 uniform squares.
Notes
- Ensure butter is only warm, not hot, when mixing with sugar to prevent a grainy texture.
- Fold dry ingredients gently to keep bars tender and prevent tough, dense results.
- For a gluten-free version, swap all-purpose flour with a 1:1 gluten-free baking blend.
- Store bars in an airtight container at room temperature for up to 5 days to maintain softness.
- Prep Time: 15 minutes
- Cook Time: 22-25 minutes
- Category: Dessert Bars
- Method: Baking
- Cuisine: American
Nutrition
- Serving Size: 12
- Calories: 285 kcal
- Sugar: 27 g
- Sodium: 95 mg
- Fat: 13 g
- Saturated Fat: 8 g
- Unsaturated Fat: 4 g
- Trans Fat: 0.3 g
- Carbohydrates: 38 g
- Fiber: 1 g
- Protein: 2 g
- Cholesterol: 40 mg
Logan Lemaster
Founder & Culinary Innovator
Expertise
Recipe Development and Innovation, Menu Design and Optimization, Fine Dining Techniques, Ingredient Pairing and Flavor Science
Education
Metropolitan Culinary Arts Institute
Logan’s culinary journey kicked off in his vibrant Chicago family kitchen, where fresh, seasonal ingredients and bold flavors were always front and center.
After graduating from the Metropolitan Culinary Arts Institute in Arlington, Virginia, and honing his skills in renowned restaurants, Logan mastered the art of blending classic techniques with exciting, modern twists.
His kitchen is a dynamic lab for flavor exploration. Through Yum Utopia, Logan aims to empower you to cook with both confidence and creativity, turning simple ingredients into spectacular meals.