Chewy Mochi Brownies Recipe With Fudgy Chocolate
Mochi brownies recipe fans know that few desserts can match the magic of fudgy chocolate squares with a delightfully chewy twist.
Born from a brilliant fusion of Japanese and American baking traditions, they offer something genuinely different from what most people expect when biting into a standard brownie.
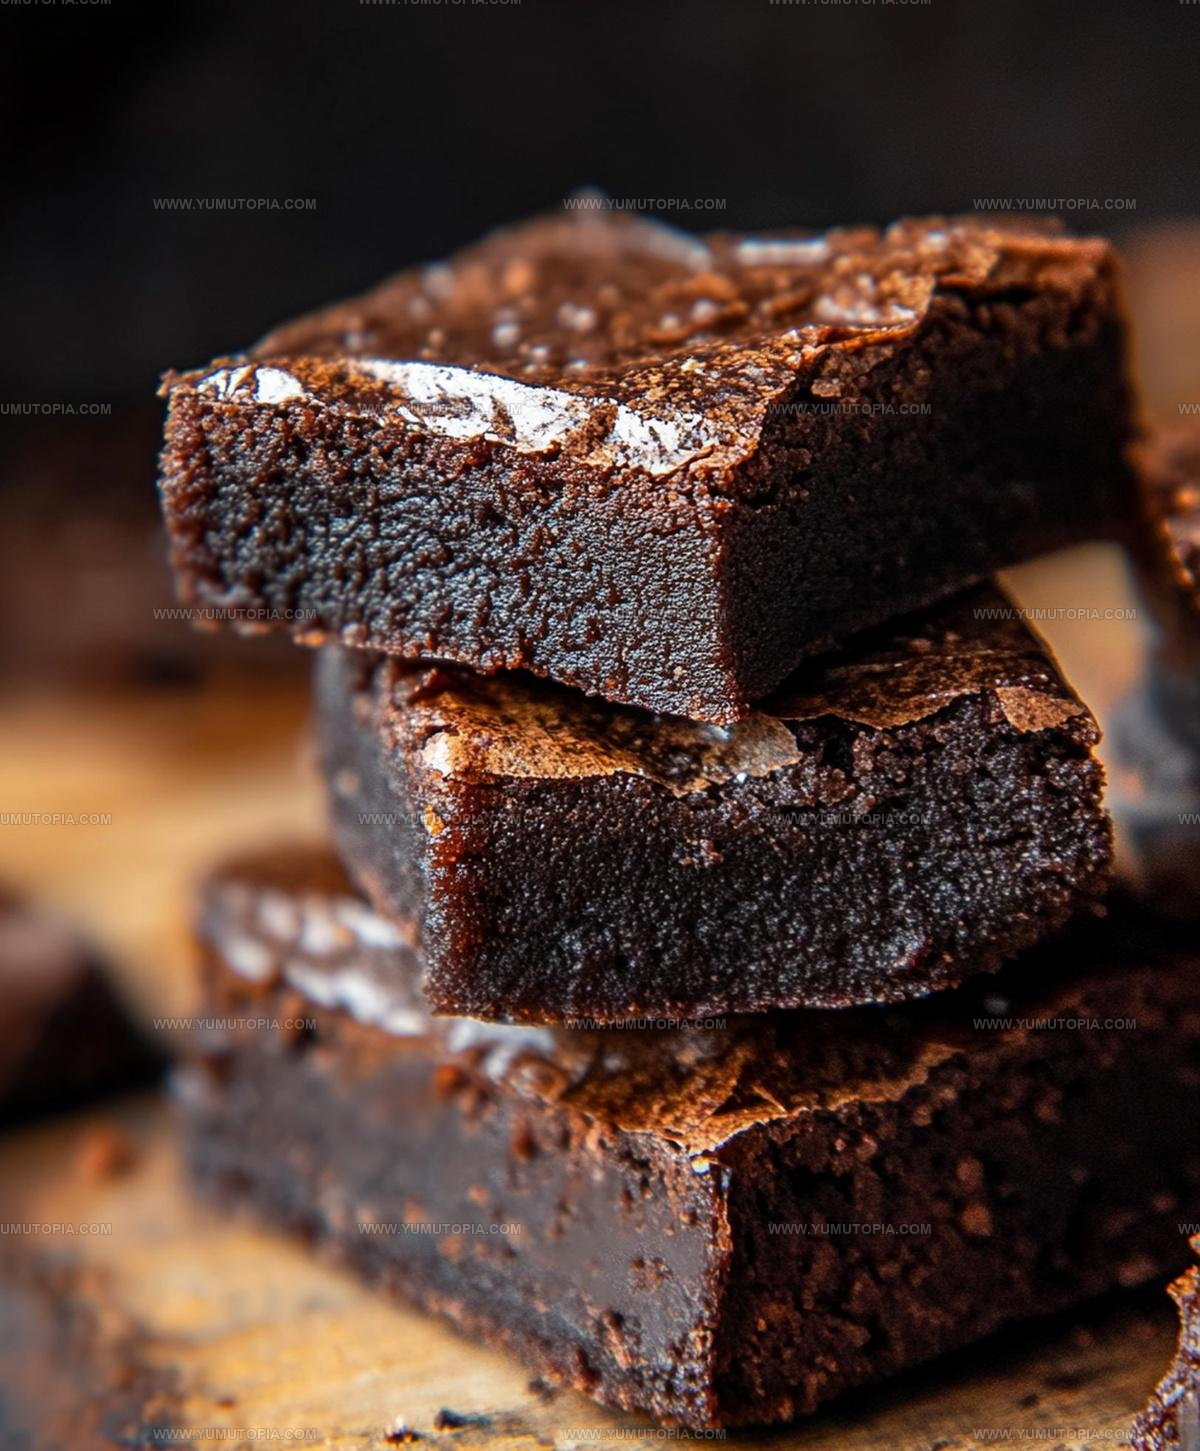
The texture alone sets them apart, soft and stretchy on the inside while maintaining those coveted crispy edges that make every piece unforgettable.
No fancy equipment or hard-to-find supplies stand between you and a pan of pure chocolate happiness.
Anyone who enjoys exploring new dessert territory will find them absolutely worth making, as they satisfy chocolate cravings while introducing an addictively chewy quality.
The combination proves so popular that once people taste them, requests for the recipe come flooding in immediately.
Why You’ll Love Mochi Brownies
Complete Ingredient List for Mochi Brownies
Dry Ingredients:Wet Ingredients:Sweet Additions:What Are the Necessary Tools for Mochi Brownies
How to Bake Mochi Brownies with a Chewy Center
Prepare Baking Pan
Grab an 8×8 inch baking pan and line it with parchment paper. Make sure the paper hangs over the edges so you can easily lift out the brownies later. Set your oven to preheat at 350°F while getting started.
Melt the Butter
Toss 1/2 cup unsalted butter into a microwave-safe bowl. Zap it in short 15-second bursts, stirring between each blast until the butter turns completely smooth and melted.
Mix Wet Ingredients
Grab a large mixing bowl and crack in 2 large eggs. Pour in 1 cup granulated sugar, 1/4 cup milk, and 1 tsp vanilla extract. Whisk everything together until it looks smooth and well combined.
Combine Butter and Wet Mix
Pour the melted butter into your egg mixture. Stir thoroughly to make sure the butter blends in completely.
Prepare Dry Ingredients
Time to sift your dry ingredients. Measure out:
Sift these together to break up any lumps.
Create the Batter
Add the sifted dry ingredients to your wet mixture. Stir gently until you have a smooth batter with no dry flour spots showing.
Add Chocolate Chips
Sprinkle 1/2 cup chocolate chips into the batter. Fold them in so they’re evenly distributed throughout.
Prepare for Baking
Pour the batter into your prepared pan. Use a spatula to spread it out evenly, making sure it reaches all the corners.
Bake the Brownies
Slide the pan into the 350°F oven. Bake for 25-30 minutes. Check doneness by inserting a toothpick – it should come out with just a few moist crumbs.
Cool and Remove
Pull the pan out of the oven. Let the brownies sit in the pan for 10 minutes to start cooling. Then use the parchment paper handles to lift them out onto a wire rack.
Final Cooling
Give these brownies at least 1 hour to cool completely. This helps them set and makes cutting easier.
Slice and Serve
Once cooled, slice into squares and get ready to enjoy a chewy, chocolatey treat!
Chef’s Notes for Perfectly Chewy Mochi Brownies
Mochi Brownie Chocolate Variations
Best Ways to Serve Mochi Brownies
Proper Storage For Mochi Brownies
Mochi Brownies Frequently Asked Questions
What makes mochi brownies different from regular brownies?
The chewy texture comes from glutinous rice flour, which creates a unique soft and bouncy consistency that’s totally different from traditional brownies.
Can regular rice flour be substituted for glutinous rice flour?
No, regular rice flour won’t provide the same stretchy, chewy texture. Glutinous rice flour (also called sweet rice flour) is essential for creating the signature mochi texture.
How do chocolate chips work in this recipe?
Chocolate chips melt slightly during baking and create pockets of rich chocolate throughout the brownie, adding extra bursts of flavor and gooey texture.
Do these brownies taste like traditional Asian mochi desserts?
These brownies blend classic brownie flavors with mochi’s signature chewiness, creating a hybrid dessert that’s both familiar and unique.
Are mochi brownies gluten-free?
Not completely. While glutinous rice flour is used, the recipe also includes all-purpose flour, which contains gluten.
How should people cut these brownies for the best texture?
Use a sharp knife and clean it between cuts to get clean, neat squares that showcase the brownies’ unique chewy texture.

Mochi Brownies Recipe
- Total Time: 1 hour 40-45 minutes
- Yield: 8 1x
Description
Mochi brownies bring Japanese-style texture to classic chocolate desserts, melting together rich cocoa and glutinous rice flour for an unexpectedly delightful treat that will make your taste buds dance with pure satisfaction.
Ingredients
Main Ingredients:
- 1 cup glutinous rice flour
- ½ cup all-purpose flour
- ½ cup unsweetened cocoa powder
- ½ cup unsalted butter
- 2 large eggs
Sweeteners:
- 1 cup granulated sugar
- ½ cup chocolate chips
Supporting Ingredients:
- ¼ cup milk
- 1 teaspoon vanilla extract
- ½ teaspoon baking powder
- ¼ teaspoon salt
Instructions
- Prep your 8×8 inch baking pan by lining it with parchment paper, ensuring enough overhang for easy brownie removal at 350°F.
- Melt ½ cup unsalted butter in a microwave-safe bowl, stirring every 15 seconds until completely smooth and liquid.
- Whisk 2 large eggs, 1 cup sugar, ¼ cup milk, and 1 tsp vanilla extract in a large mixing bowl until thoroughly blended.
- Pour melted butter into egg mixture, stirring until fully combined and glossy.
- Sift 1 cup glutinous rice flour, ½ cup all-purpose flour, ½ cup cocoa powder, ½ tsp baking powder, and ¼ tsp salt directly over wet ingredients.
- Blend dry and wet ingredients until creating a smooth, consistent chocolate batter with zero flour pockets.
- Gently fold ½ cup chocolate chips throughout batter, ensuring even distribution.
- Transfer batter to prepared pan, using a spatula to spread evenly across surface.
- Slide pan into preheated 350°F oven and bake for 25-30 minutes until a toothpick shows minimal moist crumbs.
- Remove pan from oven and allow brownies to rest for 10 minutes inside.
- Lift brownies from pan using parchment paper edges and transfer to wire rack.
- Allow brownies to cool completely for one hour before slicing into squares.
Notes
- Always use room temperature eggs to help create a smoother, more consistent batter texture.
- Sifting dry ingredients prevents clumping and ensures an even chocolate flavor throughout the brownies.
- For extra chewiness, slightly underbake the brownies and let them cool completely before cutting.
- Glutinous rice flour creates a unique mochi-like texture that makes these brownies different from traditional brownies, so don’t substitute the flour.
- Prep Time: 15 minutes
- Cook Time: 25-30 minutes
- Category: Brownies
- Method: Baking
- Cuisine: Japanese-American
Nutrition
- Serving Size: 8
- Calories: 250 kcal
- Sugar: 18 g
- Sodium: 110 mg
- Fat: 12 g
- Saturated Fat: 7 g
- Unsaturated Fat: 5 g
- Trans Fat: 0.2 g
- Carbohydrates: 34 g
- Fiber: 3 g
- Protein: 4 g
- Cholesterol: 45 mg
Logan Lemaster
Founder & Culinary Innovator
Expertise
Recipe Development and Innovation, Menu Design and Optimization, Fine Dining Techniques, Ingredient Pairing and Flavor Science
Education
Metropolitan Culinary Arts Institute
Logan’s culinary journey kicked off in his vibrant Chicago family kitchen, where fresh, seasonal ingredients and bold flavors were always front and center.
After graduating from the Metropolitan Culinary Arts Institute in Arlington, Virginia, and honing his skills in renowned restaurants, Logan mastered the art of blending classic techniques with exciting, modern twists.
His kitchen is a dynamic lab for flavor exploration. Through Yum Utopia, Logan aims to empower you to cook with both confidence and creativity, turning simple ingredients into spectacular meals.