
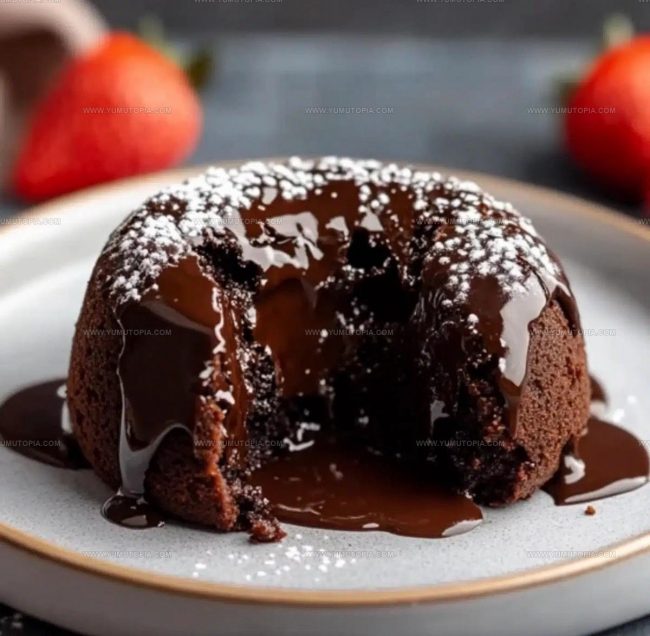
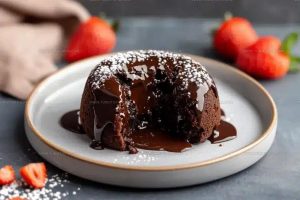
Chocolate Lava Cake Recipe That’s Gooey Inside
Chocolate lava cake has a way of making any night feel just a little more special without needing a big occasion.
It’s rich, warm, and always brings that quiet moment where everyone pauses for the first spoonful.
Even the simplest dinner feels finished when this shows up at the end.
It’s the kind of treat that feels fancy but never fussy.
Whether you’re winding down or sharing something sweet, it always fits the mood.
You don’t have to explain much – one look and people know it’s a good idea.
That gooey center tends to speak for itself.
Keep going and see how easy it is to make your table a little sweeter.
Why Everyone Obsesses Over This Easy Chocolate Lava Cake
Lava Components That Create The Flow
Tools That Protect A Molten Center
Steps Leading To A Hot Chocolate Core
Prepare Oven and Ramekins
Heat the oven to exactly 425°F (220°C). Grab your nonstick spray or butter and completely coat four 6-ounce ramekins. Make sure every inch is covered so your cakes will slip right out after baking.
Melt Chocolate and Butter
Combine ½ cup (1 stick) unsalted butter and 4 oz semi-sweet chocolate in a microwave-safe bowl. Zap in 30-second bursts, stirring between each interval, until the mixture turns smooth and glossy. This typically takes about 90 seconds total. Let the mixture cool slightly so it won’t accidentally cook the eggs.
Whip Egg Mixture
In a separate bowl, whisk together:
Blend until the mixture becomes smooth and takes on a pale color.
Create Chocolate Batter
Slowly stream the slightly cooled chocolate mixture into the egg mixture, whisking constantly. Add 1 tsp vanilla extract. Gently fold in 6 tbsp all-purpose flour until just combined. Stop mixing the moment no flour streaks remain.
Fill Ramekins
Divide the batter evenly between the four prepared ramekins. Tap each ramekin gently on the counter to level the batter smoothly.
Bake to Gooey Perfection
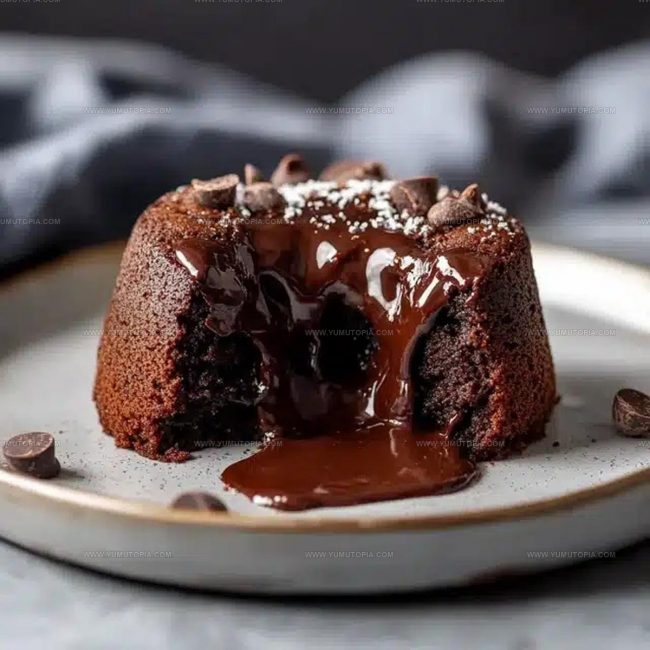
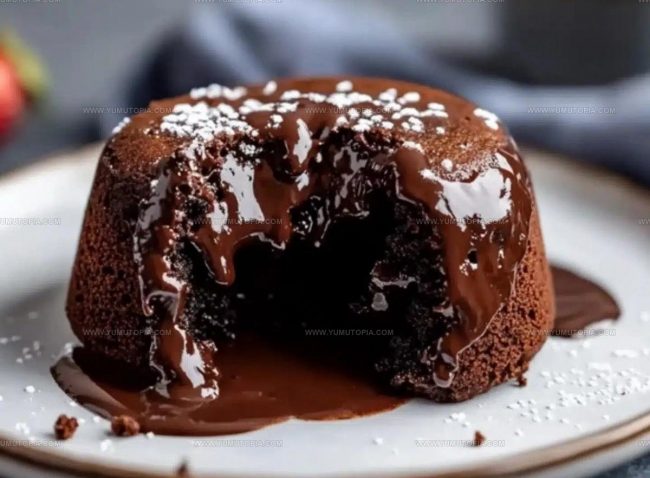
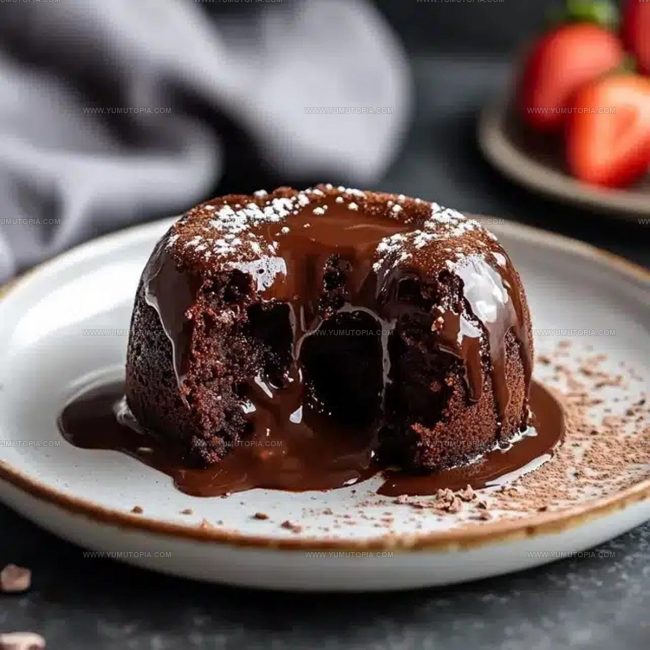
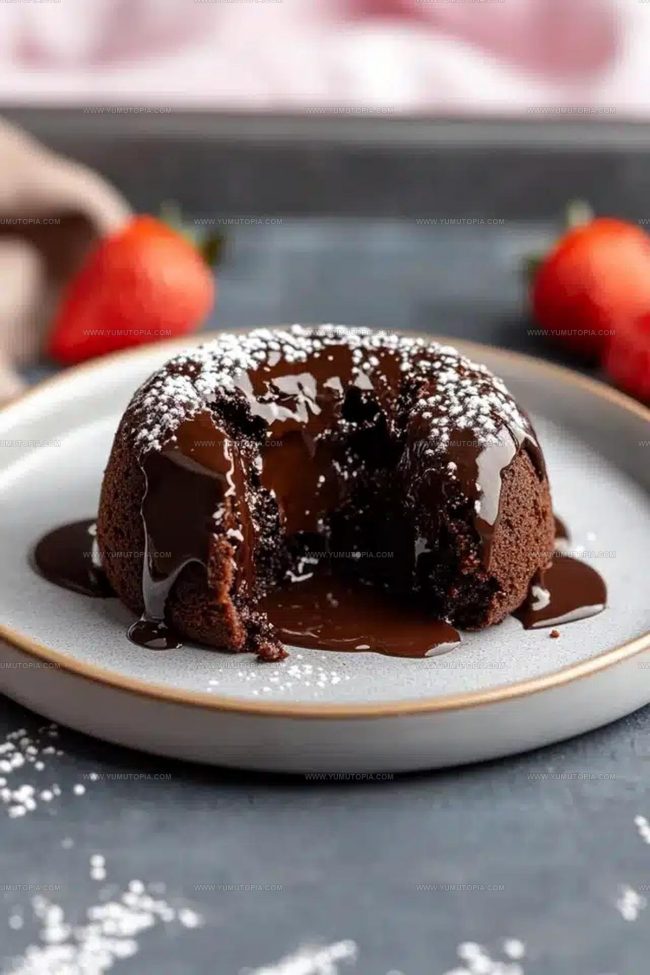
Slide the ramekins into the 425°F (220°C) oven. Bake for 12-14 minutes. The edges should look set, but the center should remain soft and slightly jiggly.
Serve Warm
After baking, let the cakes rest for 1 minute. Run a knife carefully around each ramekin’s edge. Flip onto serving plates. Dust with powdered sugar or top with a scoop of vanilla ice cream if desired. Serve immediately while warm and gooey.
Boosters For Richer Chocolate Waves
Lava Cake Twists For Fun
Serving Hacks For A Perfect Molten Chocolate Lava Cake
Storage Notes For Gooey Cakes
Lava Cake Questions Unwrapped
Can I use dark chocolate instead of semi-sweet?
Dark chocolate works perfectly and creates an even richer flavor profile. Just ensure you select a baking-quality chocolate with similar cocoa butter content.
Do chocolate lava cakes require special baking skills?
Not at all! This recipe is straightforward and beginner-friendly. Just follow the steps carefully and watch your baking time closely.
How can I tell if the lava cake is perfectly baked?
Look for set edges with a slightly jiggly center. When you tap the ramekin, the middle should have a gentle wobble but not be completely liquid.
What if I don’t have ramekins?
Small oven-safe coffee mugs or ceramic baking cups work great as substitutes. Just ensure they are heat-safe and roughly the same size.
Can these be made ahead of time?
Prepare the batter and refrigerate in ramekins up to 24 hours before baking. Just add 2-3 minutes to the baking time when cooking directly from cold.
Why are extra egg yolks important?
The additional yolks create a more luxurious, silky texture and help achieve that signature molten chocolate center.
Molten Chocolate Lava Cake Recipe
- Total Time: 27-29 minutes
- Yield: 4 1x
Description
Chocolate Lava Cake brings pure dessert joy right to your dinner table with minimal effort and maximum flavor. Melted chocolate centers and crispy edges make this classic French-style treat a simple yet impressive finale to any meal.
Ingredients
Main Ingredients:
- 4 oz semi-sweet chocolate
- ½ cup (1 stick) unsalted butter
- 2 whole eggs
- 2 egg yolks
Supporting Ingredients:
- 1 cup powdered sugar
- 6 tablespoons all-purpose flour
- 1 teaspoon vanilla extract
Preparation Ingredients:
- Nonstick spray or butter (for greasing ramekins)
Instructions
- Preheat the oven to 425°F (220°C). Coat four 6-ounce ramekins thoroughly with nonstick spray or butter, ensuring complete coverage for easy cake removal.
- Place 4 oz semi-sweet chocolate and ½ cup (1 stick) unsalted butter in a microwave-safe bowl. Heat in 30-second intervals, stirring between each, until completely melted and smooth – approximately 90 seconds total.
- Whisk 2 whole eggs and 2 egg yolks with 1 cup powdered sugar until the mixture becomes pale and slightly frothy.
- Pour the melted chocolate mixture into the egg mixture, stirring continuously. Add 1 tsp vanilla extract and 6 tbsp all-purpose flour, folding gently until no flour streaks remain.
- Distribute the batter evenly among the prepared ramekins. Tap each ramekin gently on the counter to level the surface.
- Bake for 12-14 minutes at 425°F (220°C). The edges should appear set while the center remains soft and slightly jiggly.
- Allow cakes to rest for 1 minute after removing from the oven. Carefully loosen edges with a knife and invert onto serving plates. Enjoy immediately with a scoop of vanilla ice cream or a light dusting of powdered sugar.
Notes
- Check chocolate quality matters – use good dark chocolate for rich, deep flavor.
- Ramekin size affects baking time – smaller dishes cook faster, so watch closely.
- Room temperature eggs blend more smoothly and help create a silky cake texture.
- Serve immediately after baking to get the classic molten center that flows when cut open.
- Prep Time: 15 minutes
- Cook Time: 12-14 minutes
- Category: Cakes
- Method: Baking
- Cuisine: American
Nutrition
- Serving Size: 4
- Calories: 416 kcal
- Sugar: 38 g
- Sodium: 20 mg
- Fat: 28 g
- Saturated Fat: 17 g
- Unsaturated Fat: 9 g
- Trans Fat: 0.5 g
- Carbohydrates: 37 g
- Fiber: 3 g
- Protein: 7 g
- Cholesterol: 210 mg
Logan Lemaster
Founder & Culinary Innovator
Expertise
Recipe Development and Innovation, Menu Design and Optimization, Fine Dining Techniques, Ingredient Pairing and Flavor Science
Education
Metropolitan Culinary Arts Institute
Logan’s culinary journey kicked off in his vibrant Chicago family kitchen, where fresh, seasonal ingredients and bold flavors were always front and center.
After graduating from the Metropolitan Culinary Arts Institute in Arlington, Virginia, and honing his skills in renowned restaurants, Logan mastered the art of blending classic techniques with exciting, modern twists.
His kitchen is a dynamic lab for flavor exploration. Through Yum Utopia, Logan aims to empower you to cook with both confidence and creativity, turning simple ingredients into spectacular meals.