Moose Farts Cookies Recipe With Sweet Cocoa Bite
Moose Farts cookies bring whimsy and fun to any dessert table with their playful name and crowd-pleasing appeal.
These delightful treats have become a beloved favorite across Canada, earning smiles from anyone who hears the quirky title.
The name alone sparks conversation and laughter, making them perfect for parties, baking sales, or casual gatherings where you want something memorable.
Rich, sweet, and satisfyingly indulgent, they deliver comfort in every bite while keeping things lighthearted.
The recipe has been passed down through generations, creating happy memories in kitchens from coast to coast.
Whether you need something special for an occasion or simply crave a homemade sweet, these cookies never disappoint.
Start baking today and watch how quickly they vanish from the plate!
What Gives Moose Farts Their Power to Bring Laughter to Dessert Time
Coconut Cocoa And Sweet Binders Inside Moose Farts
Bowls Spoons and Tools for No Bake Mixing
Process for the Mix, Roll, and Chill Routine
Combine Dry Ingredients
In a large mixing bowl, toss together 1 cup graham cracker crumbs, 1 cup shredded coconut, and 1/4 teaspoon salt. Make sure your dry ingredients are well mixed and evenly distributed.
Add Melted Butter
Melt 1/4 cup butter and pour it directly over the dry ingredient mixture. Stir thoroughly so the butter coats everything nicely.
Mix Wet Ingredients
Pour in 1/2 cup sweetened condensed milk and 1 teaspoon vanilla extract. Blend everything until your mixture becomes a thick, sticky dough that holds together easily.
Prepare Optional Mix-Ins
If adding extra flavor, fold in your extras carefully:
Mix gently to distribute throughout the dough.
Shape the Treats
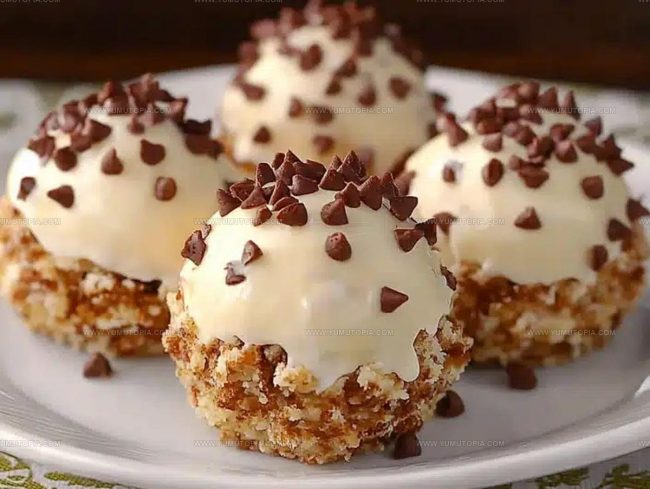
Using your hands or a small cookie scoop, form the mixture into small balls about 1 inch in diameter. Work carefully to keep them compact and uniform.
Create Coating
Roll each ball in either powdered sugar or extra shredded coconut. This gives a light, sweet outer layer that looks beautiful.
Chill and Set
Place the coated balls on a parchment-lined baking sheet. Refrigerate for 30 minutes at 40°F (4°C) so they become firm and hold their shape perfectly.
Serve and Store
Remove from the refrigerator and serve chilled. Store remaining treats in an airtight container in the refrigerator for up to 5 days.
Texture Tips for Bites That Hold Together
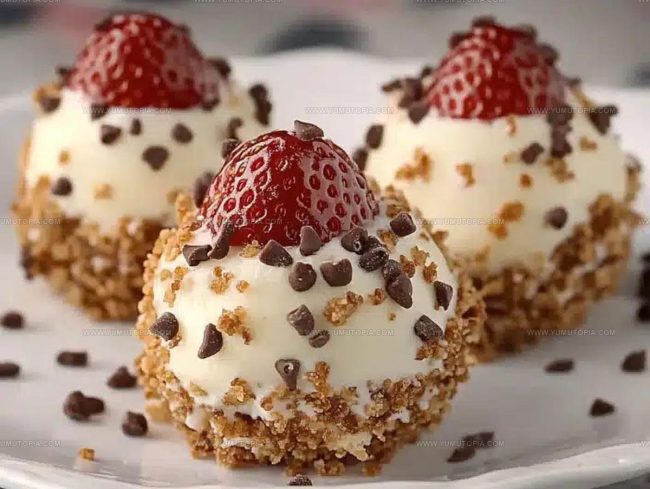
Whimsical Dessert Extensions Of The Moose Farts Recipe
Whimsical Dessert Snack Layouts For Moose Farts
No-Bake Confectionery Keeping Protocols For Moose Farts
Common Questions About Making These No-Bake Moose Farts
Why are they called Moose Farts?
The silly name comes from their round shape and Canadian origin, where playful humor is part of the recipe’s charm.
Can kids help make these treats?
Absolutely! Children love rolling the mixture into balls and coating them with powdered sugar – it’s a fun kitchen activity.
Do Moose Farts need refrigeration?
They stay fresh in an airtight container in the refrigerator for about a week, making them perfect for make-ahead snacking.
Are these gluten-free?
Not automatically. Replace graham cracker crumbs with gluten-free graham crackers to make the recipe safe for gluten-sensitive folks.
What if chocolate chips are missing?
No worries – the treats taste delicious without them. The condensed milk and coconut provide plenty of sweetness.
Can these be frozen?
Definitely! Freeze them in a single layer, then transfer to a freezer bag for up to three months of tasty treats.

Moose Farts cookies Recipe
- Total Time: 15 minutes
- Yield: 2 1x
Description
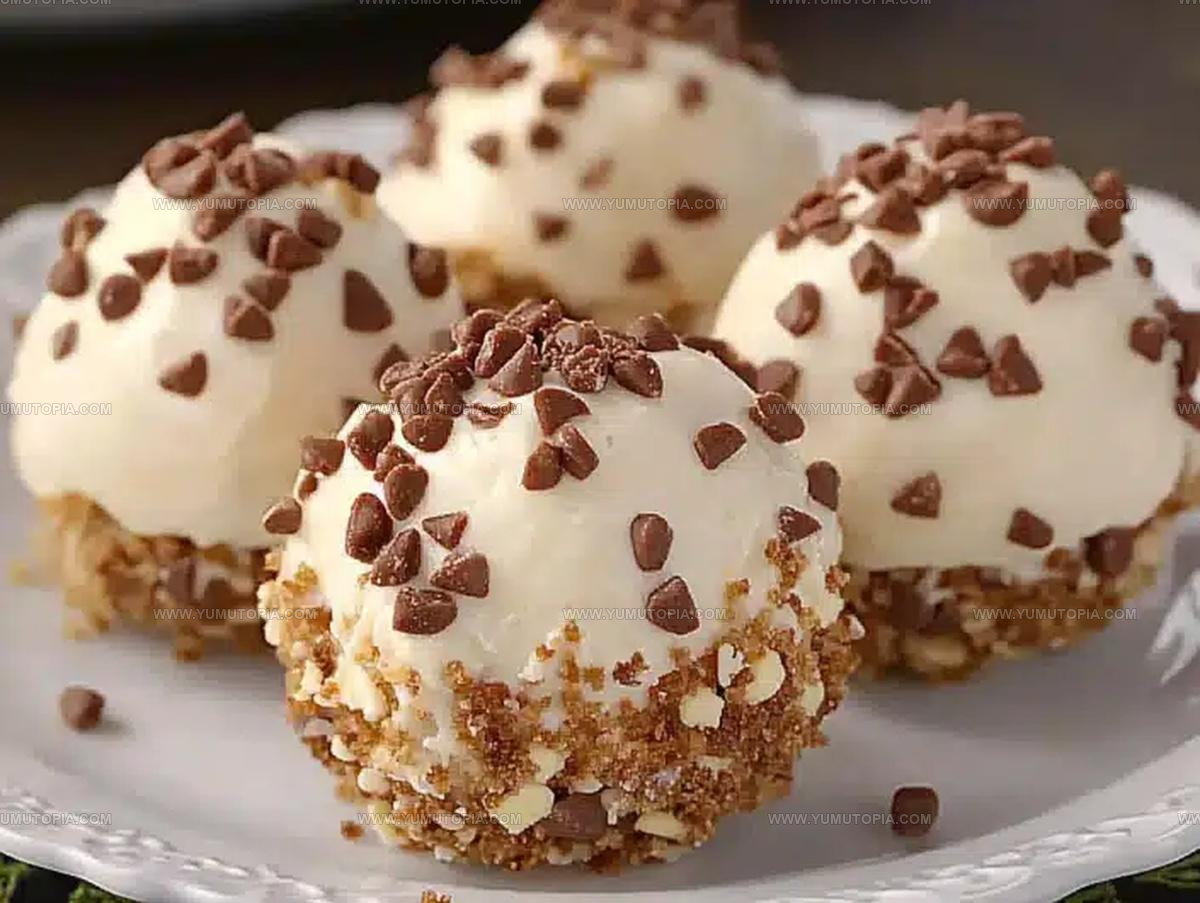
Moose Farts bring hilarious giggles to dessert time with zero effort and maximum Canadian charm. Chocolate-covered coconut balls roll together faster than family jokes during holiday gatherings.
Ingredients
Main Ingredients:
- 1 cup graham cracker crumbs
- 1 cup shredded coconut
- ½ cup sweetened condensed milk
Supporting Ingredients:
- ¼ cup butter, melted
- ½ cup chocolate chips
- ½ cup chopped nuts
Finishing Ingredients:
- 1 teaspoon vanilla extract
- ¼ teaspoon salt
- Powdered sugar or extra coconut for rolling
Instructions
- Grab a spacious mixing bowl and thoroughly blend 1 cup graham cracker crumbs, 1 cup shredded coconut, and ¼ teaspoon salt until ingredients are evenly distributed.
- Warm ¼ cup butter until completely melted, then pour over the dry mixture.
- Pour ½ cup sweetened condensed milk and 1 teaspoon vanilla extract into the bowl, stirring until your mixture transforms into a dense, clingy dough.
- If desired, gently fold ½ cup chocolate chips and ½ cup chopped nuts into the sticky mixture.
- Using clean hands or a small cookie scoop, craft compact spheres approximately 1 inch in diameter.
- Roll each delicate ball through powdered sugar or additional shredded coconut, ensuring a light, even coating.
- Arrange the coated spheres onto a parchment-lined baking sheet, leaving modest space between each.
- Transfer the baking sheet to your refrigerator, chilling for a minimum of 30 minutes at 40°F (4°C) to help them solidify.
- Remove from refrigerator and serve these delectable treats directly from the chilled tray.
Notes
- Adding chocolate chips or nuts provides extra texture and flavor to these no-bake treats.
- Chilling the mixture helps the balls hold their shape and enhances the overall consistency.
- Use cold butter for easier mixing and a more stable dough that’s simple to shape.
- For a gluten-free version, swap graham cracker crumbs with almond flour or gluten-free cookie crumbs.
- Prep Time: 15 minutes
- Cook Time: 0 minutes
- Category: Cookies
- Method: Rolling
- Cuisine: Canadian
Nutrition
- Serving Size: 2
- Calories: 720 kcal
- Sugar: 65 g
- Sodium: 210 mg
- Fat: 38 g
- Saturated Fat: 25 g
- Unsaturated Fat: 10 g
- Trans Fat: 0.5 g
- Carbohydrates: 75 g
- Fiber: 6 g
- Protein: 7 g
- Cholesterol: 50 mg
Logan Lemaster
Founder & Culinary Innovator
Expertise
Recipe Development and Innovation, Menu Design and Optimization, Fine Dining Techniques, Ingredient Pairing and Flavor Science
Education
Metropolitan Culinary Arts Institute
Logan’s culinary journey kicked off in his vibrant Chicago family kitchen, where fresh, seasonal ingredients and bold flavors were always front and center.
After graduating from the Metropolitan Culinary Arts Institute in Arlington, Virginia, and honing his skills in renowned restaurants, Logan mastered the art of blending classic techniques with exciting, modern twists.
His kitchen is a dynamic lab for flavor exploration. Through Yum Utopia, Logan aims to empower you to cook with both confidence and creativity, turning simple ingredients into spectacular meals.