No-Bake Cherry Cheesecake Fluff Recipe For Smooth Desserts
No-Bake Cherry Cheesecake Fluff recipe is one of those desserts that feels like pure celebration in a bowl.
Silky, sweet, and beautifully simple, it comes together in minutes without turning on the oven.
Potlucks, summer gatherings, and last-minute dinner parties all benefit from a dessert that looks impressive but requires minimal effort.
The combination of creamy textures and fruity brightness makes every spoonful feel like a little escape.
Light enough for warm weather but decadent enough to satisfy serious sweet cravings, it hits that perfect balance.
When you need something that both looks pretty and tastes amazing, few options deliver quite like a fluffy, fruit-topped dessert.
Make it ahead, chill it while you prep everything else, and watch it disappear fast.
What Makes Cherry Cheesecake Fluff So Fun
Cherry Cheesecake Fluff Ingredient Breakdown
Cheesecake Base:Fruit Layer:Crust:Equipment You’ll Use for Cherry Cheesecake Fluff
How Do You Prepare Cherry Cheesecake Fluff
Prepare Graham Cracker Crust
Grab a medium bowl and mix together your graham cracker crumbs. Here’s what you’ll combine:
Press this mixture firmly into the bottom of a 9×13 inch serving dish to create a solid base.
Create Creamy Cheesecake Layer
Grab your electric mixer and beat the cream cheese until it’s silky smooth. Next, add these ingredients:
Mix everything until the texture becomes light and fluffy.
Fold in Whipped Topping
Gently incorporate 2 cups of whipped topping into your cream cheese mixture. Stir carefully to keep the mixture airy and soft.
Add Cherry Topping
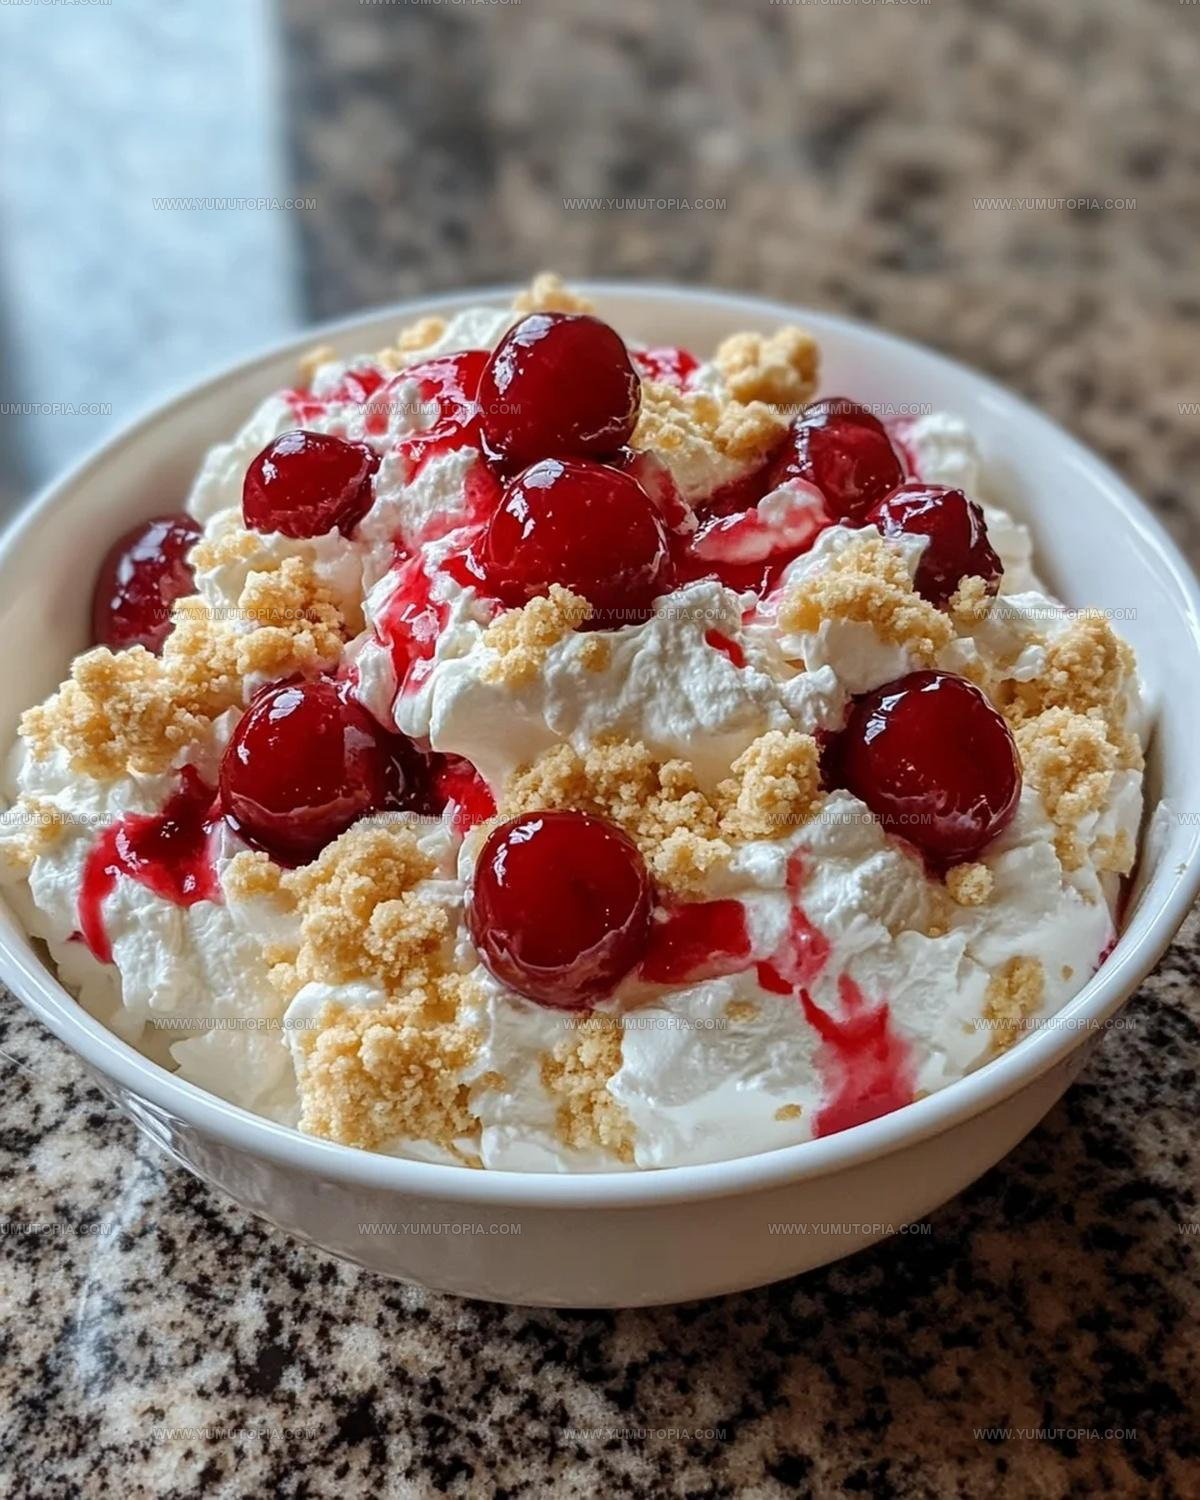
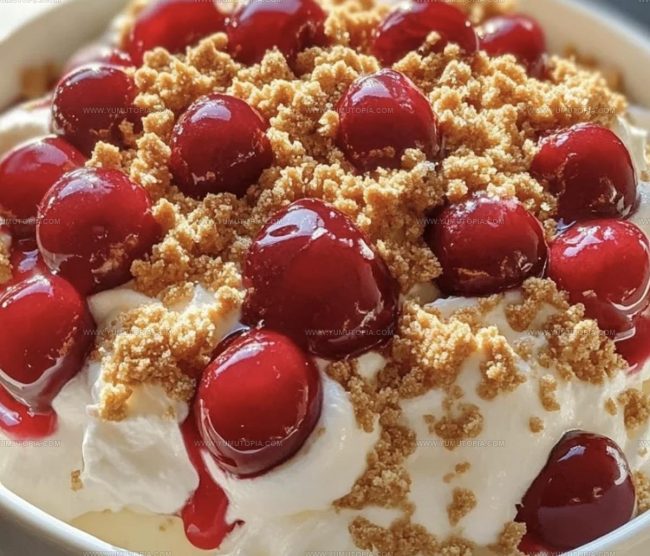
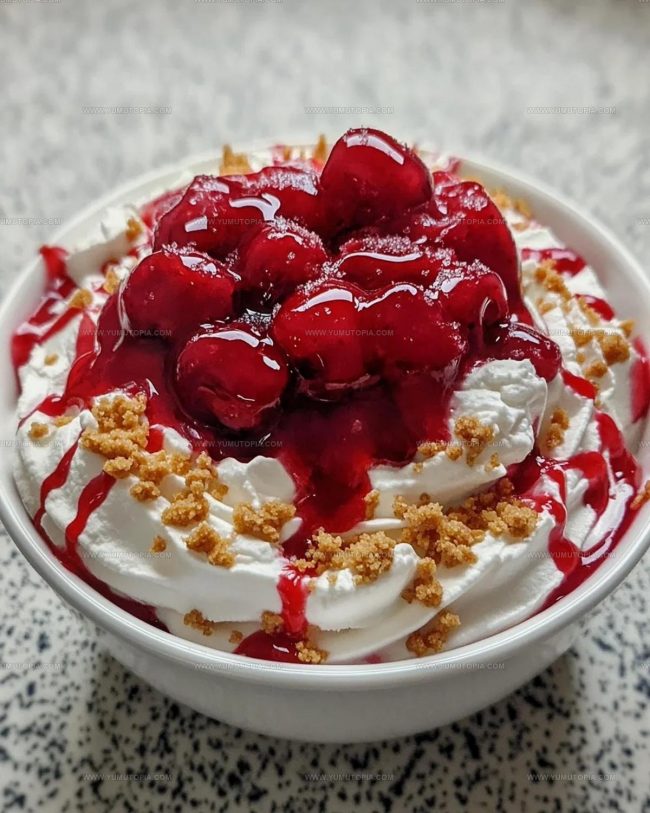
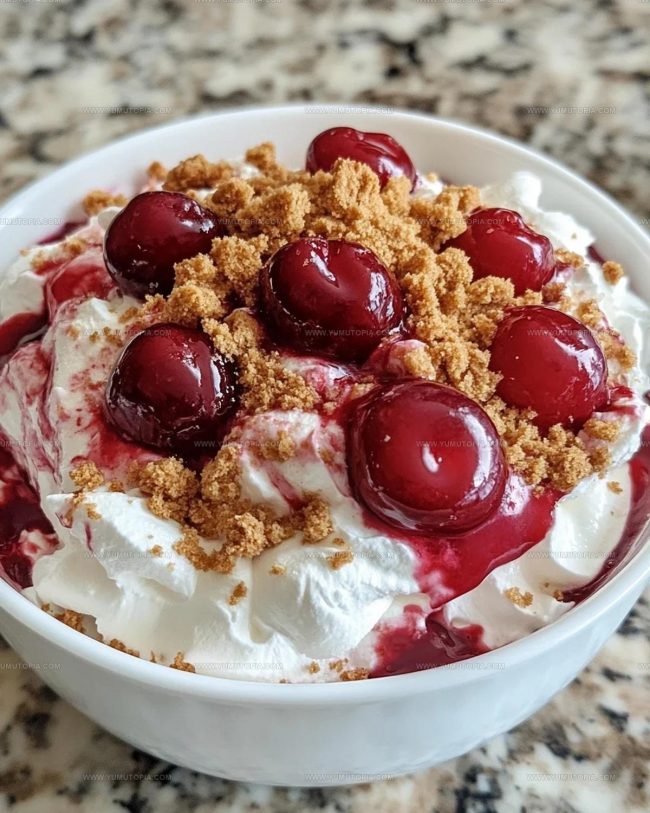
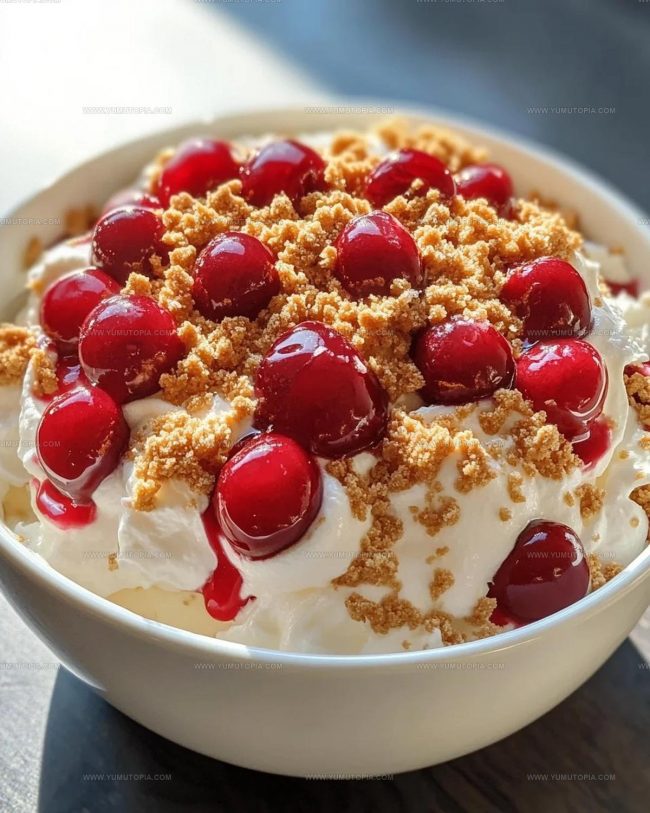
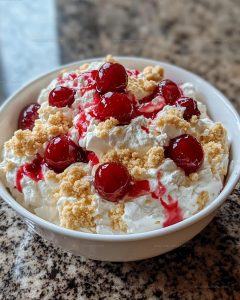
Carefully spread 1 (21 oz) can of cherry pie filling across the top of your creamy cheesecake layer. Make sure the cherries cover the entire surface evenly.
Chill and Set
Cover your dish with plastic wrap and refrigerate for 2 hours at 40°F. This lets all the flavors blend and helps the dessert firm up perfectly.
Serve and Enjoy
Remove from the refrigerator and serve chilled. Each spoonful will be a delightful blend of creamy cheesecake and sweet cherries.
Smart Kitchen Notes for Cherry Cheesecake Fluff
Different Takes on Cherry Cheesecake Fluff
Ways To Serve Cherry Cheesecake Fluff
How Do You Store Cherry Cheesecake Fluff
Cherry Cheesecake Fluff Common Questions
Can I use fresh cherries instead of pie filling?
No, canned cherry pie filling works best because it has the right consistency and sweetness for this recipe.
What if my cream cheese isn’t completely smooth?
Ensure cream cheese is at room temperature and beat thoroughly with an electric mixer to eliminate lumps.
How long does this dessert stay fresh in the refrigerator?
The Cherry Cheesecake Fluff stays delicious for 3-4 days when stored in an airtight container.
Can this recipe be made ahead of time?
Absolutely! Prepare the fluff up to two days before serving and keep chilled until ready to enjoy.
Is this dessert kid-friendly?
Yes, children typically love this sweet, creamy treat and can even help mix the ingredients.
Do I need any special equipment to make this recipe?
A standard electric mixer and mixing bowl are all you need to create this simple dessert.
No-Bake Cherry Cheesecake Fluff Recipe
- Total Time: 10 minutes
- Yield: 8 1x
Description
Whipping up Cherry Cheesecake Fluff takes just minutes, turning simple ingredients into a creamy dream that’ll make your dessert dreams come true. Grab your spoon and dive into this cool, dreamy mix of tangy cream cheese, sweet cherries, and fluffy whipped topping that feels like pure summer happiness.
Ingredients
Cheesecake Base:
- 1 (8 oz) package cream cheese
- 1 cup powdered sugar
- 2 cups whipped topping
- 1 teaspoon vanilla extract
Fruit Layer:
- 1 (21 oz) can cherry pie filling
Crust:
- 1 cup graham cracker crumbs
- ¼ cup unsalted butter
- 2 tablespoons sugar
Instructions
- Crush 1 cup graham cracker crumbs with 2 tablespoons sugar until fine. Melt ¼ cup unsalted butter and mix into crumbs until thoroughly combined.
- Press graham cracker mixture into the bottom of a 9×13 inch dish, creating a firm, even layer using the back of a spoon.
- Beat 8 oz cream cheese in a large mixing bowl until completely smooth and free of lumps, about 2-3 minutes.
- Gradually incorporate 1 cup powdered sugar into cream cheese, mixing at medium speed until fully integrated.
- Stir 1 teaspoon vanilla extract into the cream cheese mixture, blending until evenly distributed.
- Gently fold 2 cups whipped topping into the cream cheese mixture, maintaining a light, airy texture.
- Spread entire 21 oz can of cherry pie filling evenly across the top of the cream cheese layer.
- Refrigerate the dessert for 2-3 hours at 38°F, allowing the flavors to meld and the texture to set firmly.
- Remove from refrigerator 10 minutes before serving to soften slightly for easier scooping.
Notes
- Room temperature cream cheese blends more smoothly, so let it sit out for 30 minutes before mixing.
- Use a hand mixer or stand mixer to ensure the cream cheese becomes completely smooth without lumps.
- Fold the whipped topping gently to maintain its light, airy texture and prevent deflating the mixture.
- For a gluten-free version, swap graham cracker crumbs with crushed gluten-free cookies or almond flour.
- Prep Time: 10 minutes
- Cook Time: 0 minutes
- Category: Cheesecakes
- Method: Chilling
- Cuisine: American
Nutrition
- Serving Size: 8
- Calories: 341 kcal
- Sugar: 32 g
- Sodium: 171 mg
- Fat: 22 g
- Saturated Fat: 13 g
- Unsaturated Fat: 8 g
- Trans Fat: 0.2 g
- Carbohydrates: 34 g
- Fiber: 1 g
- Protein: 4 g
- Cholesterol: 55 mg
Madison Wyman
Recipe Developer & Food Storyteller
Expertise
Recipe Research and Adaptation, Food Writing and Cultural Storytelling, Sustainable and Ethical Sourcing, Dietary Adaptations (e.g., gluten-free, plant-based)
Education
Oregon Health & Science University
Portland Community College
Madison’s passion for flavor and culture ignited amidst the rich Southern cooking traditions of her upbringing, where cherished family recipes told delicious tales.
Armed with a Master’s in Food Systems and Society from Oregon Health & Science University and a Culinary Arts Certificate from Portland Community College, Madison truly excels at transforming rich, intricate flavors into dishes that are both approachable and heartfelt.
For her, cooking is a vibrant blend of science, art, and heritage – a powerful way to connect us to our roots and each other. Her recipes invite you to delve deeper, uncovering the fascinating stories woven into every ingredient.