Peanut Butter Jelly Bread Recipe To Slice & Enjoy
Peanut butter jelly bread introduces back memories of simpler times while offering comfort food at its finest.
This beloved classic satisfies cravings any time of day, whether it’s breakfast, lunch, or a midnight snack.
The sweet and savory combination creates a balance that appeals to people of all ages without feeling too heavy or complicated.
Quick to prepare and endlessly enjoyable, this dish proves that sometimes the most satisfying meals are the ones we grew up loving.
Everyone deserves a reliable recipe that gives both nostalgia and deliciousness in every bite.
When hunger strikes and you need something familiar yet totally satisfying, this combination never disappoints.
Why Peanut Butter Jelly Bread Is Fun to Bake
What Builds Peanut Butter Jelly Bread
Bread:Sandwich Spread:Grilling Ingredients:Optional Toppings:Peanut Butter Jelly Bread: Tools for Easy Prep
Baking Guide for Peanut Butter and Jelly Bread
Prep the Bread
Grab two slices of your favorite bread – white, whole grain, or gluten-free. Make sure they’re fresh and ready for deliciousness.
Spread the Peanut Butter
Slather 4 tablespoons (60 ml) of creamy peanut butter across the surfaces of both bread slices. Cover every inch to ensure maximum flavor in each bite.
Add the Sweet Layer
Take 2 tablespoons (30 ml) of jelly or jam and spread it evenly on one of the peanut butter-covered bread slices. Choose whatever flavor makes your taste buds dance.
Create the Sandwich
Carefully place the second peanut butter-covered slice on top of the jelly layer, creating a perfect sandwich that’s about to get crispy.
Prepare the Skillet
Heat a non-stick skillet over medium heat (350°F or 175°C). Drop 1 tablespoon (15 ml) of butter into the pan and let it melt completely, coating the surface.
Grill to Golden Perfection
Gently place your sandwich in the buttery skillet. Cook for 3-4 minutes on each side until the bread turns a beautiful golden brown color and becomes wonderfully crisp.
Finishing Touches
Remove the sandwich from the skillet and slice diagonally. For extra excitement, you can add sliced bananas or a drizzle of honey on top if you’re feeling adventurous.
Serve and Enjoy
Plate your grilled sandwich while it’s warm and get ready to savor every delightful bite of this classic comfort food.
Baking Guidance for Peanut Butter Jelly Bread
Flavor Variations for Peanut Butter Jelly Bread
How Peanut Butter Jelly Bread Is Enjoyed
Proper Storage for Peanut Butter Jelly Bread
PB&J Bread Curiosities
Can I use different types of bread?
Definitely! Whole wheat, white, sourdough, or gluten-free bread all work perfectly for this sandwich.
Should the peanut butter be smooth or chunky?
Both smooth and chunky peanut butter taste great – pick whatever your taste buds prefer.
What jellies work best?
Classic grape and strawberry jellies are fantastic, but raspberry, apricot, or any fruit preserve will create a delicious sandwich.
How do I prevent burning the bread?
Keep the heat at medium and watch closely. Flip when the bottom turns golden brown to ensure even cooking.
Can kids make this sandwich?
Absolutely! With adult supervision for the stove part, children can spread peanut butter and jelly safely.
Does the butter need to be salted or unsalted?
Either works fine. Salted butter adds a slight flavor boost, while unsalted keeps things more neutral.

Peanut Butter and Jelly Bread Recipe
- Total Time: 13 minutes
- Yield: 1 1x
Description
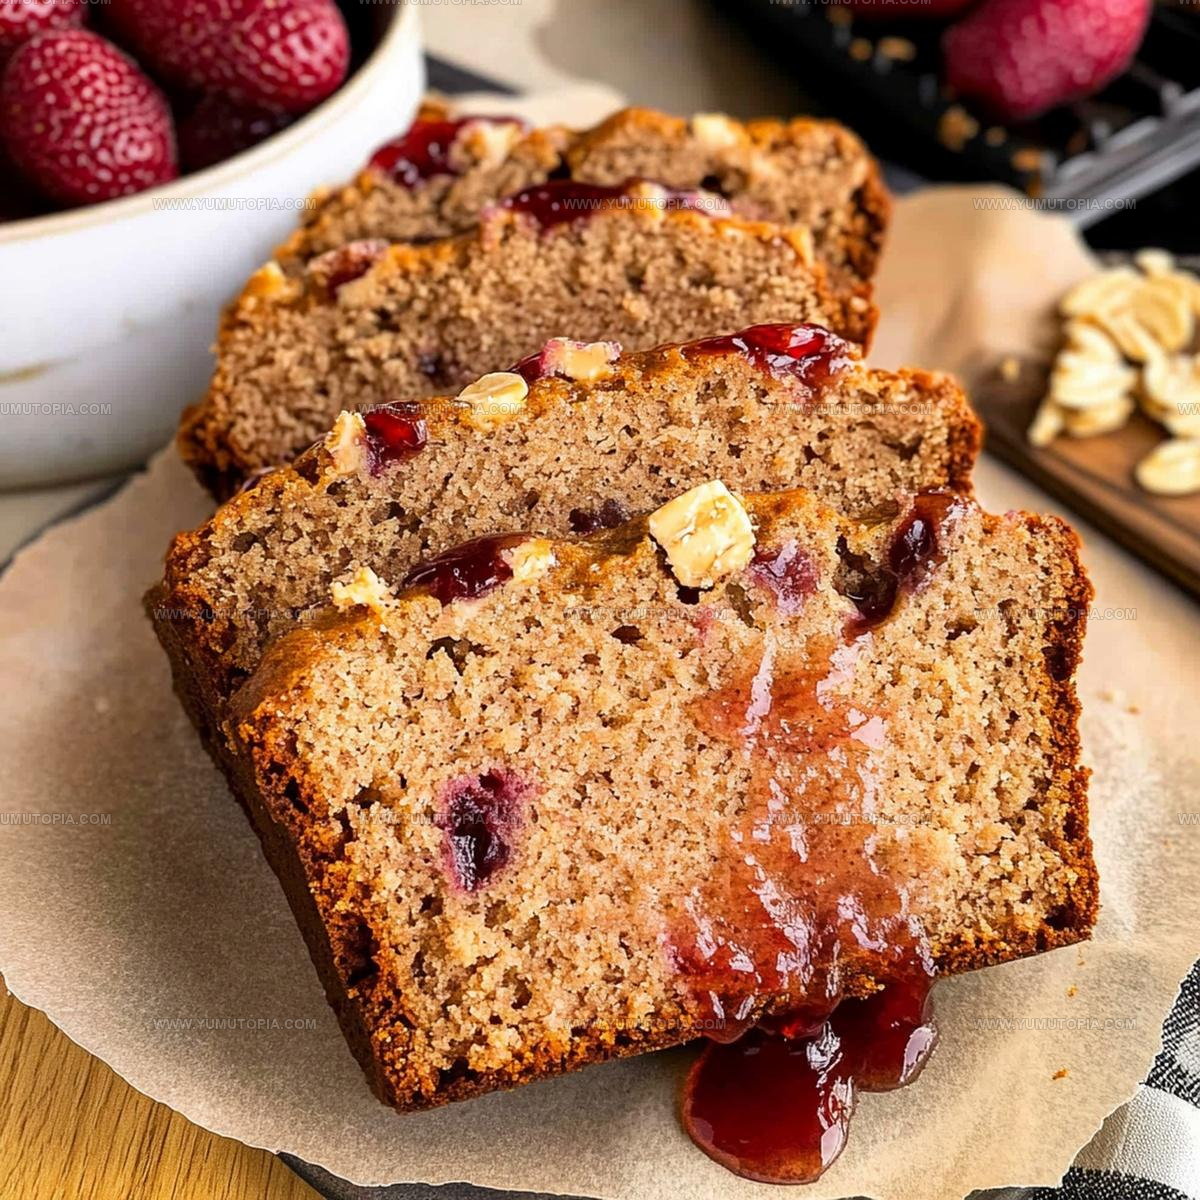
Peanut Butter Jelly Bread brings childhood memories right to your kitchen counter, melding classic sandwich flavors into a comforting quick bread that feels like a warm hug. Slicing into this nostalgic treat delivers pure comfort with swirls of sweet jam and rich peanut butter dancing through each tender crumb.
Ingredients
Bread:
- 2 slices fresh bread (white, whole grain, or gluten-free)
Spreads:
- 4 tablespoons creamy peanut butter
- 2 tablespoons jelly or jam
Grilling and Topping:
- 1 tablespoon butter
- Optional: Sliced bananas
- Optional: Honey
Instructions
- Collect all ingredients and arrange them within arm’s reach on your kitchen counter, ensuring everything is ready for quick assembly.
- Generously coat each bread slice with 2 tablespoons of creamy peanut butter, spreading it evenly from edge to edge.
- Select your favorite jelly or jam and apply 2 tablespoons across one peanut butter-covered slice, creating a smooth, consistent layer.
- Carefully position the second peanut butter-covered slice on top, creating a sealed sandwich with jelly nestled between peanut butter surfaces.
- Place a non-stick skillet over medium heat (around 350°F) and add 1 tablespoon of butter, allowing it to melt completely and coat the pan’s surface.
- Gently transfer the assembled sandwich into the heated skillet, grilling for precisely 3-4 minutes until the bread turns a rich, golden-brown color.
- Carefully flip the sandwich and grill the opposite side for an additional 3-4 minutes, ensuring an even, crispy exterior.
- Remove the sandwich from the skillet, slice diagonally to create two triangular halves, and serve immediately while warm and crisp.
- Optional: Enhance your creation by topping with sliced bananas or drizzling honey across the surface for extra indulgence.
Notes
- Select thick-cut, sturdy bread to prevent sogginess and ensure a crisp, golden exterior when grilling.
- Choose high-quality jam or jelly with intense fruit flavor for a more delicious sandwich experience.
- Spread peanut butter and jelly evenly to the edges of the bread for consistent taste in every bite.
- Use medium heat and watch carefully to prevent burning, as the sugars in jam can caramelize quickly.
- Prep Time: 5 minutes
- Cook Time: 8 minutes
- Category: Breads
- Method: Grilling
- Cuisine: American
Nutrition
- Serving Size: 1
- Calories: 620 kcal
- Sugar: 18 g
- Sodium: 350 mg
- Fat: 35 g
- Saturated Fat: 7 g
- Unsaturated Fat: 25 g
- Trans Fat: 0.5 g
- Carbohydrates: 50 g
- Fiber: 6 g
- Protein: 20 g
- Cholesterol: 30 mg
Logan Lemaster
Founder & Culinary Innovator
Expertise
Recipe Development and Innovation, Menu Design and Optimization, Fine Dining Techniques, Ingredient Pairing and Flavor Science
Education
Metropolitan Culinary Arts Institute
Logan’s culinary journey kicked off in his vibrant Chicago family kitchen, where fresh, seasonal ingredients and bold flavors were always front and center.
After graduating from the Metropolitan Culinary Arts Institute in Arlington, Virginia, and honing his skills in renowned restaurants, Logan mastered the art of blending classic techniques with exciting, modern twists.
His kitchen is a dynamic lab for flavor exploration. Through Yum Utopia, Logan aims to empower you to cook with both confidence and creativity, turning simple ingredients into spectacular meals.