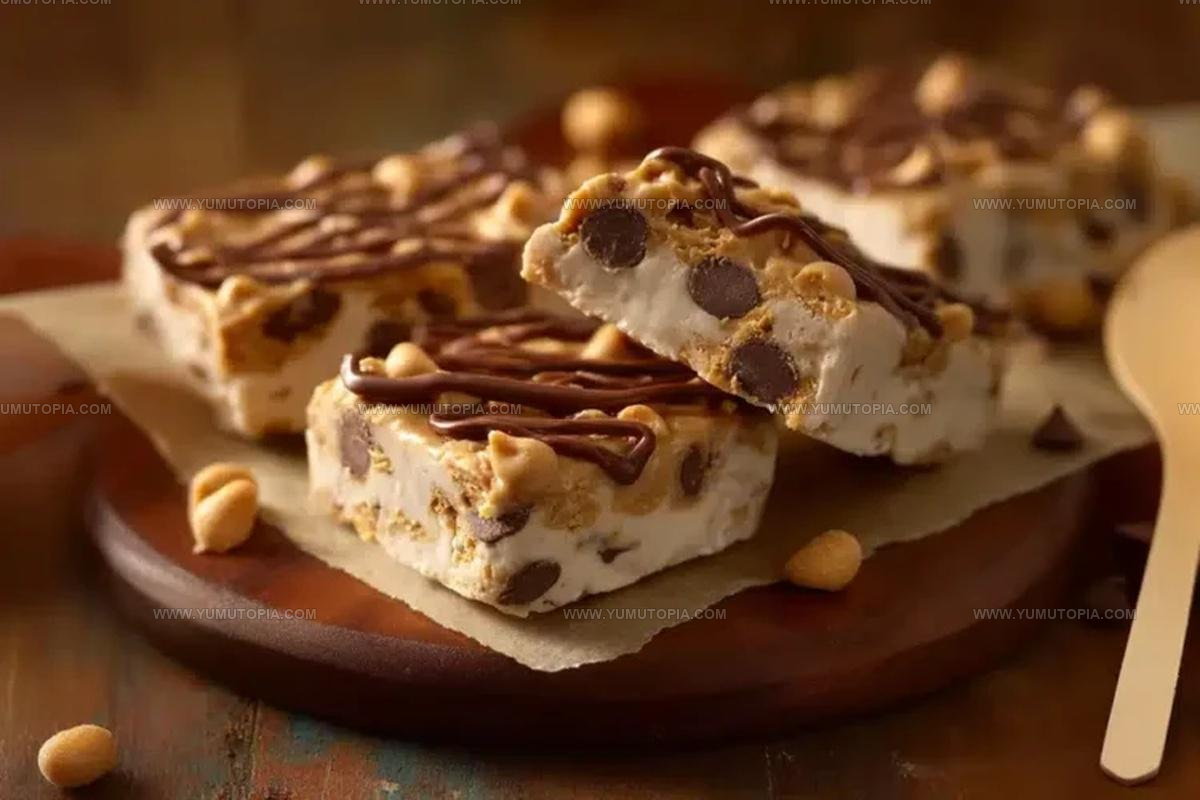
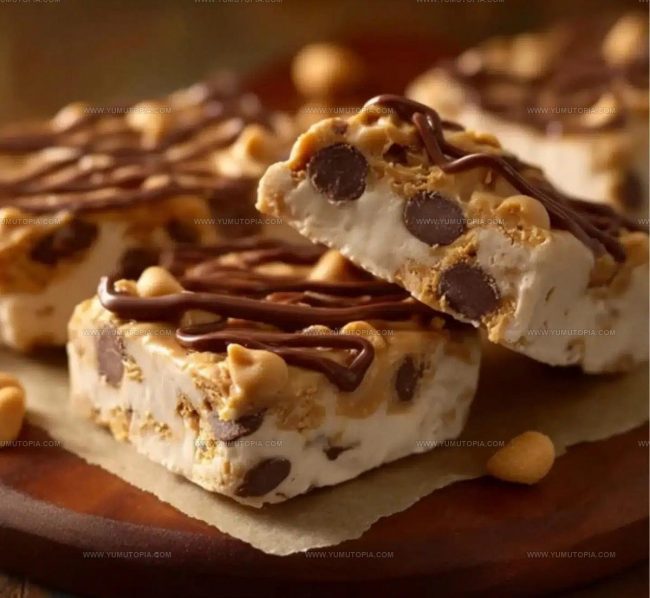
Peanut Butter Chip Frozen Yogurt Bars Recipe for Creamy Treats
Peanut butter chip frozen yogurt bars deliver the perfect balance of creamy sweetness and satisfying crunchiness that makes them an absolute treat for warm weather or anytime cravings strike.
These bars offer a lighter alternative to traditional ice cream desserts while still feeling indulgent enough to please anyone with a sweet tooth.
The combination works beautifully because it brings together familiar flavors in a refreshing format that feels both wholesome and fun.
Whether served at a backyard gathering or enjoyed as an afternoon pick-me-up, these frozen treats have universal appeal that spans all ages.
They’re wonderfully simple to prepare, requiring minimal effort for maximum enjoyment.
The result is a dessert that tastes like something from a specialty shop but comes together easily in a home kitchen.
What Sets These Peanut Butter Chip Frozen Yogurt Bars Apart
Why These Frozen Yogurt Bars Are The Best Guilt-Free Snack
What Goes Into These Frozen Yogurt Bars
Ways to Balance Smooth Slices and Crunch in PB Chip Bars
Create the Crust Base
Grab a mixing bowl and combine these ingredients:
Stir everything until the mixture looks crumbly and holds together when pressed. Press this mixture firmly into an 8×8 inch baking dish lined with parchment paper, making sure your base is smooth and even. Pop the dish into the freezer for exactly 10 minutes at 0°F to help the crust set quickly.
Prepare Yogurt Filling
Whisk together in a separate bowl:
Blend until the mixture looks creamy and consistent. Gently fold in your ⅓ cup of mini chocolate or peanut butter chips. Pour this filling over your chilled crust, smoothing the top with a spatula to create an even layer.
First Freezing Session
Transfer the pan to your freezer and let it sit at 0°F for 2 hours. Your filling needs to become completely solid and firm.
Add Chocolate Shell
Melt together at low heat (around 200°F):
Stir until the mixture looks glossy and smooth. Pour the chocolate over your frozen yogurt layer, spreading it evenly across the surface.
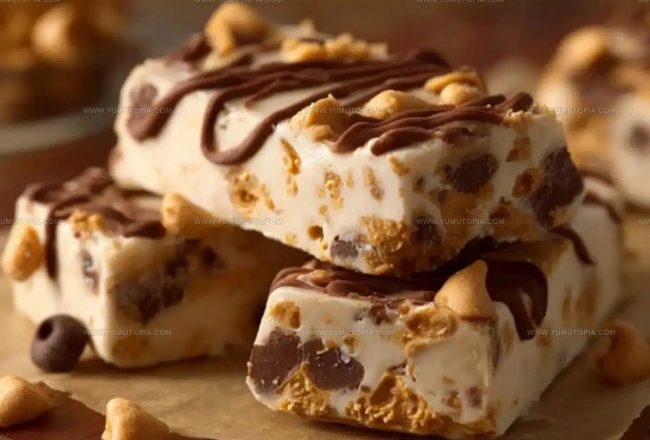
Final Freeze and Serving
Return the pan to the freezer for 15-20 minutes at 0°F until the chocolate shell becomes completely firm. Remove the bars using the parchment paper edges. Let them rest at room temperature for 5-10 minutes before cutting with a warm knife. Serve and enjoy these cool treats straight from the freezer!
Flavor Remixes For Peanut Butter Chip Frozen Yogurt Bars
Nutty and Chilled Texture Remixes for Yogurt Bars
Serving Peanut Butter Chip Frozen Yogurt Bars Smooth and Cold
Freezer Storage For Peanut Butter Frozen Yogurt Bars
Peanut Butter Chip Frozen Yogurt Bars Quick Question Corner
Can I use regular flour instead of almond flour?
Almond flour provides a gluten-free base with a nutty flavor that works perfectly. Regular wheat flour would change the texture and taste of the crust completely.
Do the bars need eggs?
No eggs are required! The dairy-free yogurt and other ingredients help bind the bars together without using eggs, making this recipe super simple.
How long can these bars stay frozen?
Store the bars in an airtight container in the freezer for up to 2 weeks. Wrap each bar individually in plastic wrap for best preservation.
Are these bars dairy-free?
The recipe uses dairy-free yogurt, making these bars suitable for those avoiding dairy. Double-check your specific yogurt and chocolate chip brands to ensure they meet your dietary needs.
Can I swap the maple syrup?
Honey works as an excellent alternative to maple syrup if that’s what your pantry has available. Both sweeteners will provide similar binding and sweetness to the recipe.
Peanut Butter Chip Frozen Yogurt Bars Recipe
- Total Time: 2 hours 35 minutes
- Yield: 8 1x
Description
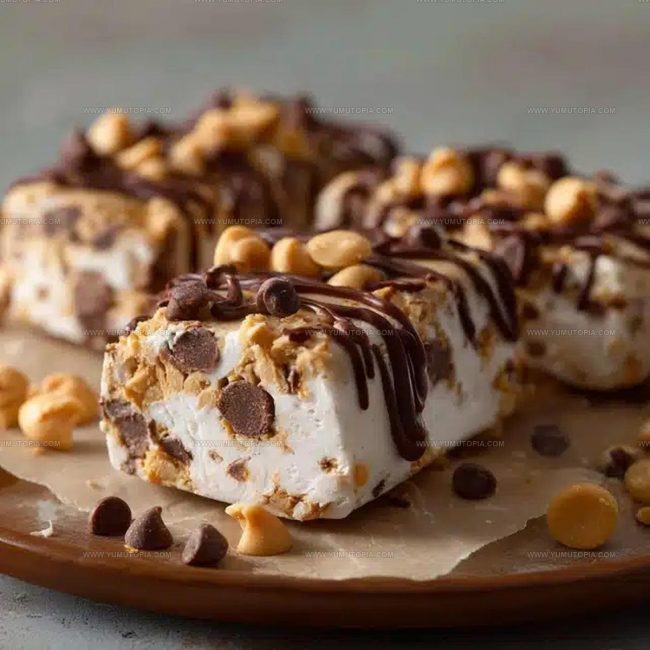
Peanut Butter Chip Frozen Yogurt Bars are a cool, creamy summer treat that practically dance with deliciousness right from your freezer. Grab some yogurt, fold in those nutty chips, and freeze for a quick dessert that beats the heat with zero fuss.
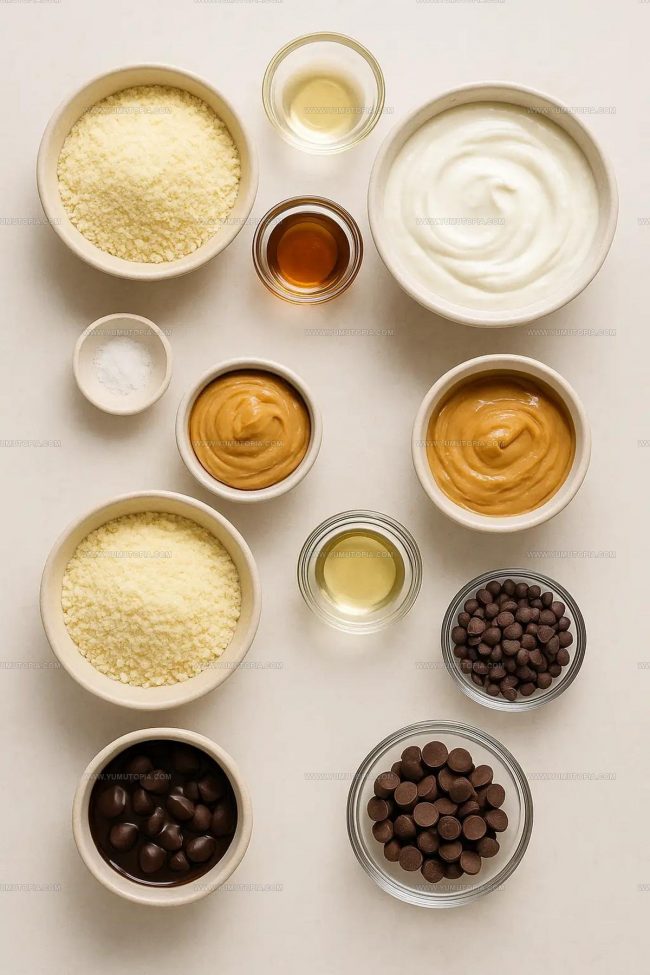
Ingredients
Main Ingredients:
- 2 cups dairy-free yogurt (coconut or almond-based)
- 1 cup almond flour
- ⅓ cup natural peanut butter
Supporting Ingredients:
- ½ cup dairy-free chocolate chips
- ⅓ cup mini chocolate chips or chopped peanut butter chips (dairy-free if needed)
- 2 tablespoons coconut oil, melted
- 2 tablespoons maple syrup
- ¼ cup maple syrup
- 1 tablespoon coconut oil
Enhancing Ingredients:
- 1 teaspoon vanilla extract
- 1 pinch sea salt
Instructions
- Blend 1 cup almond flour, 2 tablespoons melted coconut oil, 2 tablespoons maple syrup, and a pinch of sea salt until your mixture becomes a moist, crumbly texture. Press this firmly into a parchment-lined 8×8 inch baking dish, creating an even base layer. Chill in the freezer at 0°F for exactly 10 minutes.
- Whisk 2 cups dairy-free yogurt, ⅓ cup natural peanut butter, ¼ cup maple syrup, and 1 teaspoon vanilla extract until your mixture reaches a completely smooth consistency. Gently incorporate ⅓ cup mini chocolate or peanut butter chips, folding them evenly throughout.
- Pour the yogurt mixture over the chilled crust, using a spatula to spread it into a perfectly uniform layer. Return the pan to the freezer at 0°F for 2 hours until the filling becomes completely solid.
- Melt ½ cup dairy-free chocolate chips with 1 tablespoon coconut oil at 50% power in the microwave, stirring every 15 seconds until smooth and glossy. Drizzle this chocolate evenly across the frozen yogurt surface.
- Freeze the chocolate-topped bars at 0°F for 15-20 minutes until the chocolate shell hardens completely. Remove from the freezer and let rest at room temperature for 5-7 minutes before slicing with a knife warmed under hot water.
- Slice into 9-12 bars, ensuring each piece has a clean, sharp edge. Serve immediately and store any remaining bars in an airtight container in the freezer.
Notes
- Freeze these bars on a flat surface in the freezer to ensure even setting and a smooth texture.
- For a lower-sugar version, swap regular chocolate chips for dark chocolate chips with a higher cocoa percentage.
- Line your baking pan with parchment paper to make removing and cutting the bars super easy, with clean edges.
- When stirring the yogurt mixture, mix gently to keep the air incorporated, which helps create a lighter, creamier frozen texture.
- Prep Time: 15 minutes
- Cook Time: 2 hours 20 minutes
- Category: Dessert Bars
- Method: Freezing
- Cuisine: American
Nutrition
- Serving Size: 8
- Calories: 210
- Sugar: 10 g
- Sodium: 45 mg
- Fat: 16 g
- Saturated Fat: 8 g
- Unsaturated Fat: 7 g
- Trans Fat: 0 g
- Carbohydrates: 14 g
- Fiber: 3 g
- Protein: 4 g
- Cholesterol: 0 mg
Logan Lemaster
Founder & Culinary Innovator
Expertise
Recipe Development and Innovation, Menu Design and Optimization, Fine Dining Techniques, Ingredient Pairing and Flavor Science
Education
Metropolitan Culinary Arts Institute
Logan’s culinary journey kicked off in his vibrant Chicago family kitchen, where fresh, seasonal ingredients and bold flavors were always front and center.
After graduating from the Metropolitan Culinary Arts Institute in Arlington, Virginia, and honing his skills in renowned restaurants, Logan mastered the art of blending classic techniques with exciting, modern twists.
His kitchen is a dynamic lab for flavor exploration. Through Yum Utopia, Logan aims to empower you to cook with both confidence and creativity, turning simple ingredients into spectacular meals.